FREE 1 to 3-Day Delivery on Orders $149+ Details

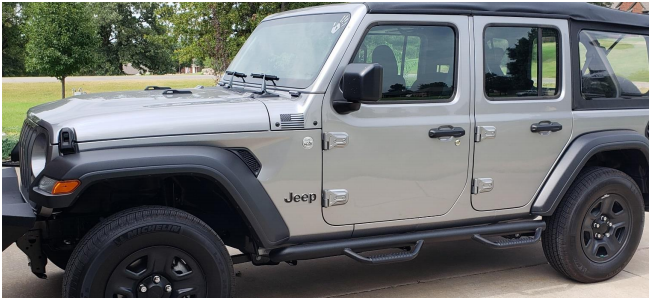
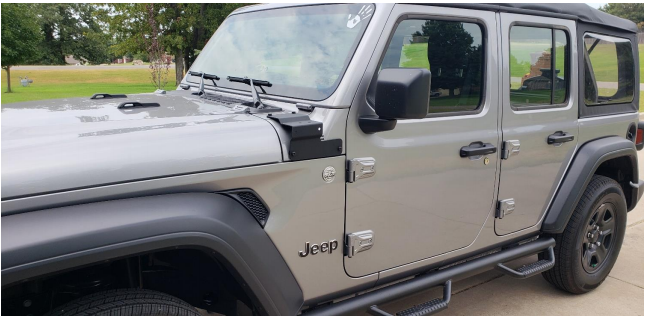
How to Install Mopar A-Pillar Light Mounting Brackets (2018 Jeep Wrangler JL) on your Jeep Wrangler

Shop Parts in this Guide
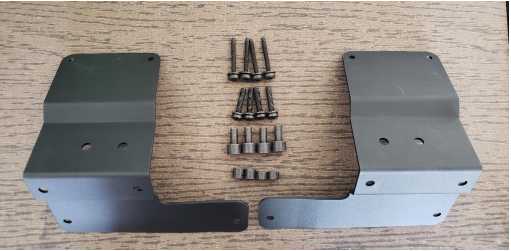
Included Components: 2 – A-Pillar Lamp Bracket 4 – Long T40 TORX Screw 4 – Short T40 TORX Screw 4 – Aluminum Standoff 2 – 13mm Aluminum Spacer 2 – 10mm Aluminum Spacer
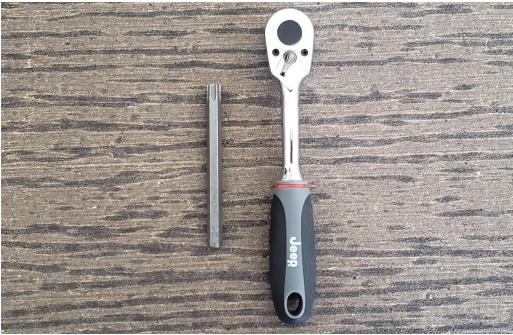
1. Using the 3/8” Ratchet and T40 TORX bit remove the 4 screws from each side of the jeep. You will remove 2 at the top of the hood near the A-Pillar and 2 on the side Near the A-Pillar. Keep these screws in a safe place should you decided to temporarily remove the A-Pillar mounts.
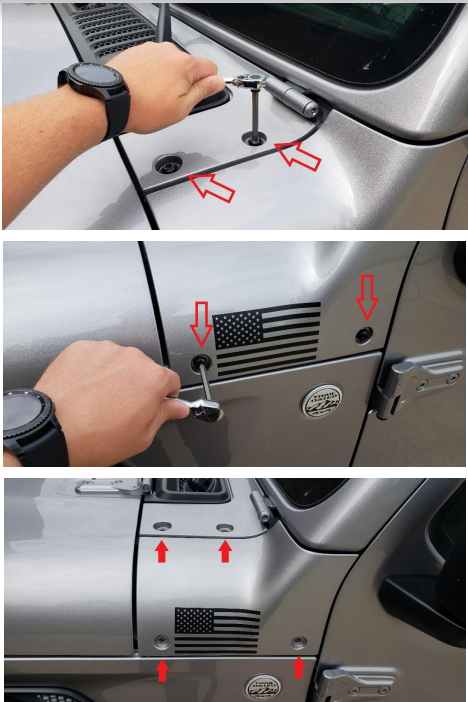
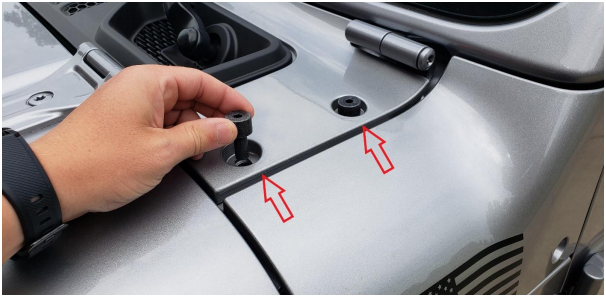
2. Insert 2 Aluminum Standoff’s in the open slots on the rain cowl on both sides.
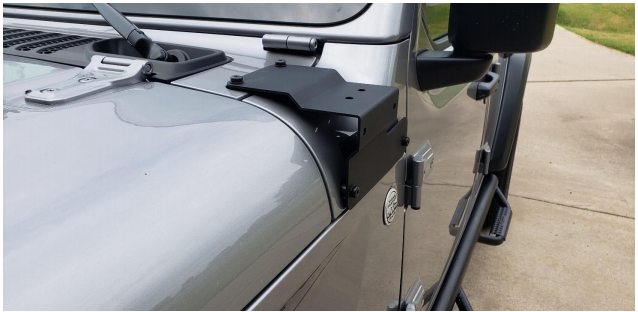
3. Next, you’ll want to prep the A-Pillar Mount before sitting it in place. One side at a time, take the two Short T40 TORX Screw, insert them through the bottom holes on the side of the mounts. On the inside of the mount, slide the 13mm spacer over the forward screw and the 10mm spacer on the rear screw.

4. Sit the mount into place and start threading the two short screws into place.
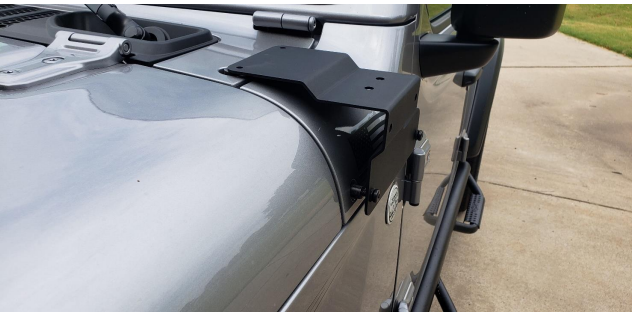
5. Again, on each side, take two long T40 TORX screws through the top two holes and through the Aluminum Spacers in the rain cowl.
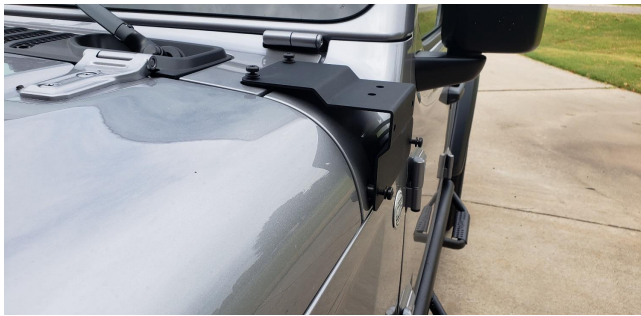
6. Finally, using the 3/8” ratchet with a T40 TORX bit, tighten all 8 screws ensuring the A-Pillar Mount is fastened into place.
Before
After
Installation Instructions Written by ExtremeTerrain Customer Zac Hart 07/26/2018