 FREE 1 to 3-Day Delivery on Orders $149+ Details

How to Install MCE Gen II Factory Width Hi-Clearance Flat Fender Flares - OE-Style Finish - Rear Only (07-18 Jeep Wrangler JK) on your Jeep Wrangler
Installation Time
90 minutes
Tools Required
- Needle nose pliers
- Power Drill
- 5/16” driver for drill
- 5/16” socket
- 9/64” drill bit
- Flat head screw driver (may not be needed, but good to have just in case)
Materials Required:
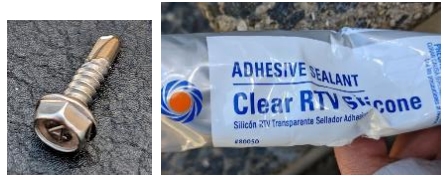
- RTV Silicone
- [3] clamps (only needed if you are doing the install yourself and don’t have someone to help you)
When you unpack the box, you should have the following:
1. [2] Rear fenders
2. [1] Packet of hardware
Installation Instructions:

Installing the MCE Rear Fenders:
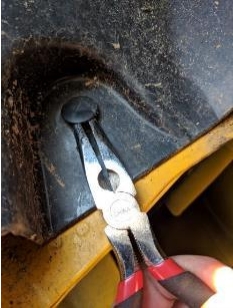
1. Using the needle nose pliers and/or flat head screwdriver pry out the 5 round
plastic clips inside of the wheel well.
2. After you remove the plastic clips, the fender is still held on with several other
plastic clips that you can’t see. In order to remove the fender from the clips, grab
the bottom of the fender on either side and pull up and out at the same time. It may
take several tries and at first it will feel like it’s not going to budge, but keep at it and
it will pop off of the clips little by little.
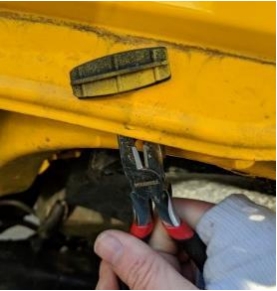
3. Sometimes the entire plastic clip will pop off with the fender, other times they will
stay on the body of the Jeep. For any that remain on the body of the Jeep, use needle
nose pliers to pinch the back of the clip and twist and push until the clip pops out.
For me, this was the hardest part of the install as a few of the clips just didn’t want
to budge, but I was eventually able to get all of them off.
4. Congrats, you have now removed the fenders. Clean the area that is now exposed
from where the venders used to be.
5. With the help of another person or clamps, hold the fender in its proper place to fit
in the stamped body panel.

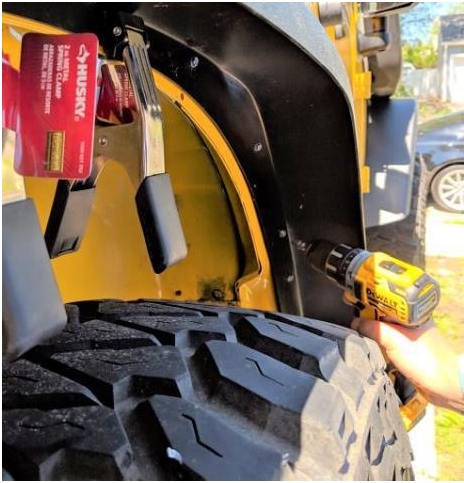
6. Once the fender is lined up, use the drill with the 9/64” to drill pilot holes. Then
place the fender back in place and use the drill with the 5/16” driver to install the
self-threading screws. Before drilling in each screw, coat it with a dab of RTV to
help prevent rust. Do not tighten the screws initially.
7. Once the fender is in place properly, tighten all fasteners
8. Follow steps 1 through 7 on the other side to install the other fender.
Enjoy your new MCE Rear Fenders!

Installation Instructions Written by ExtremeTerrain Customer Lori N. on 4/29/19
