 FREE 1 to 3-Day Delivery on Orders $149+ Details

How to Install a MBRP Black Coated Front Roof Rack Extension on your 2007-2010 Wrangler JK 2 Door
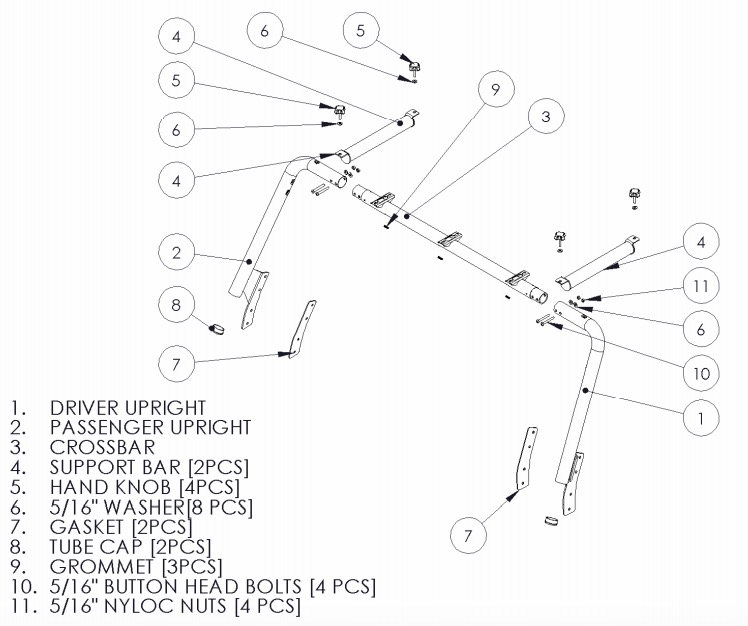
NOTE:
This kit requires the installation of Off Camber Fabrications Roof Rack Kit # 130927 prior to installation of this Full Rack Extension Kit # 131040.
1. Install the five Grommets into the wiring holes on the underside of the Windshield Hoop.
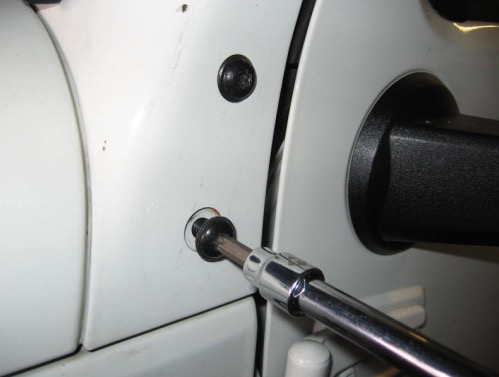
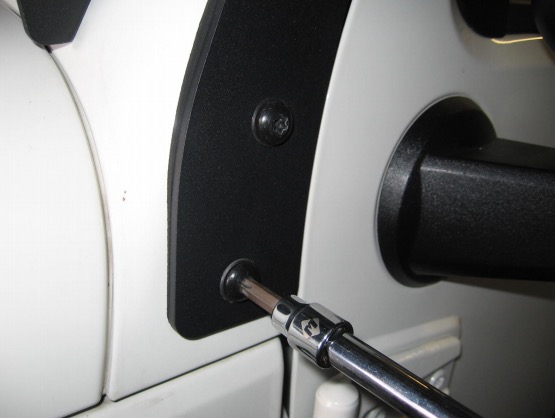
2. Remove the four Torx headed fasteners from the left and right side windshield brackets. Keep these fasteners, you will reuse them. Refer to Figure 1.
Figure 1
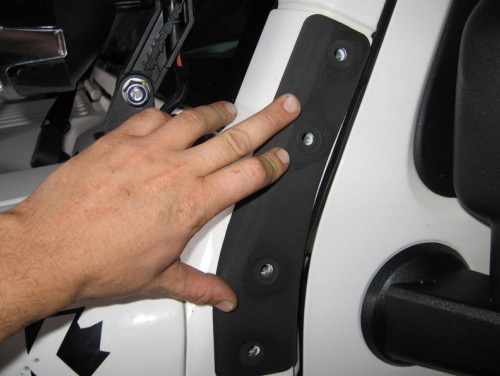
3. Loosely install the Driver Upright and Passenger Upright to the Jeep with the previously removed Torx head fasteners. Be sure to install the Gaskets between the body and the Uprights. Install the Front Crossbar between the Uprights and secure with the supplied 5/16”x2.5 Bolts, 5/16” Washers, and 5/16” Nyloc Nuts. Be sure the wiring holes are facing forward. Do not fully tighten yet. Refer to Figure 2.
Figure 2
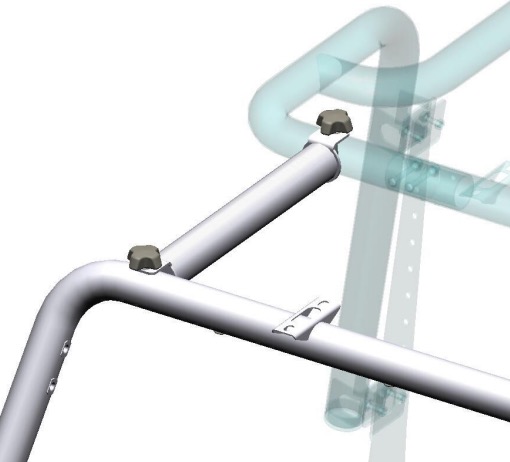
4. The Support Bars attach to the Windshield Hoop, and the previously installed Roof Rack with the supplied Hand Knobs and 5/16” Washers. The Windshield Hoop may need to be adjusted to help align the Support Bars. Refer to Figures 3 and 4.
Figure 3
Figure 4
5. Tighten the eight [four per side] Torx fasteners starting from the top and working down. The surface of the Jeep is not flat. The fasteners must be tightened in this order to allow the mounting brackets to fit correctly. Refer to Figure 5.
Figure 5
6. Install the Tube Caps with a soft faced hammer.
Installing/Removing the Freedom Roof Panels.
The Freedom Roof Panels can still be removed with the Rack Extension Kit installed.
1. Release all clips/screws holding both roof panels in place. Shift the passenger side panel as far to the right as possible. Refer to Figure 6.
Figure 6
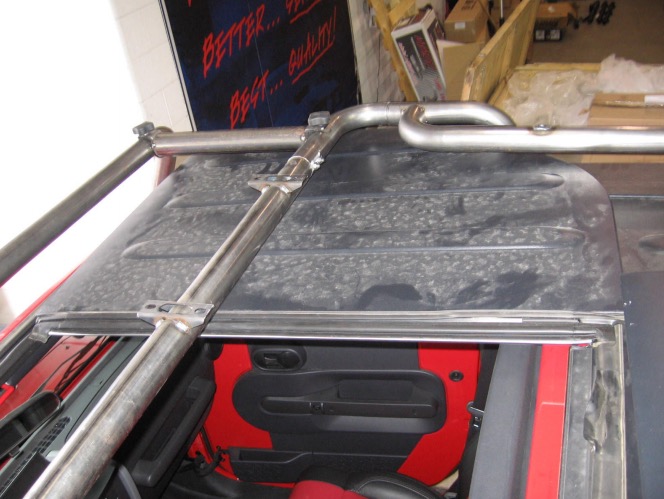
2. Remove the driver side panel first by rotating couterclockwise and sliding the panel downward/rearward in the 5’o’clock direction. Refer to Figure 7.
Figure 7

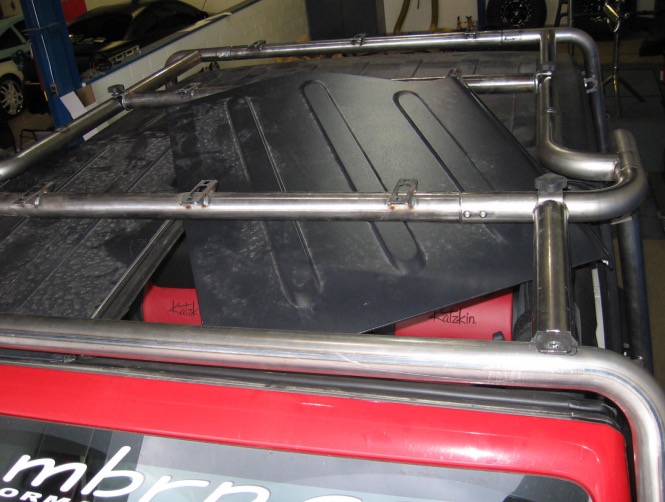
3. The driver side panel can now be removed between the 2 crossmembers as shown Refer to Figure 8.
Figure 8
4. The passenger side panel can now be removed by sliding towards the center of the Jeep, and then removed between the crossmembers similar to the driver side panel in step 3. Refer to Figure 9.
Figure 9
Congratulations! You are finished. We are sure that you will enjoy this Off Camber Fabrications Off Camber Fabrications product by MBRP Inc.
