 FREE 1 to 3-Day Delivery on Orders $149+ Details

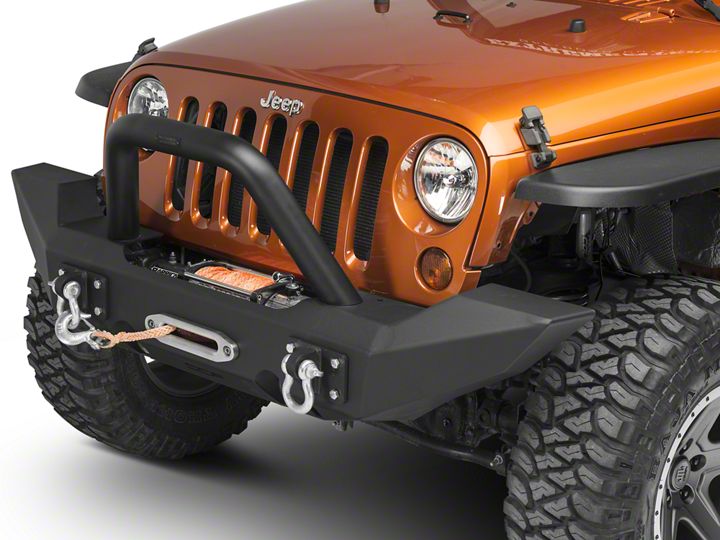
How to Install a MBRP Front Light Bar/Grill Guard System on your 2007-2017 Jeep Wrangler JK
Shop Parts in this Guide
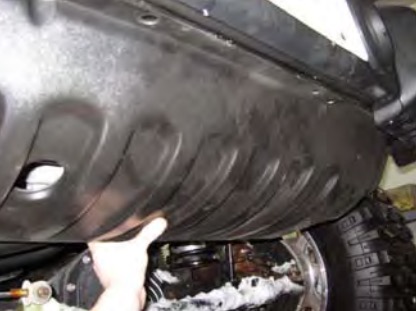
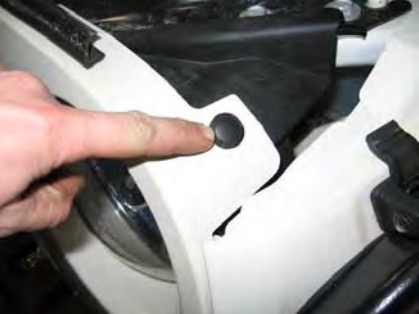
1. Remove the factory splash guard by removing the push rivets. All rivets are reusable so be careful removing them. Refer to Figure 1.
Figure 1
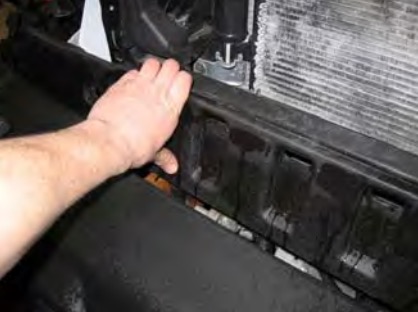
2. Remove the Grill by removing the 6 push rivets across the top the Grill shell. Keep the rivets, they will be reused. The lower edge of the Grill is secured by clips. Give the Grill a good pull to release the clips. Unplug the signal lights and set the Grill aside. Refer to Figure 2.
Figure 2
3. Remove the 2 push rivets from the plastic Filler Panel between the bumper and the rad saddle using a Phillips screwdriver to remove the core, and then pull the rivets out. These will be reused. Sometimes the core will spin without backing out. If this happens, try to pry up on the head of the rivet with a flat screwdriver while unscrewing the core. This will help the rivet pinch the threads of the core allowing removal. Once the rivets are out, slide the panel towards the front of the Jeep, then rotate the rear edge upwards 90 degrees and lift the panel out. This is tricky but it will come out. Refer to Figures 3 and 4.
Figure 3
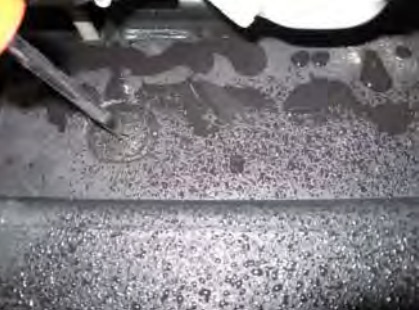
Figure 4
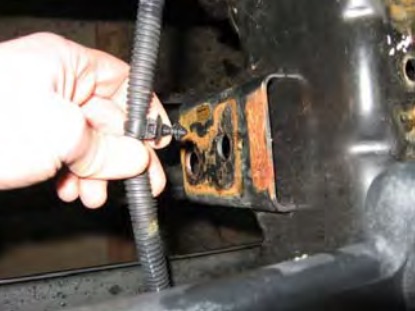
4. Pull the wiring harness clips off the frame horns on both sides. Refer to Figure 5.
Figure 5
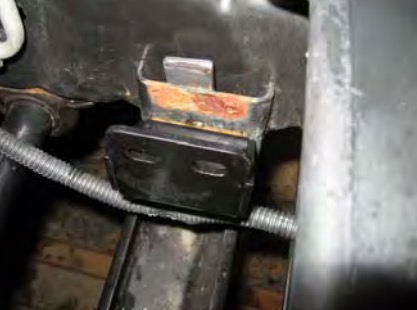
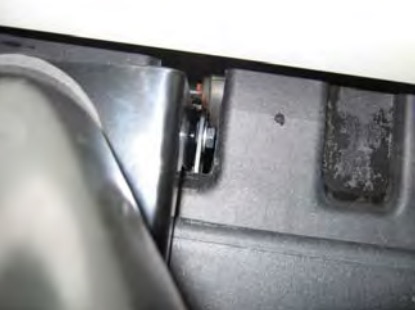
5. Install the Driver Side and Passenger Side Frame Brackets onto the frame horns by first sliding the 5/16” Panel Nuts onto the Nut Plates. Insert the plates into the pockets on either side of the frame, the brackets are installed on the inside of the frame rails. Using the supplied 5/16” hardware, attach each Frame Bracket by bolting through the factory holes into the Nut Plates. Snug the bolts for now. Adjustment may be required later. Refer to Figures 6 and 7.
Figure 6
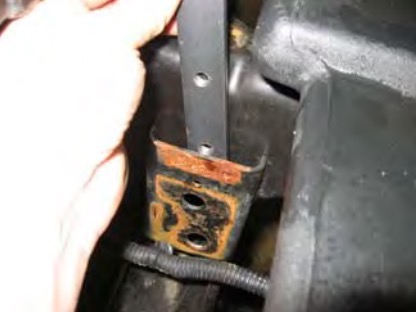
Figure 7
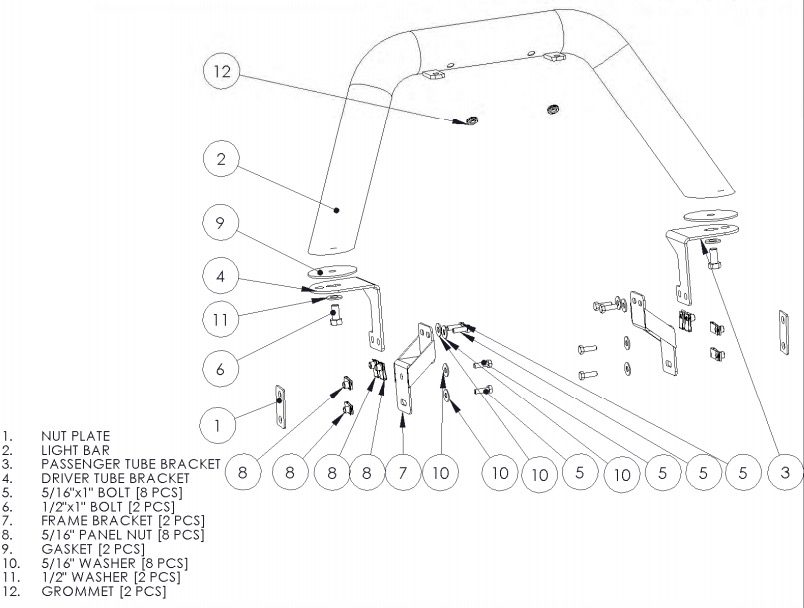
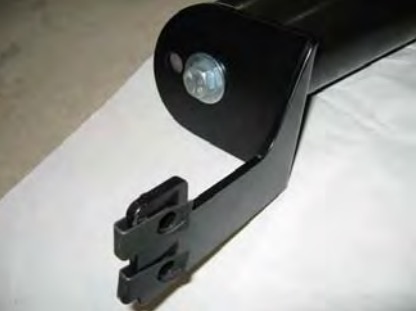
6. Pre assemble the Light Bar on the floor as shown. Be sure to place the Gasket between the Mounting Brackets and the Tube. Install the Panel Nuts making sure that the threaded portion is towards the outside of the Jeep. NOTE; If you plan to install lights, it is much easier to prewire the bar at this step.. Refer to Figures 8, 9 and 10.
Figure 8
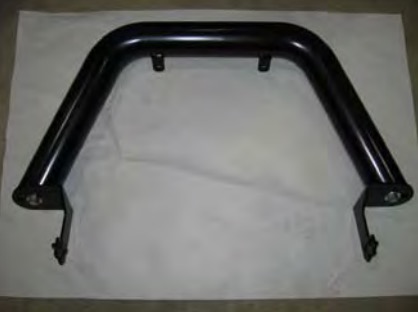
Figure 9

Figure 10
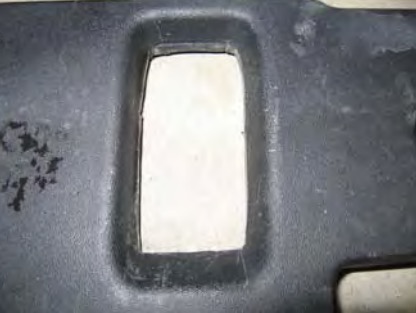
7. The outermost pocket on each side of the Filler Panel must be trimmed for the Mounting Brackets to pass through. Use a Dremel tool or similar to cut as shown. Install the Filler Panel. Do not install the Rivets yet. Refer to Figures 11 and 12.
Figure 11
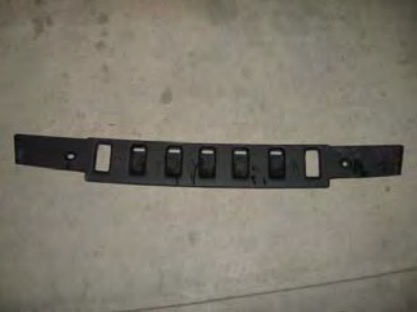
Figure 12
8. Install the Grill. Be sure to reconnect the signal light connectors. Reinstall the Push rivets removed in the previous step.
9. Install the Light Bar assembly by carefully sliding the Mounting Brackets through the holes previously trimmed in the Filler Panel. Holding the Light bar assembly in place, use the supplied 5/16” hardware and reach up from underneath and bolt the assembly to the Frame Brackets. Do not tighten yet. Refer to figure 13.
Figure 13
10. Align the bar assembly by shifting the Frame Brackets, Mounting Brackets as required. Tighten all fasteners, including the 2 ½” bolts securing the Mounting Brackets to the Tube by using an open end wrench.
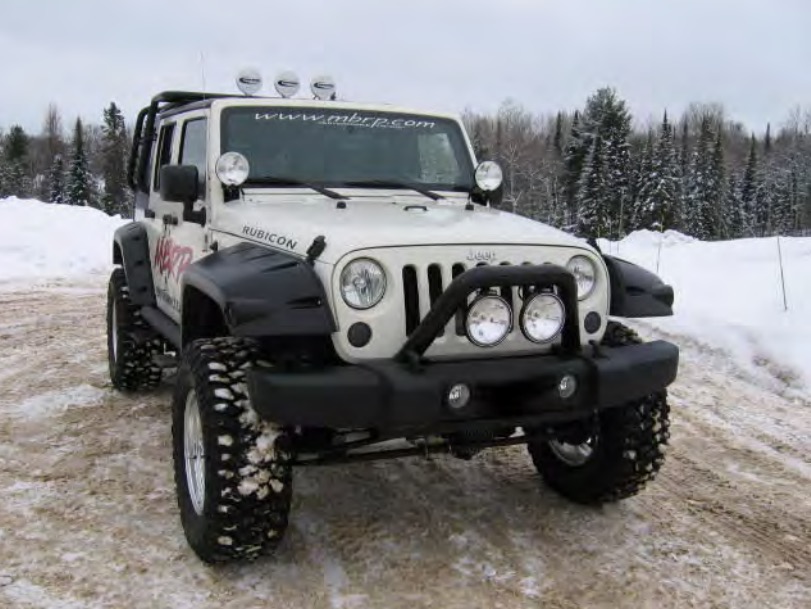
Congratulations! You are finished. Thank you for purchasing an MBRP Inc BRP IncMBRP Inc. Product.

