FREE 1 to 3-Day Delivery on Orders $149+ Details

How to Install MBRP Exhaust System w/ Muffler Relocate on your Wrangler
Installation Time
1 hours
Tools Required
- Sockets: 14mm deep well, 15mm deep well, 18mm
- 15mm Wrench
- Socket Wrench
- Large Flat Head Screwdriver
- WD40 or similar
- Torque Wrench
- Angler Grinder w/ metal cutoff wheel (2dr only)
- Tape Measure (2dr only)

Shop Parts in this Guide
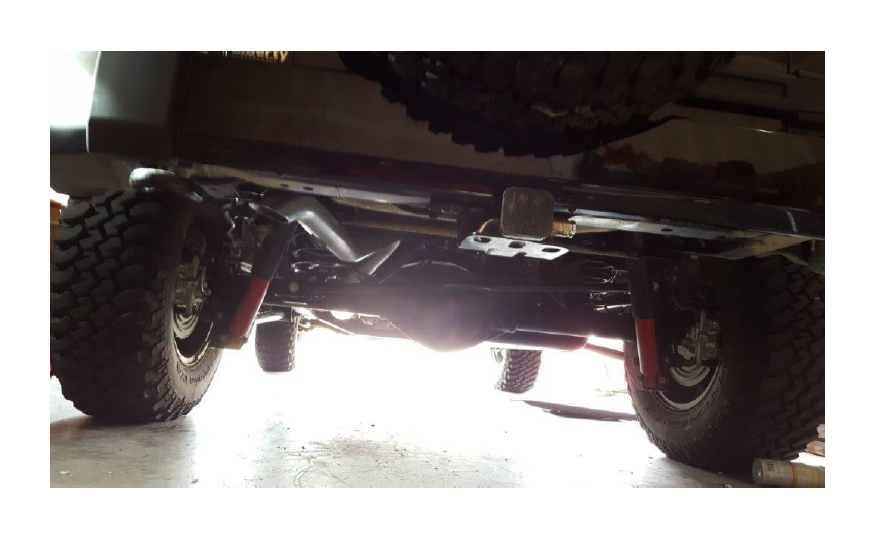
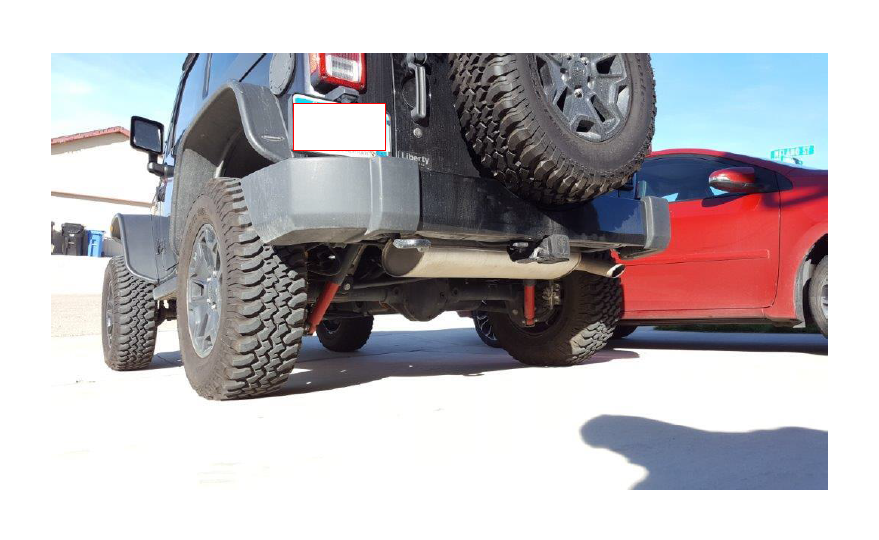
Before Picture:
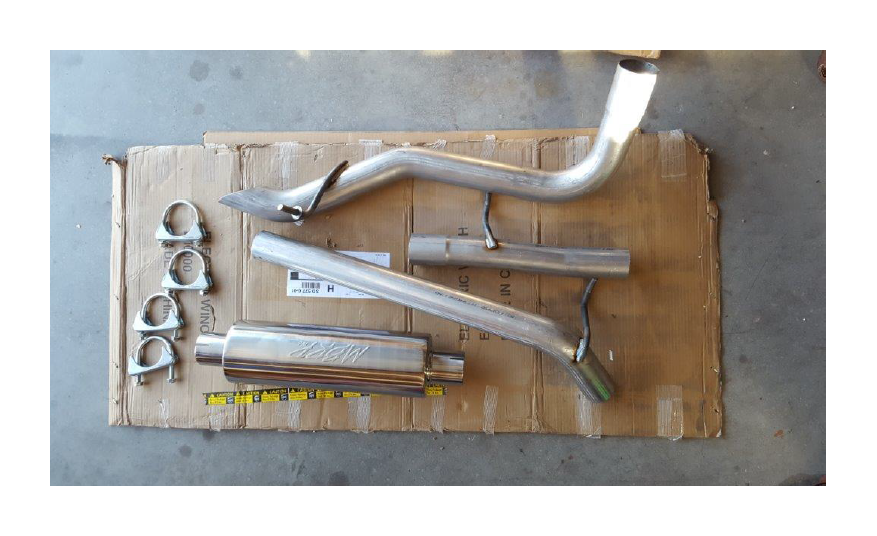
In the Box:
Installation Instructions:
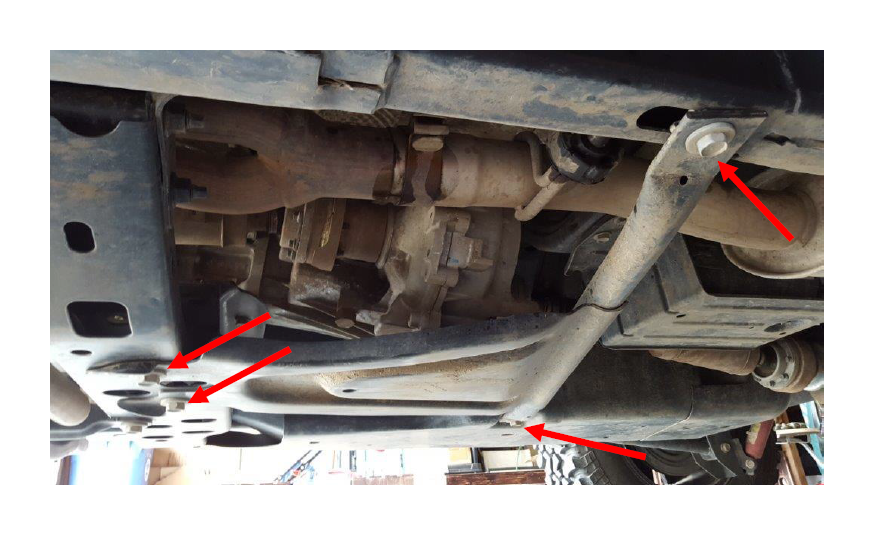
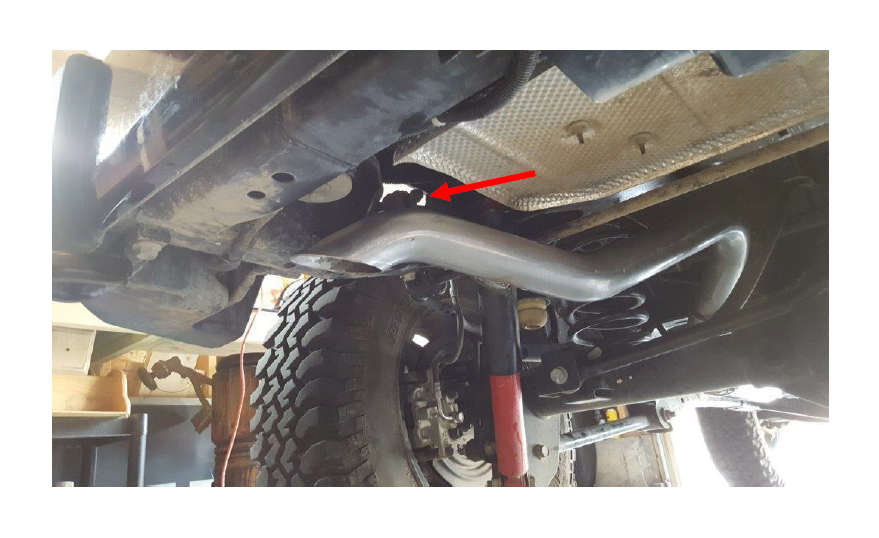
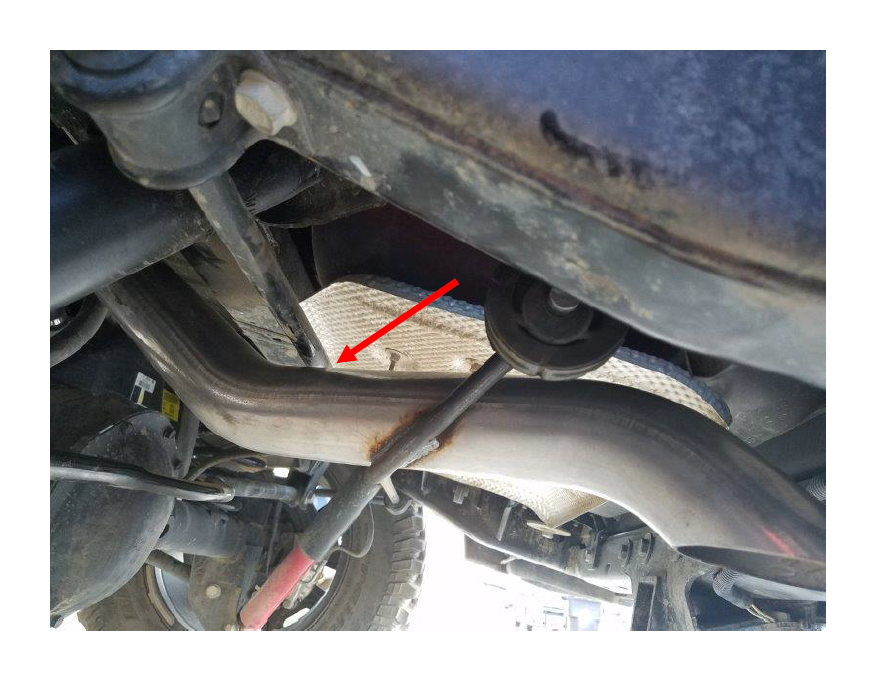
1. First apply WD40 or break free to the exhaust fasteners and hangers. The older the exhaust, the harder it will likely be to remove. You will want to get the penetrating lubricant into the joint and fastener and let it soak for a while. There are 2 fasteners, one just behind the stock muffler shown below, and one just under the driver door downstream of the Y pipe (2nd picture below).
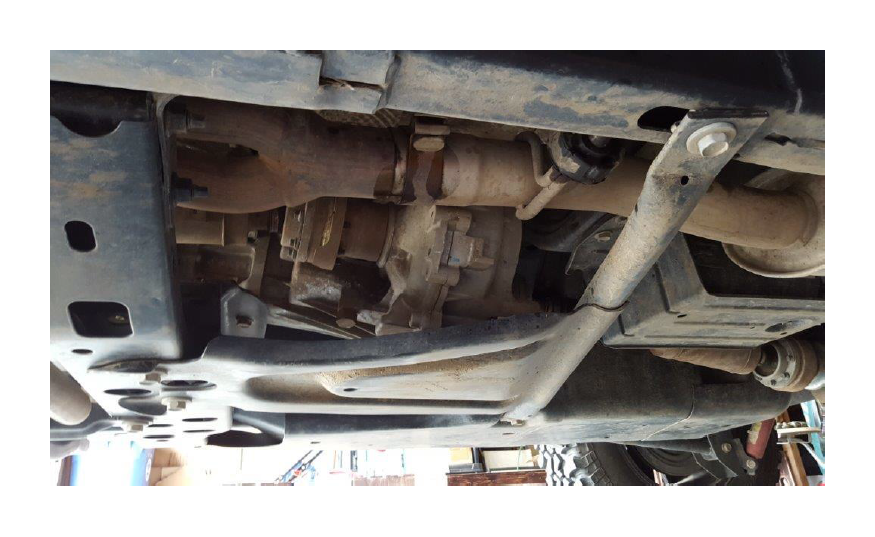
2. Next remove the transfer case skid plate located below the driver door. It is possible to complete the install without removing it, but it will be much easier if removed. You will need to remove the four 18mm bolts holding the skid plate on.
3. Using the 15mm deep well socket, loosen the clamp just before the muffler. You don’t need to completely remove the nut, just loosen it enough so the clamp is loose.
4. Remove the rubber hangers on the left and right side of the muffler. This will be easiest if the rubber and metal are soaked in WD40. Step 5 talks more about how these hangers can be removed easily. For all Rubber hangers you want to remove them from the metal exhaust hanger and leave them attached to the Jeep frame.
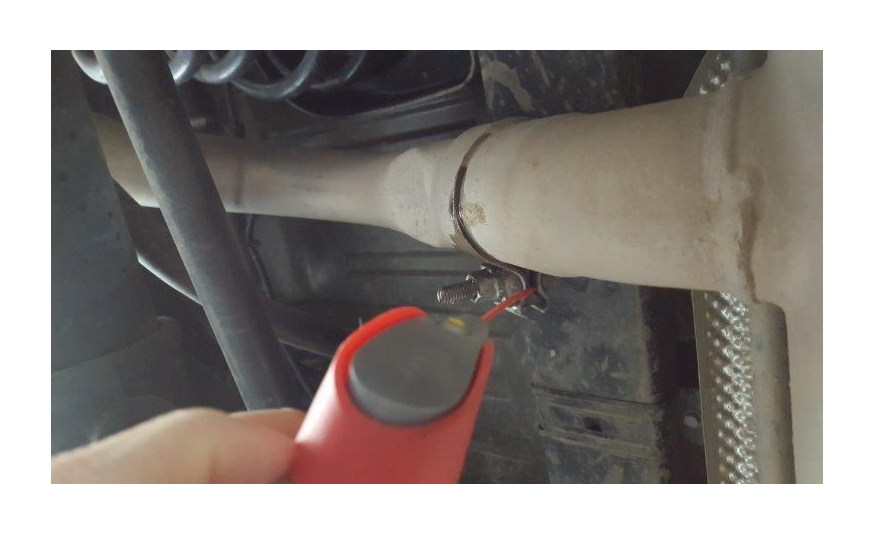
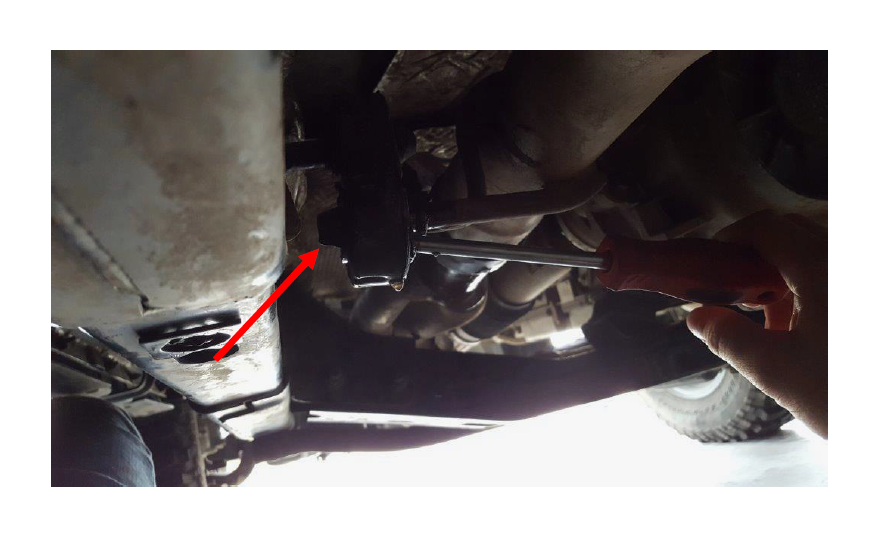
5. There is a specific tool designed for removing these hangers, but after trial and error I found an easy way to remove them with just a flat head screwdriver. After soaking the hanger in WD40, insert a flat head screwdriver as shown below. You want to push it all the way through to the other side and rest the blade of the screwdriver over the nub at the end of the metal hanger (Shown by the arrow). Then you can just pry the handle of the screwdriver downward and the rubber should pop over the metal nub and off the hanger.
6. Once both of the muffler hangers have been removed you can work the muffler side to side to remove it from the Jeep. If it is stuck, you might need more break free to soak in to the joint to loosen it.
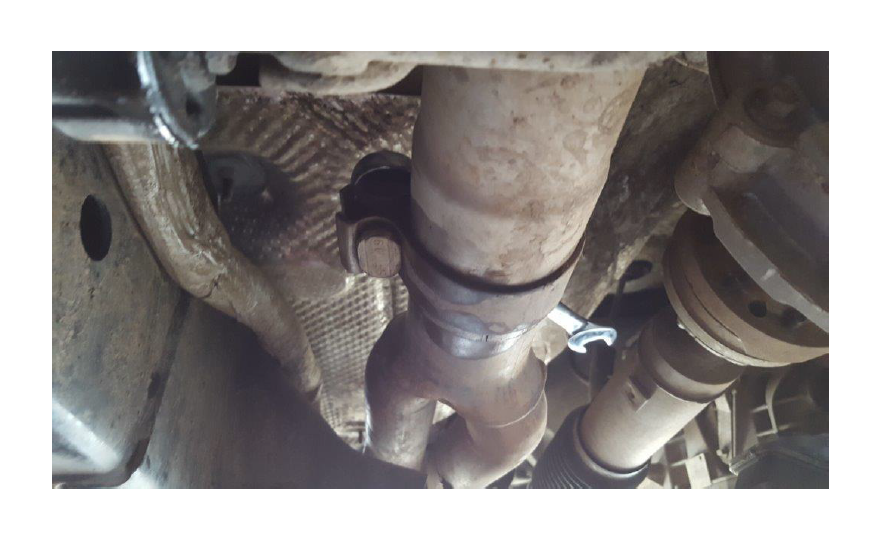
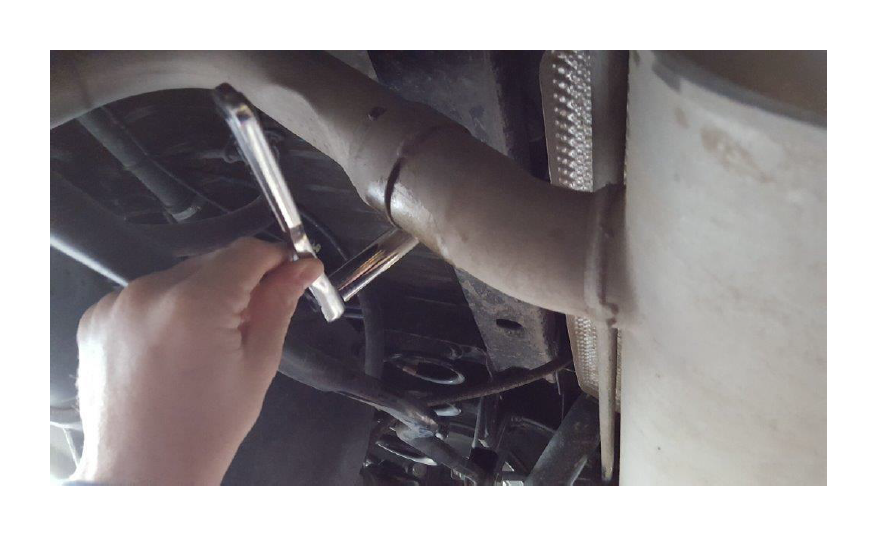
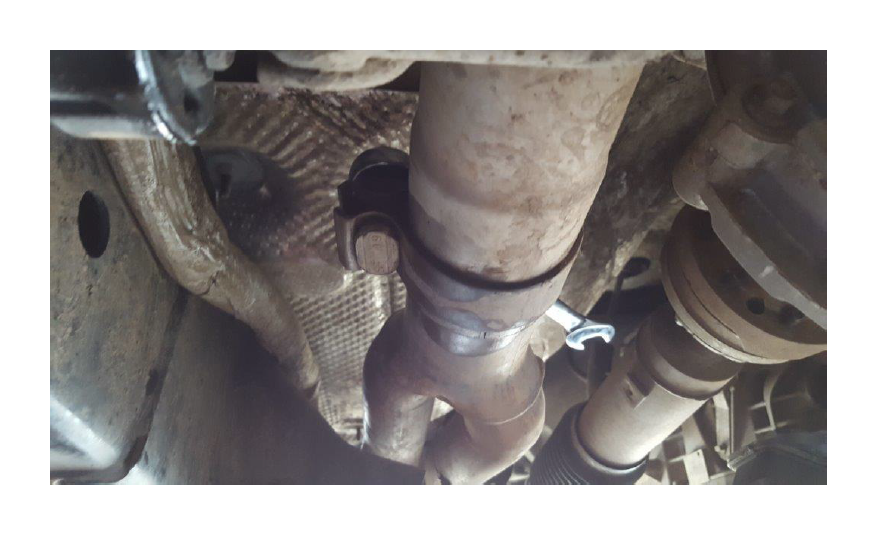
7. Now loosen the fastener attached to the Y pipe pictured below using a 15mm wrench. Then remove the last 2 rubber hangers. One pictured above, the other is just forward of the rear axle. Now remove the exhaust pipe from the Y pipe at the joint shown below.
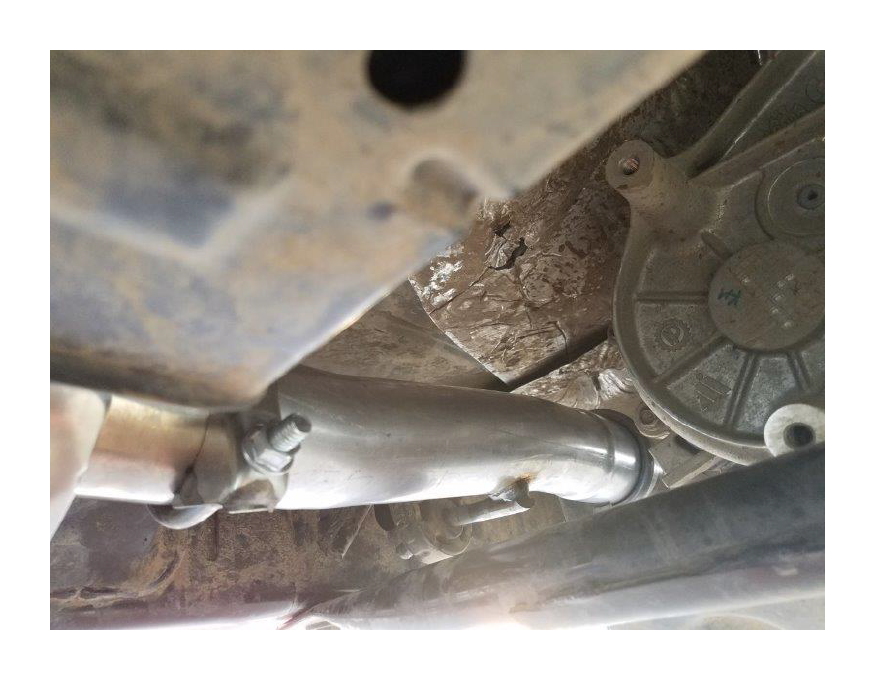
8. Now you are ready to install the new exhaust. Start from the front to the rear. Install the short extension pipe using the supplied 2 1/2” clamp. Attach it to the Y pipe as shown below, with the metal hanger facing the rubber hanger and with the bend angling the pipe slightly downward to make room for the muffler. Put the clamp in place but do not tighten yet, just leave it loose to allow for adjustment. I found it easiest to insert the metal into the rubber hanger before sliding this pipe onto the Y pipe.
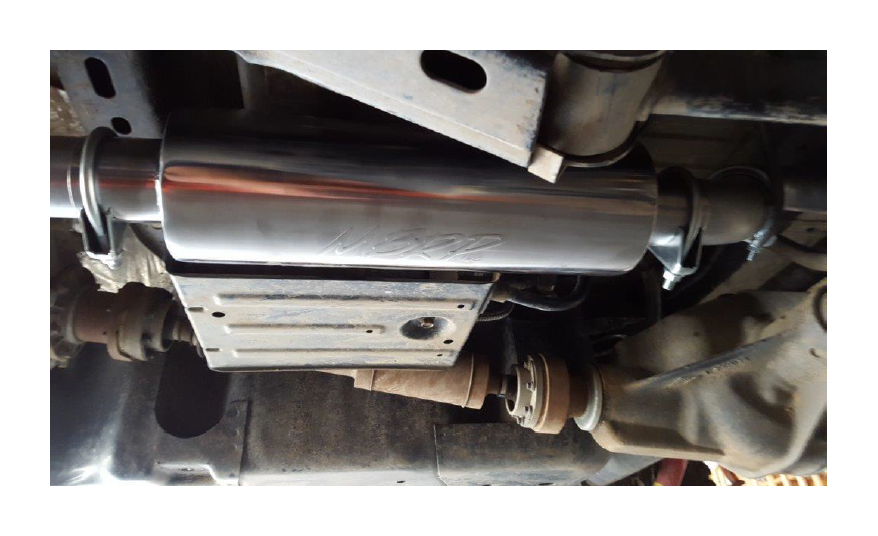
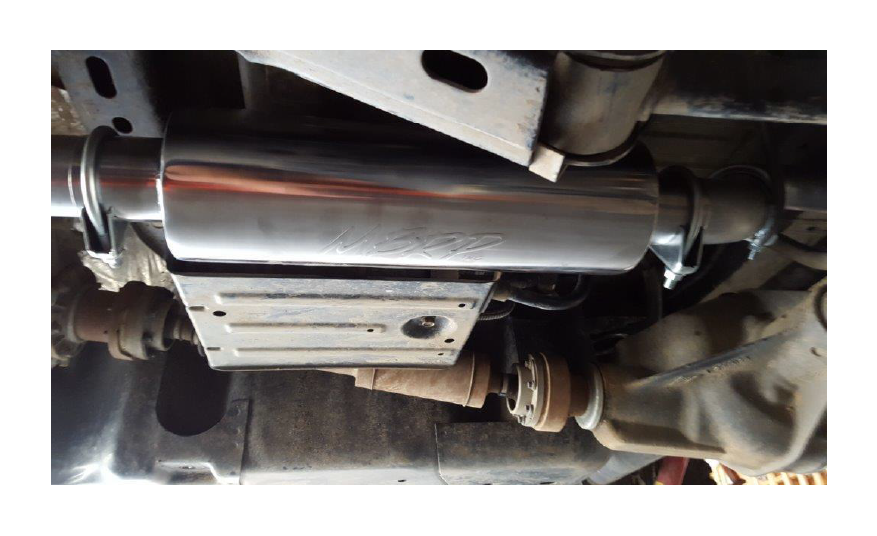
9. Now attach the muffler to the short extension pipe. Make sure to put the clamp in place before putting the muffler on. The muffler can face either direction, so put it however you think looks best. I chose to have the MBRP label showing.
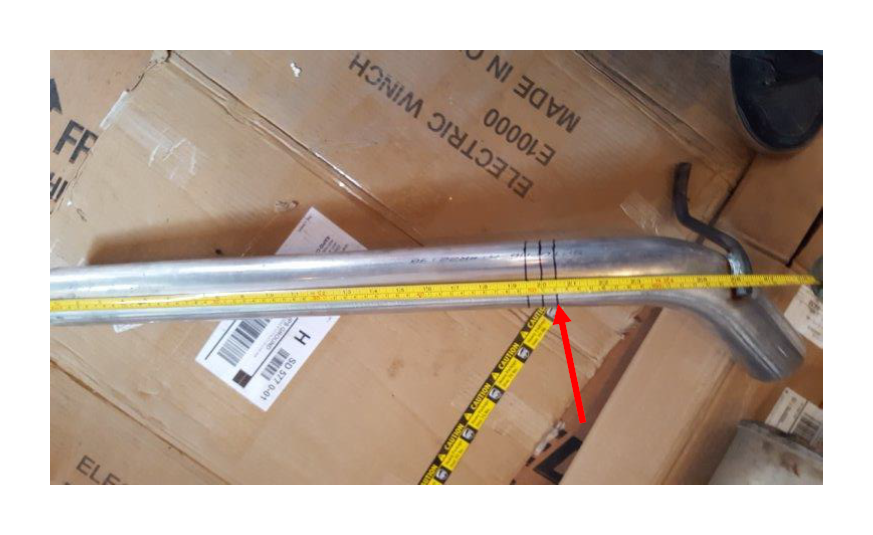
10. Steps 10-12 are only required for 2dr installation. Using a tape measure and sharpie, measure and mark 20 ½” on the over axle pipe. Make multiple marks around the pipe and draw the line all the way around. Note: Disregard the 3 lines I have drawn below, you only need to make one. I tried multiple lengths to find the best. 20 ½” is what MBRP recommends and it proved to be just right.
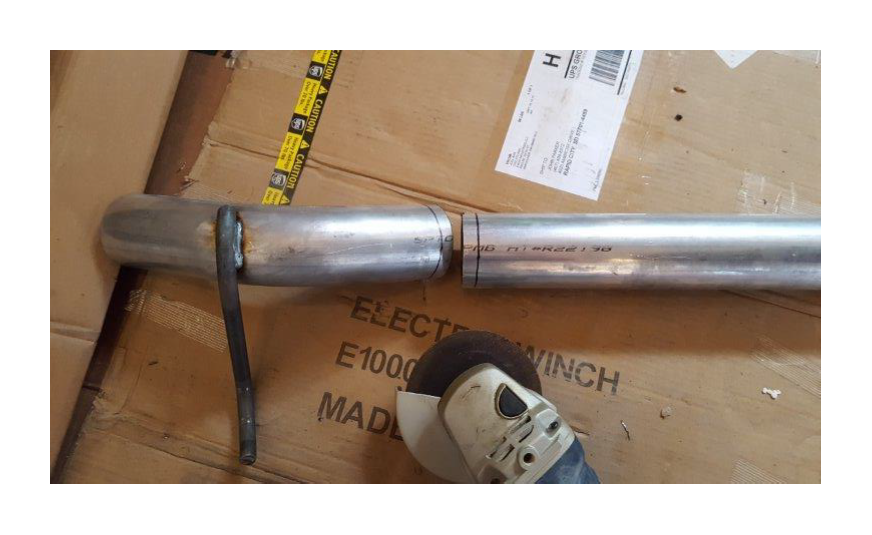
11. Using an angle grinder, cut the pipe along the line you marked. Make sure to wear gloves and safety glasses.
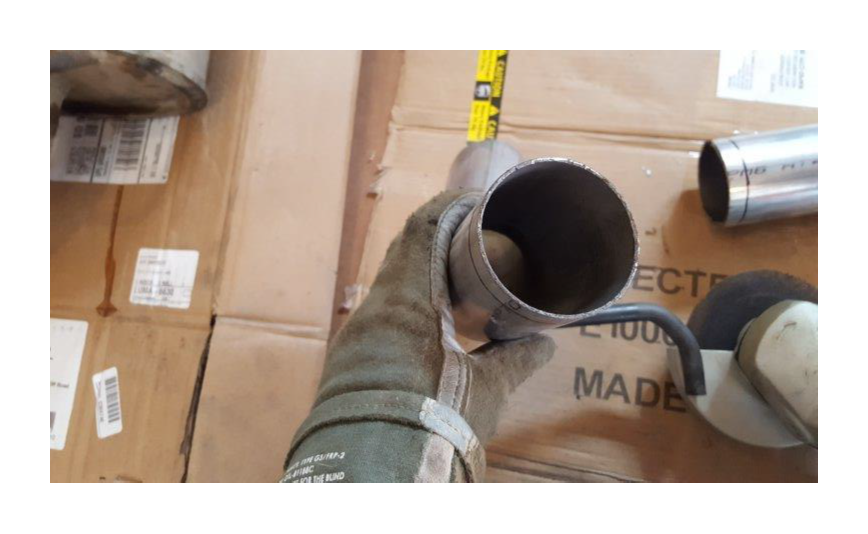
12. Make sure to clean up the cut as shown below. Metal left outside will make it difficult to install, and metal left inside will impede exhaust flow.
13. Insert the over axle pipe into the rear of the muffler as shown with the metal hanger facing the rubber hanger and with the clamp in place loosely. Make sure it is fully inserted into the muffler and is angled up over the axel.
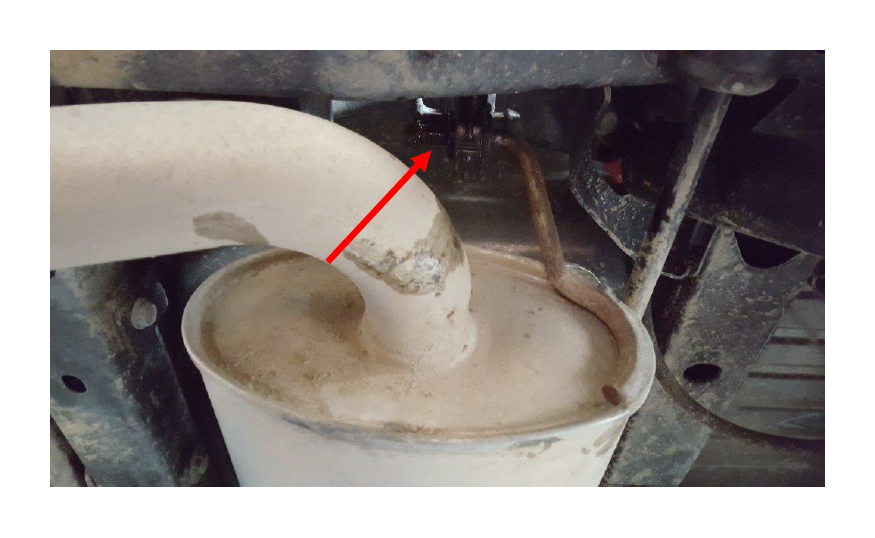
14. Next place the tail pipe over the axle as shown below. Place on the clamp and attach it to the over axle pipe as shown above. Attach the rubber hanger shown by the arrow below to hold the tailpipe in place.
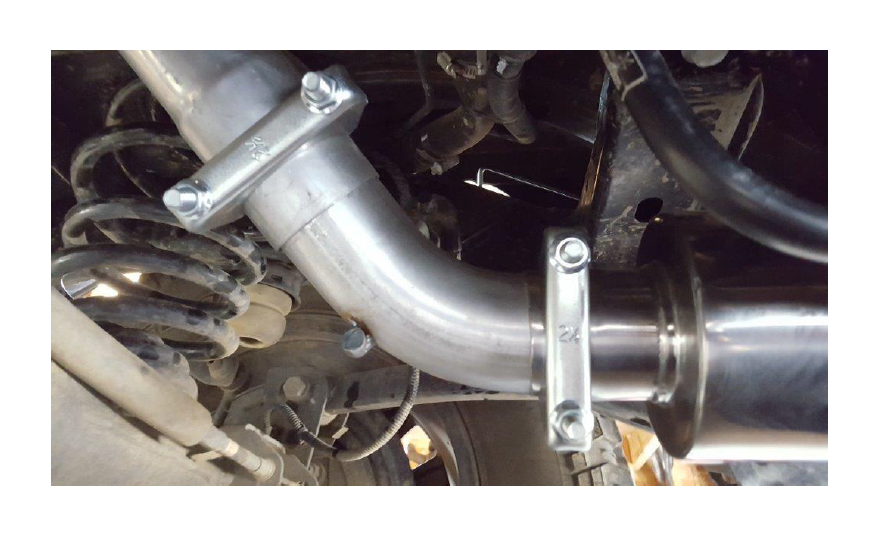
15. Before tightening any of the clamps you will need to adjust the exhaust pipes for proper positioning. Make sure all pipes are not touching any other parts. As shown below, the exhaust pipe can come close to the rear sway bar. You can give it a little more clearance from the sway bar by angling the over axle bend as shown above.
Make sure you adjust the pipes to give it the most clearance. Also turn the pipe to give the max clearance over the axle as shown above.
16. When all the pipes are aligned properly you can tighten all the clamps using a 14mm socket. I recommend turning the clamps to the side to maximize you’re clearance. You will need to make these clamps pretty tight to ensure a good seal at each joint.
17. Make sure you install all 3 rubber hangers to support the exhaust.
18. Then reinstall the skid plate using an 18mm socket. Torque to 48 ft lbs.
19. Last, crank her up and listen to her purr!