

How to Install Axial LED Tail Lights - Red Clear (07-18 Wrangler JK) on your Jeep Wrangler

Shop Parts in this Guide
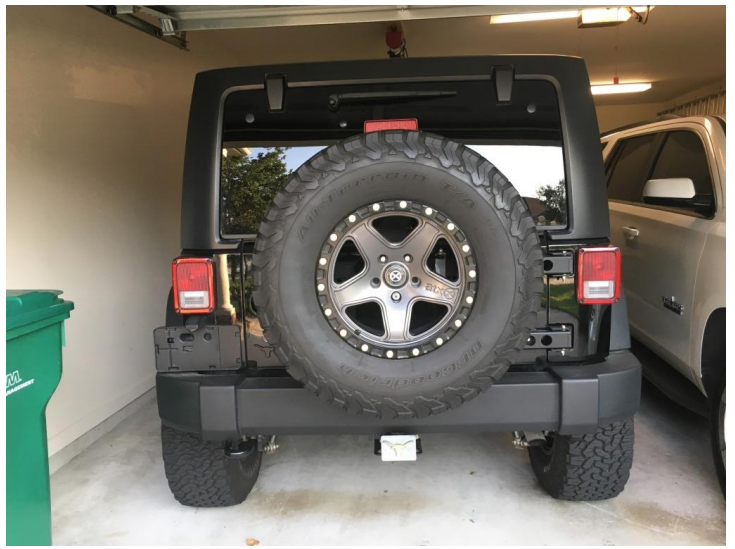
Factory/Before Picture
Installation Instructions
1. Using phillips head screwdriver, remove two inner screws (closest to spare tire) on driver’s side factory tail light.
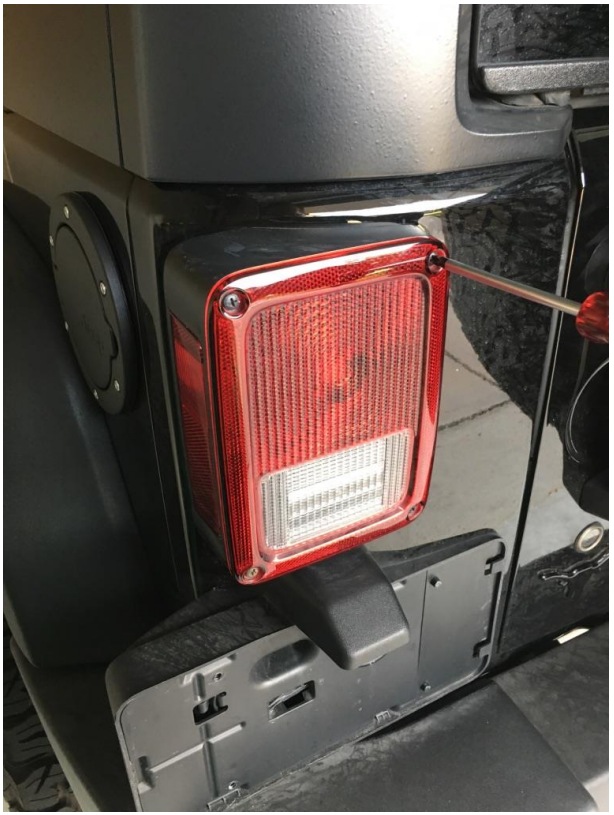
2. Set screws aside for installation of aftermarket taillight.
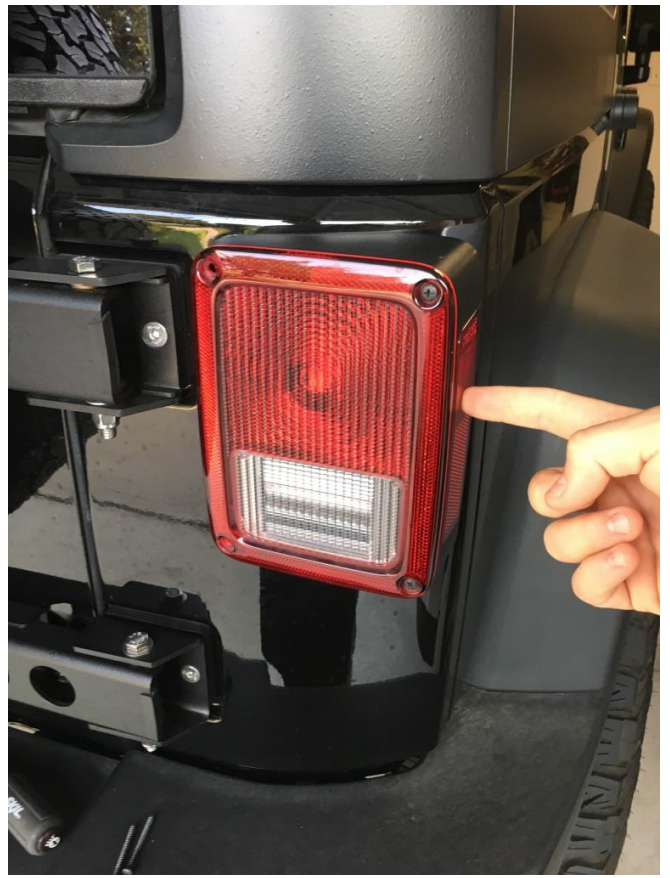
3. Unseat factory taillight from mounting position by pushing gently on the side of the tail light, toward the spare tire.
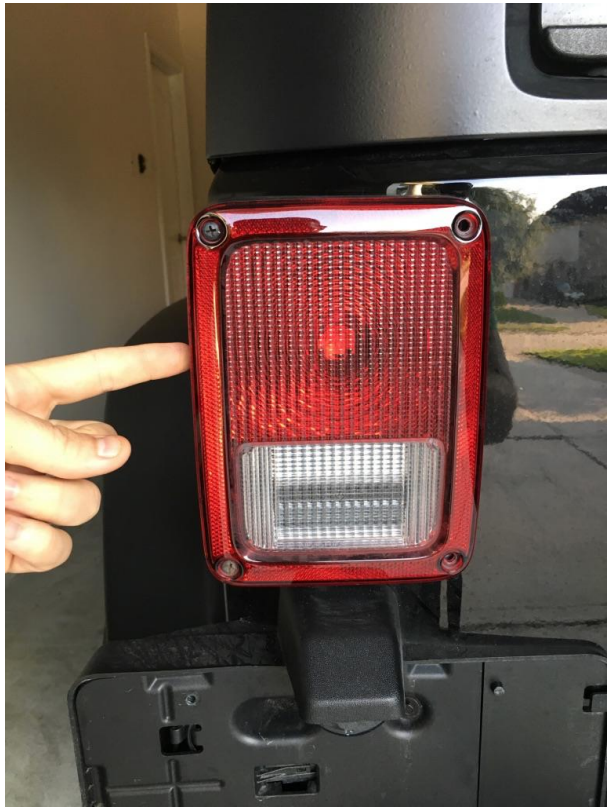
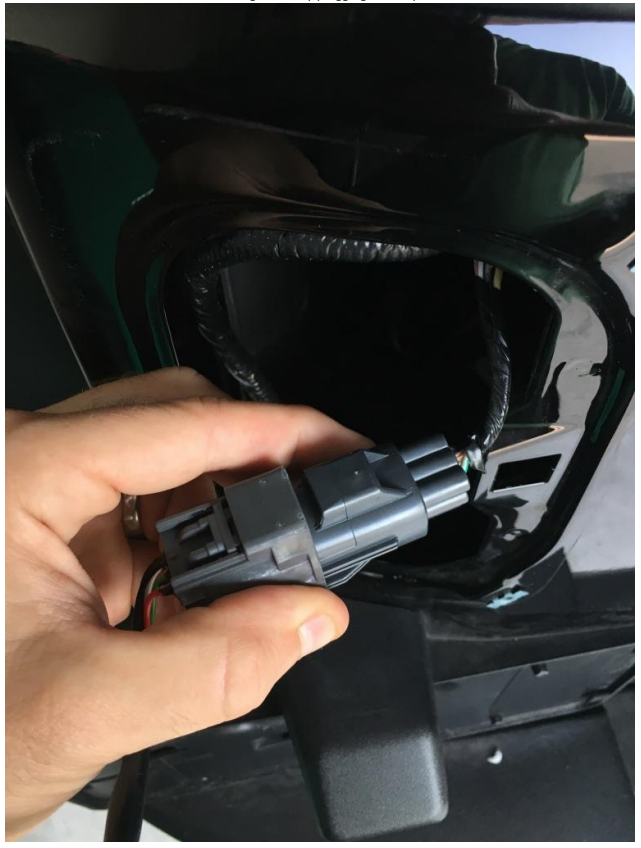
4. Remove the taillight from the mounting location and disconnect the quick-connect by depressing the tab (seen in the picture below) and pulling the two ends apart.
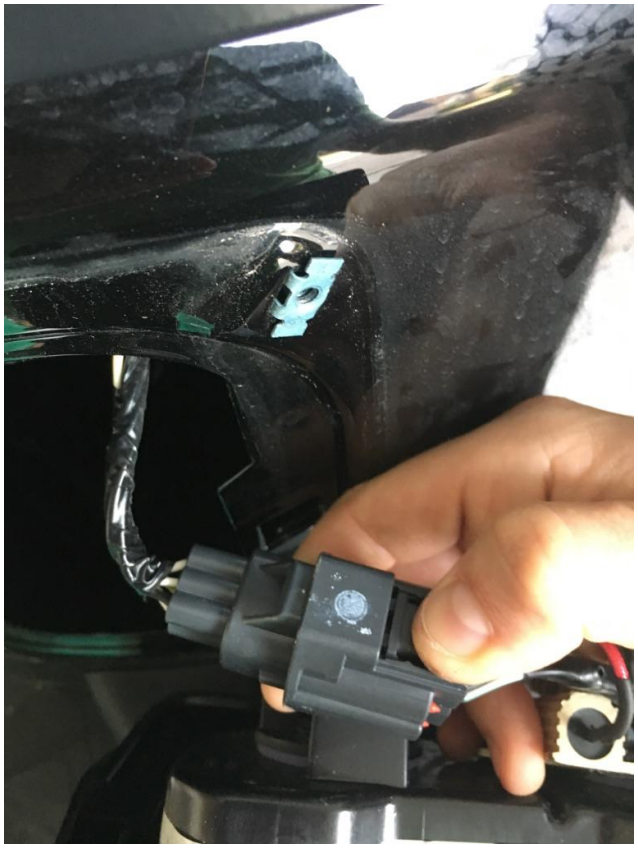
5. Clean the area behind where the factory tail light was mounted before installing the aftermarket tail light, if desired.
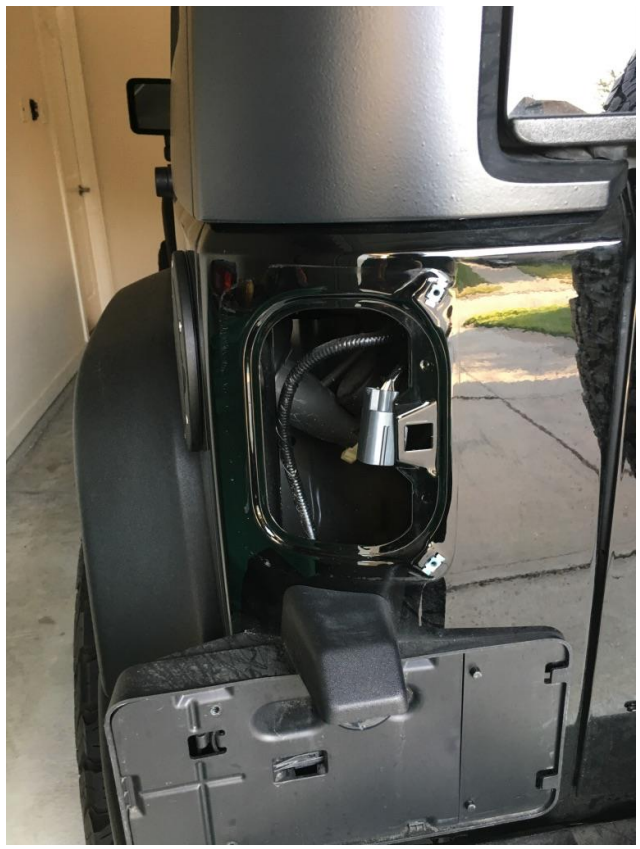
6. Remove the passenger’s side factory tail light using the same exact method described for the driver’s side taillight.
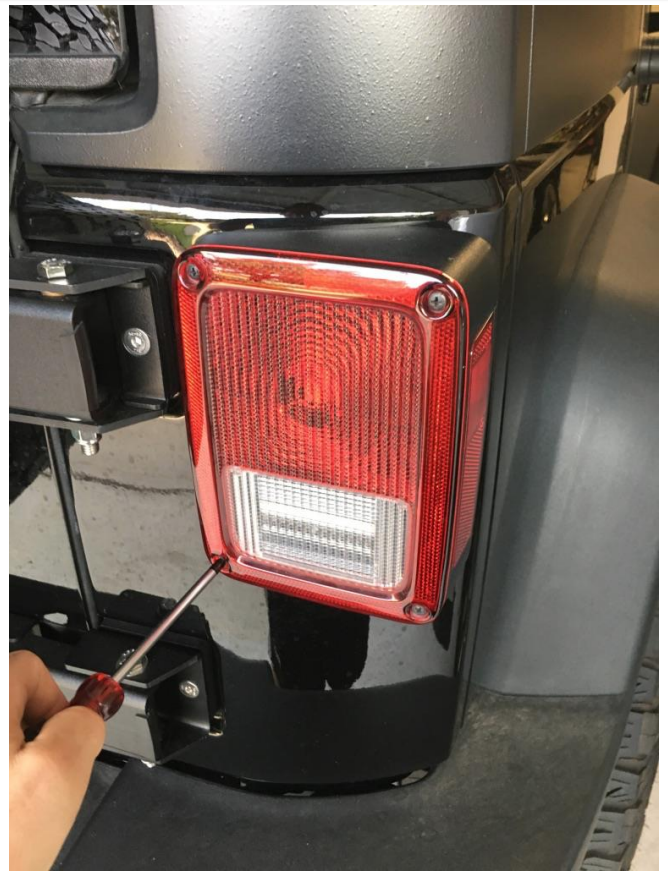
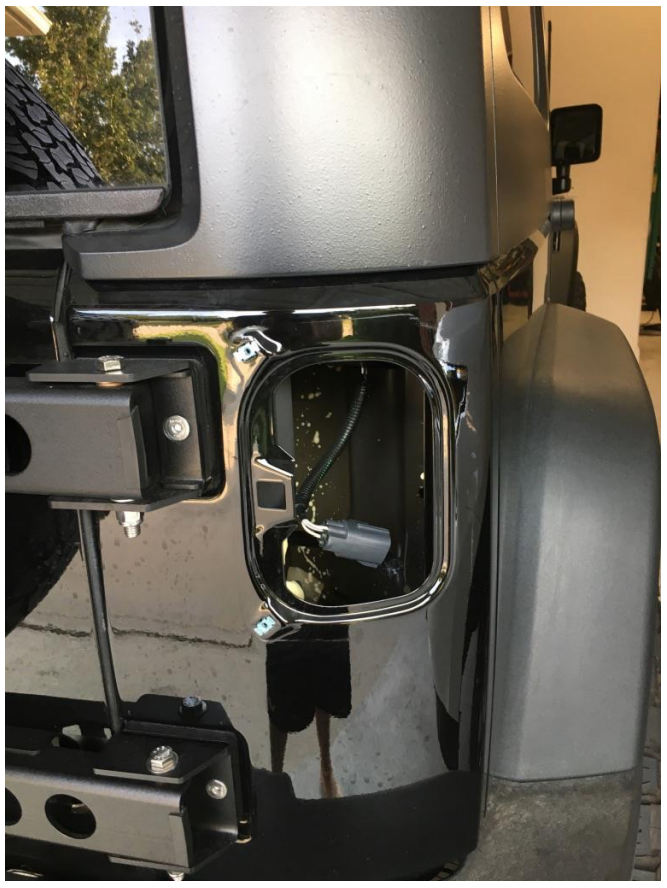
7. Install the driver’s side aftermarket tail light first by plugging in the quick-connect.
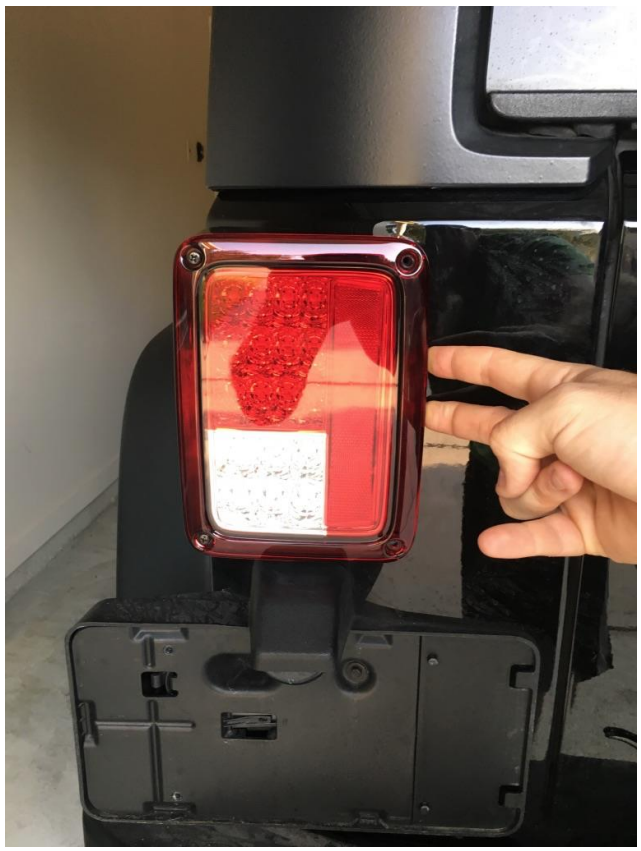
8. Install the tail light to the body by placing the tail light in the mounting location and locking into place by gently pushing the light away from the spare tire.
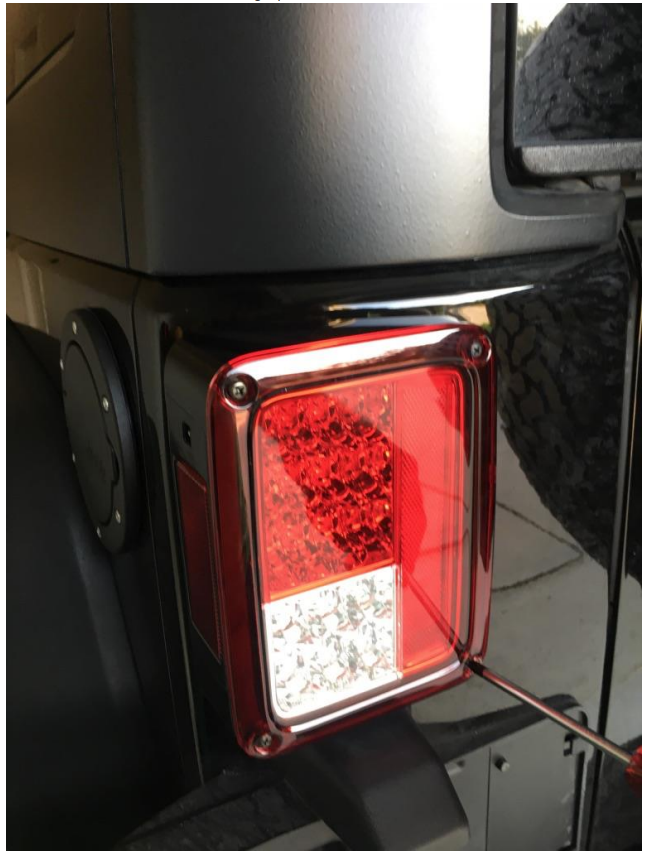
9. Use the phillips head screwdriver to install the screws removed from the factory tail light - do not overtighten the screws as this can crack the red tail light plastic.
10. Install the passenger’s side tail light using the same exact method described for the driver’s side taillight.
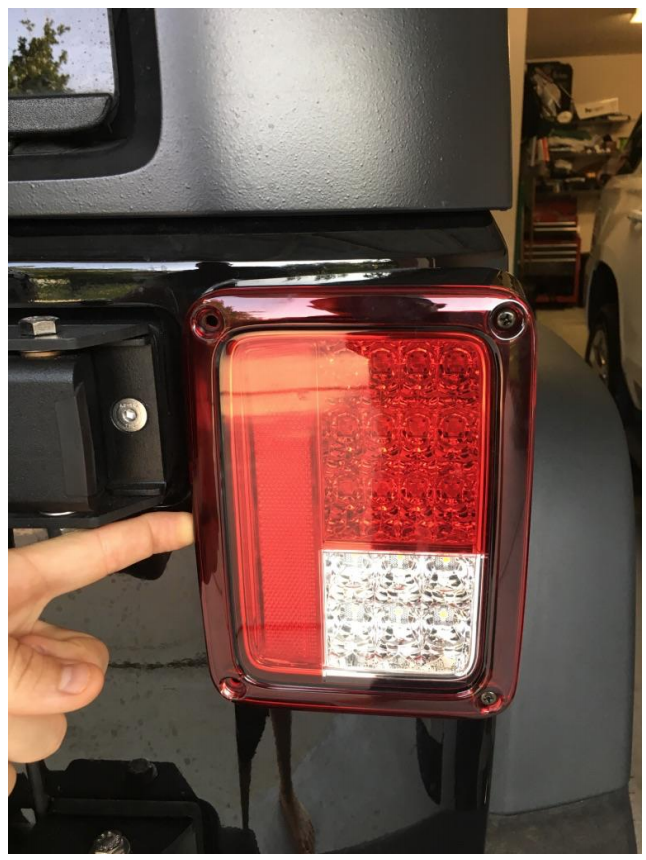
11. Test driving lights, turn signals, brake lights, and reverse lights to ensure that the tail lights are connected correctly.
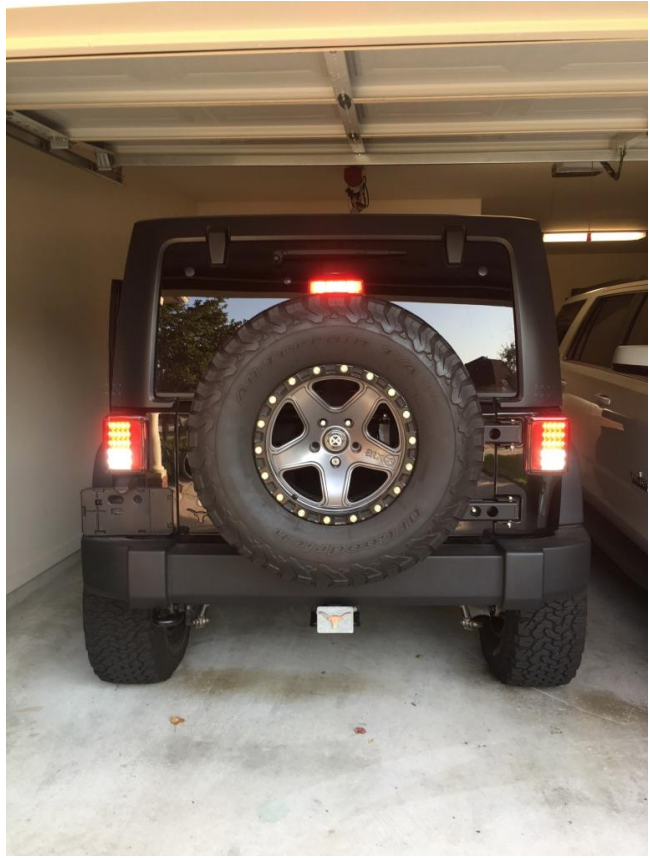
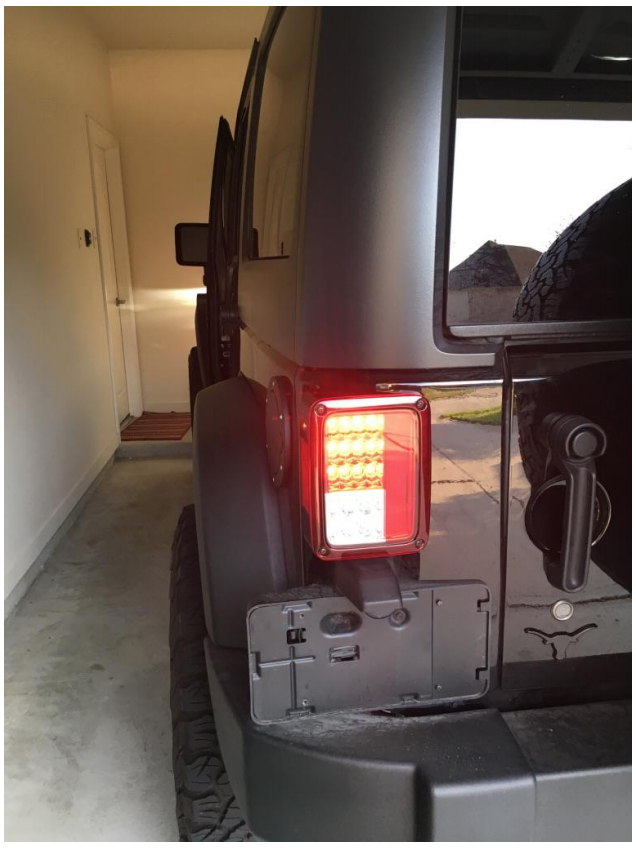
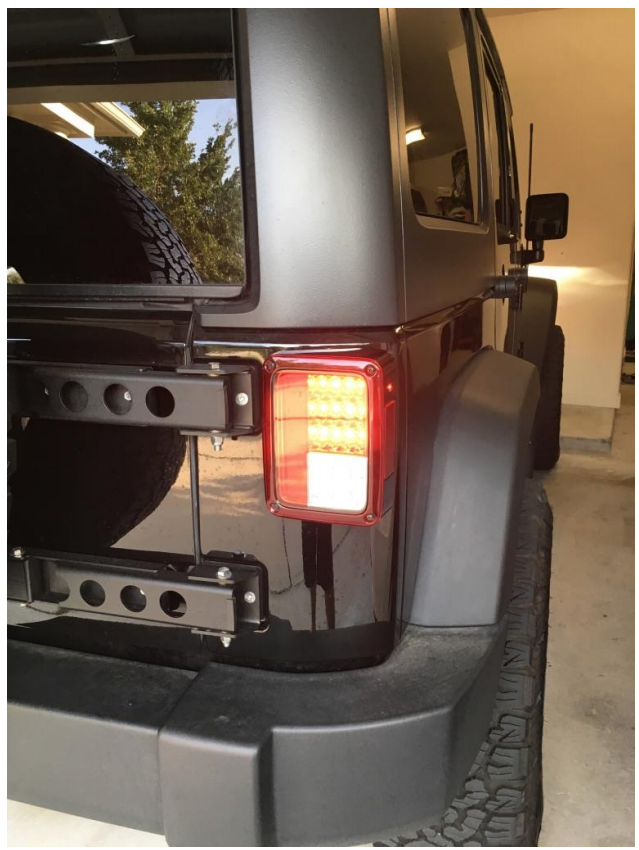
Installation Instructions Written by ExtremeTerrain Customer Brian Dunn 09/16/2017
