 FREE 1 to 3-Day Delivery on Orders $149+ Details

How to Install a KC Hilites LED Headlight - 7 Inch - On Your 2007-2015 Jeep Wrangler JK
There is no doubt that the factory Wrangler lights are horrible. So, there is no surprise that headlights are among the first modifications owners make to their Jeep. This article will provide the direction on how to replace your factory headlights.
1. Unlock and open the hood.
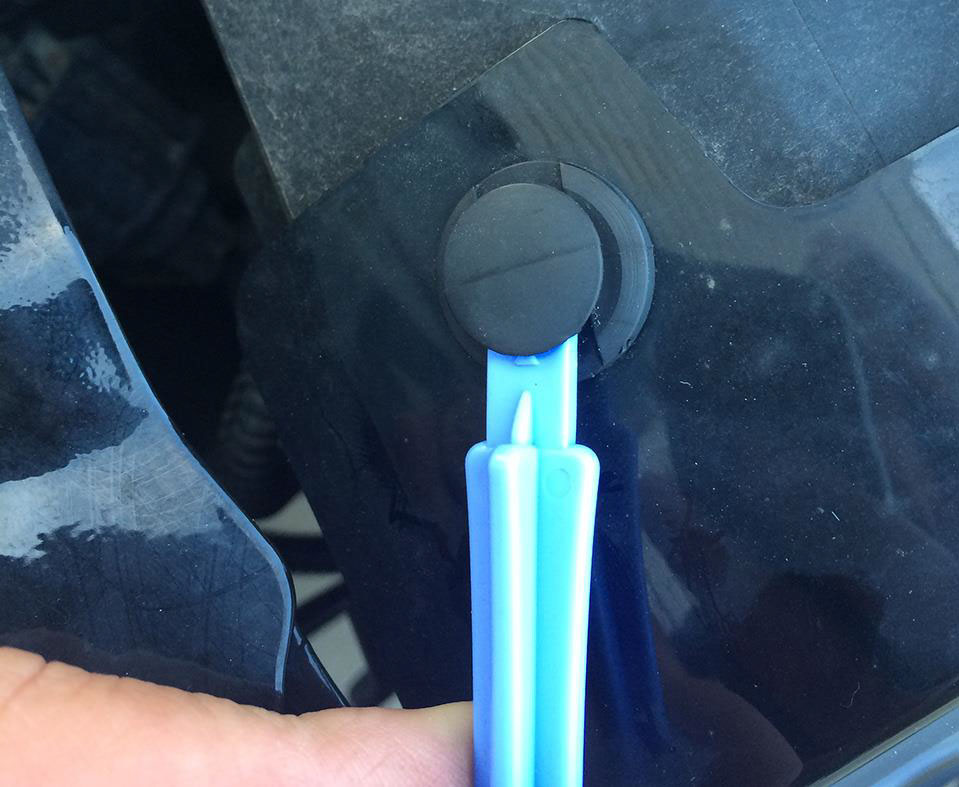
2. Once the hood is open you need to remove the 6 circular plastic fasteners along the top of the grill. You can use a flat head screwdriver to pry them up but that might damage the lips of the fastener. I used a small plastic tool instead.
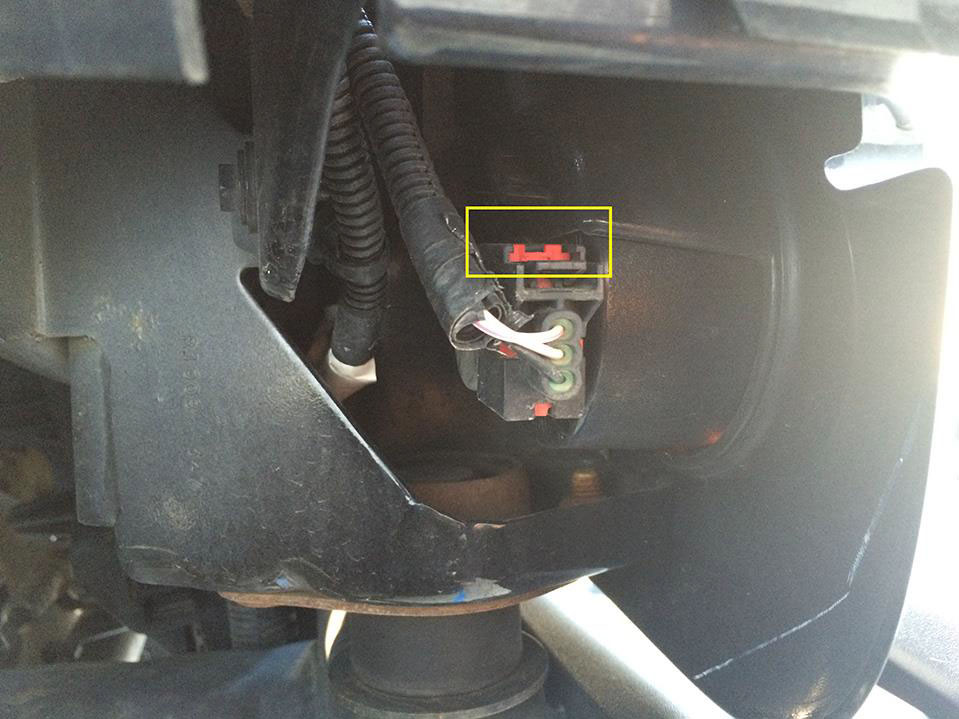
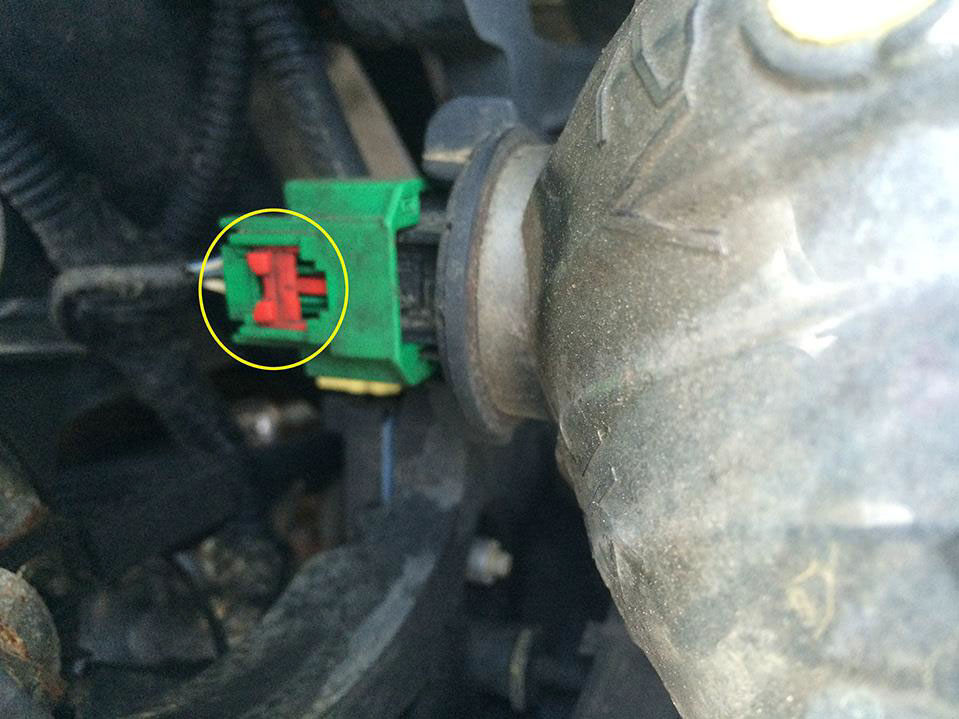
3. Next, unplug the harness from the turn signals. The harness has a red locking clip that needs to be snapped back in order to press down on the tab and remove the plug.
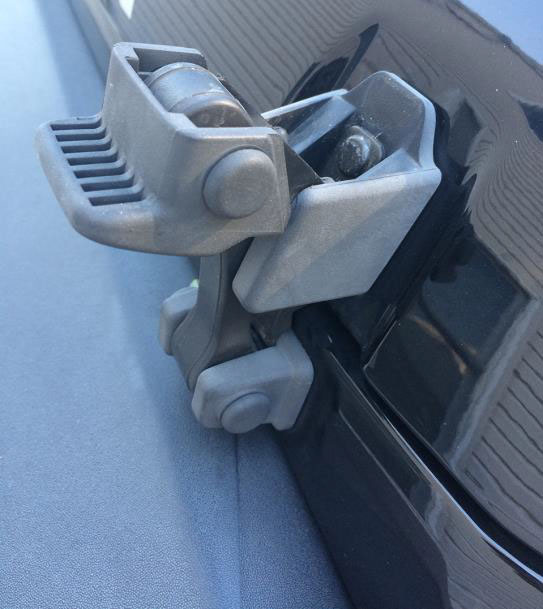
4. Once all 6 plastic fasteners are removed and the turn signals unplugged, you can start prying the grill off. The bottom of the grill has 4 clips and there are 2 additional clips, one on each turn signal. These clips just pop out.

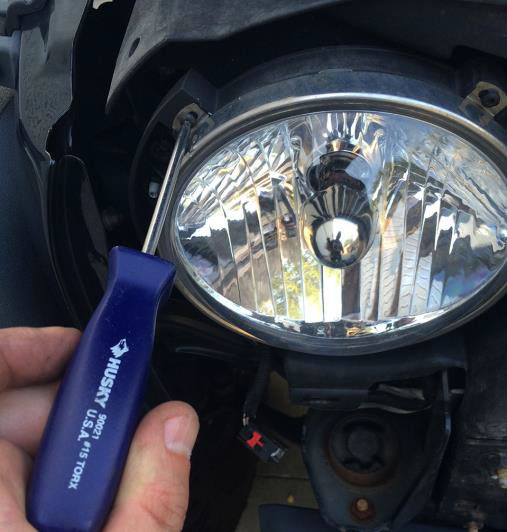
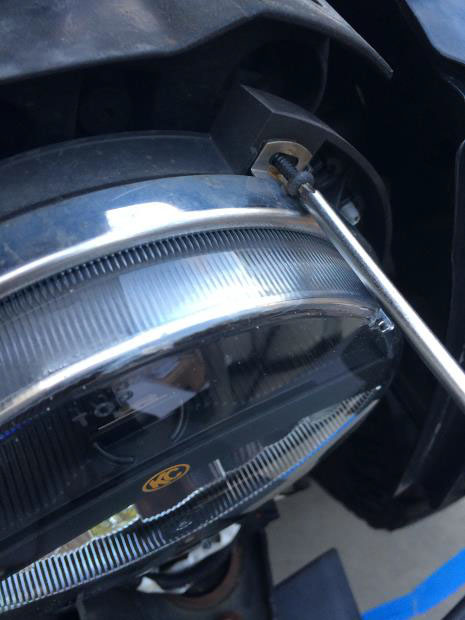
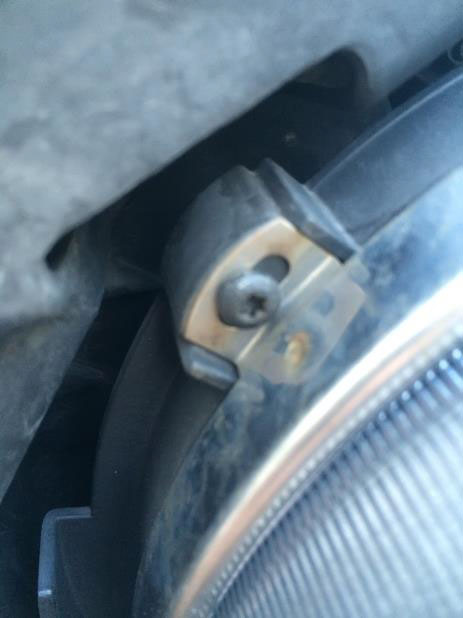
5. Next, you need to remove the 4 – T15 torx screws that hold the ring securing the headlight in place.
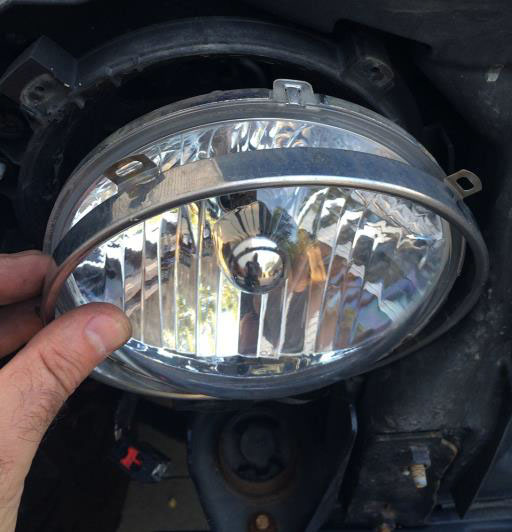
6. Once the ring is removed the headlight will fall out, make sure that you are holding it as you remove the last screw securing the ring. With the headlight out, unplug it by first clicking back on the red locking clip and then pushing down on the tab to remove the plug from the headlight.
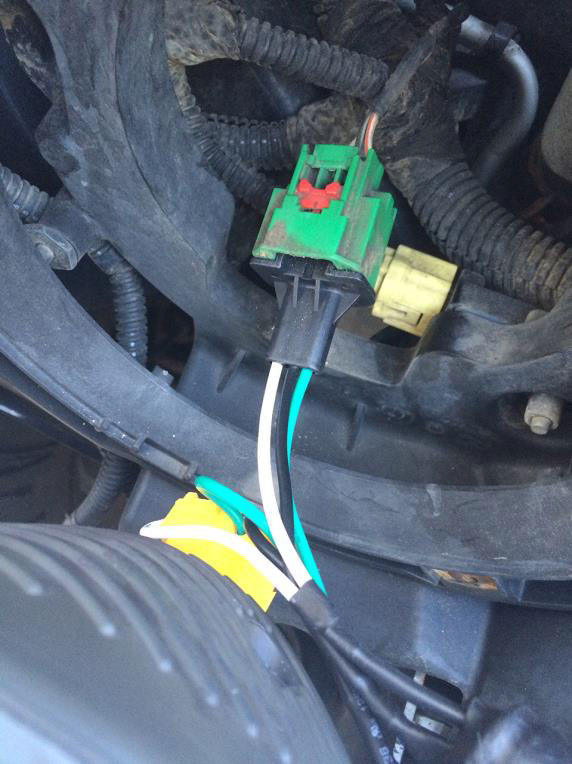
7. Next, plug your new light in and lock it with the red clip. These headlights came with an adapter harness that converts the wiring, so in this case the harness is plugged into the factory harness.
8. Secure new headlights in place with the headlight rings. Note, the tabs on the rings should fall squarely in place between the notches of the headlight mount.
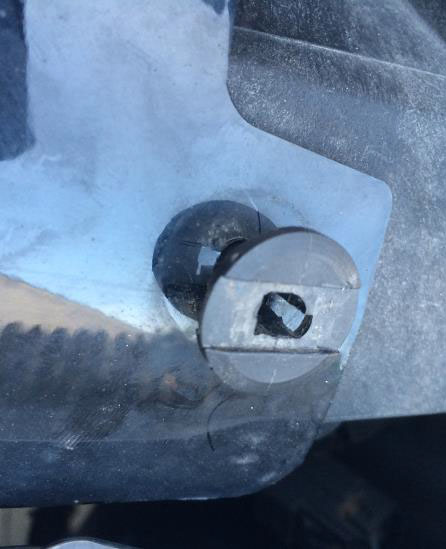
9. Once both headlights are mounted, test that they work properly. If everything is working, snap the grill back on. First putting pressure on the lower clips, securing them into place and then using the plastic fasteners along the top. To secure the plastic fasteners, first insert the base of the fastener, followed by the circular post. Note the stem of the circular post has a square edge that needs to line up with the groove on the fastener. These can only go on one way, so if its not sliding into position just turn the post until it lines up properly.

10. Once all 6 top fasteners are secure, plug the turn signals back in and secure the red locking tab, followed by closing and locking the hood. The install is now complete.
Installation Instructions Written by ExtremeTerrain Customer Lou Orellana 8/4/2015
