FREE 1 to 3-Day Delivery on Orders $149+ Details

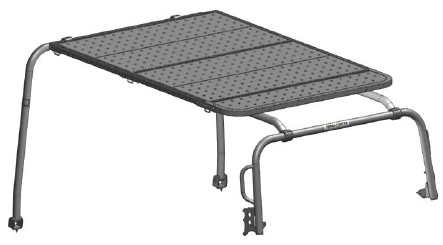
How to Install Kargo Master Mod-Rak EXP System (07-17 Wrangler JK 4 Door) on your Jeep Wrangler
Step 1
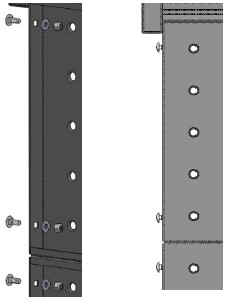
Bolt end panel to end tube using three 5/16" x 2" button head cap screws, six 5/16" flat washers and three 5/16" NYLOC nuts.
Insert end caps into both ends of bent tube.
Set assembly to the side

Step 2
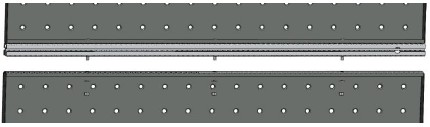
Slide three 5/16" carriage bolts on opposite sides of each other on the 52.5" extrusion.
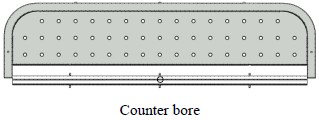
Do not slide carriage bolts in the side with the counter bore on face.
Repeat for a total of 2 of these extrusion with bolt assemblies.
On the remaining extrusion, place carriage bolts only on one side.

Step 3
Use extrusion (2) and bolt end panel assembly using three 5/16" flat washers and three 5/16" NYLOC nuts .
The counter bore on the extrusion faced towards the bottom of the platform.
**Set assembly to the side**
Step 4
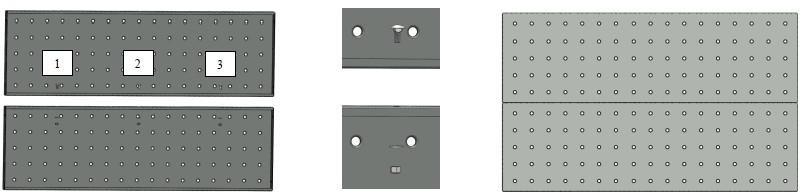
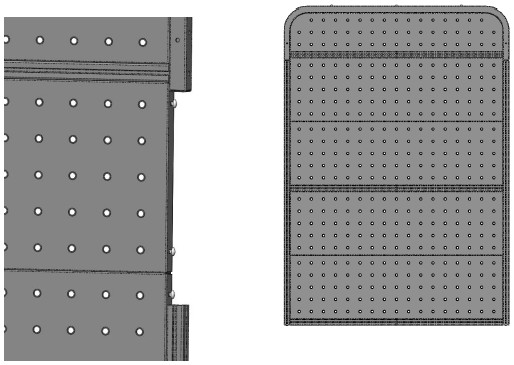
Bolt mid panels (55075-00-001) together using three 5/16" carriage bolts, three 5/16" flat washers and three 5/16" NYLOC nuts.
Repeat and make two of these assemblies and set to the side.
Step 5
Bolt mid panel assemble to the other side of 52.5" extrusion built in step 3 using three 5/16" flat washers and three 5/16" NYLOC nuts.
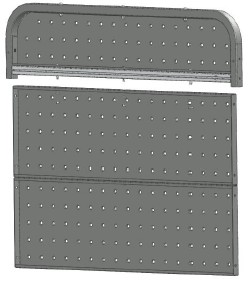
Step 6
Bolt another 52.5" extrusion (2) with carriage bolts to the other side of the mid panel assembly using three 5/16" flat washers and three 5/16" NYLOC nuts.
Step 7
Bolt the remaining mid panel assembly to the other side of the previously installed 52.5" extrusion using three 5/16" flat washers and three 5/16" NYLOC nuts.
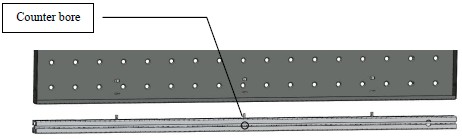
Step 8
Bolt the remaining 52.5" extrusion (1) to the open end of the mid panel assembly using three 5/16" carriage bolts, three 5/16" flat washers and three 5/16" NYLOC nuts.
Be sure to have the counter bore hole facing away from the perforations on the panels.
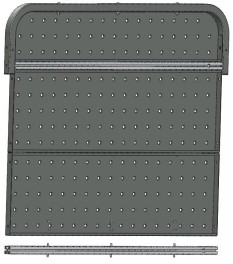
Step 9
Bolt eight 5/16" carriage bolts into each side of the 4 panels. Be sure to have the
washers and NYLOC nuts on the underside of the panels with the head of the carriage
bolt facing outwards.
Step 10
Slide 65" extrusion up the length of the panels, picking up each of the 8 carriage bolts installed in previous step.
Step 11
Place platform assembly so it is resting on the perforated panels.
On each 65" extrusion, slide five 5/16" x 3/4" carriage bolts into the extruded slot that is facing upwards.
Slide one end feed fastener in the extruded slot on the outside of each 65" extrusion.
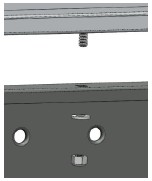
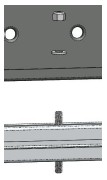
On each 52.5" extrusion, two 5/16" x 3/4" carriage bolts to each side of the hole in the center. (see picture for approximate carriage bolt locations)

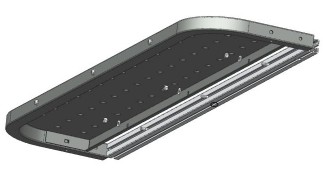
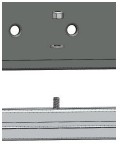
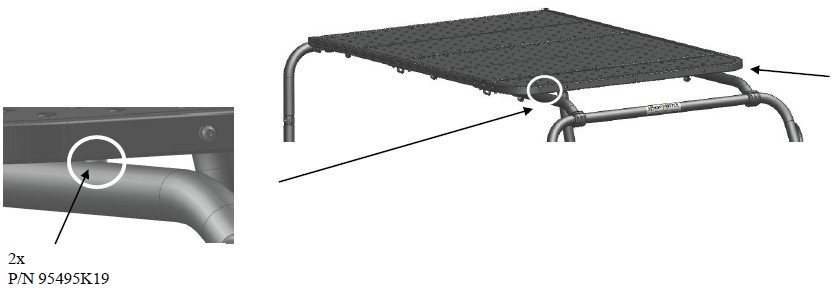
Step 12
In the front of the platform, place Front Support BRK (55075-11) to connect the front hoop(55075-00-003), 65"extrusion (55075-00-005) and 52.5" extrusion (55075-00-004). This bracket will pick up previously placed carriage bolts in the extrusions.
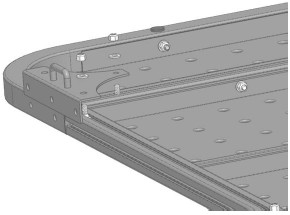
Bolt through 55075-11 and 55075-00-003 into 55075-004 using a 5/16"-18 x 2-1/4" button head, one 5/16" lock washer and one 5/16" flat washer.
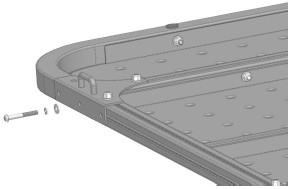
Bolt through 55075-11 and 55075-00-003 using a 5/16"-18 x 2-1/4" button head, two 5/16" flat washers and one 5/16" NYLOC nut. Do this in both holes as shown in picture.
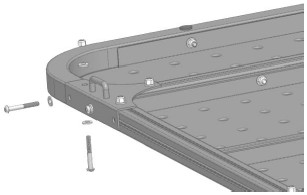
Slide end feed fastener down to the remaining hole in the support bracket. Bolt 55075-11 to the 65" extrusion using 5/16"-18 x 3/4" Button head, one 5/16" lock washer and one 5/16" flat washer. Bolt into the end feed fastener. (see picture)
**REPEAT ON BOTH SIDES
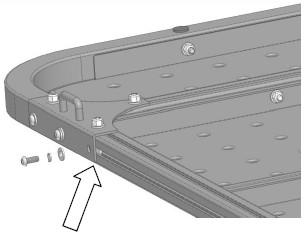
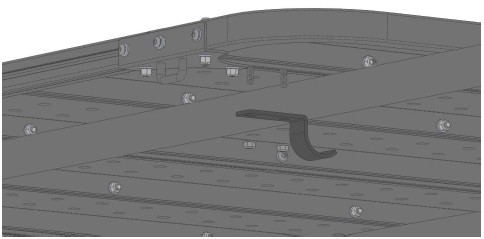
Step 13
In the middle of the platform install mid support (55075-12) using three 5/16" carriage bolts, three 5/16" flat washers and three 5/16" NYLOC nuts.
Repeat on both sides
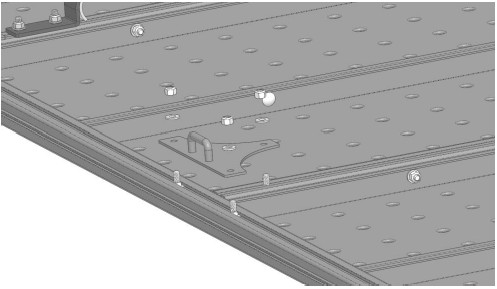
Step 14
In both rear corners bolt corner support (55075-13) to extrusions using three 5/16" carriage bolts, three 5/16" flat washers and three 5/16" NYLOC nuts.
Step 15
Bolt end caps to open end of extrusions using a 5/16" x 3/4" Button Head Cap Screw
Step 16
Align and square all peices on platform. TIGHTEN all bolts at this point.
Step 17
On the underside of the platform, slide two 5/16"-18 x 1" carriage bolts to each side of access hole on all three 52.5" extrusion.
Place platform on top of JEEP roof rails. Center on JEEP and determine how far front to back you would like the platform.
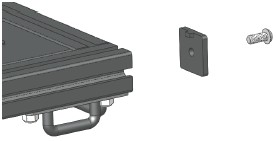
Step 18
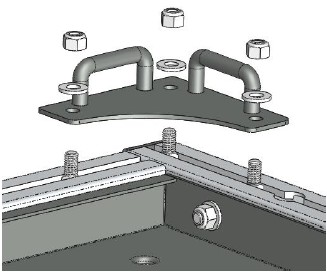
Apply bumper to front tube where it sits along the roof rails.
Step 19
Depending on the width of the roof rails installed on JEEP will determine the orientation of the mounting brackets.
If the roof rails are less than 36" apart, the mounting of the platform will be more convenient.
Bolt mounting bracket (60310-00-001) to roof rail using the carriage bolts installed in step 17 and two 5/16"-18 flanged NYLOC nuts.
Repeat on each 52.5" extrusion.
*snug tighten until all 6 brackets are installed*
**If your roof rails are farther apart than 36", the mounting brackets must be flipped and bolted on the inside of the roof rails.
Step 20
Align and center platform to your liking. Tighten all 12 NYLOC nuts to secure mounting brackets and platform to roof rails.
YOUR INSTALLATION IS NOW COMPLETE