 FREE 1 to 3-Day Delivery on Orders $149+ Details

How to Install Jeep Tops USA Headliner, 4-Door - Black on your Wrangler
Installation Time
15 minutes
Tools Required
- Scissors (optional)
- Rubbing alcohol and paper towels or a clean cloth (optional)
- Socket Wrench with a 10mm socket (recommended)

Shop Parts in this Guide
Pre-Install Notes:
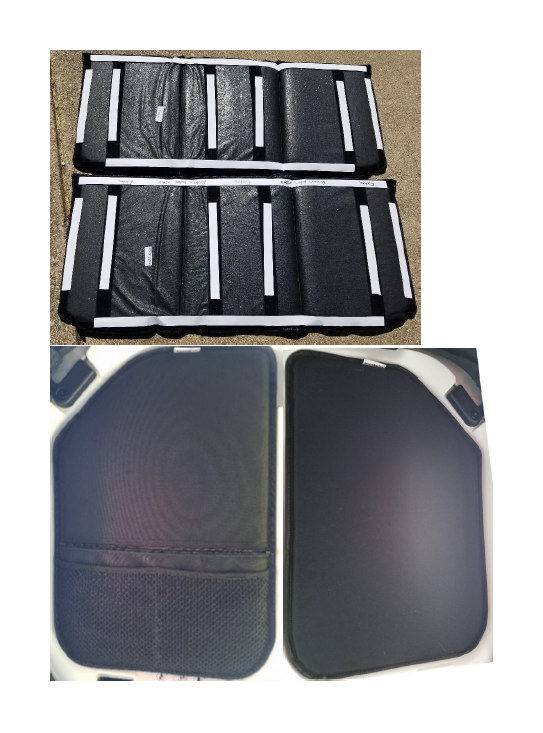
The middle (backseat) and back (cargo) pieces are roughly identical (and should be labeled), but an easy way to tell the difference is that the middle piece will have one strip of Velcro labeled as extra.

Installation Instructions:
1. Check and ensure all hardware is accounted for.
The kit includes four pieces. Two for the front T-Tops, a middle (backseat), and a back (cargo) piece. The driver’s side T-Top has pockets; the passenger side does not. The middle (backseat) and back (cargo) pieces should be labeled, but my labels were falling off, however they should be roughly identical.
2. To begin the installation you need to clean the surface of the hardtop thoroughly so that the adhesive on the Velcro will stick. You can use the provided wipes, or you can use rubbing alcohol to really clean them and then use the wipes to make sure that they are dry.
[Note: The wipes are a very high concentrate and dry quickly which is why I recommend using rubbing alcohol first]
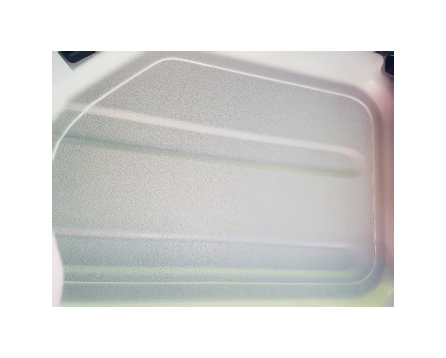
3. The next step is to align where the Velcro will adhere to the hard top. I did this by holding the different pieces up and then making note of which ridges it aligned with.

4. Once you get all of the Velcro in place on the hardtop the adhesive needs at least 30 minutes to cure before you install the headliners themselves.
[Optional: Cut the extra Velcro to hold the back (cargo) and middle (backseat) pieces in place better]
5. After waiting at least 30 minutes you can install the headliners. The back (cargo) piece and the two T-Top pieces are very easy to install. However, I would recommend removing (at least partially) the sound bar above the backseat to make the installation of that piece easier. The reason for this is so that you can easily put the headliner in place behind the speaker bar.
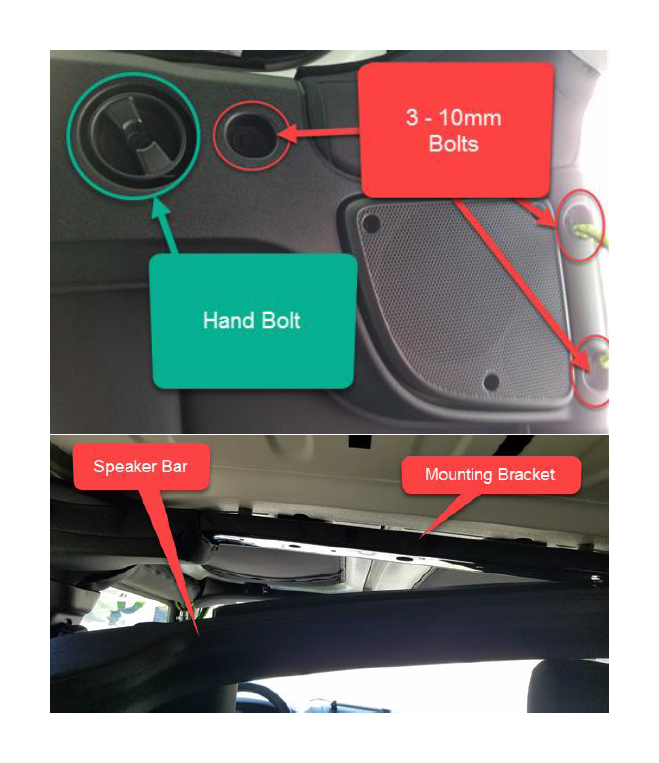
6. To remove Speaker Bar you have to remove the hand bolt that holds the T-Tops on as well as 6 10mm bolts 3 bolts per side as indicated in the below picture.
To put the bar back in place I found it easier to put the hand bolts in first and then put in the 6 10mm bolts.
[NOTE: The connecting wires for the speaker bar are on the passenger side so be careful if fully removing the bar; as you can see in the second picture I only removed the driver’s side and loosened the passenger side so that the bar was still attached]
7. Lastly make sure that each piece has been firmly pushed in place so that they don’t fall while operating the vehicle.
Before:
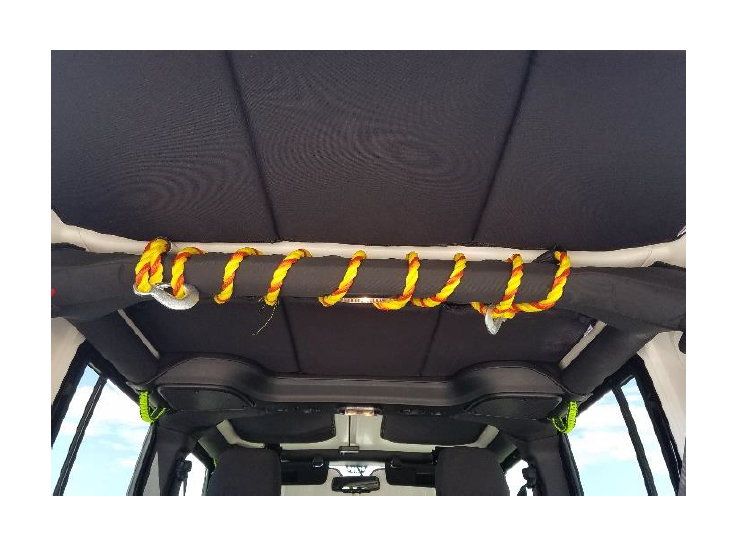
After:

Installation Instructions Written by Extreme Terrain Customer James Freiheit 11/22/2016

