 FREE 1 to 3-Day Delivery on Orders $149+ Details

How to Install Engo 10,000 lb. 12 Volt Electric Winch on your Wrangler
Installation Time
30 minutes
Tools Required
- Sockets: 10mm, 14mm, 16mm, 18mm, 19mm
- Socket Wrench
- Phillips Screwdriver
- Torque Wrench
- Metal Coat Hanger
- Cable Ties (Optional but recommended)
Installation Instructions:
1. First mount the solenoid box on the top of the winch. Start by loosening the 2 Philips screws on the back of the solenoid mounting brackets. Then hook the front of the brackets on the top front bar of the winch.
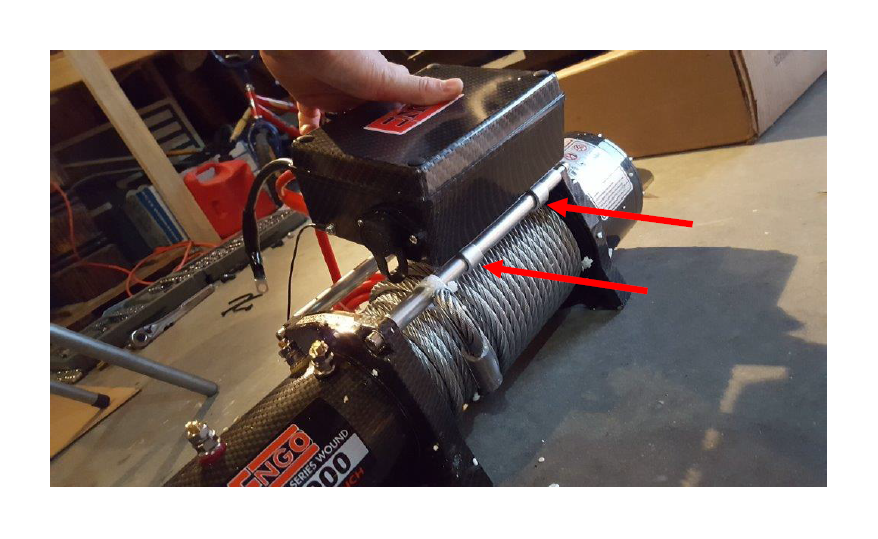
2. Next lower the back of the brackets onto the back winch bar. Now you can align the solenoid box where you’d like it on the winch. I found you will need the box to be centered or slightly left of center so the cables will reach the winch terminals. Tighten the 2 Phillips screws on the solenoid mount brackets. Be careful not to overtighten.
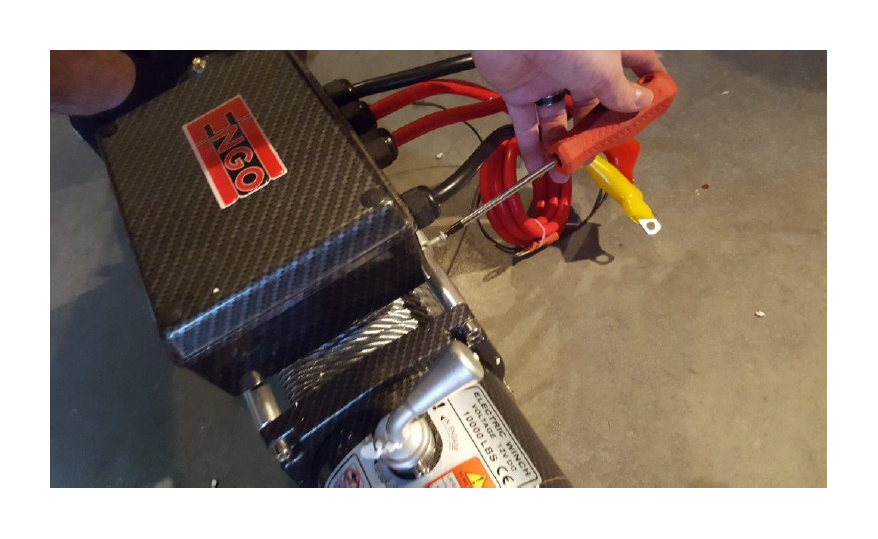
3. Now you will connect all the solenoid cables to the winch. Start with the short black cable with the yellow sleeve. Attach it to the terminal with the Yellow base. Make sure the lock washer is on top of the cable as shown. Snug the bolt but do not tighten yet.
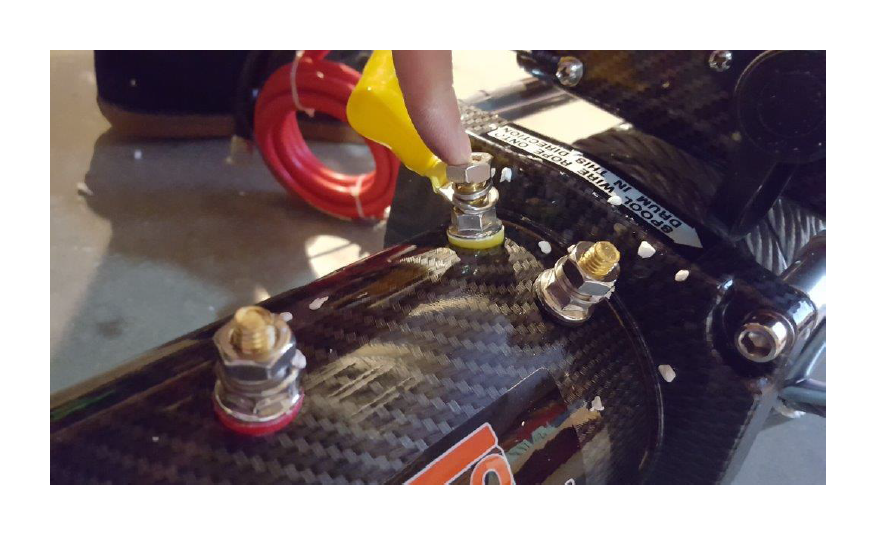
4. Attach the short black cable with black sleeve to the terminal with the black base. Snug but do not tighten.
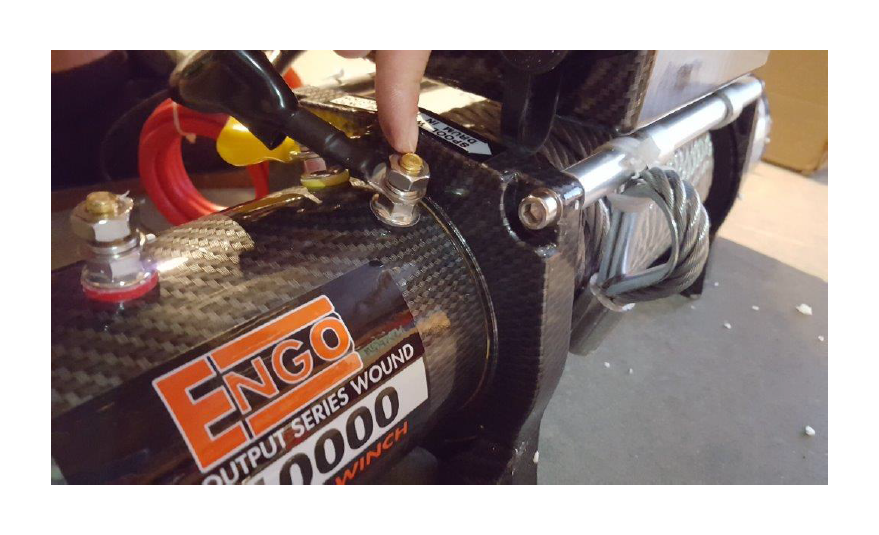
5. Attach the short red cable to the terminal with the red base.
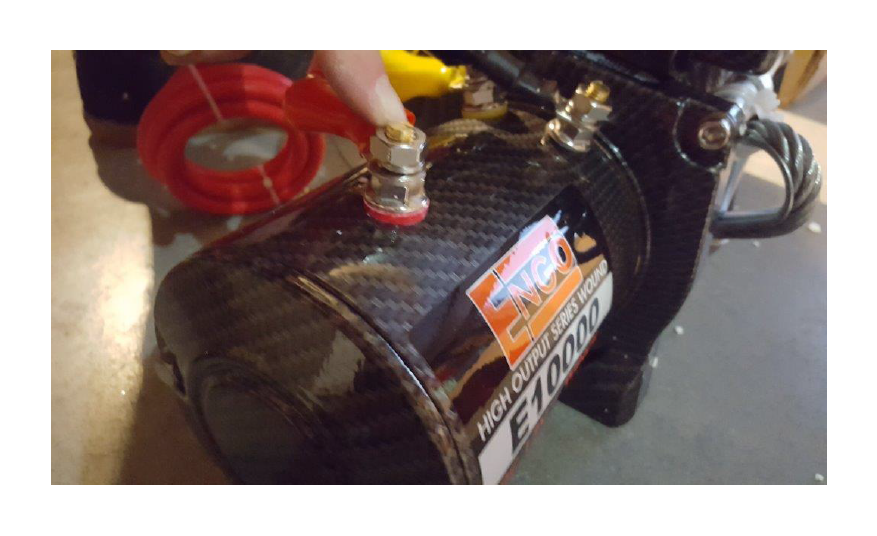
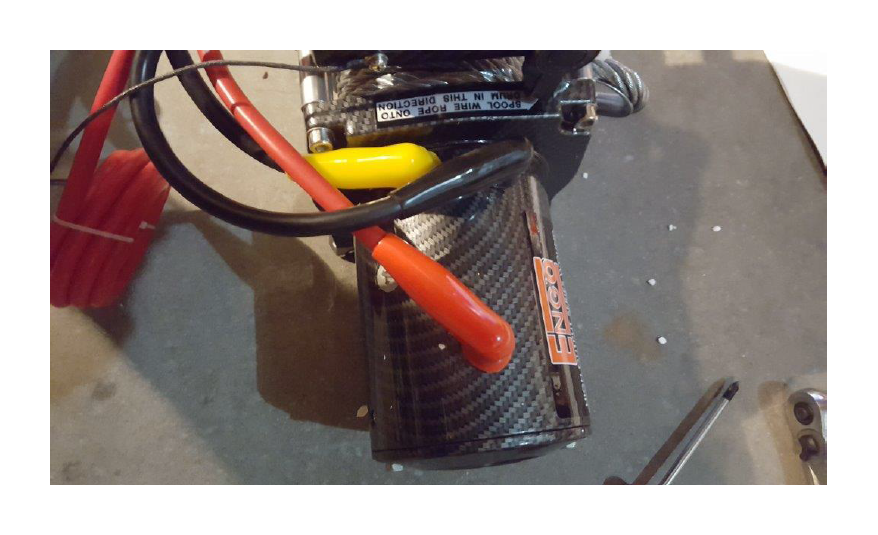
6. Align the cables so there is not too much stress on the back of the solenoid box. You may need to slide the solenoid box closer so the cables are not stressed. This will help keep the connectors in good condition over time. With a 14mm socket tighten all 3 terminal nuts, then slide the rubber sleeves to cover the terminals as shown.
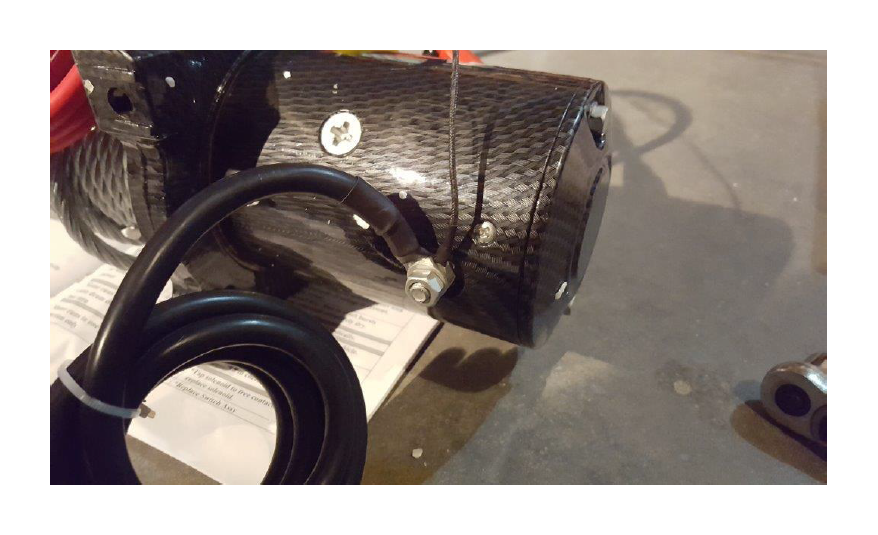
7. Attach the long black cable and the small wire from the solenoid box to the terminal on the bottom of the winch as shown. Tighten using 14mm socket.
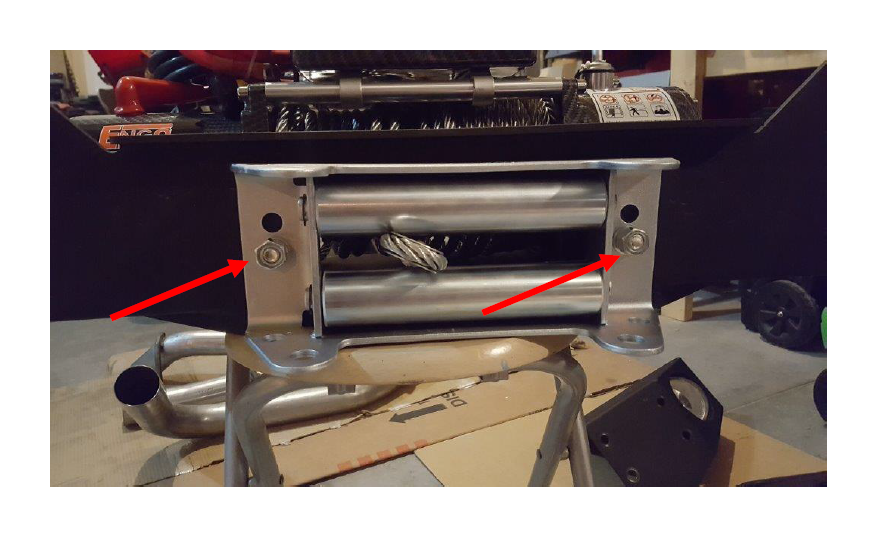
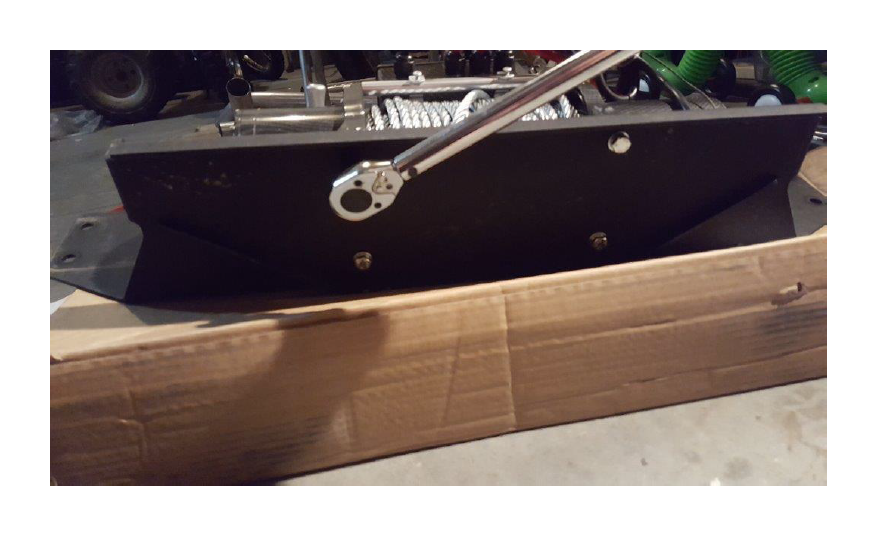
8. You will need to mount the fairlead to the winch plate before mounting the winch. (In the photo below I have removed the left and right rollers, but you do no need to) Make sure the opening in the fairlead lines up with the opening in the winch plate. Insert the supplied bolts from the inside of the winch plate. Then place the washer, lock washer, and nut. Using an 18mm socket on the bolt, and a 19mm socket on the nut, tighten them down keeping the fairlead aligned.
9. Insert the 4 supplied square nuts into the mounting base of the winch.
10. For most winch plates, they will need to be removed from the Jeep to install the winch. Place the plate on a chair or something so you have access to some of the holes from below. Place the winch on the plate with the mount points aligned with the mount holes. Also, run the winch cable through the fairlead. Be careful to make sure the winch plate is balanced and will not fall.
11. Make sure the holes are aligned, then insert the bolts and hand tighten. Move the plate as necessary to access all the holes, insert and hand tighten all the bolts.
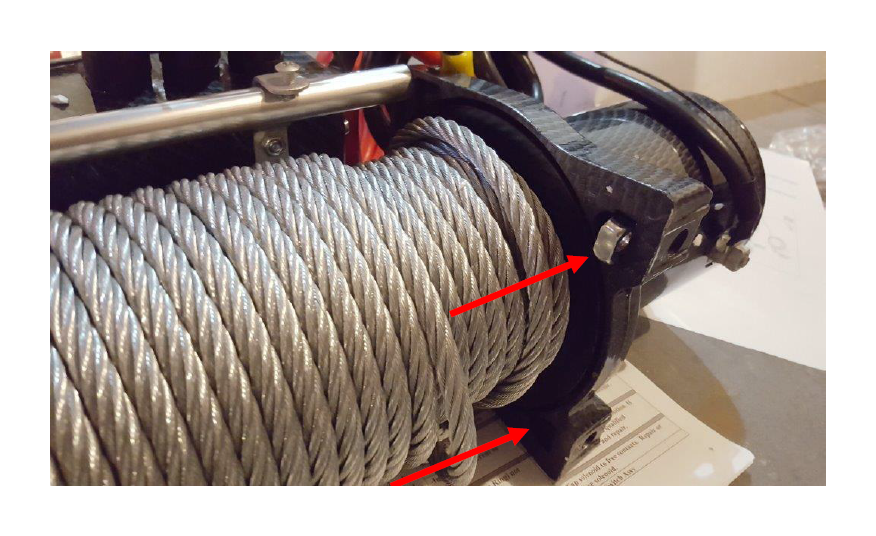
12. Before tightening the bolts you will need to make sure the winch is strait on the plate. One easy method is to lay the plate on the fairlead so the winch is in the full forward position. Then use a torque wrench with 16mm socket to tighten the bolts to 35 ft lbs.
13. Next mount the winch plate to the Jeep using the manufactures install instructions.
14. Last you will need to route the long red and long black cables to the battery. There are many places the wires can be routed, but most important is that you keep them from touching moving parts and hot parts. I will show you one easy way I found to route the cables. Start by uncoiling the wires and try to take out most of the twists.
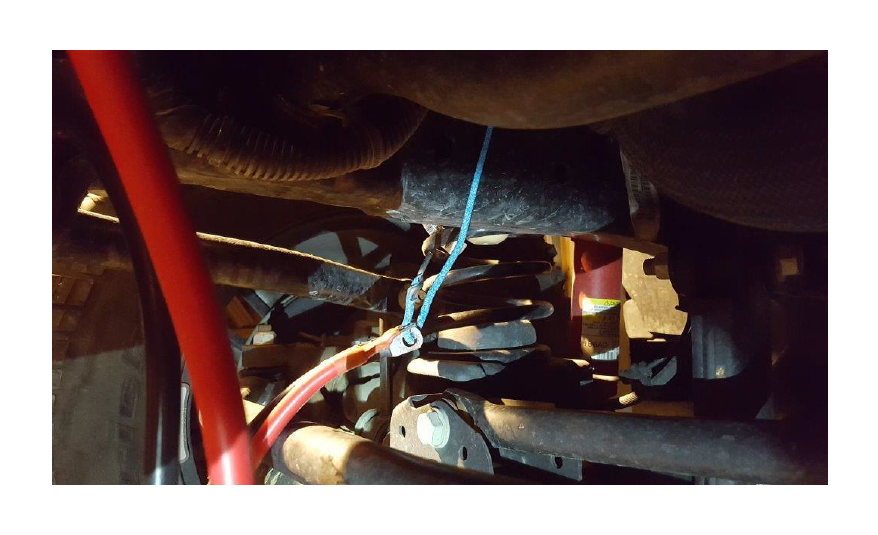
Then route the wires over the sway bar.
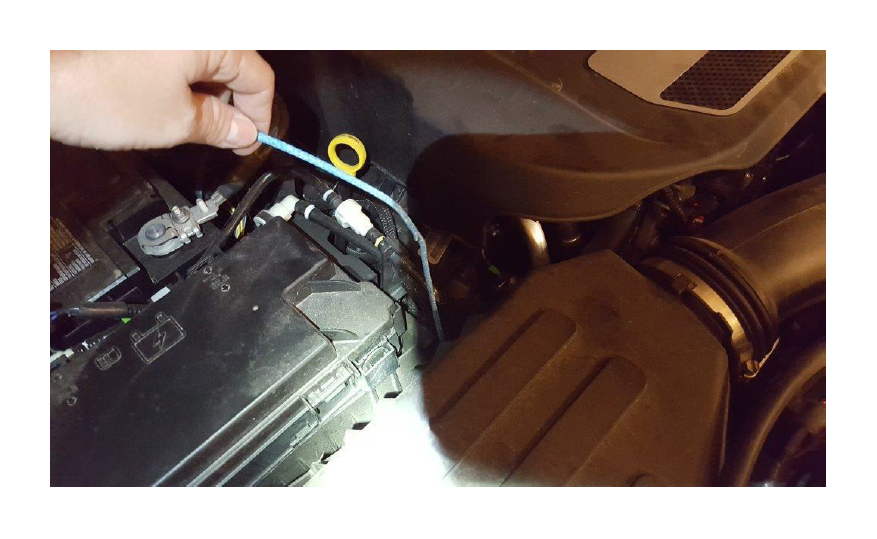
15. Using a metal coat hanger, run it from under the hood down behind the air box and in between the wire bundle and the frame.
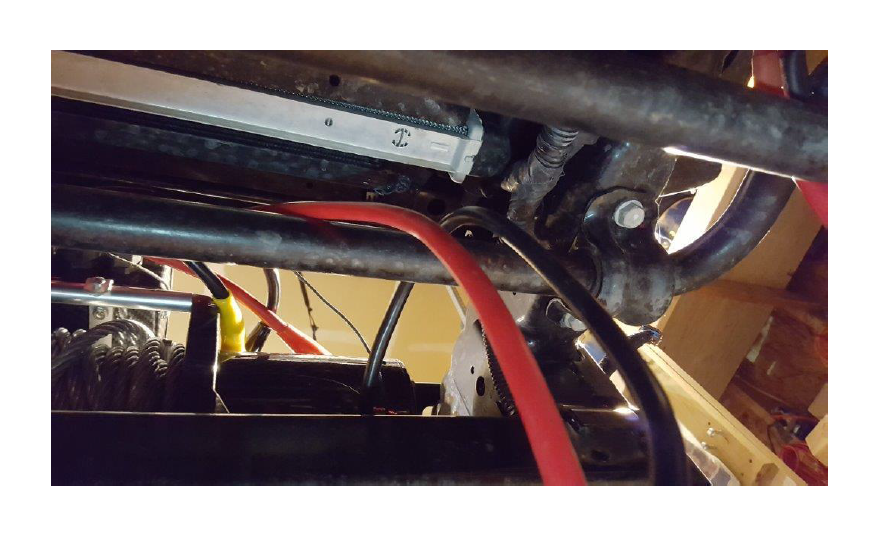
16. It’s hard to see in the picture but here is where I routed the hanger between the wires and the frame. This will help hold the cables away from moving parts.
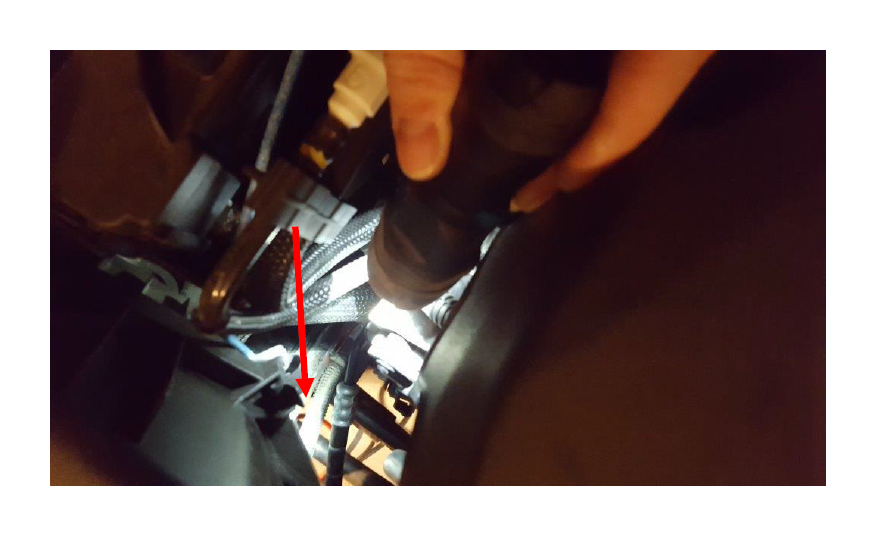
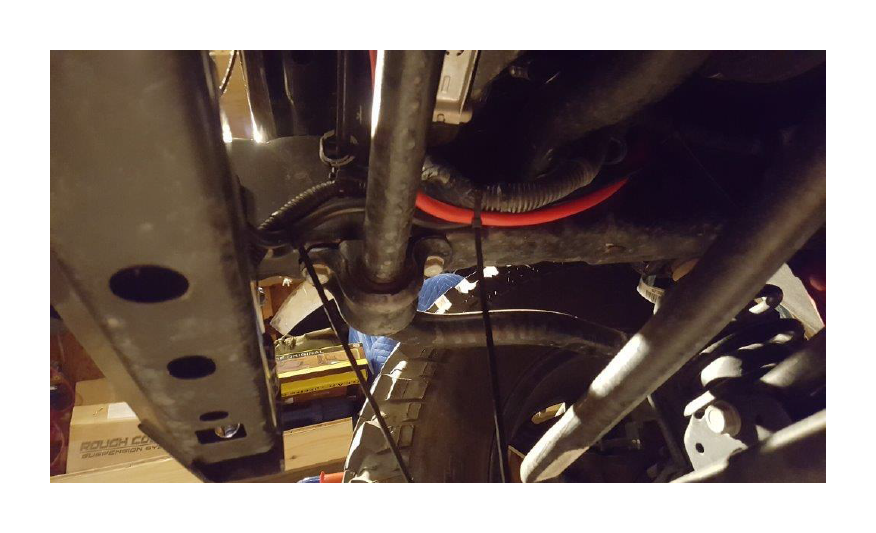
17. Under the Jeep, bend the hanger into a hook and place both cables onto the hook as shown.
18. Using the coat hanger, pull the wires through to the top of the engine compartment.
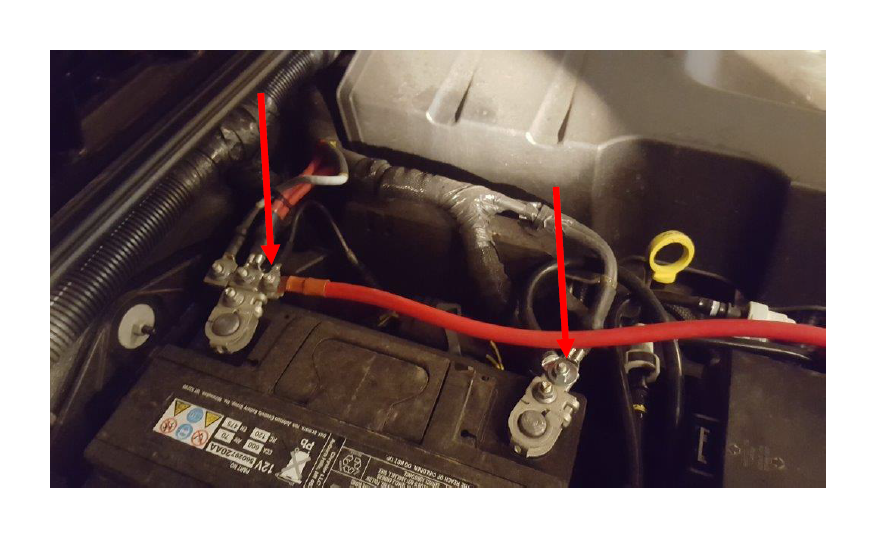
19. Route the wires so they are away from hot and moving parts. Then using a 10mm socket attach the cables to the battery terminals as shown. Red to positive, and black to negative.
20. Last, use some wire ties to keep the cables in place and safe from damage. Also, use a cable tie on the wires coming from the solenoid box to keep them in place and safe.
21. Test the winch operation. You should always have the engine running while operating the winch to keep the battery from draining. To keep the winch cable from getting damaged, unwind the cable and rewind it with a load of at least 500lbs.
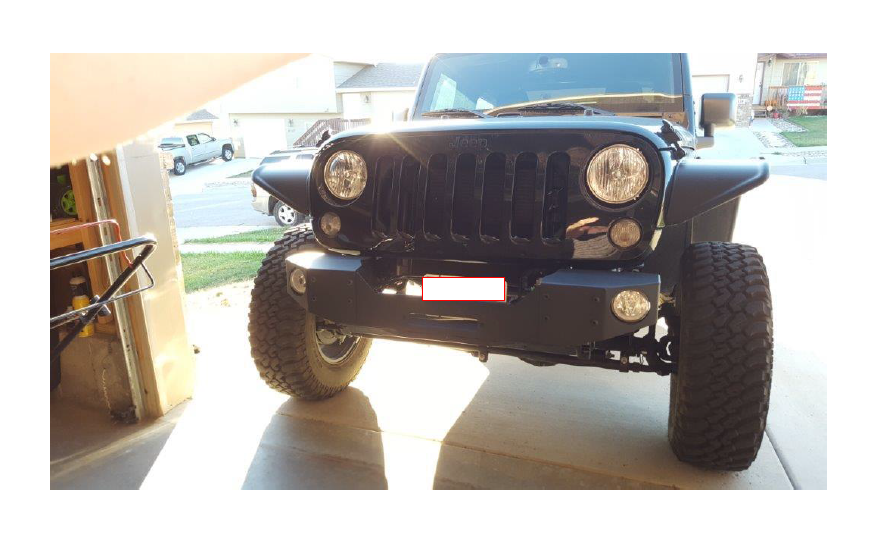
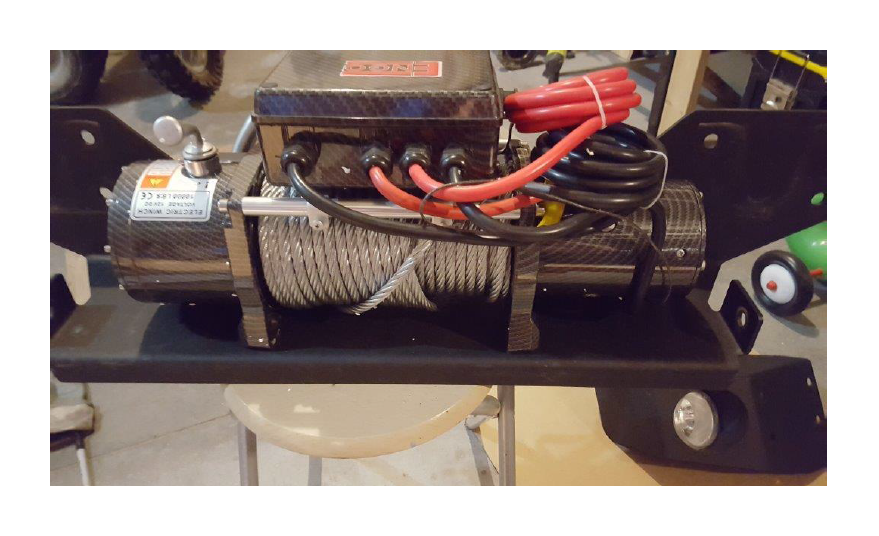
After Picture:

Installation Instructions Written by ExtremeTerrain Customer John Parker 10/26/2016

