FREE 1 to 3-Day Delivery on Orders $149+ Details

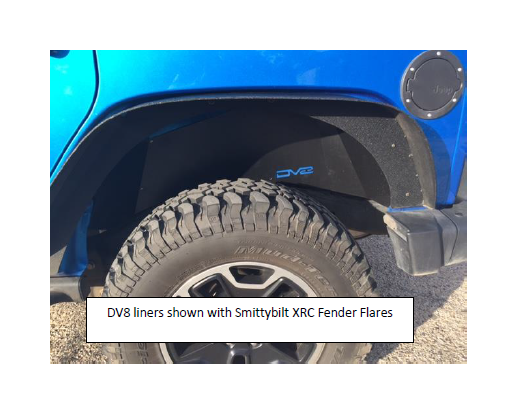
How to Install DV8 Off-Road Aluminum Inner Fender - Rear, Black on your Wrangler
Installation Time
2 hours
Tools Required
- Ratchet Wrench
- 8mm Socket
- 3mm Allen Wrench
- Drill
- 13/64” Drill Bit
- Center Punch / Marker
- Flat Head Screw Driver or Rivet Puller
- Jack (optional)
Included Parts:
Rear Inner Fender
Rear Screws with locknuts x 10
Open packaging and ensure all parts are present and undamaged.
Installation Instructions:
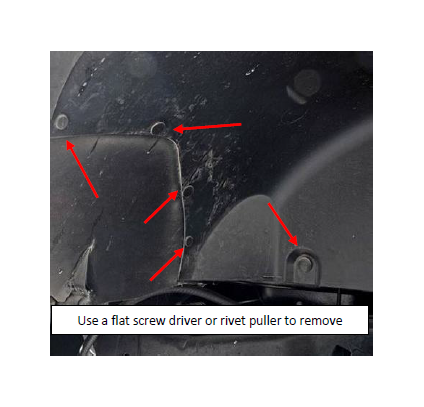
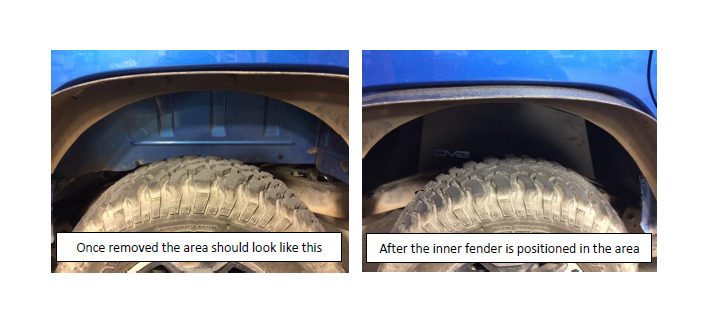
1. Start by removing the factory inner fender assembly. Remove all factory push-in rivets on the plastic inner fender. Once all fasteners are removed pull up on the liner to release from factory clips.
Included Parts:
Rear Inner Fender
Rear Screws with locknuts x 10
Open packaging and ensure all parts are present and undamaged.
Installation Instructions:
1. Start by removing the factory inner fender assembly. Remove all factory push-in rivets on the plastic inner fender. Once all fasteners are removed pull up on the liner to release from factory clips.
2. Place rear inner fender assembly in the opening with the DV8 logo towards the rear of the vehicle.
2. Place rear inner fender assembly in the opening with the DV8 logo towards the rear of the vehicle.
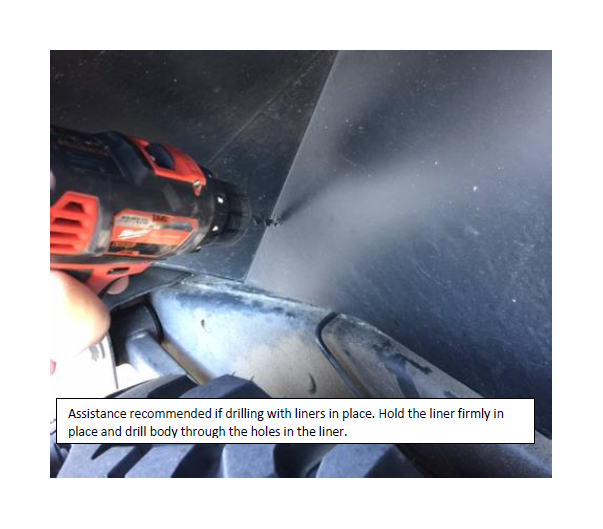
3. Using a center punch or a marker, mark the holes in the fender to be drilled. Either remove the fender or carefully drill through the holes in the inner finder assembly. Note: on drivers side take extra care to not drill through fuel lines. Note: jack may be used to provide better access for drill.
3. Using a center punch or a marker, mark the holes in the fender to be drilled. Either remove the fender or carefully drill through the holes in the inner finder assembly. Note: on drivers side take extra care to not drill through fuel lines. Note: jack may be used to provide better access for drill.

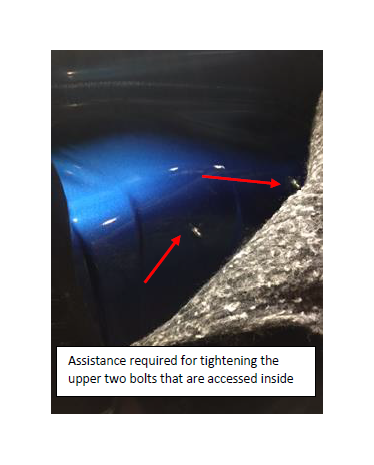
4. Starting with the top two bolts you will need to pull back the carpet in the rear cargo area and use the 8mm socket and allen wrench.
4. Starting with the top two bolts you will need to pull back the carpet in the rear cargo area and use the 8mm socket and allen wrench.
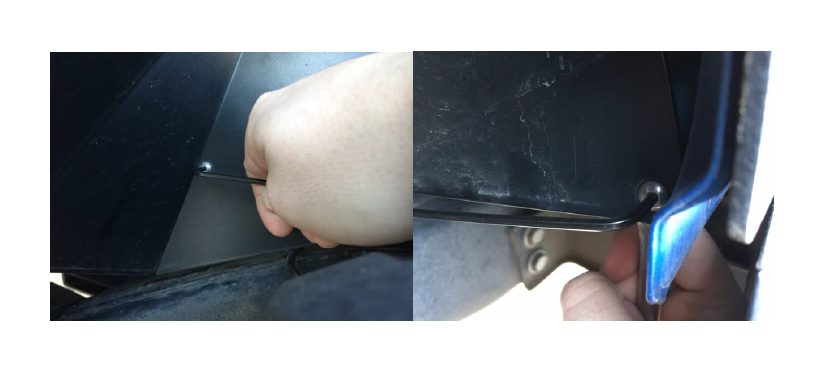
5. Continue fastening the remaining three bolts using the 8mm socket and allen wrench.
5. Continue fastening the remaining three bolts using the 8mm socket and allen wrench.
6. Once all five nuts and bolts are fastened and checked for tightness. Installation is complete.
6. Once all five nuts and bolts are fastened and checked for tightness. Installation is complete.