 FREE 1 to 3-Day Delivery on Orders $149+ Details

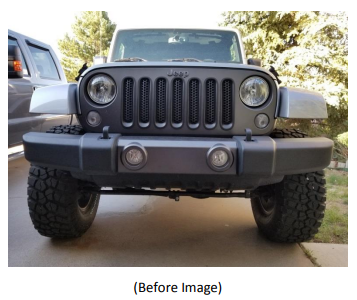
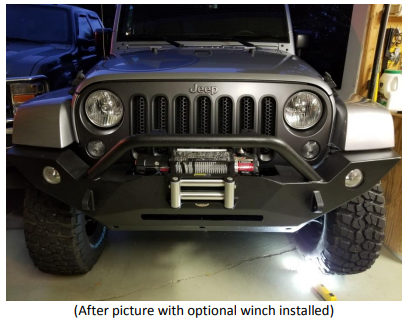
How to Install DV8 Off-Road FS-18 Hammer Forged Front Bumper (07-18 Wrangler JK) on your Jeep Wrangler
Installation Time
2 hours
Tools Required
- Pliers
- Sockets/Wrenches (10mm, 16mm, 18mm)
- Various Length Socket Extensions
- Phillips Screwdriver

Shop Parts in this Guide
Installation Instructions
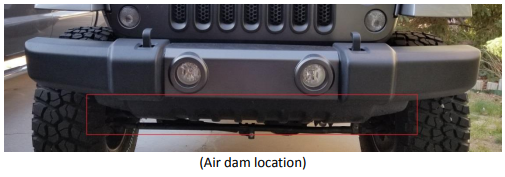
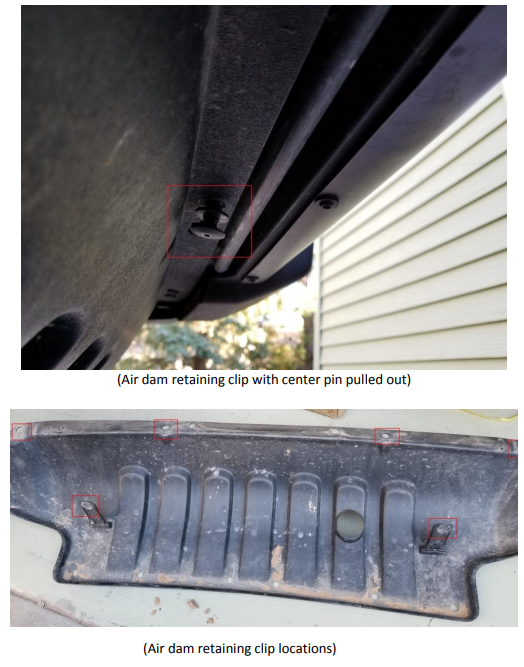
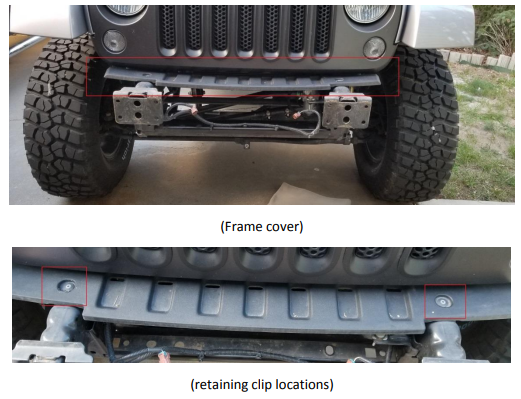
1. Remove the air dam from the underside of the stock bumper by removing the 6 retaining clips (4 exterior and 2 inside the air dam. These clips may be removed by using a pair of pliers to pull the center pin out of the clips, allowing you to easily pull the remaining part out.
2. Disconnect the fog light wiring from the back side of each fog light.
3. Remove the stock bumper by removing the 8 bolts using a 18mm socket. Socket extensions of various lengths make removing these bolts a bit easier. Note that there are 2 bolts on each side of both frame rails, totaling 8 bolts
4. If you are installing a winch, remove the frame cover. This requires removing the center pin from the two clips, then pulling the clips out.
5. Remove your fog lights from the stock bumper by removing the retaining screws with a phillips screwdriver.
6. Install the fog lights into the fog light cutouts of the new bumper. Use the supplied plastic fasteners to mount them in place by pushing them through the screw holes from the back side.
7. Install the yellow side markers onto the new bumper using a Phillips screwdriver.
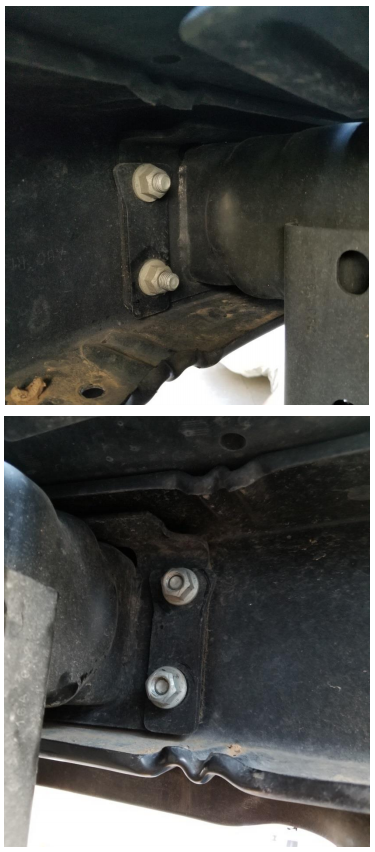
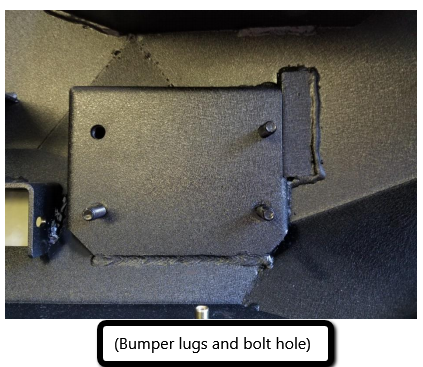
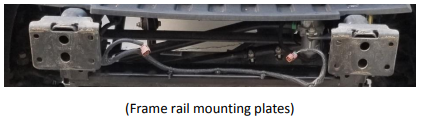
8. Install the DV8 FS-18 bumper onto the Jeep, aligning the 3 lugs on each side of the bumper to the mounting plates on each frame rail, and securing it with the supplied washers, lock washers and nuts. (You should have a friend or two assisting with this to ensure safety and to make installation easier.) There is a bolt hole rather than a stud for the 4th attachment point on each side. Use the supplied bolts with washers and lock washers here. Be sure bumper is level before tightening all nuts and bolts, then torque them to 60 ft-lbs.
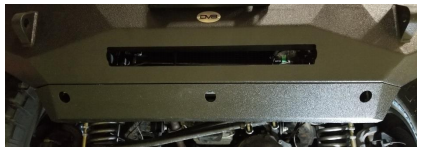
9. Install the new metal air dam/brush guard onto the bottom of the bumper, using the three 10mm bolts with lock washers.
10. Finish by installing the included D-rings and routing and connecting the fog light and side marker wiring. Additional wire may be needed to complete this. You might opt to purchase a fog light wire harness extension kit to make installation easier.
Installation Instructions Written by ExtremeTerrain Customer on 08/10/2017
