 FREE 1 to 3-Day Delivery on Orders $149+ Details

How to Install Daystar Cam Can Complete Kit - Gray - Drinking Water (97-18 Jeep Wrangler TJ & JK) on your Jeep Wrangler
Installation Time
60 minutes
Tools Required
- Box Cutter/Knife
- 19mm Socket
- Socket Wrench
- Philips Head Screwdriver
- 8mm Box Wrench
1. Set out the mounting plate (Figure A).
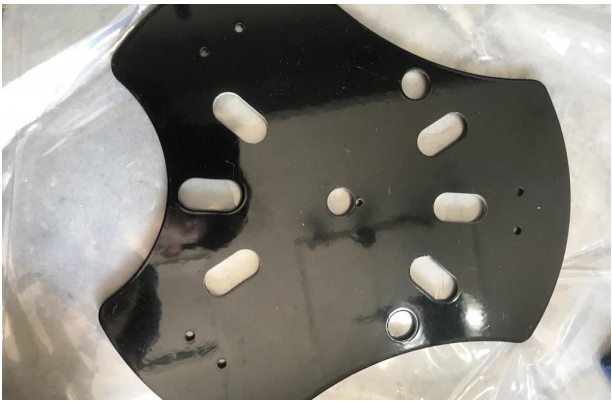
Figure A
2. Connect the mounting platform using the supplied screws and washers, as well as a Philips head screwdriver and an 8mm box wrench (Figure B).
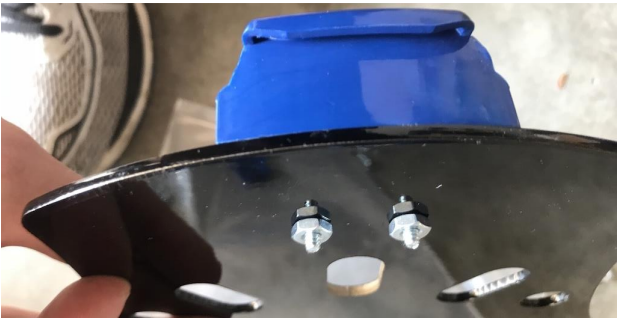
Figure B
3. Repeat Step 2 for the other two mounting platform pieces (Figure C).
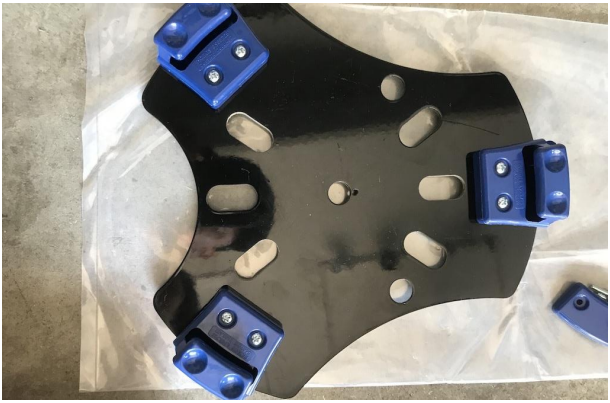
Figure C
4. Thread the long support rod into the center hole and tighten down the supplied bolt using a 19mm socket wrench (Figure D).

Figure D
5. Place the receiver end of the mounting platform onto the cam can (Figure E).
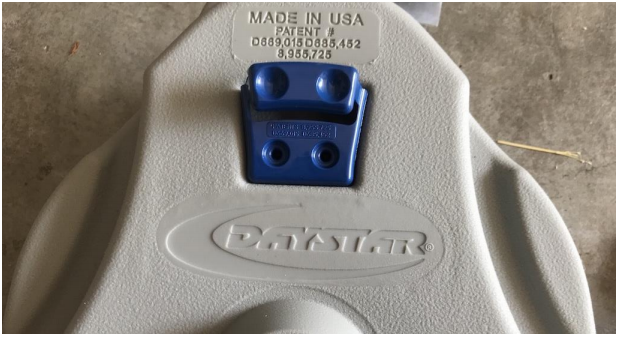
Figure E
6. Using the supplied screws and a Philips head screwdriver, connect the piece to the cam can (Figure F).
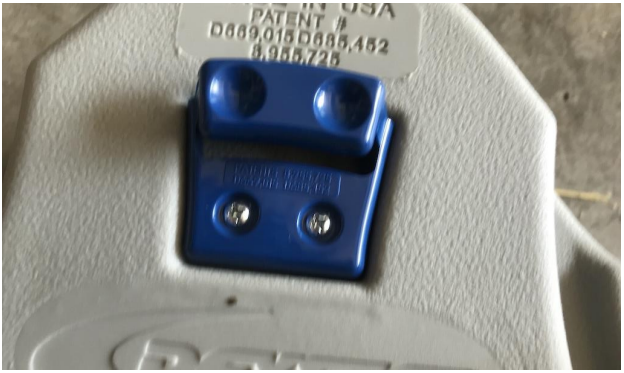
Figure F
7. Repeat Steps 5 and 6 for the other two pieces.
8. Flip the cam can over and place the remaining attachment pieces onto the cam can (Figure G).
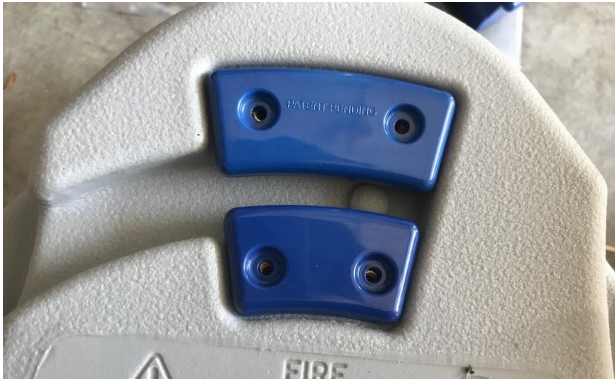
Figure G
9. Using the supplied screws, attach each of the plastic pieces (Figure H).
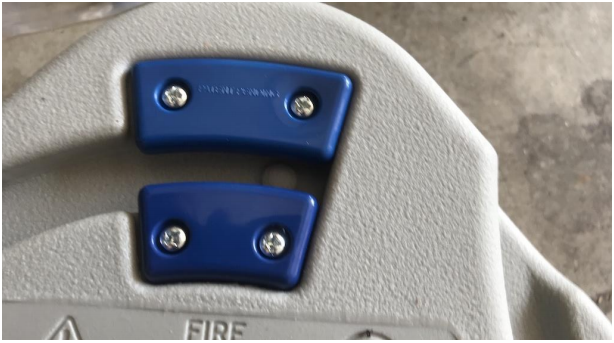
Figure H
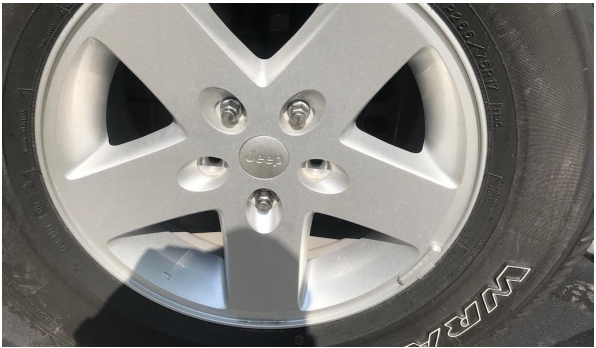
10. Remove the lug nuts from the spare tire using a 19mm socket wrench (Figure I).
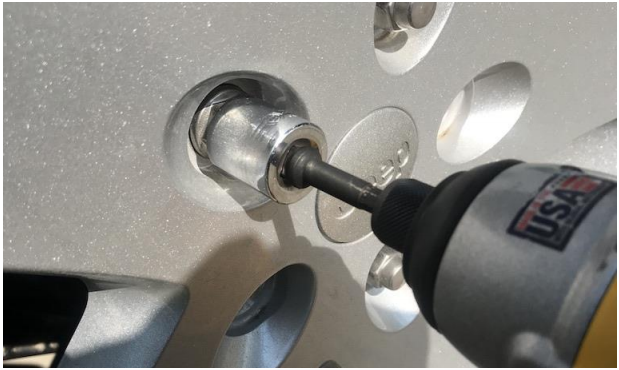
Figure I
11. Thread all three extensions onto the bolt locations (Figure J).

Figure J
12. Connect the mounting platform and tighten down the supplied nuts (Figure K).
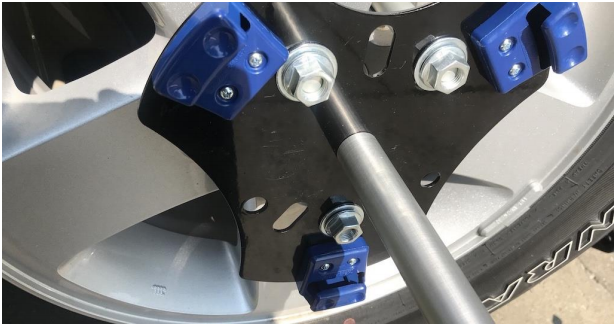
Figure K
13. Place the cam can on and lock into place.
Before
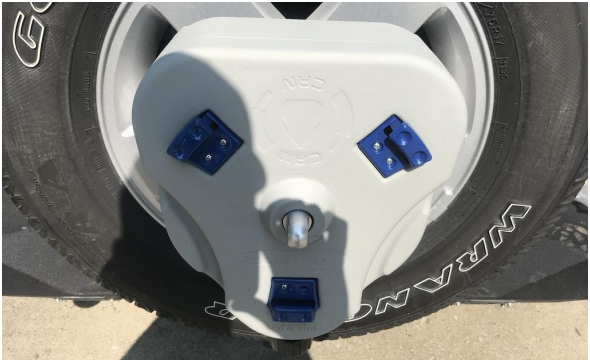
After
Installation Instructions Written by ExtremeTerrain Customer J. Sandlin 07/01/2018.


