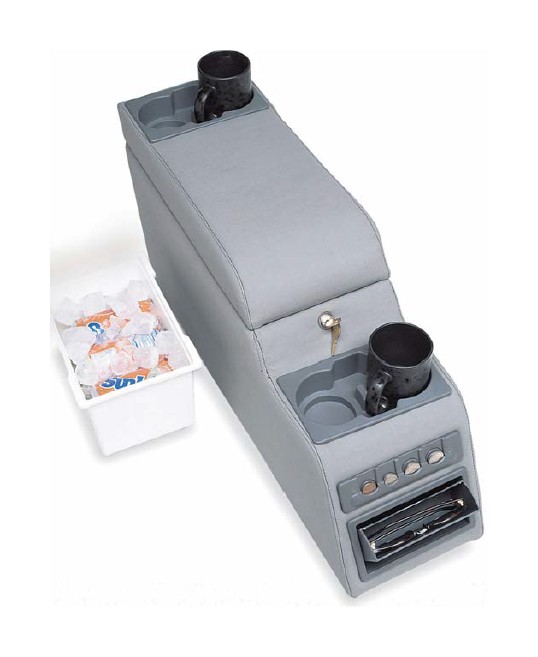

How to Install Crown Automotive Deluxe Duel Locking Center Console - Black Denim (87-95 Wrangler YJ) on your Jeep Wrangler
Shop Parts in this Guide
- Deluxe Dual Locking Center Console; Black Denim (76-95 Jeep CJ7 & Wrangler YJ)
- Deluxe Locking Center Console; Black Denim (76-95 Jeep CJ5, CJ7 & Wrangler YJ)
- Deluxe Locking Center Console; Gray (76-95 Jeep CJ5, CJ7 & Wrangler YJ)
- Deluxe Locking Center Console; Spice (76-95 Jeep CJ5, CJ7 & Wrangler YJ)
Kit Contents:
1 - Locking Center Console (w/ Keys)
3 - #14 x 1-3/4” Phillips Pan Screws
1 - Leveling Bracket (not required for CJ-5)
6 - #8 x 3/4” Phillips Pan Screws
Caution: Installation of this product requires drilling into the floor pan of the vehicle. Please ensure that nothing will be punctured or damaged prior to drilling any holes.
Installation for Jeep® CJ-5 Owners:
1. Ensure that all components in kit are accounted for.
2. Place console between the front seats to your desired position. Ensure that the gear shift controls clear the center console in all gears.
3. Remove the front cup holder and the floor lining from the console. Drill one 3/16” hole through the console floor and vehicle floor pan. Secure with one #14 screw. A dab of sealant can be used on the screw to ensure that there will be no leaks. Replace the lining and cup holder.
4. Drill two 3/16” holes in the rear compartment of the console through the console floor and through the vehicle floor pan. Secure the console to the vehicle floor with two #14 screws. A dab of sealant can be used on the screws to ensure that there will be no leaks.
Installation for Jeep® CJ-7, 8 and YJ Owners:
1. Ensure that all components in kit are accounted for.
2. Place console between the front seats to your desired position. Ensure that the gear shift controls clear the center console in all gears.
3. Place the console leveling bracket under the rear of the console with the legs of the bracket contacting the floor. Adjust the bracket until the console is at your desired height. Mark the position of the leveling bracket on the bottom of the console while ensuring that the console is level.
4. Remove the console and leveling bracket from the vehicle. Affix the leveling bracket to the bottom of the console using two #8 screws. Reinstall the console between the front seats and ensure that the gear shifter still clears the console.
5. Mount the leveling bracket to the floor by drilling four holes through it and the floor pan. Affix the bracket to the floor using the remaining #8 screws. A dab of sealant can be used on the screws to ensure that there will be no leaks.
6. Remove the front cup holder and the floor lining from the console. Drill one 3/16” hole through the console floor and vehicle floor pan. Secure with one #14 screw. A dab of sealant can be used on the screws to ensure that there will be no leaks. Replace the lining and cup holder.


