 FREE 1 to 3-Day Delivery on Orders $149+ Details

How to Install Condition Zero Pistol Mount (07-18 Wrangler JK 4 Door) on your Jeep Wrangler
Installation Time
25 minutes
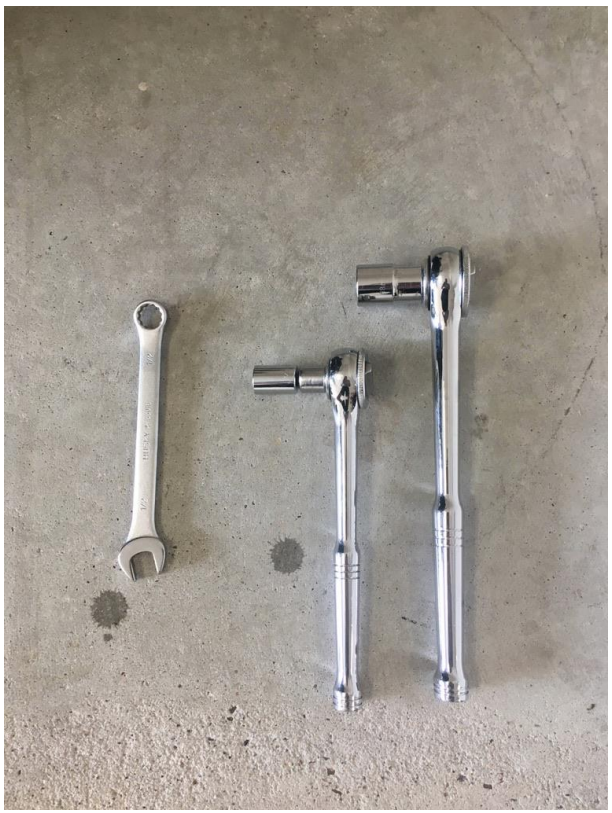
Tools Required
- 18mm Socket and Ratchet
- 1/2" Socket and Ratchet
- 1/2" Open-Ended Wrench

Shop Parts in this Guide
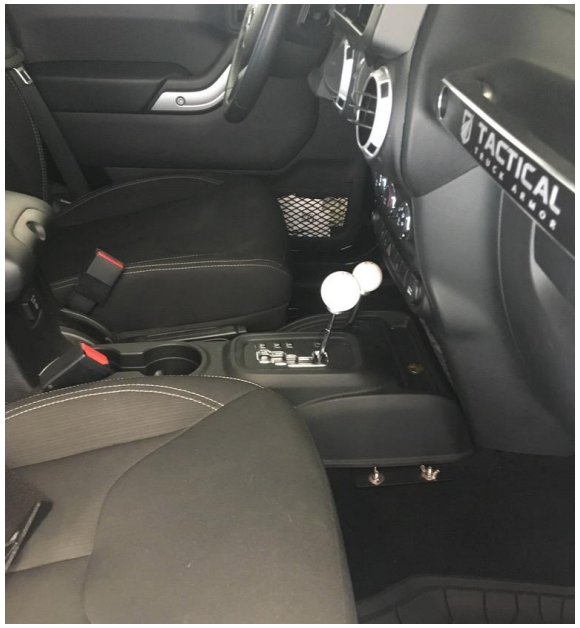
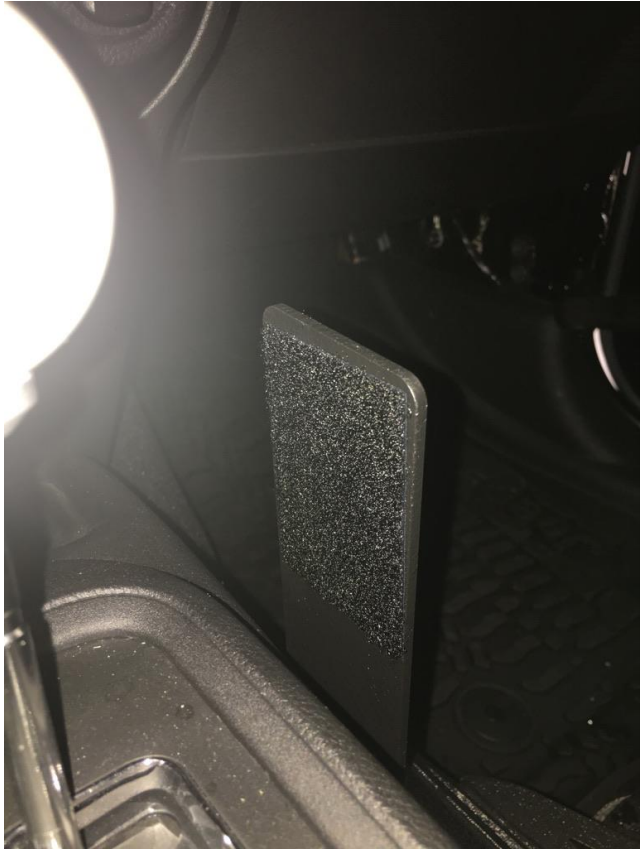
Factory/Before Pictures
Tools Required
Installation Instructions
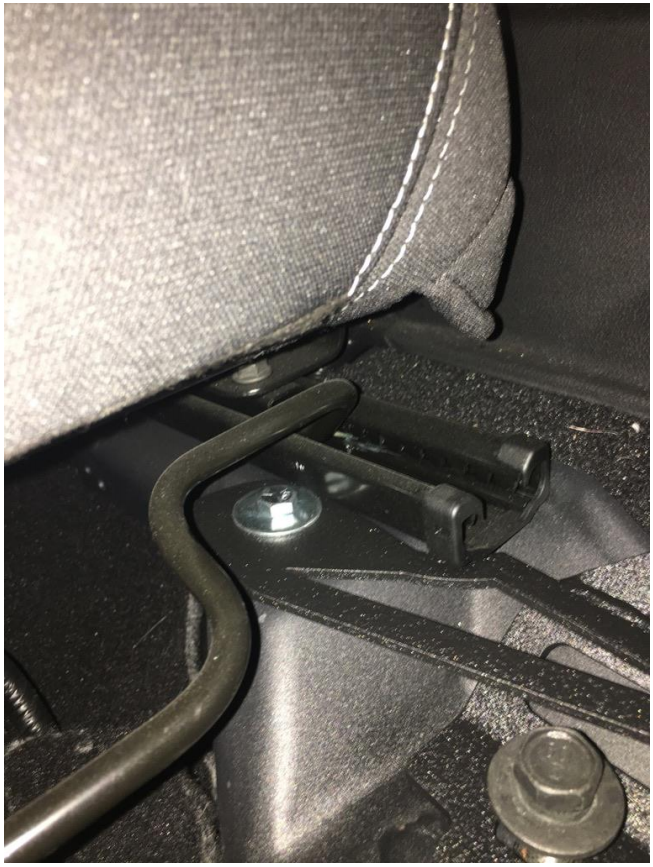
1. Using 18mm socket and ratchet, remove inner seat mounting bolt from front of passenger’s front seat.
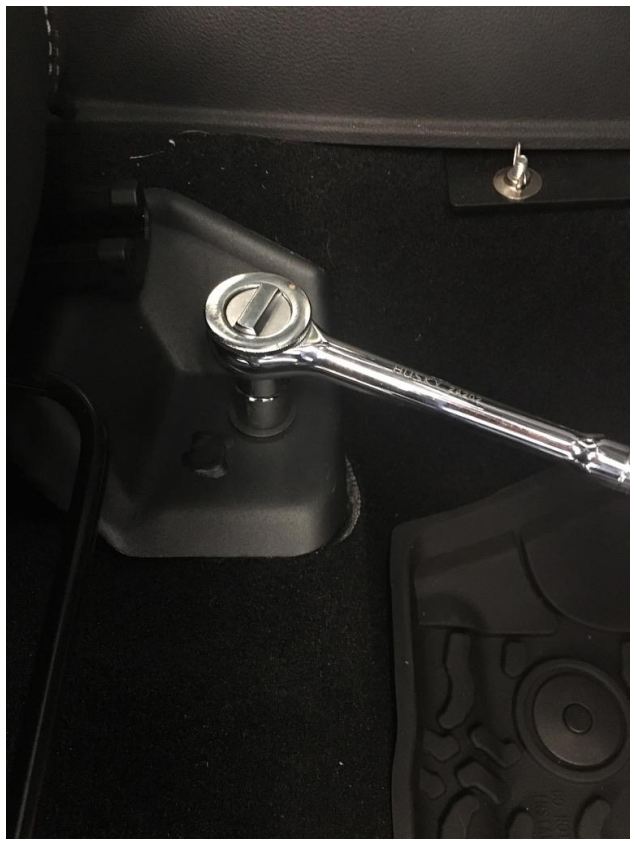
2. Place condition zero bracket included with kit in to position, lining up the front mounting hole with the seat mounting hole, and hand-tighten the bolt removed in step one.
(Note: The long flat portion of the bracket should now be vertical and parallel to the shifter.)
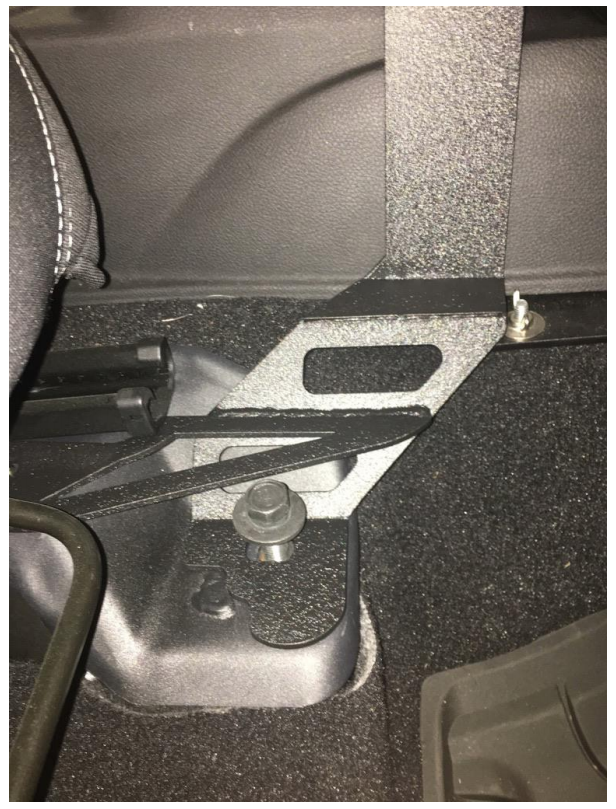
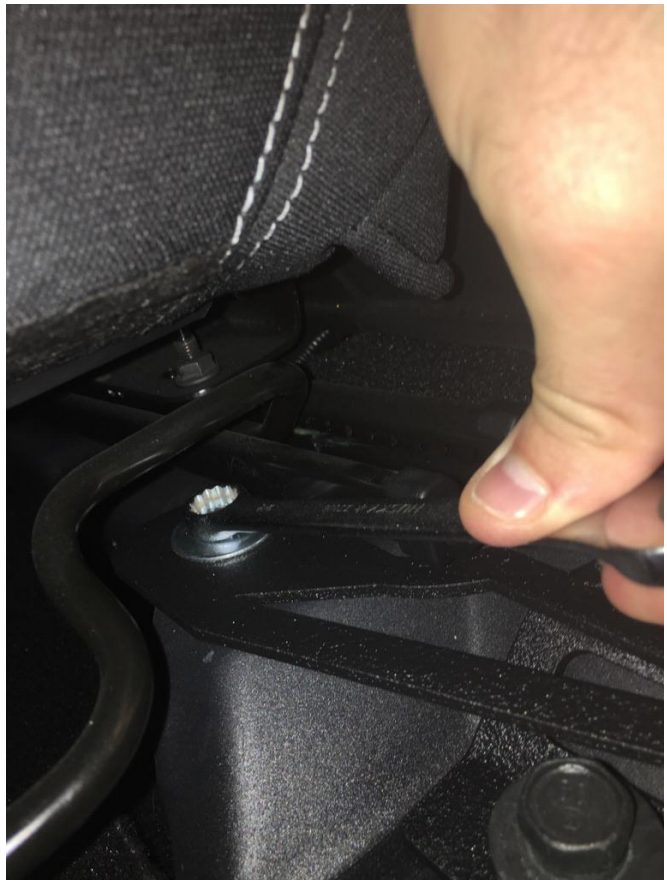
3. Move the passenger’s seat all the way back exposing the rear mounting point.
4. The rear bracket mounting hole should be aligned with the rear mounting point; using the bolt, washers, and nut provided with the kit and the 1/2“ socket, ratchet, and open-ended wrench, mount the back of the condition zero bracket to the rear mounting point and fully tighten.
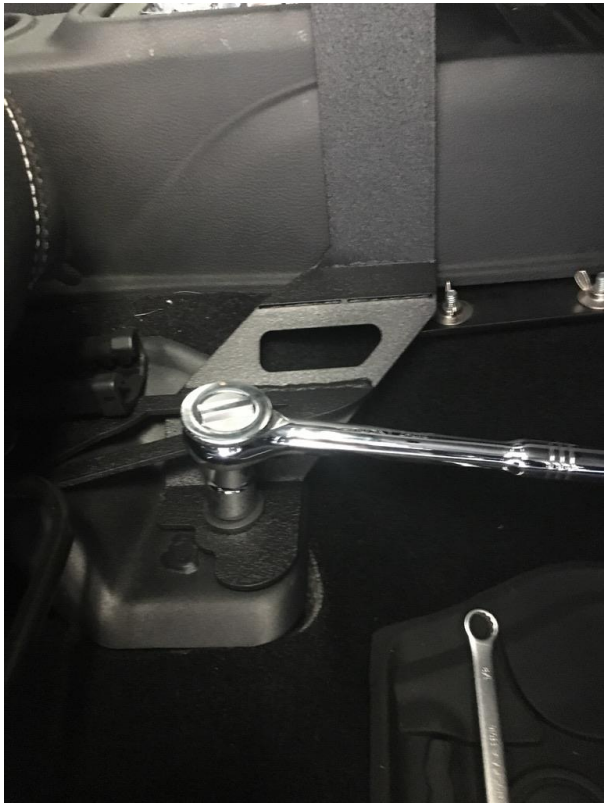
5. Using the 18mm socket and ratchet, tighten the front mount bolt, and move passenger’s seat back to desired position.
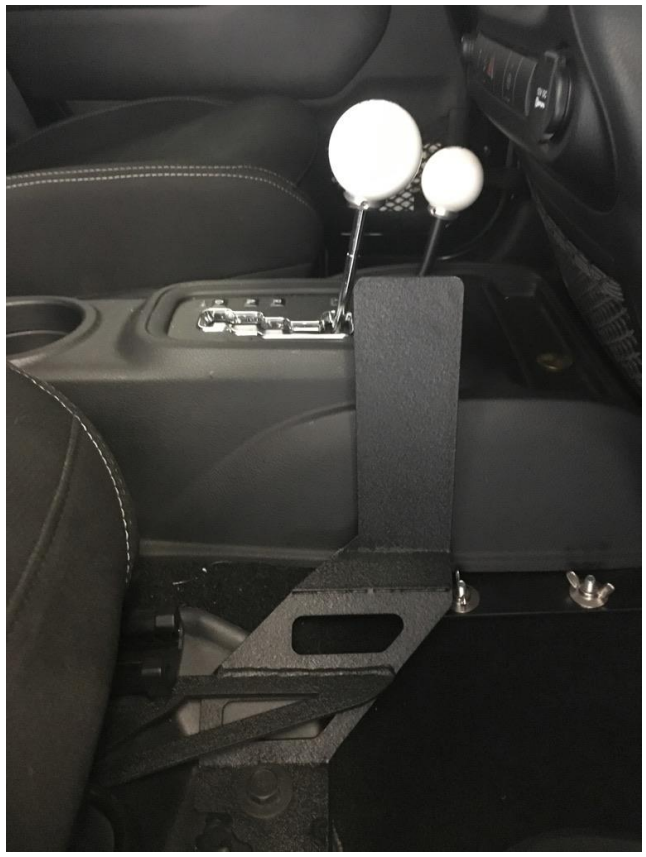
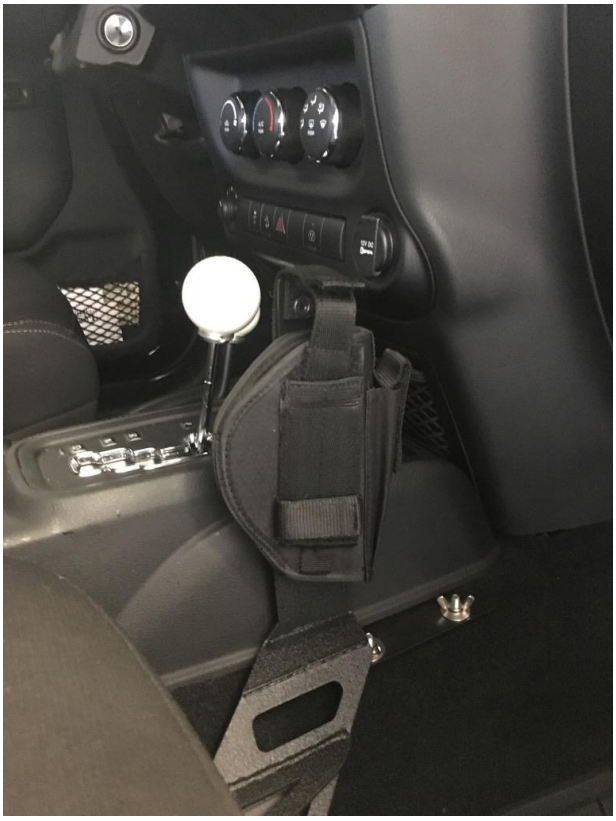
6. Using the included velcro strips, install the velcro to the mounting bracket in order to secure the holster.
(Note: To install the holster outside of the bracket, the softer velcro strip will go on the inside with the rougher side on the outside. To install the holster on the inside, the velcro is installed opposite.)
7. Install holster in the desired position.
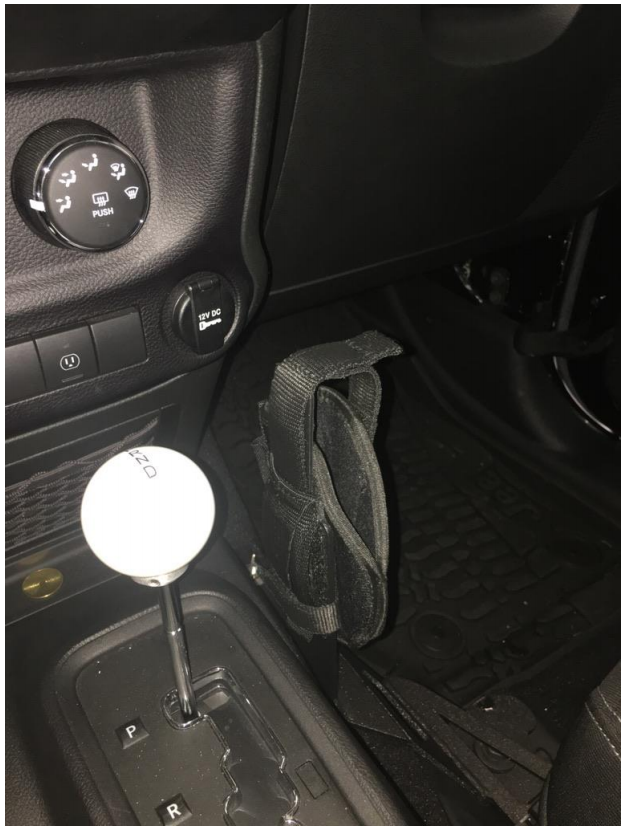
Installed Photo
Installation Instructions Written by ExtremeTerrain Customer Brian Dunn 11/18/2017

