 FREE 1 to 3-Day Delivery on Orders $149+ Details

How to Install Cobra CB Radio (87-17 Wrangler YJ, TJ & JK) on your Jeep Wrangler
Installation Time
20 minutes
Tools Required
- Sockets:10mm
- Socket wrench
- Wire coat hanger
- Electrical tape
- Zip Ties
- 2 wire terminals
- M6-1.0 hex nut
- Flathead screwdriver
- Phillips screwdriver
- Drill
- 1/16” drill bit
- Soldering iron (recommended)
Shop Parts in this Guide
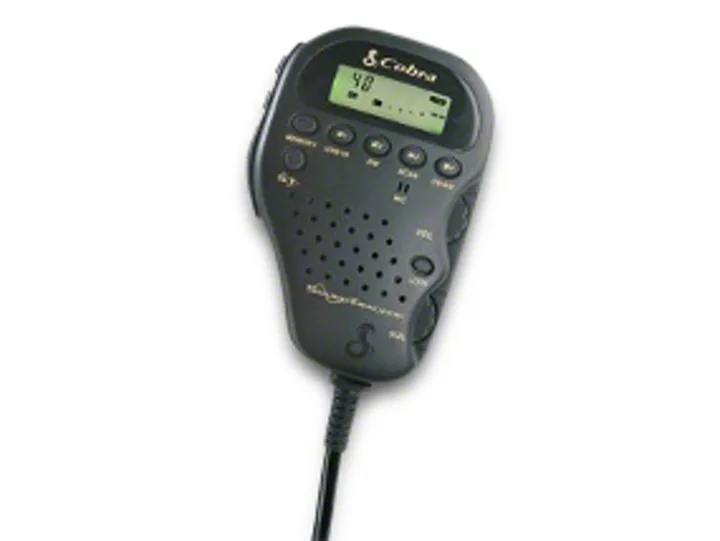
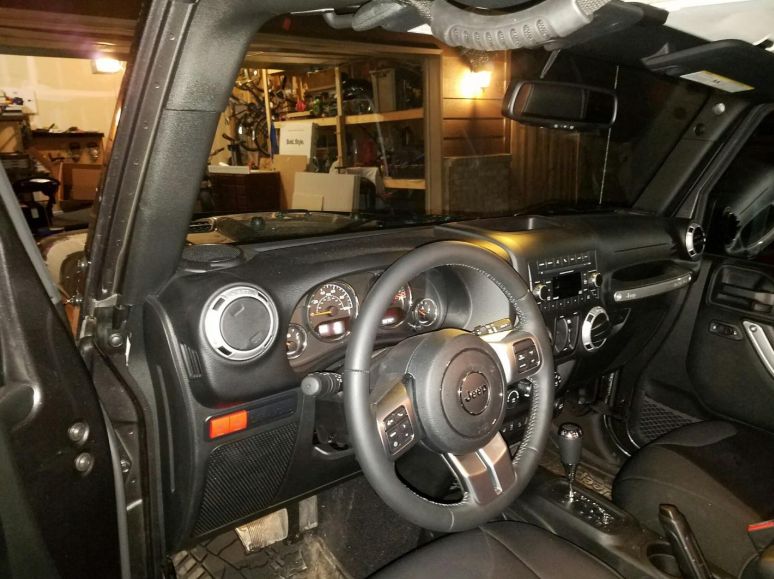
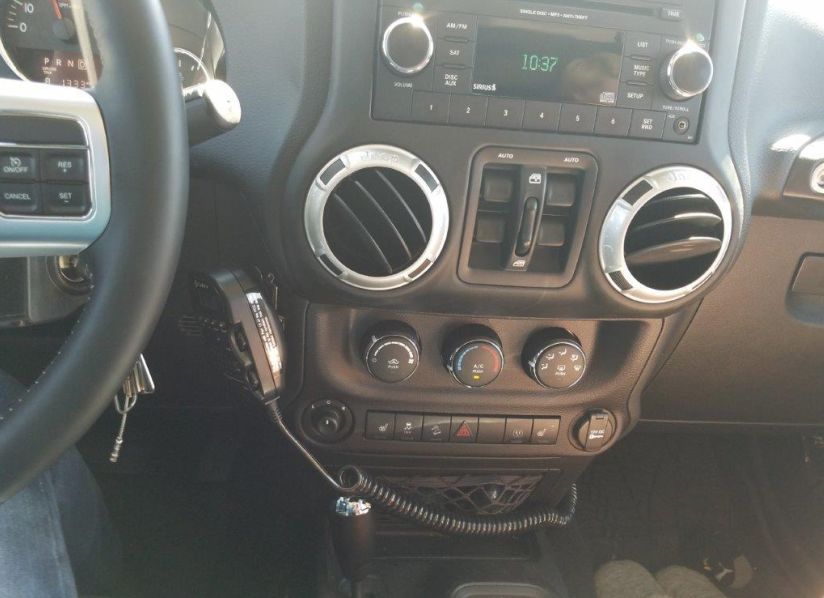
Before Picture:
Installation Instructions:
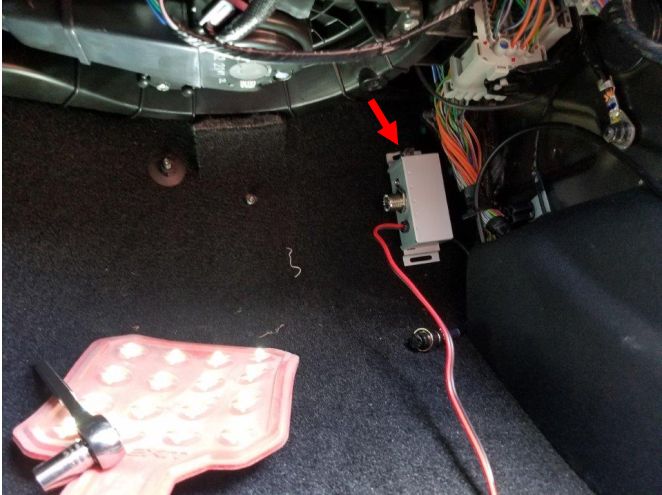
1. Before installing your CB, you need to decide where you will locate the connector box. You want it somewhere inside the vehicle (not under the hood), and away from heat sources. I recommend you install your antenna wire first to make sure it will reach your desired location. You may also need to extend the power wires depending on where you install it. For this install, I chose to place it in the passenger floorboard.
2. First, place the connector box in your desired location. Here it is shown in the front passenger floorboard. You can use an M6-1.0 hex nut to attach it to the bolts that hold the carpet in place. Then attach the antenna cable to the connector box.
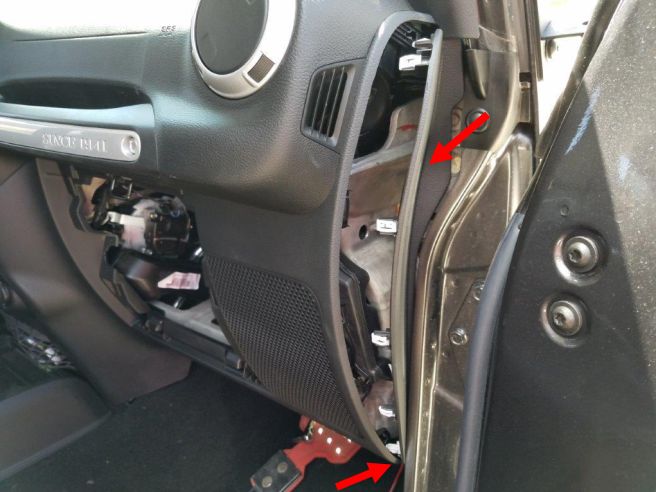
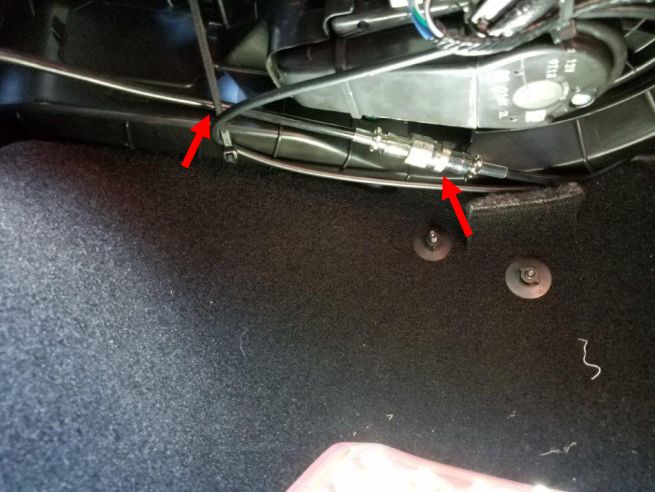
3. Remove the plastic piece inside the passenger door jam. This can be done with your hands, or gently with a flathead screwdriver. Then route the black and red power wires up through this panel.
4. Next, open the hood. Bend a wire coat hanger so it is relatively straight. Using this coat hanger push it through the insulation foam shown below. You will need to push it at a slight upward angle. Once the coat hanger comes out the other side, tape the red and black wires to the coat hanger and pull them through. The wires should come out the spot shown in step 5. Note: There are other ways of getting through the firewall, but I found this to be the easiest.
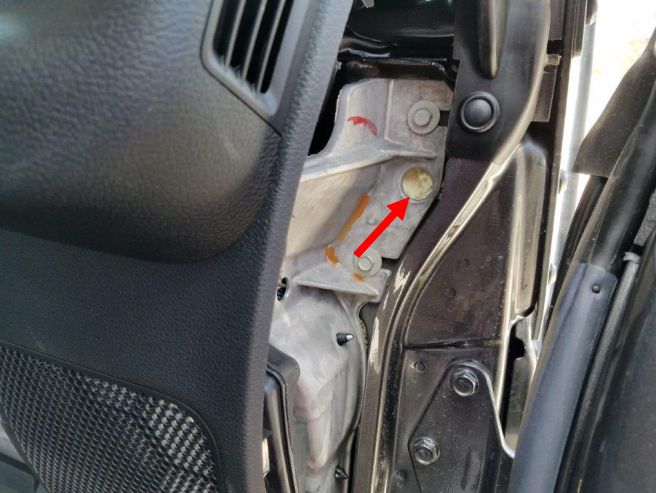
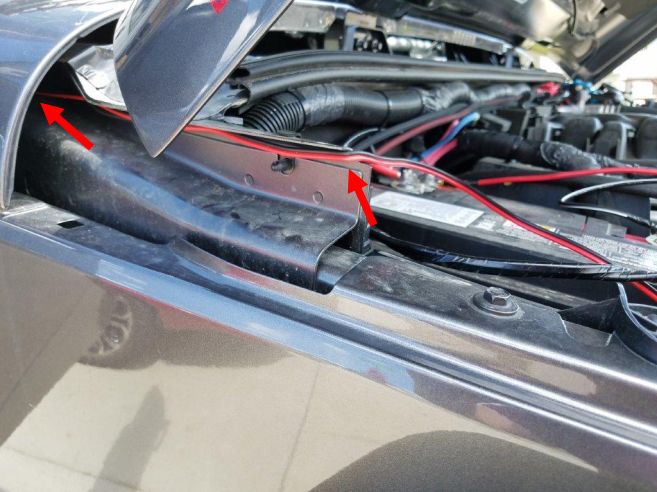
5. The wires will come out as shown below. You can then tape or zip tie them in place to keep them from getting damaged.
6. Next, attach ring terminals to both the red and black wires. I recommend also soldering them on for a long lasting connection. Then attach them to the battery, black to negative and red to positive. Note: I had to use larger than normal terminals for these wires so they would fit the battery leads.

7. Next, connect the handset cable to the connector box cable. I recommend using a zip tie to keep the cables where you want them.
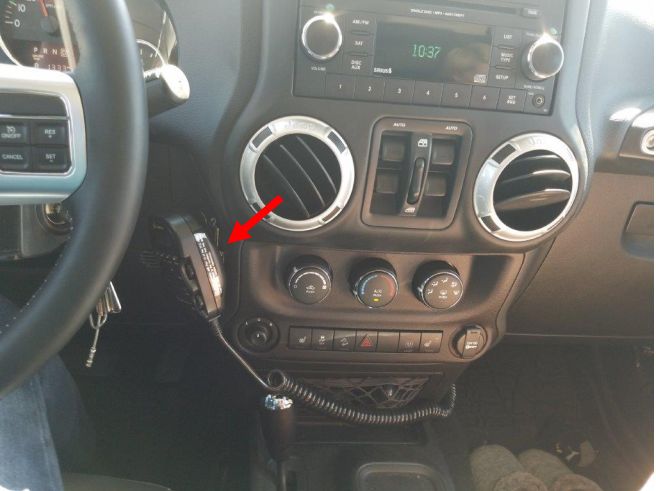
8. Next, you need to decide where you will put the microphone hanger. I chose the spot shown below. Using the hanger as a guide, mark where you need the 2 screws to go. Then use a 1/16” drill bit to make 2 small holes for the screws.

9. Using a phillips screwdriver and the supplied screws, install the microphone hanger. Be careful not to overtighten or you could strip out the plastic. Note: It is a good idea to replace these screws with nuts and bolts, because the plastic can strip very easy.
10. Now just turn it on and test it out!
After Picture:
Installation Instructions Written by ExtremeTerrain Customer John Parker 07/21/2017

