 FREE 1 to 3-Day Delivery on Orders $149+ Details

How to Install Axial Clear Side Marker Lights - Pair (97-06 Jeep Wrangler TJ) on your Jeep Wrangler
Installation Time
30 minutes
Tools Required
- 3/8” Deep Socket
- 9mm Deep Socket
- Knife/Razor Blade
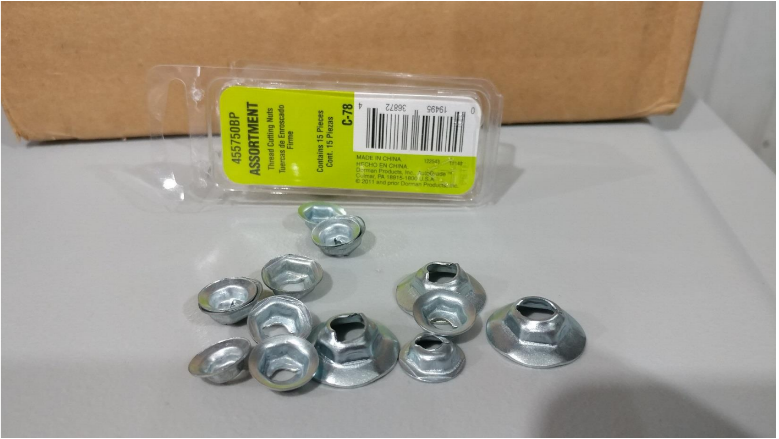
Note: Some installations may vary. For my installation the factory light was installed with a nut and bolt. The replacement Axial Clear Side Marker Lights do not come with any mounting hardware. I found the Dorman Thread Cutting Nut Assortment Part # 455750BP worked to hold in the new Axial Clear Side Marker Lights. Purchased at O’Reilly auto parts but similar products should be sold at other auto parts stores.
Installation Instructions:
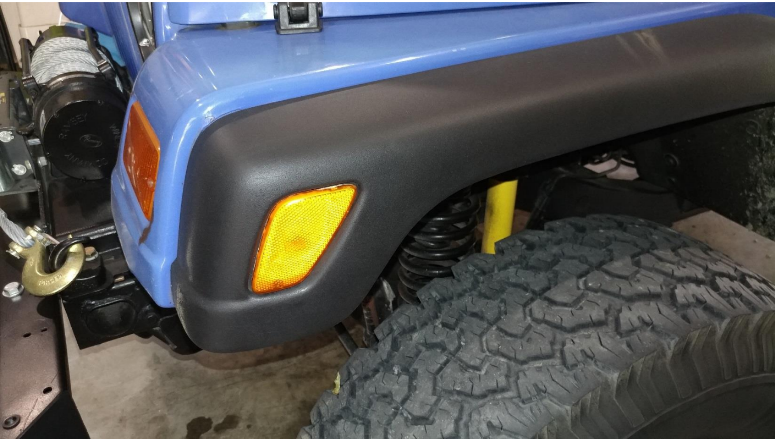
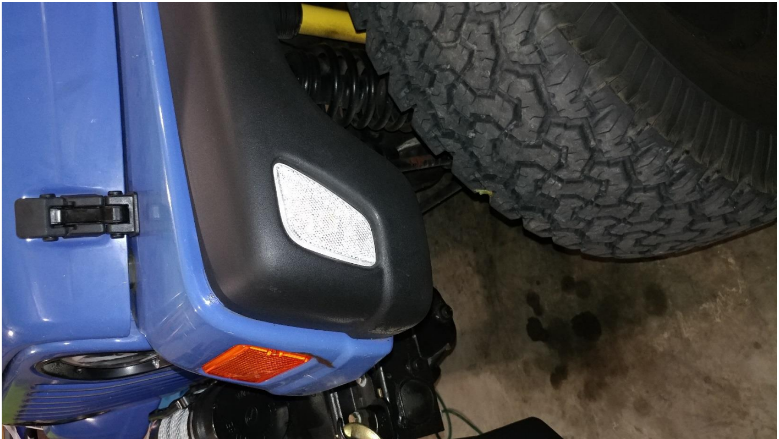
Before
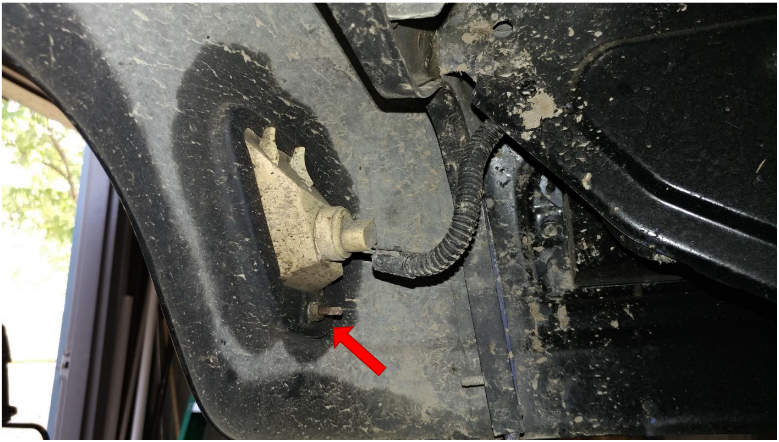
1. Remove the existing mounting hardware. For my isntalltion that was a 9mm nut.
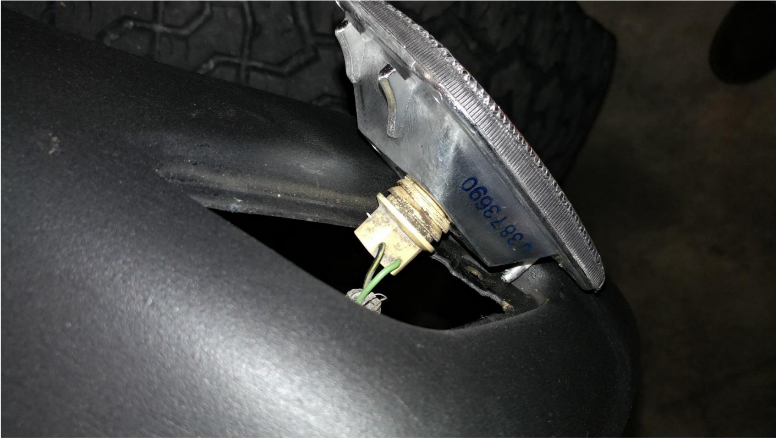
2. With the side marker light loose hold the marker light in one hand and the light socket in the other. Twist 1 half turn to remove the light socket.
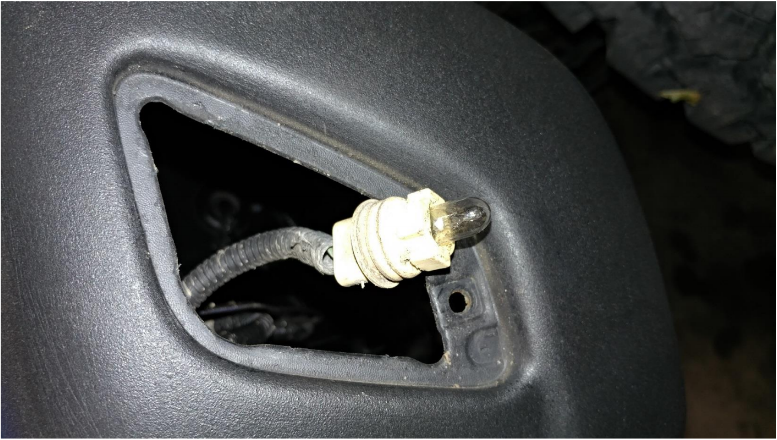
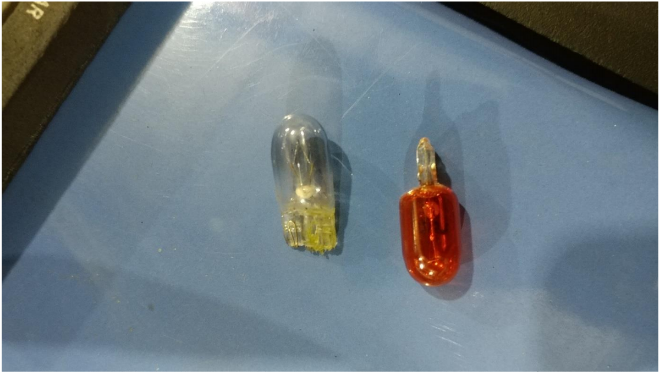
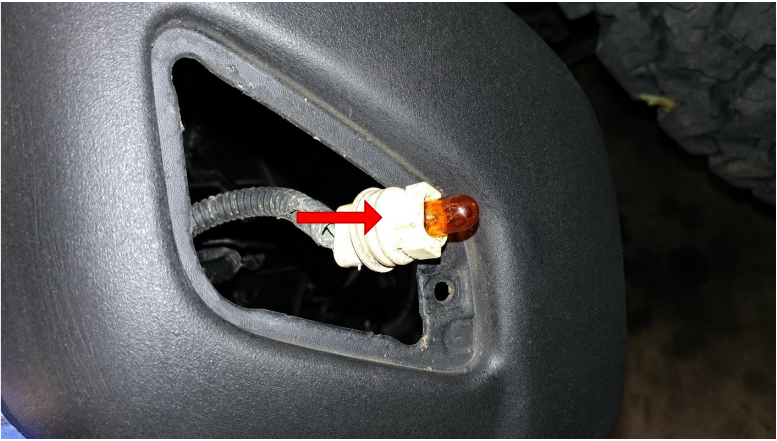
3. Remove the factory white light bulb and install the provided amber/orange light bulb. The bulb will pull straight out.
4. My factory side marker housings had a 3 key mounting style for the bulb socket. The new Axial Clear Side Marker Light housing uses a 2 key mounting style for the bulb socket. I used a knife to remove the extra tab.
5. Line up the 2 mounting keys on the light bulb socket with the mounting holes on the new Axial Clear Side Marker Light. Turn the socket 1 half turn.
6. While holding in the new Axial Clear Side Marker Light install the Thread Cutting Nut. I found that the nut size using a 3/8” socket fit.
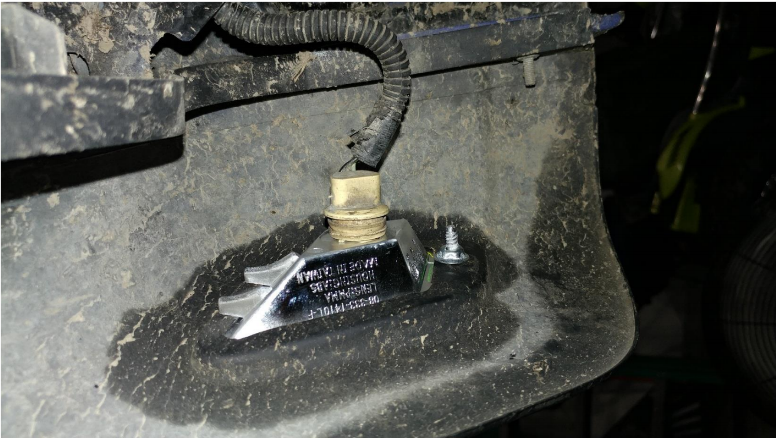
7. Installation complete.
Installation Instructions Written by ExtremeTerrain Customer T. Boyer 10/19/2017
