 FREE 1 to 3-Day Delivery on Orders $149+ Details

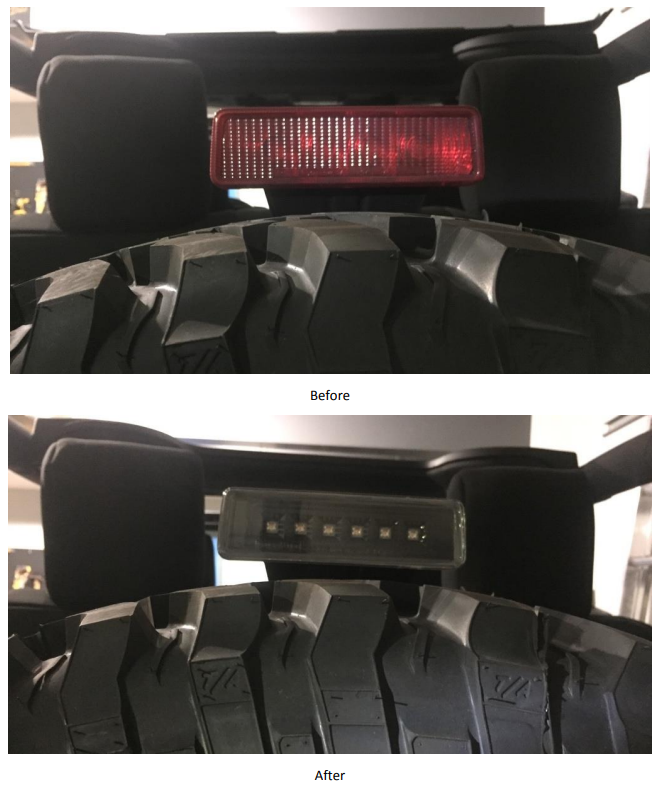
How to Install Axial LED 3rd Brake Light - Bermuda Black (07-18 Wrangler JK) on your Jeep Wrangler
Installation Time
1 hours
Tools Required
- Box Cutter/Knife
- Torx 20 Bit
- Pry Tool (optional)
- Lug Wrench or 19mm Socket Wrench

Shop Parts in this Guide
Installation Instructions
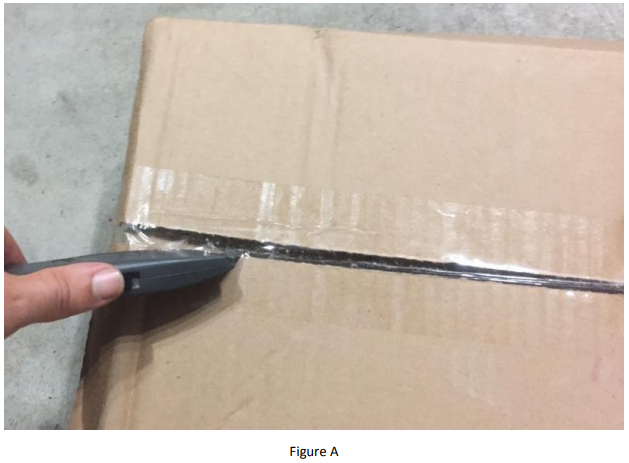
1. Carefully open the package using a box cutter or knife (Figure A) and ensure the brake light is included and undamaged.
2. Using a lug wrench or a 19mm socket, remove the lugs from the spare tire (Figure B).

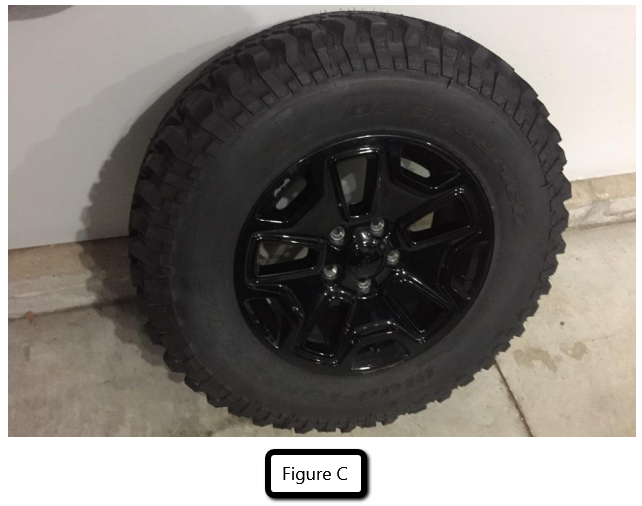
3. Place the spare tire aside (Figure C).
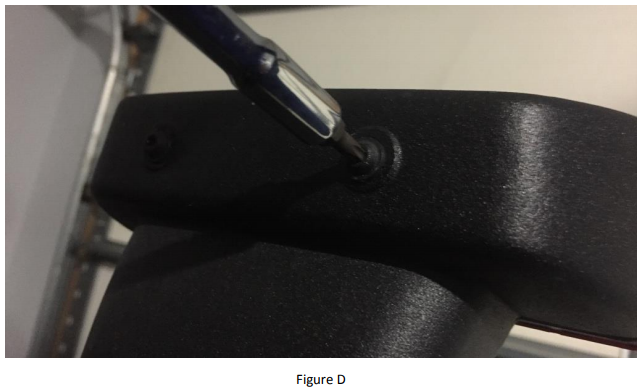
4. With the spare tire out of the way, unscrew the four factory screws connecting the OEM third brake light to the mounting arm using a Torx 20 bit (Figure D).
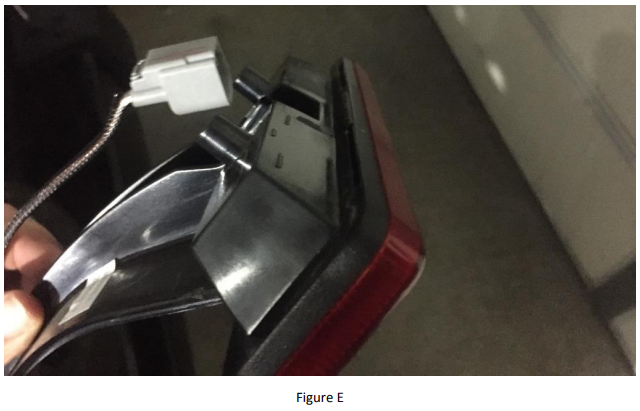
5. Unplug the OEM third brake light's wiring harness (Figure E) and set the OEM third brake light aside.
Note: If having trouble separating the wiring harness, use a pry tool while depressing the tab.
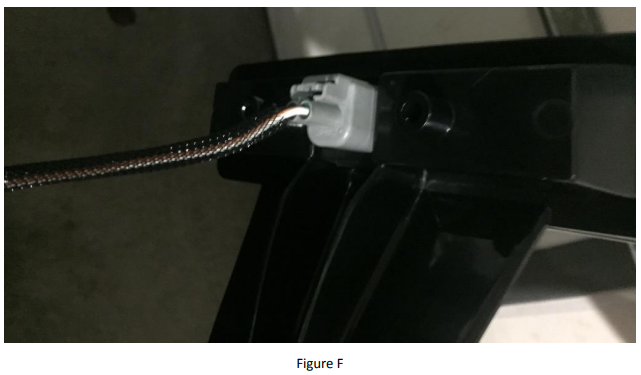
6. Connect the wiring harness of the Axial third brake light (Figure F).
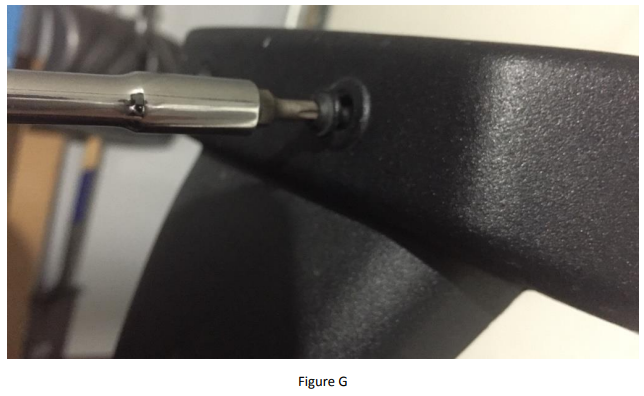
7. Return the factory screws in the same places (Figure G).
8. Have someone press the brake in and watch behind the vehicle to ensure light works properly.
9. Place the spare tire back on the mount and reinstall the lugs.
Installation Instructions Written by ExtremeTerrain Customer J. Sandlin 09/14/2017
