Guaranteed 12/24 Delivery Still Available see item page for details! available on most items - Details

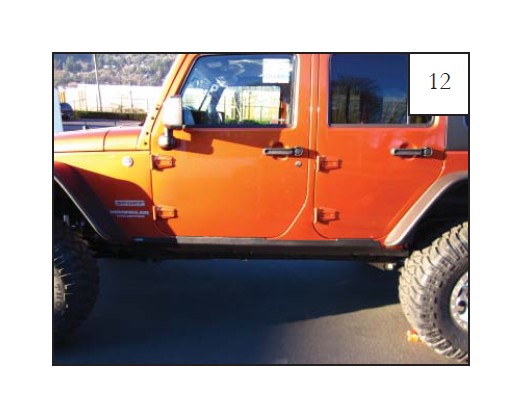
How to Install Bushwacker Textured Rocker Panel & Sill Plate - Pair (07-17 Wrangler JK 4 Door) on your Jeep Wrangler
Installation Time
1 hours
Tools Required
- #2 Phillips Screwdriver
- Cleaning Cloth
- Marker
- Masking Tape
STEP 1 - PRIOR TO INSTALLATION
A) Bushwacker only approves installing the trail armor according to these written instructions with the hardware provided. WARNING: Failure to install according to these instructions will invalidate the warranty. This includes, but is not limited to using alternative installation methods, hardware, or materials. DO NOT USE: Loctite, SuperGlue, or similar products on the hardware or the trail armor.
B) Fit: Verify the fit of the trail armor to vehicle. (Some filing, sanding, or cutting may be necessary to ensure proper fit).
C) Painting: (Optional) if paint is desired it must be done prior to installing trail armor on the vehicle. Clean outer surface with a good grade degreaser. DO NOT USE LACQUER THINNER OR ENAMEL REDUCER AS A DEGREASER. Wipe outer surface thoroughly with a tack rag prior to paint. Application of plastic adhesion promoter for TPO plastic as per your paint system manufacturer’s recommendations is required. Paint trail armor using a high quality enamel, or polyurethane automotive paint.
D) Exhaust System: Modifications may be necessary to maintain a minimum 4” clearance between trail armor and exhaust pipes. (Exhaust gases should not vent directly onto trail armor)
E) Metal Protection: All exposed fasteners and bare metal should be treated with rust resistant paint BEFORE installing trail armor.
F) Decals: Trail Armor may interfere with existing decals on vehicle. If you wish, remove decals prior to installation of trail armor.
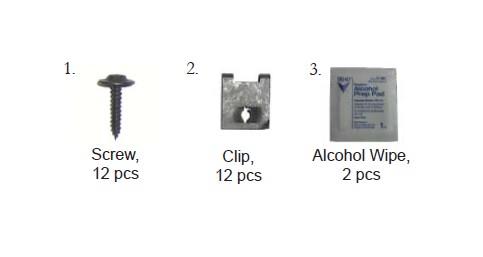
Included in Hardware Kit
Side Panels Installation Procedures (Driver’s Side)
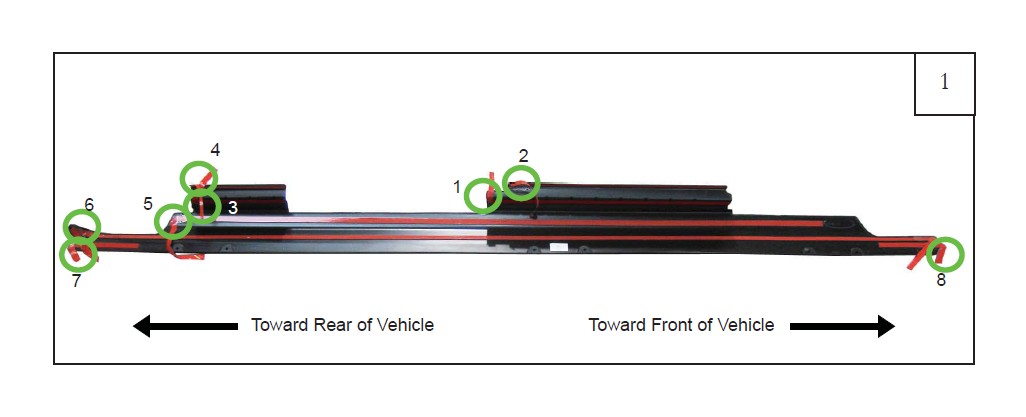
Using a marker, number the tape tabs for the tape liners as shown:
1: 1/2” Tape tab removed in step 6.
2: 1/4” Tape tab removed in step 7.
3: 1/2” Tape tab removed in step 9.
4: 1/4” Tape tab removed in step 9.
5: 1/2” Tape tab removed in step 10. This tab must hang down for removal from tape.
6: 1/2” Tape tab removed in step 11. The tabs at both ends of this tape must hang down for removal from tape.
7: 1/2” Tape tab removed in step 12.
8: 1/2” Tape tab removed in step 13.
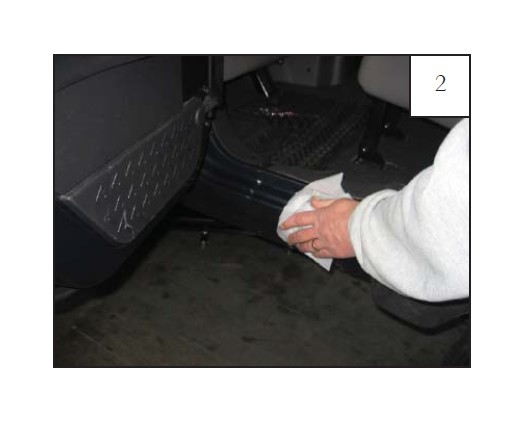
Open vehicle door. Clean all dirt and debris from vehicle door sills, rocker panel, and beneath flares if installed. Then use supplied alcohol wipe where part will be. NOTE: Temperature should be at least 60°F for proper tape adhesion.
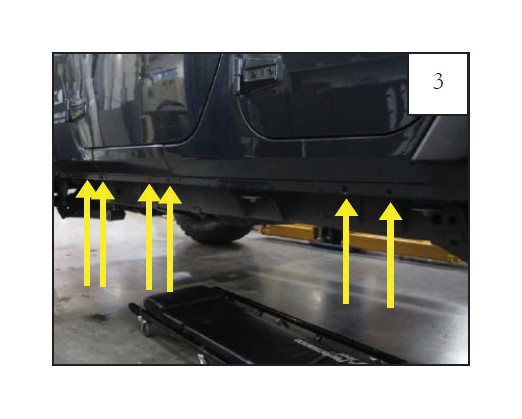
Locate the six factory holes in the rocker.
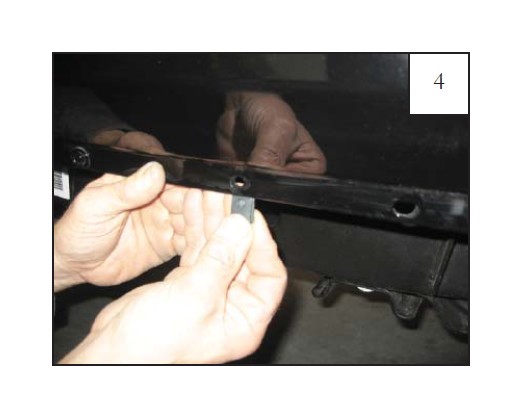
Place a clip over each hole with threaded portion of clip on the inside.
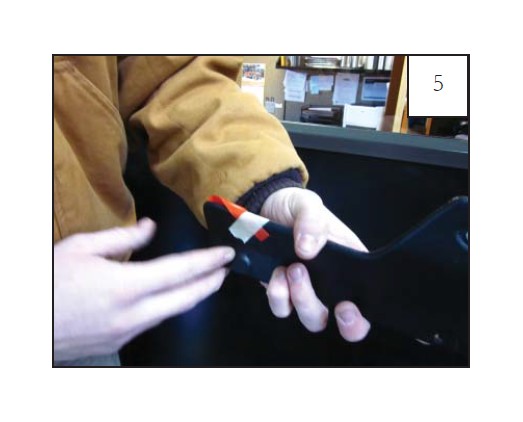
Using masking tape, secure tabs to the outside of part for easy access. OPTIONAL
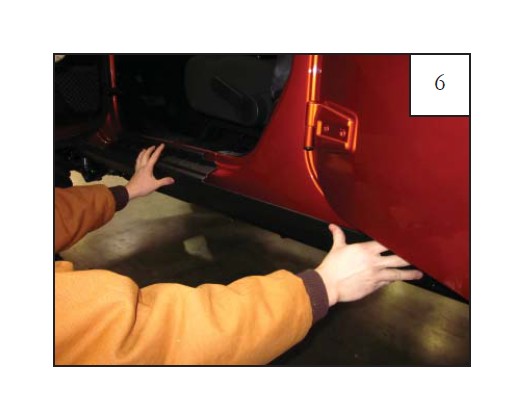
Place part on vehicle, making sure to line up edges of part with edges of vehicle and holes in part with clips installed in step 4. Ensure that all tape tabs are accessible.
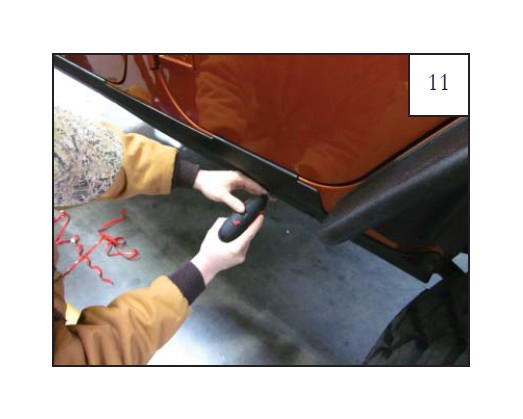
Using a #2 Phillips screwdriver, start a screw through each hole in side panel and through clips installed in step 4. DO NOT TIGHTEN SCREWS.
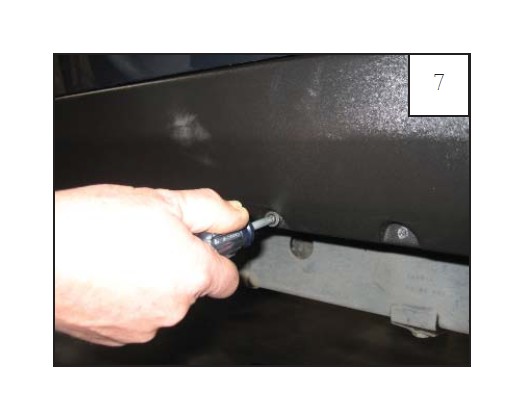
The top of the part should hang out away from the vehicle.
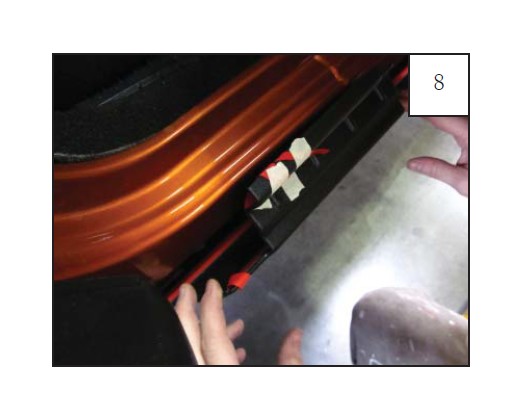
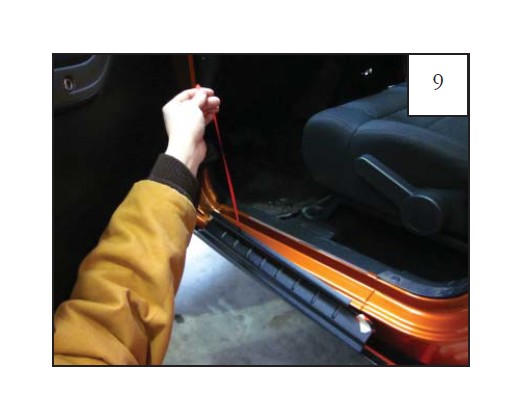
Remove all tape liners from the part.
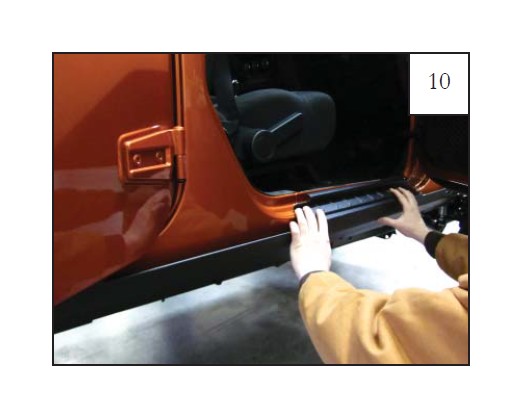
Press the part firmly into place following tape liner removal.
Tighten all screws.
Complete Installation.
