 FREE 1 to 3-Day Delivery on Orders $149+ Details

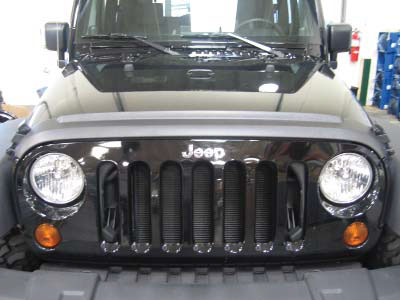
How to Install a Bushwacker Textured Hood and TailGate Protector on your 2007-2014 Jeep Wrangler JK
STEP 1 – PRIOR TO INSTALLATION
A) Bushwacker only approves installing the Trail Armor according to these written instructions with the hardware provided. WARNING: Failure to install according to these instructions will invalidate the warranty. This includes, but is not limited to using alternative installation methods, hardware, or materials. DO NOT USE: Loctite, SuperGlue, or similar products on the hardware or the fl ares.
B) Fit: Verify the fi t of the Trail Armor to vehicle. (Some fi ling, sanding, or cutting may be necessary to ensure proper fi t).
C) Painting: (Optional) if paint is desired it must be done prior to installing Trail Armor on vehicle. Clean outer surface with a good grade degreaser. DO NOT USE LACQUER THINNER OR ENAMEL REDUCER AS A DEGREASER. Wipe outer surface thoroughly with a tack rag prior to paint. Application of plastic adhesion promoter for ABS plastic as per your paint system manufacturer’s recommendations is required. Paint Trail Armor using a high quality enamel, or polyurethane automotive paint. If painting edge trim (not recommended), use a fl ex additive.
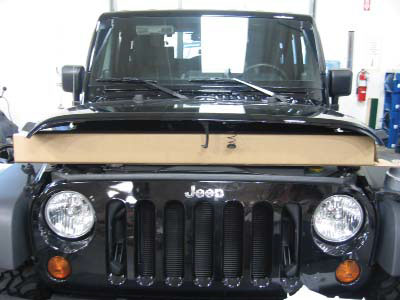
Open front hood. Using box parts came in, prop hood open. Clean all dirt and debris from hood then use supplied alcohol wipe where part will be. NOTE: Temperature should be at least 60°F for proper tape adhesion
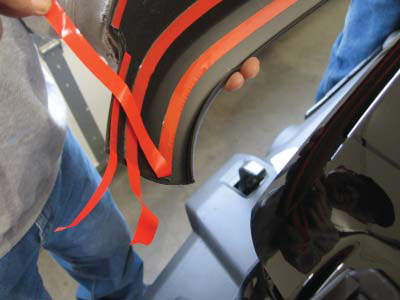
Before placing the part on the vehicle, take the tab for the line of 1/2” tape nearest the lowest curvature of the part and fold it up as shown.
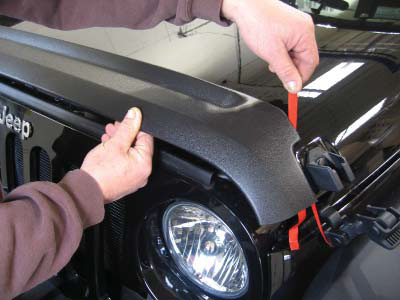
Place part on vehicle, ensuring that the tab for the line of 1/2” tape nearest the front of the hood is positioned as shown.
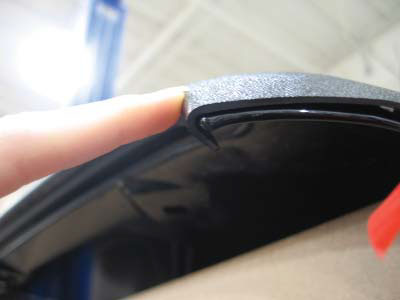
For proper alignment, check that edge of part is hooked over the edge of the hood along entire length of part. NOTE: Hood will not close properly if part is not snug around the lip.
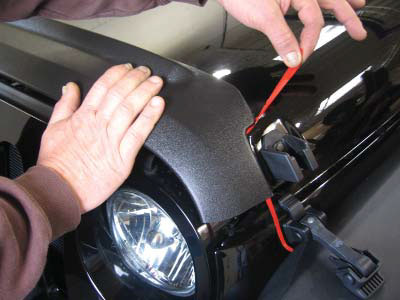
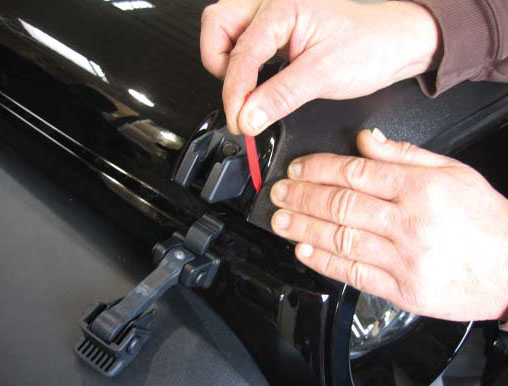
While pressing on the forward edge of the part, pull the 1/2” tape liner with the tab folded up in step 2. NOTE: Take care not to catch tape liner on other pieces of tape and accidentally pull their liners off as well
While pulling 1/2” tape liner, move hand to continue pressing on part
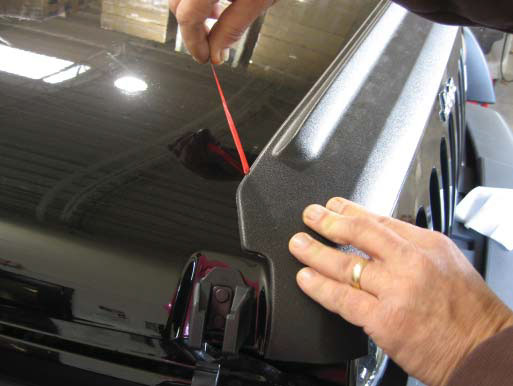
Take the tab of the remaining 1/2” tape strip and pull tape liner. While pulling liner, press on part as was done for fi rst strip of tape liner. NOTE: Take care not to catch tape liner on other piece of tape and accidentally pull its liner off as well.
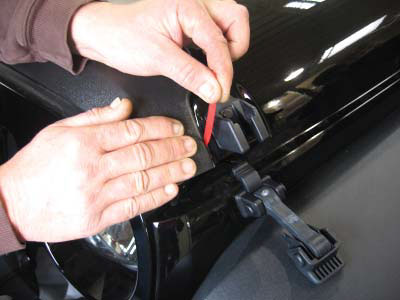
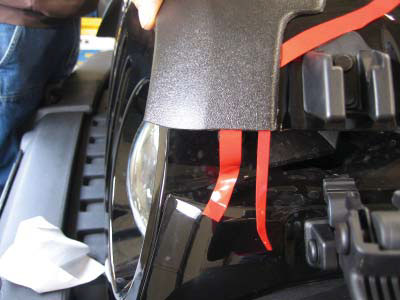
Pull the liner from the 1/4” tape on the driver’s side of the vehicle.
Pull the liner from the lower of the two 1/4” tape pieces on the driver’s side of the vehicle
Take the tab of the remaining 1/4” tape strip and pull tape liner. While pulling liner, press on part as was done for fi rst strip of tape liner.
Toward the front of the vehicle, pull 1/2” tape liner tab 4. Press fi rmly on the part following tape liner removal. NOTE: Refer to step 1 for additional tape tab identification.
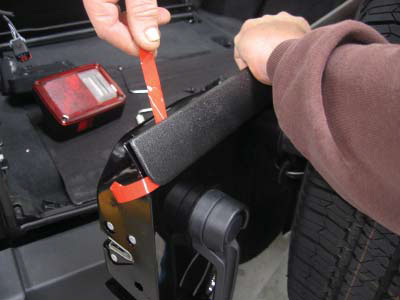
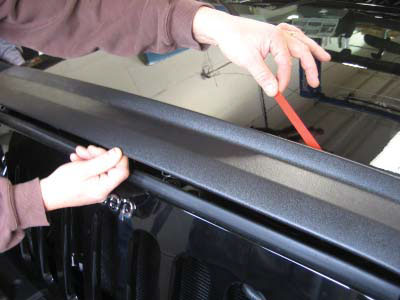
NOTE: Temperature should be 60°F for proper tape adhesion. Open rear door. Place part on vehicle, lining edges of part with edges of door. Pull liner of upper 1/2” tape strip. Press fi rmly along part to adhere tape.
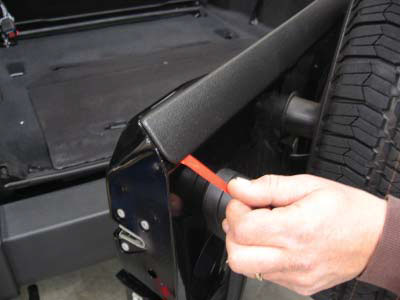
Pull liner of lower 1/2” tape strip. Press down on entire length of part again applying 30 PSI to the taped areas. NOTE: The tape reaches maximum adhesive bond after 24 hours of contact. Do not wash vehicle for 24 hours.
