 FREE 1 to 3-Day Delivery on Orders $149+ Details

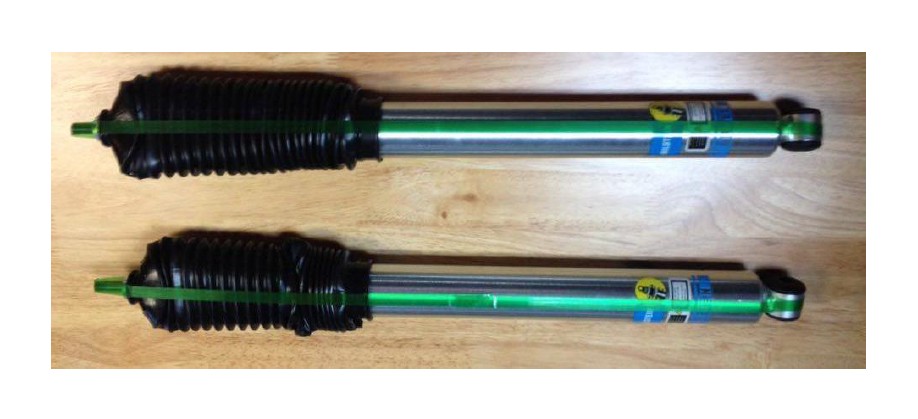
How to Install Bilstein 5100 Series Front Shock for 3-4 in. Lift (87-95 Wrangler YJ) on your Jeep Wrangler
Installation Time
30 minutes
Tools Required
- ¾” wrench
- ¾” 3-8ths socket
- 3-8ths ratchet
- 9/16ths ratchet or wrench
- 17mm wrench
- crescent wrench
- screw driver
- allen wrench that fits a 13/16ths wrench on it
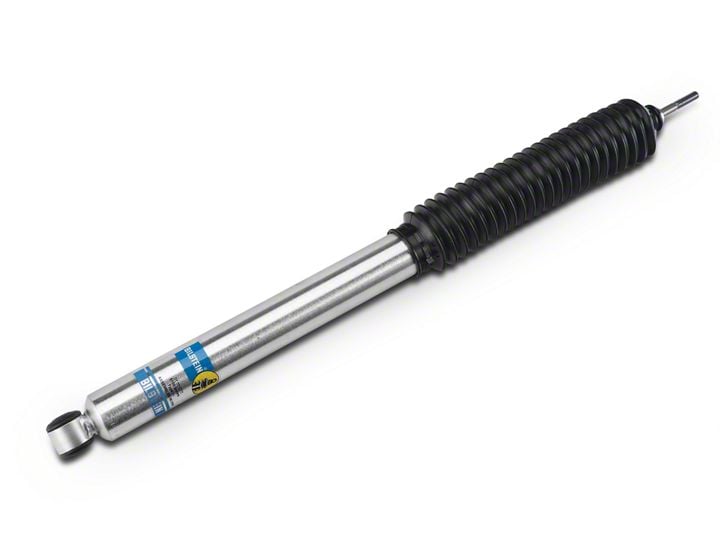
Shop Parts in this Guide
Installation Instructions:
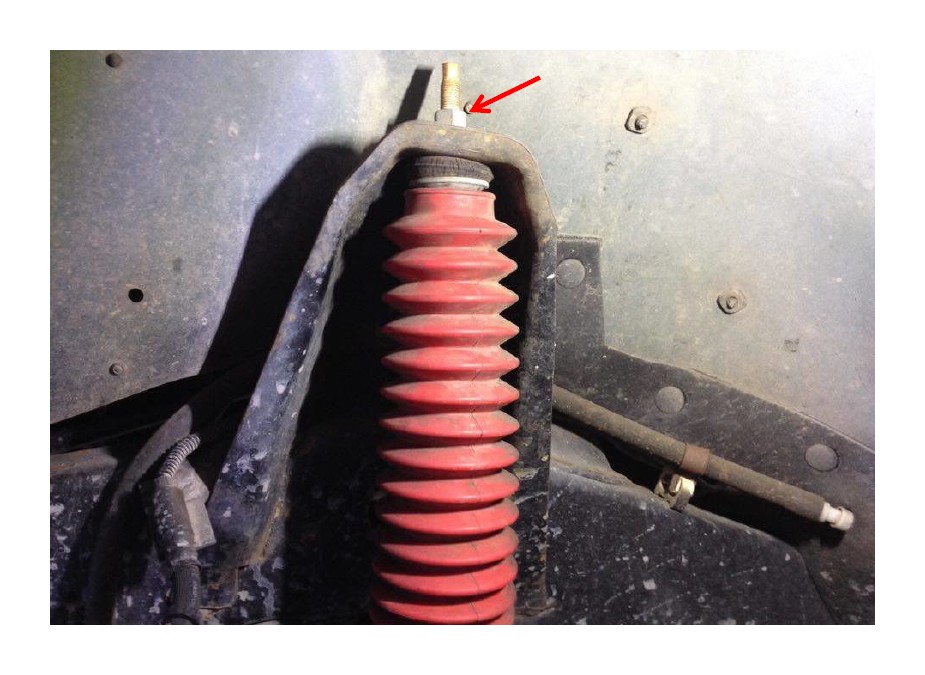
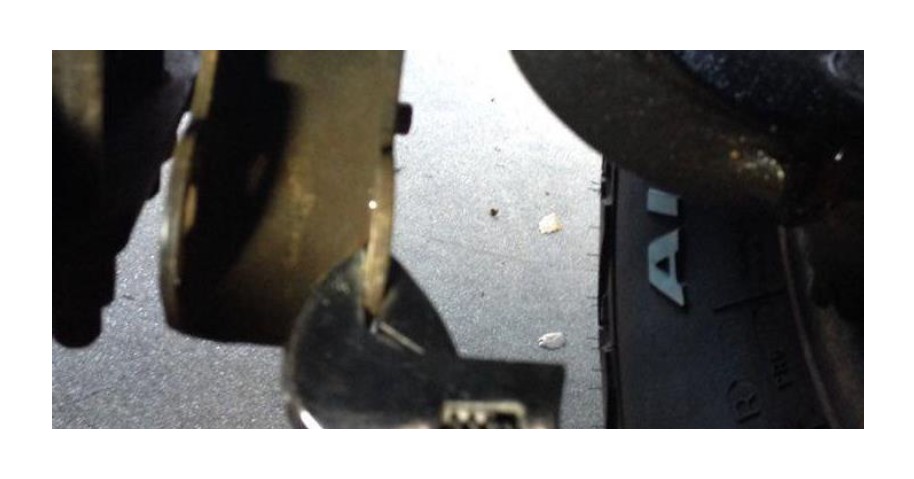
1. Begin by removing the nut and washer holding the old shock in place. Use a 9/16ths ratchet wrench or normal box end wrench. Image shown is the right front shock. Make a note of how the old washer and rubber bushing comes off the old shock so you can set up the new shock the same way.
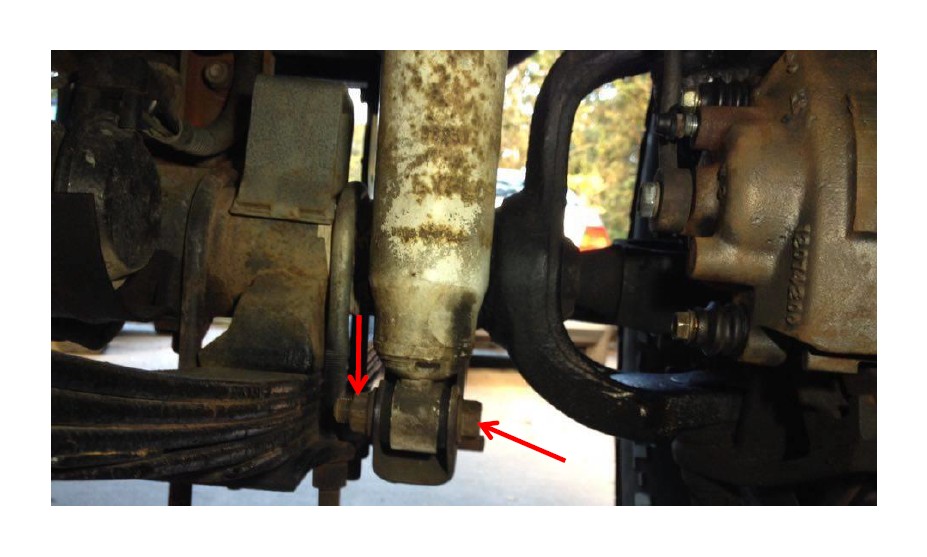
2. Remove the nut and bolt securing the bottom of the old shock, using a ¾” socket, 3/8ths ratchet, and a box end wrench. The box end wrench is to keep the nut from spinning while you’re loosening the bolt with the ratchet.
3. You’re going to be reusing the old bolt and nut for the new shock.
4. Now remove the old shock, it should slide right out. If it doesn’t come out easy, pry it out with a screw driver. Before installing the new Bilstein shock, compare the compressed and decompressed length with the old shock to make sure they match up. Now for the next step you made need a friend to help compress the shock. I like to leave the green straps that came with the shock on until I’m ready to install the new shock.
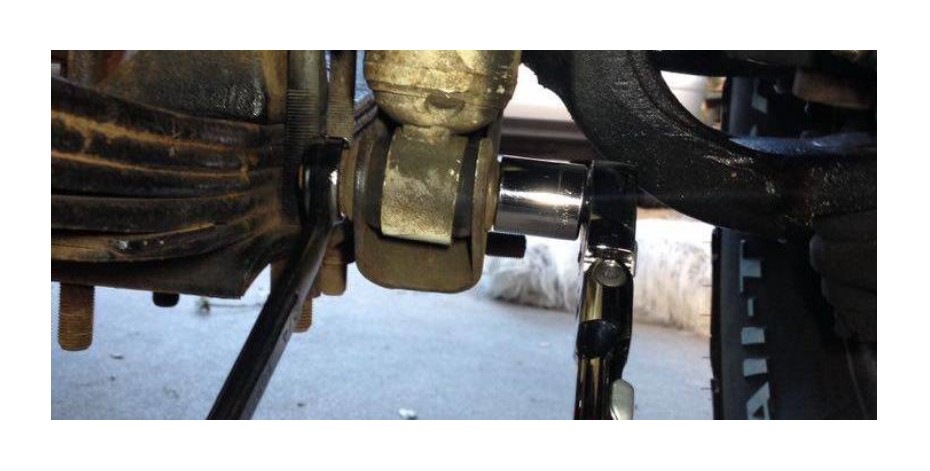
5. Now slide in the new shock into the shock tab and slide in the bottom bolt. If the new shock bushings are just a little too thick to fit into the shock tab, like mine was just bend the shock tab back with a crescent wrench. Once you tighten the bolt down it will bend itself back into place. Tighten the bolt to 45 foot pounds, using a ¾” socket, 3/8ths ratchet and a box end wrench.
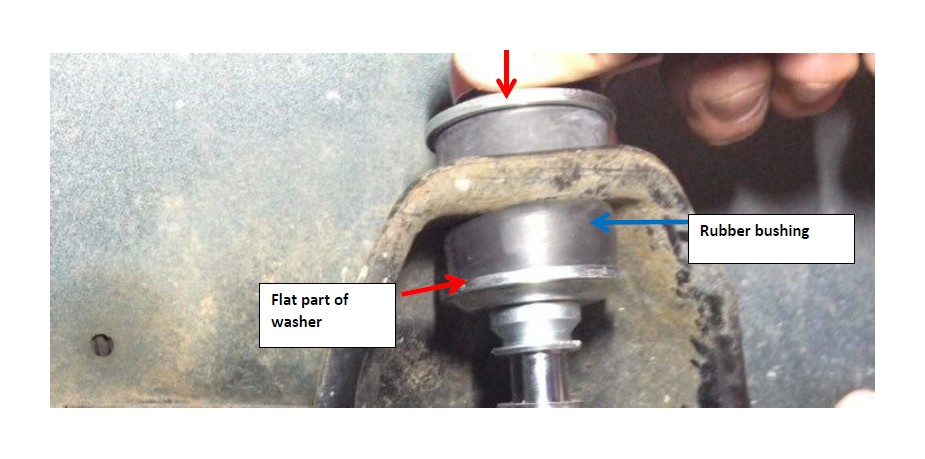
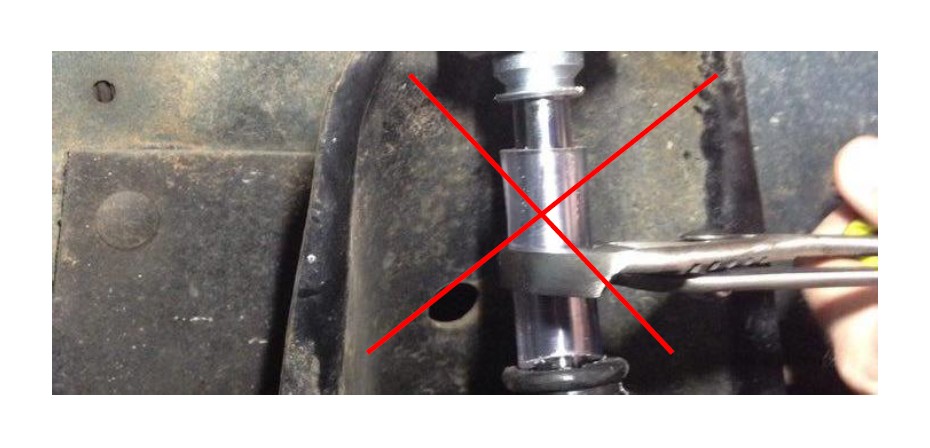
6. On the new shock install the new bushings and washers as shown in the picture below. The washers are conical shaped and the flat part of the bottom washer should face upwards and the flat part of the top washer should face downward. This keeps the bushing in place and sandwiches them together.
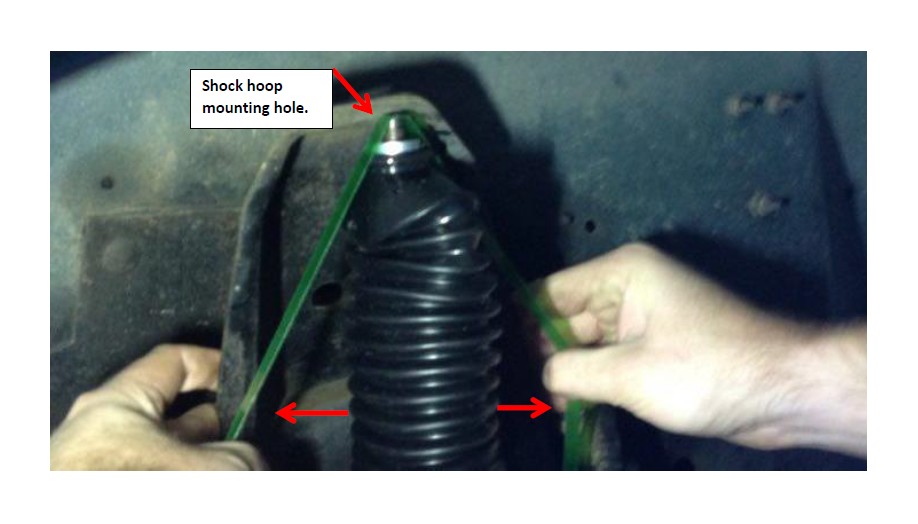
7. Grab the green straps and pull outwards to compress the shock so you can push it through the mounting hole of the shock hoop. If you can’t compress the shock using this method, then cut the green strap and pull down on the shock with both hands. (This may require two people).
8. Reusing the old shock hardware (top nut), tighten down the top shock nut until the bushing fully seats on the shock hoop and you can see it compress slightly and it begins to flex outwards. The torque spec is 45 foot pounds. Use a 17mm wrench and an allen wrench. The allen wrench is used to stop the shock piston rod from spinning in its bore.
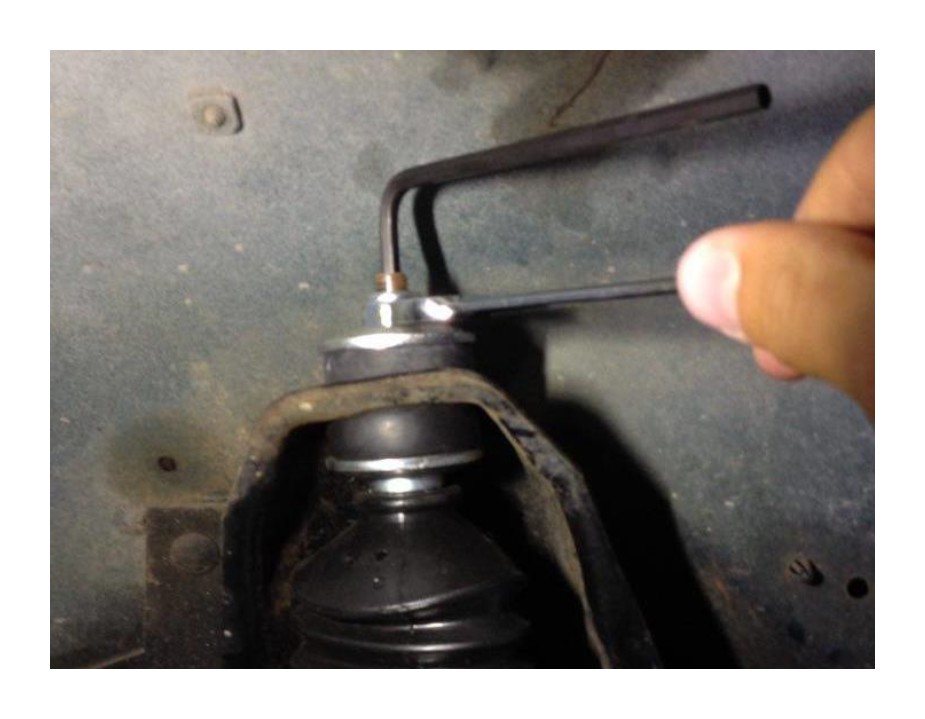
9. Another method commonly used to keep the piston rod from spinning in its bore, is to cut a rubber hose and attach it to the piston rod and hold it with channel lock pliers. I don’t recommend this method because you don’t want to chance bending the rod or damaging it and causing it to lose its seal and result in a leaking shock.
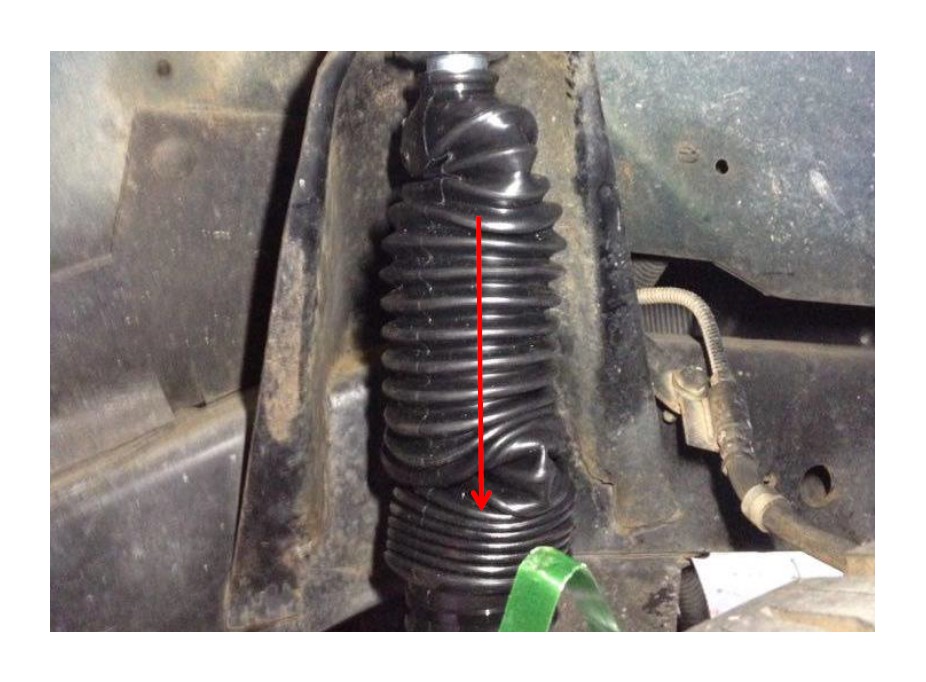
10. Installing the left front shock is the same as the right front; just don’t forget to keep the washers and bushings facing the right direction. If the shock boots are bunched up from the way they were shipped in the box, just pull them down with your hand towards the bottom of the shock. They should straighten out.
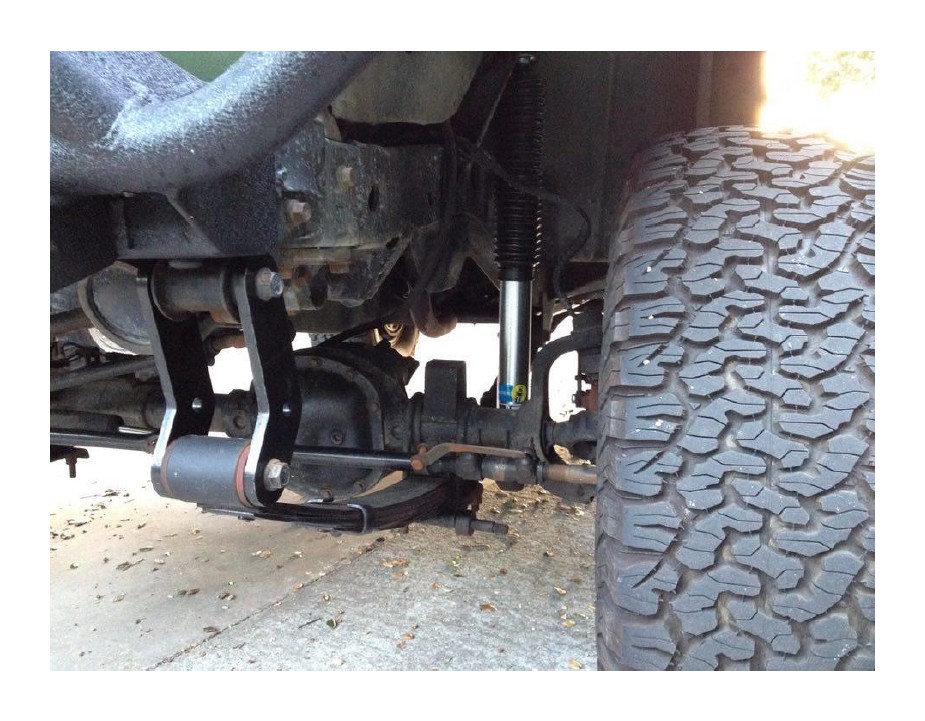
11. Enjoy your new shocks!
Installation Instructions Written by ExtremeTerrain Customer Payton Hays 8/12/2016
