 FREE 1 to 3-Day Delivery on Orders $149+ Details

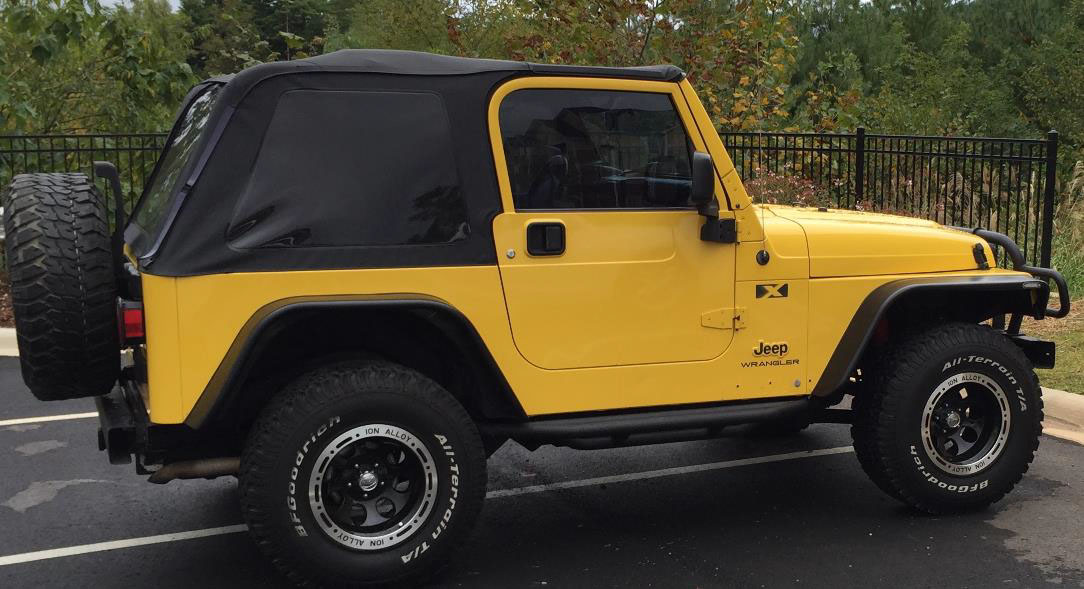
How To Install a Barricade Flat Style Fender Flare Kit On Your 1997-2006 Jeep Wrangler TJ
Installation Time
3 hours
Tools Required
- 8mm wrench
- 8mm socket drive
- #1 Phillips screw driver
- Pliers
- Pry bar
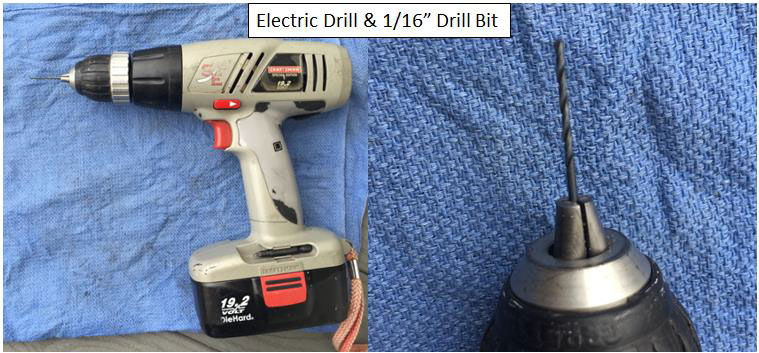
- Electric drill
- 1/16” drill bit
- Wire strippers
- Tape
- Car wash soap, water, and a rag for cleaning

Shop Parts in this Guide
NOTE:
Start by removing the factory flares. This will take approximately twice as long as installing your new Barricade Flat Fender Flares.
Removal of Factory Flares:
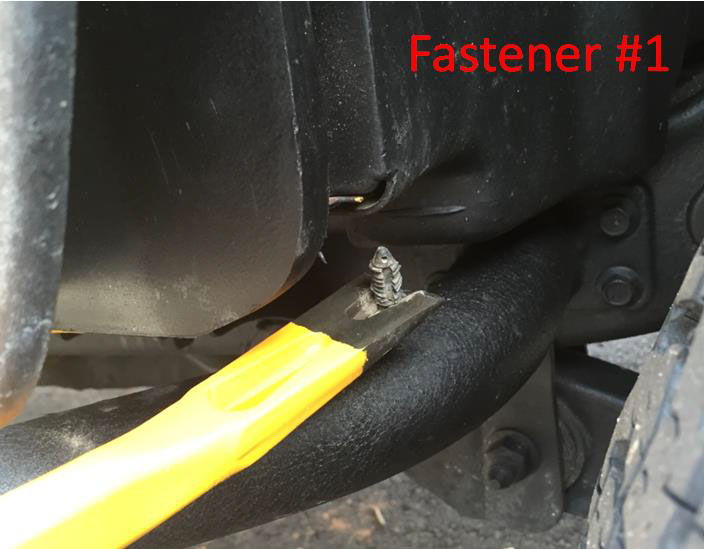
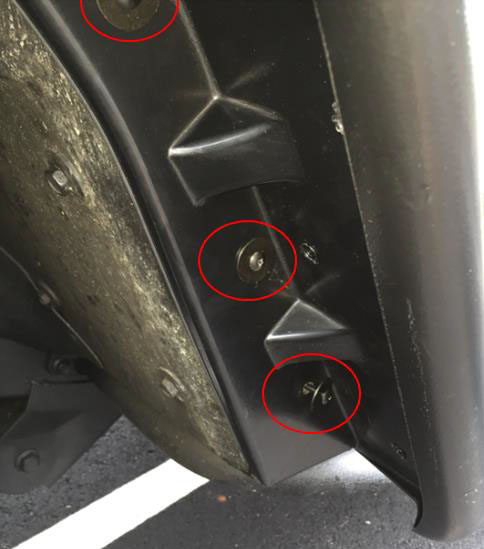
1. Start at either the driver or passenger side rear fender flare. Using a pry bar, remove plastic Christmas tree fasteners which fold the rear fender well liner in place. You will need to access nuts located behind the liner at a later point.
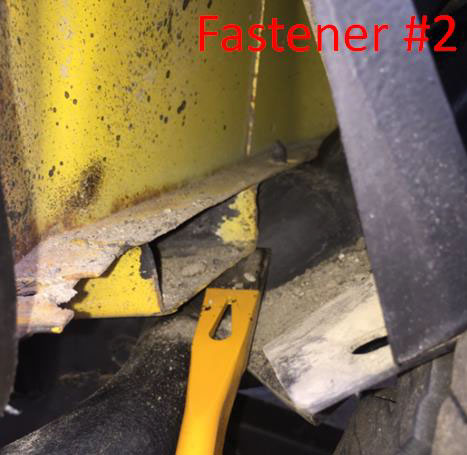
a. Remove the front two fasteners nearest to the door.
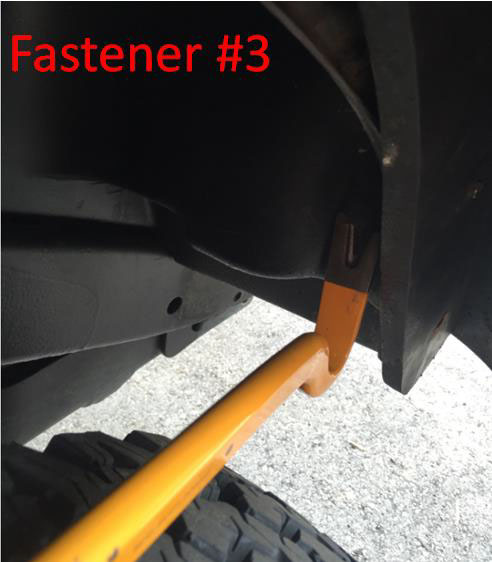
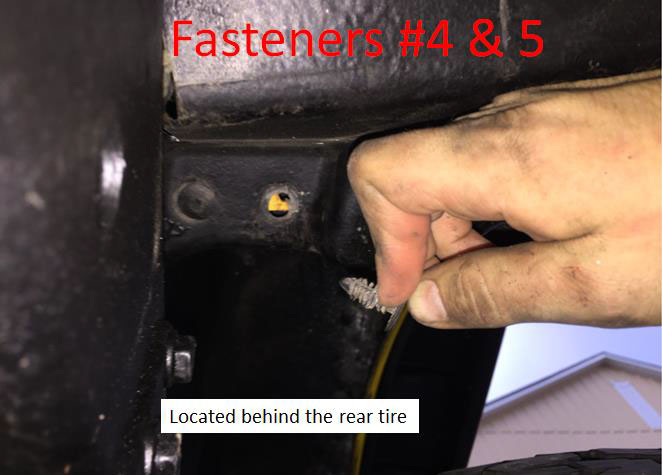
b. Remove plastic Christmas tree fastener #3 (inside the wheel well), as well as the fasteners at the rear most position on the bottom of the wheel well behind the rear tire.
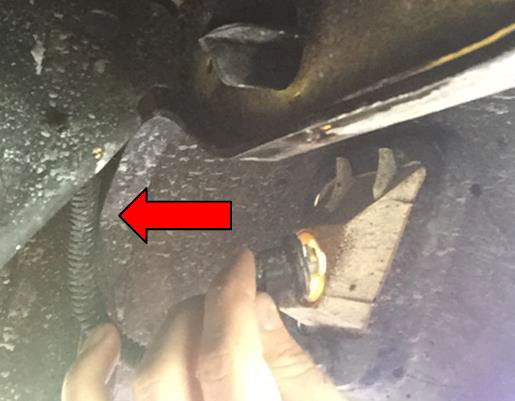
2. Locate the 8 factory bolts inside the factory fender flare and remove them.
a. Start by removing the two factory bolts nearest to the door with an 8mm wrench or socket drive.

b. Remove the rear-most bolt using an 8mm socket drive.
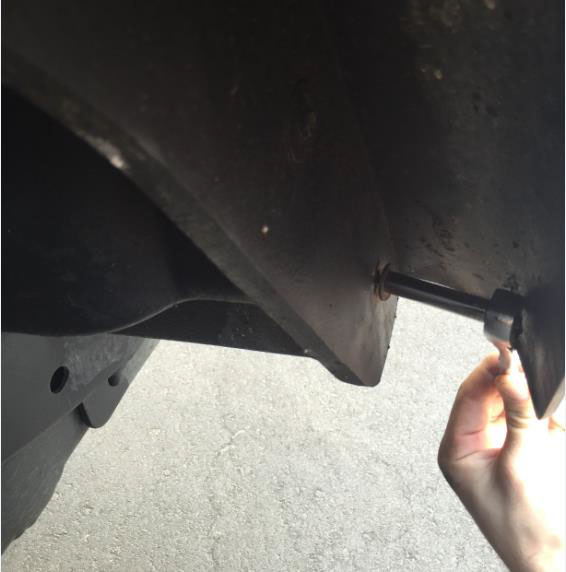
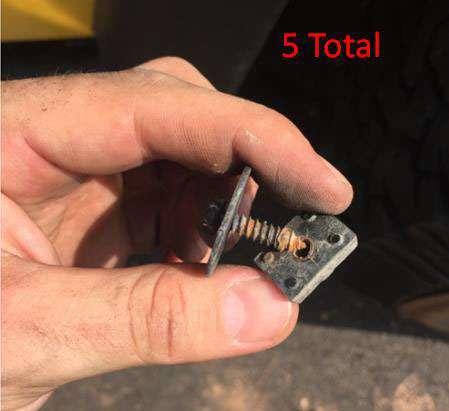
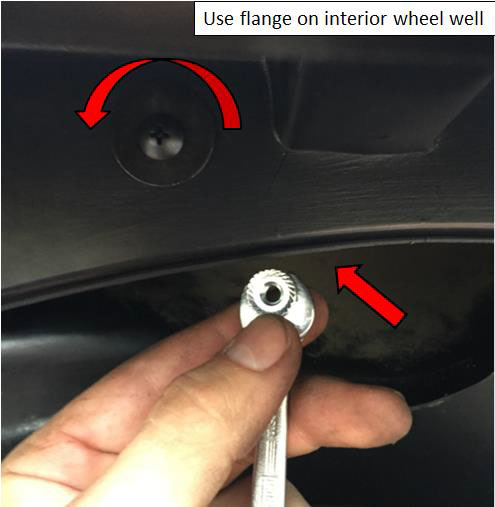
c. Remove the remaining 5 bolts from the rear flare. Each bolt will have a square nut on the back side of the interior wheel well which you will need to hold with a pair of pliers. Pull back the wheel well liner in order to access the square nuts.

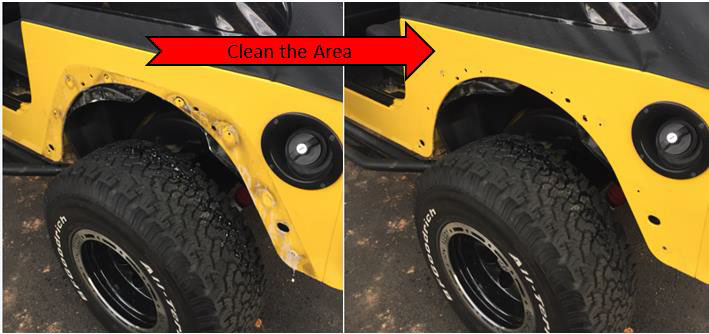
3. Remove the factory fender flare and prepare the area for the new flare to be installed. Clean the area using car wash soap or other cleaning product capable of removing dirt and grime.
4. Now repeat steps 1-3 for the remaining rear factory fender flare.
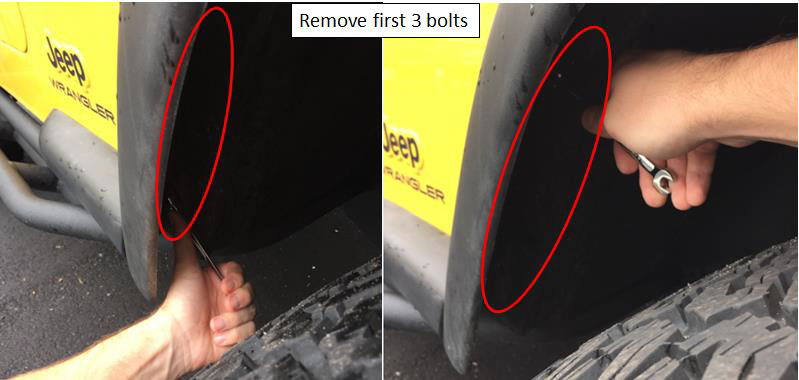
5. Move the front set of factory fender flares. Remove the 10 factory bolts holding the flare in position. a. Using an 8mm wrench or socket drive remove the first three bolts nearest to the door.
b. Remove the factory bulb from the marker light by pulling it out firmly. Move the bulb out of the way so that you are free to remove the nearby bolts without interference.
c. Remove the bolt at the front most position using an 8mm wrench or socket drive.
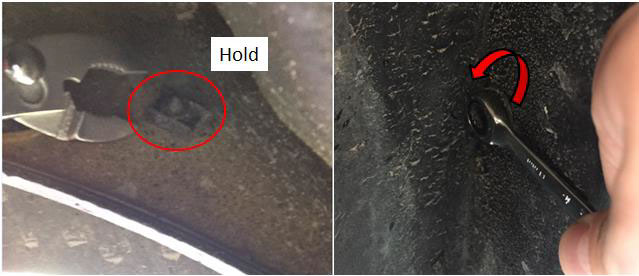
d. Now remove the remaining bolts by using a pair of pliers to hold the square nut located on the interior fender well as you loosen the bolt using an 8mm wrench or socket drive.
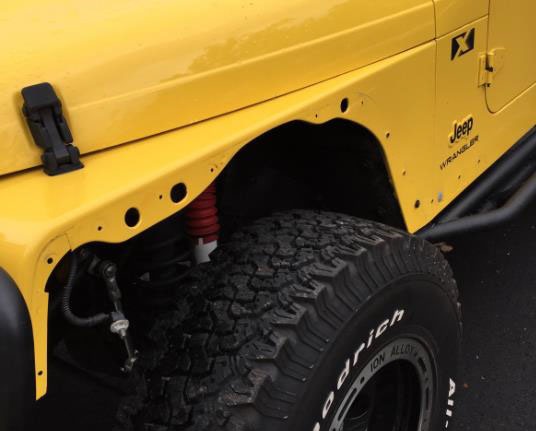
e. Now remove the factory fender flare.
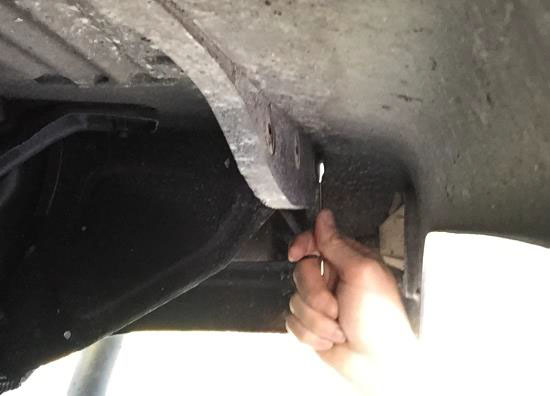
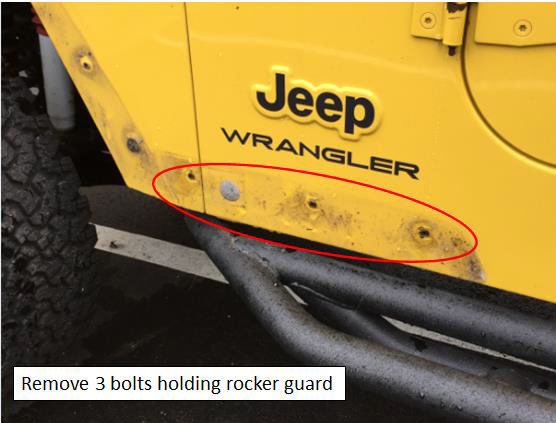
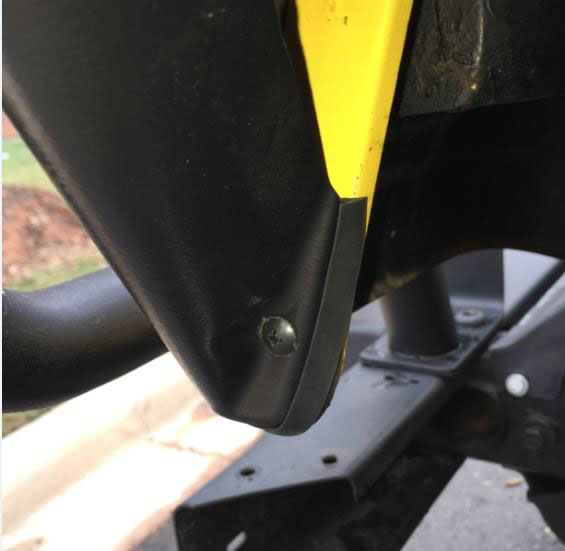
f. Remove the factory rocker guard located between the front fender flare. Use an 8mm wrench to remove the 3 bolts holding it in place.
i. NOTE: If you intend to re-install the rocker guards set the guards and all bolts aside in a safe place, as you will need them later to re-install the guards.
g. Clean the entire area thoroughly as performed previously on the rear areas.
Now Install the Factory Flares
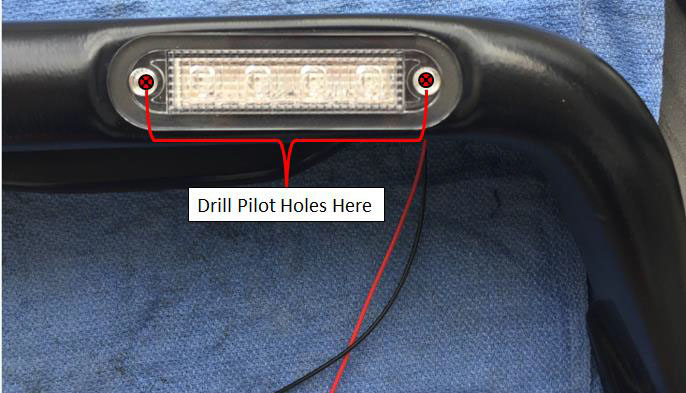
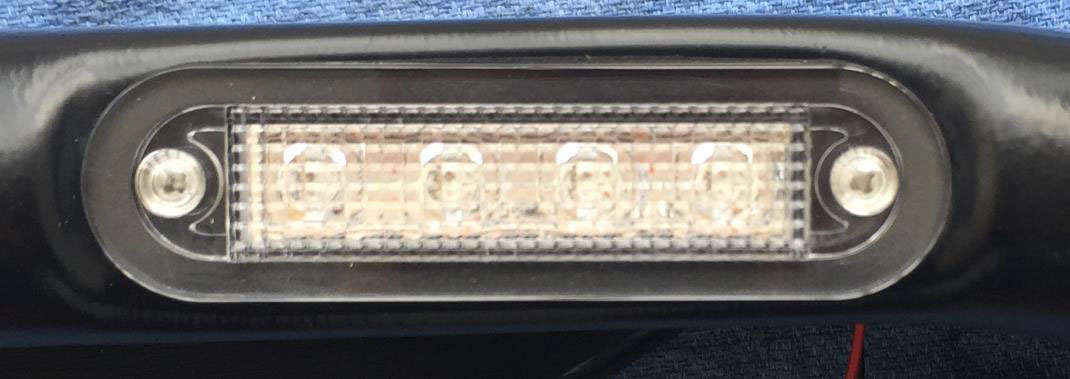
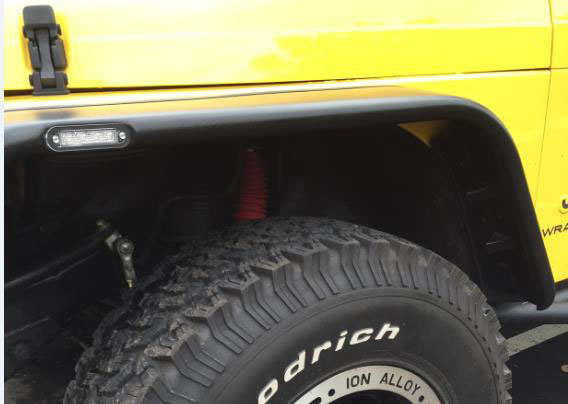
6. Install the supplied marker lights in each of the front Barricade Flat Style Fender Flares.
a. Start by dropping each marker light into the front flare light pocket and piloting a hole into the fender flare using a 1/16” drill bit.
b. Using the supplied screws and a #1 phillips head screwdriver, screw the lights into each front flare and then push in the supplied screw cap covers on top of the screw head.
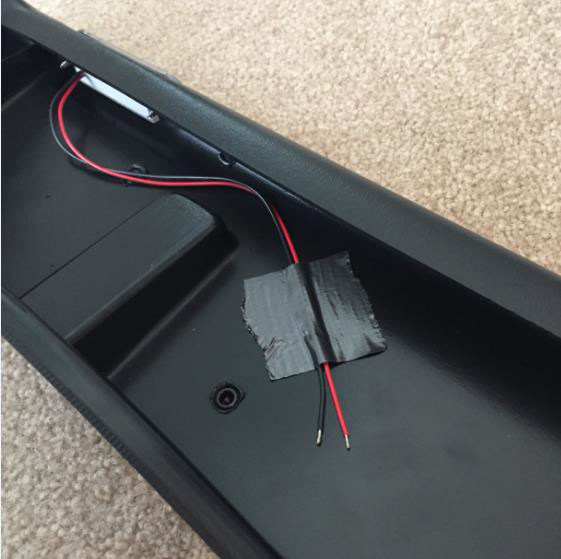
c. Tape the electrical wires to the interior of fender so that they will be out of the way during installation.
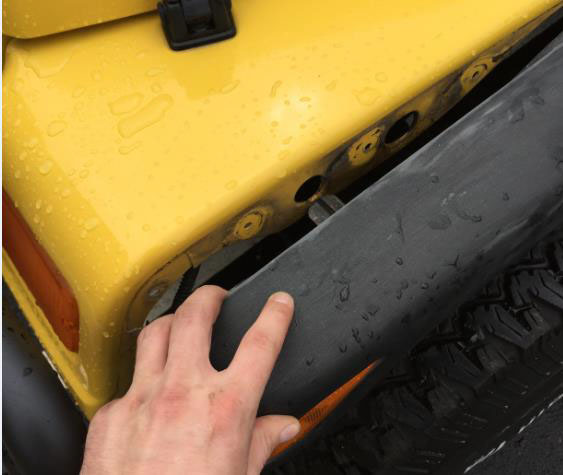
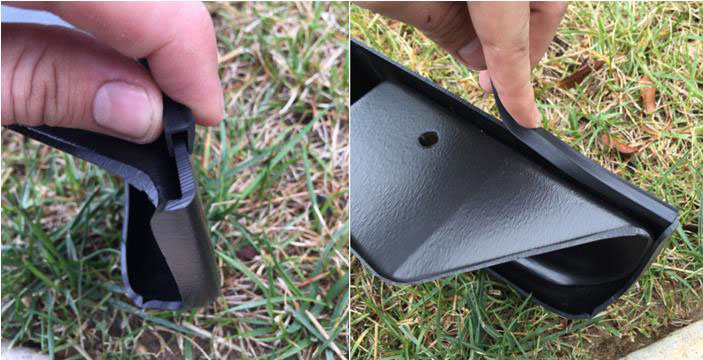
7. Install the supplied rubber trim on all four fender flares. Start at one side of the fender flare and press the trim down against the flare lip as pictured below. Continue to run the trim along the entire length of the flare lip.
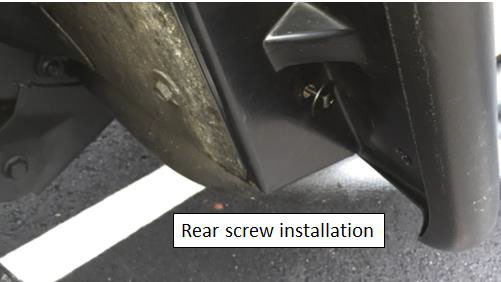
8. Now install the rear fender flares. Each flare will be marked as passenger’s side or driver’s side, install accordingly. Use the supplied M5 X 22 black phillips head screws, flange nuts, and black washers to fasten the fender flares to the body.
a. Begin by installing the 1 screw in the rear most position and 2 in the front most positions. You will not need to use a nut on the back of these positions, as the threaded receptor is built into the body.
b. Now install screws in the remaining 5 positions. Install each screw by using the supplied flange nuts on the interior of the rear fender well. Using a washer between the screw head and fender flare, fasten each screw hand tight, ensuring you do not apply too much pressure and crack the plastic flare.
9. Proceed to install opposite side fender flare by repeating Step 8.
10. Now install the front fender flares.
a. Start by installing the forward most screw and flange nut applying hand-tight torque. Do not use a washer with this mounting screw.
b. Now install screws with washers in the 3 positions closest to the door. Start at the bottom position, and work your way toward the center of the fender flare.
c. Now install screws with washers and flange nuts in all remaining positions on the front fender flare.
11. Repeat Step 10 for the opposite side.
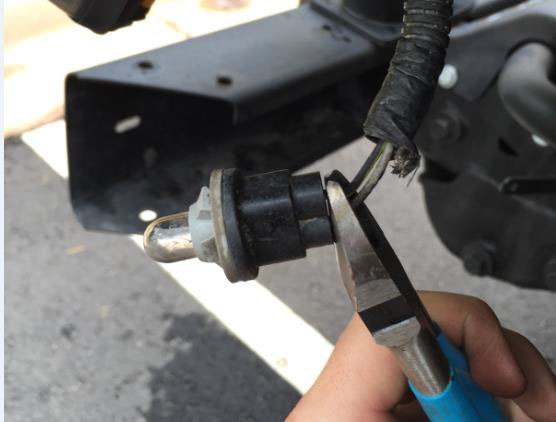
12. Complete the wiring for the marker lights.
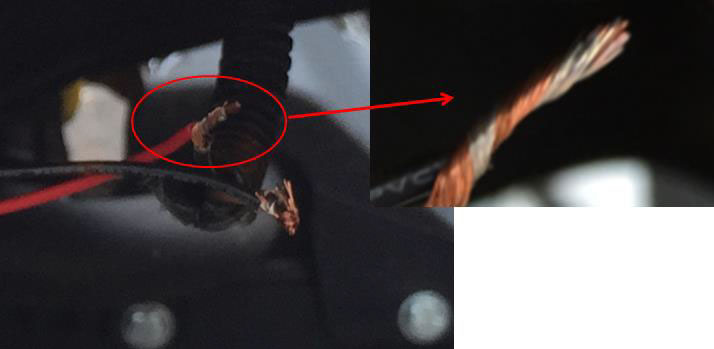
a. Cut both wires connected to the factory bulb.
b. Using a pair of wire strippers, strip the end of each lead.
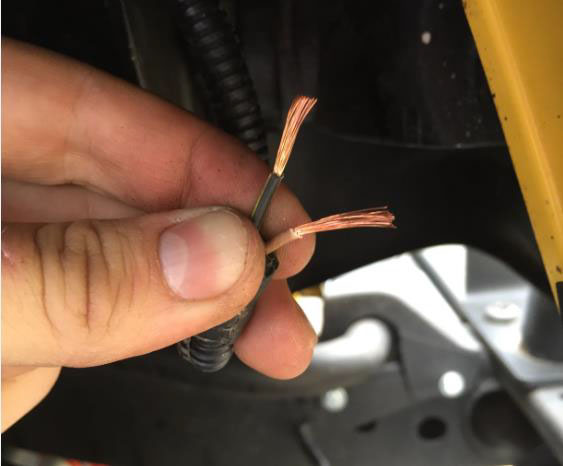
c. Un-tape the marker light wires from interior of the front fender flare.
d. Pair each factory lead wire with the marker light wiring and twist the exposed fibers together.
e. Test the marker light by turning the lights to the ON position inside your jeep.

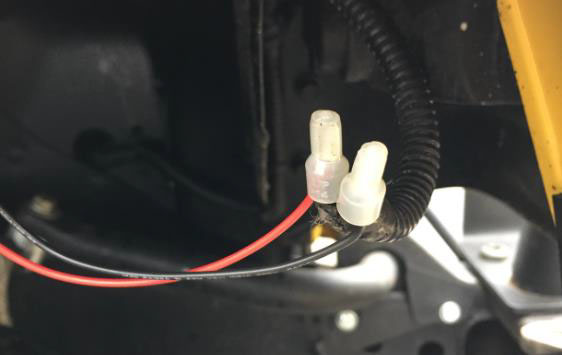
f. Install the supplied wire connectors over the exposed wire ends and crimp using wire strippers or pliers.
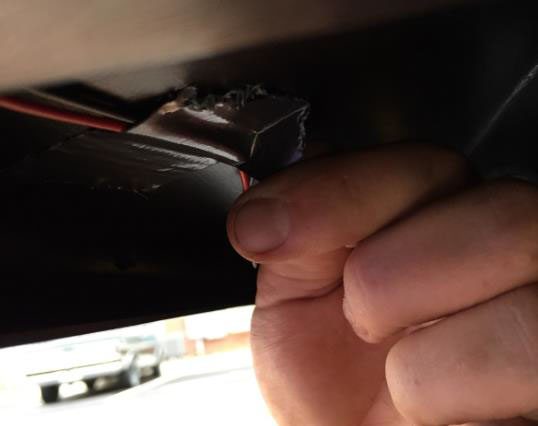
g. Using tape or a fastener of your choice, tuck the wires into a hidden space so that they are not handing from down in a visible area of the wheel well and secure their position. There is nothing supplied in the kit to aid you in hiding the wires, so the treatment is up to you. (Weatherproof tape is an inexpensive solution).
13. Repeat Step 12 for the opposite side front fender flare.
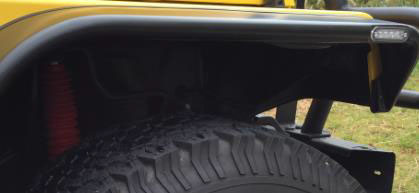
14. You have now completed the installation of your new Barricade Flat Style Fender Flares!
THIS STEP IS OPTIONAL >>>
15. You do not have to re-install your rocker guard covers unless you wish too. In this installation project I chose to leave mine off afterward because I plan to install Rugged Ridge Rocker Side Panels instead.
a. If you chose to re-install the rocker guards, you will need to drill three new holes in each guard that will allow the factory screws to pass through and hold the guards in position.
i. All factory hardware can be used to fasten the guard back in place.
Installation Instructions Written by ExtremeTerrain Customer Matt Orth 09/27/2015

