 FREE 1 to 3-Day Delivery on Orders $149+ Details

How to Install Barricade 12,000 lb. Winch on your Wrangler
Installation Time
30 minutes
Tools Required
- Pliers
- Philips Head Screwdriver
- 10mm Socket Wrench
- 14mm Socket Wrench
- 17mm Socket Wrench
- 18mm Socket Wrench (to remove front bumper)
- 5/8" Wrench (or Crescent Wrench)

Shop Parts in this Guide
Make sure that all items for the winch, including hardware,. are accounted for before beginning installation. NOTE: If you do not already have an aftermarket bumper with a winch mount built in you will need to purchase an appropriate winch mount to install this winch onto your bumper.
Installation Instructions:
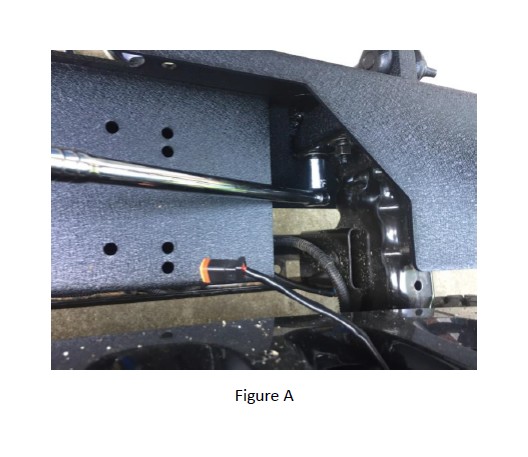
1. Remove front bumper using an 18mm socket wrench (Figure A) and sit on the ground for easiest installation access.
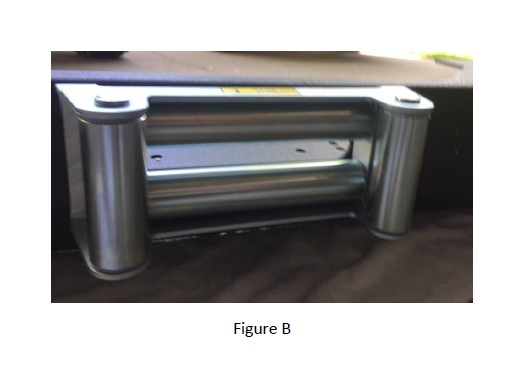
2. Align the roller fairlead to the front opening slot of the bumper (Figure B).
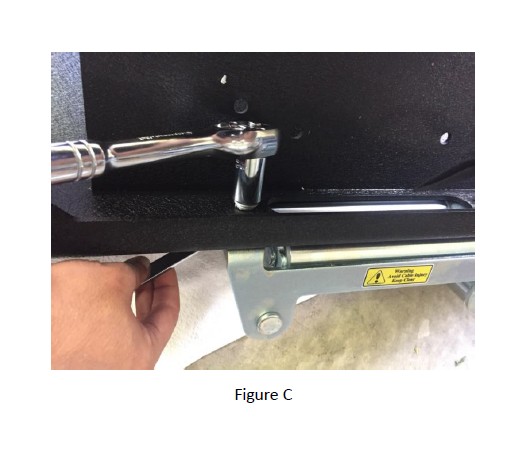
3. Mount the roller fairlead using a 5/8" wrench and 17mm socket wrench (Figure C).
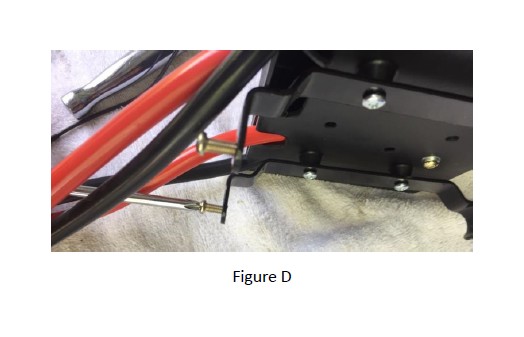
4. Unscrew the screws on the bottom of the solenoid box using a Philips head screwdriver until they are flush with their mounting holes (Figure D).
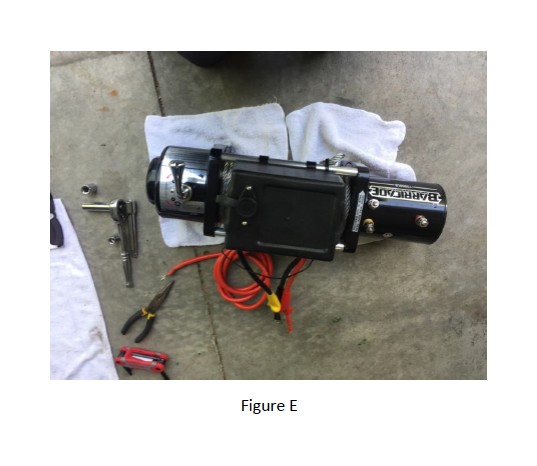
5. Mount the solenoid box on top of the winch, ensuring the exposed wires face the rear of the winch (Figure E).
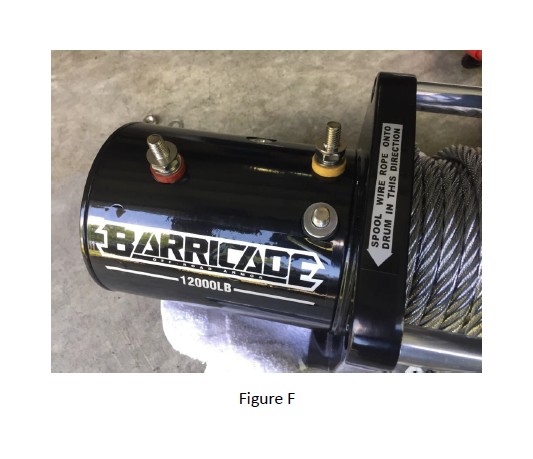
6. Remove the top washer and nut from each of the wire connecting points on top of the winch using a 14mm socket wrench (yellow, black, and red) (Figure F).
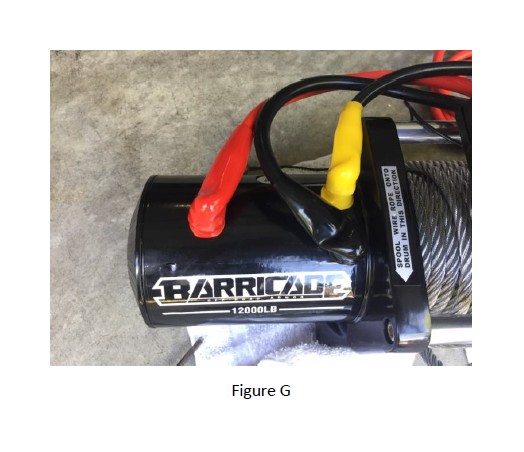
7. After connecting the appropriate wires to the posts (red-to-red, yellow-to-yellow, black-to-black), reinstall each washer and nut using a 14mm socket wrench and then cover each lead with their dust cover (Figure G).
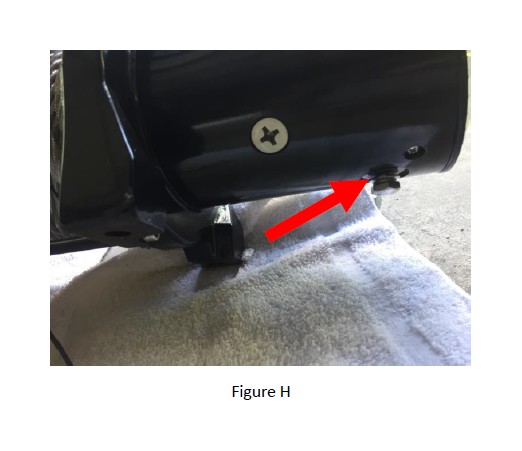
8. Remove the ground wire washer and nut located on the underside of the winch (Figure H).
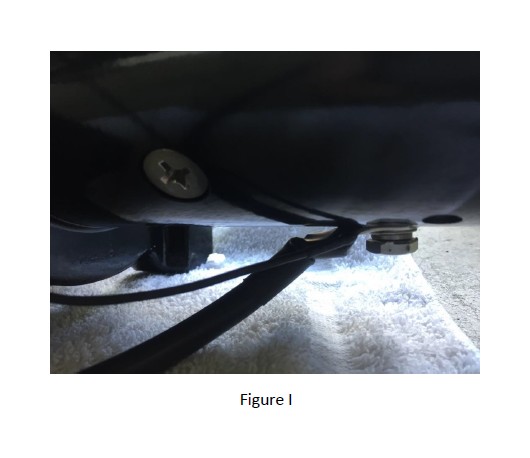
9. Connect the black wire (negative battery wire) and the thin black ground wire and reinstall the washer and nut using a 14mm socket wrench (Figure I). Note: Ensure the raised cable end is facing the bolt head.
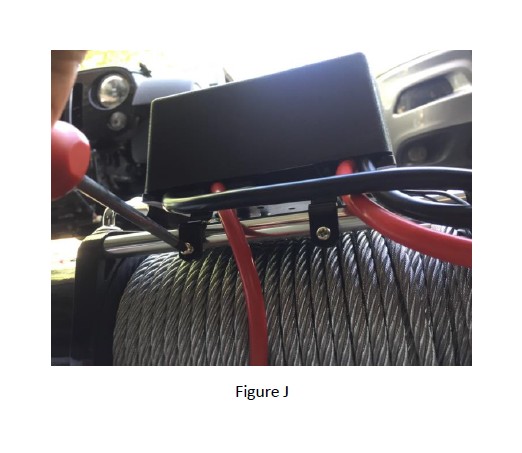
10. Shift the solenoid box to the desired mounting location and tighten the bolts using a Philips head screwdriver (Figure J).
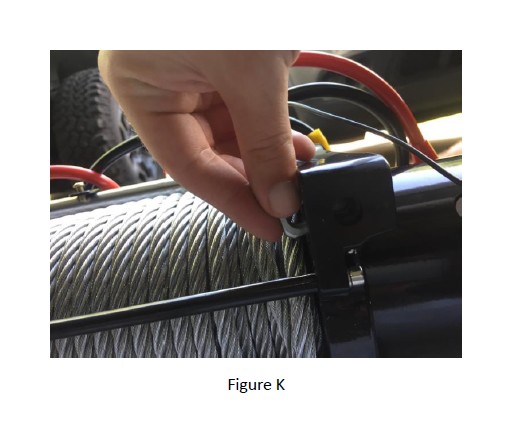
11. Using the square nuts provided, insert one square nut into each of the four mounting feet on the bottom of the winch (Figure K).
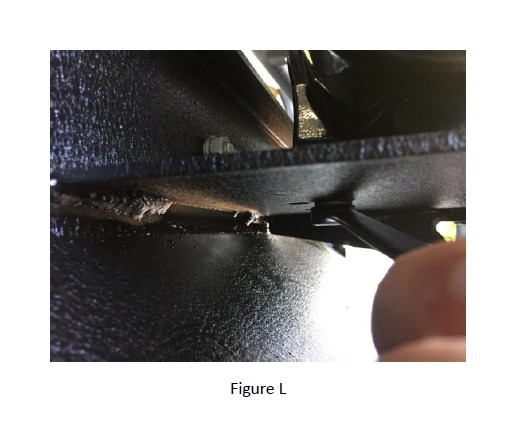
12. Mount the winch onto the front bumper with the cable facing the front of the bumper and the wiring facing the rear of the bumper using a 5/8" wrench (Figure L) or crescent wrench to tighten the flat washer on the mounting bolt through the bumper bolt holes.
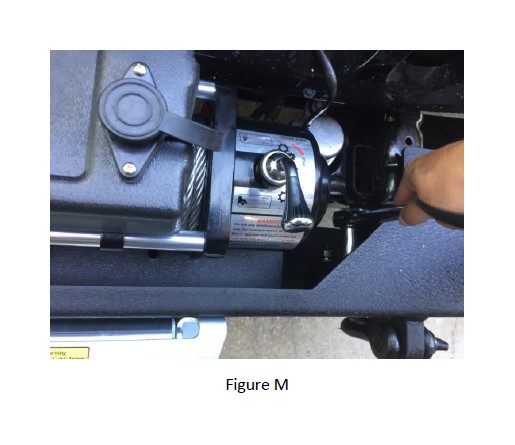
13. Reattach front bumper (with winch mounted) to the front end of the vehicle using an 18mm socket wrench (Figure M).
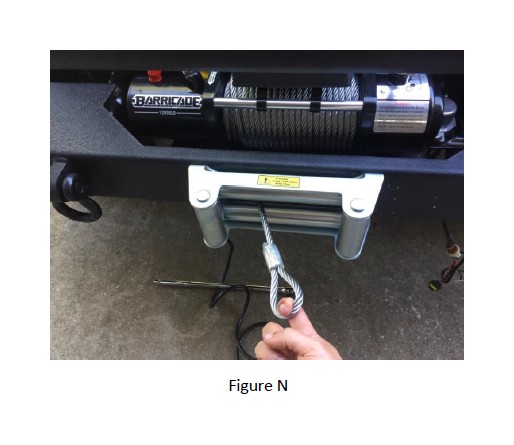
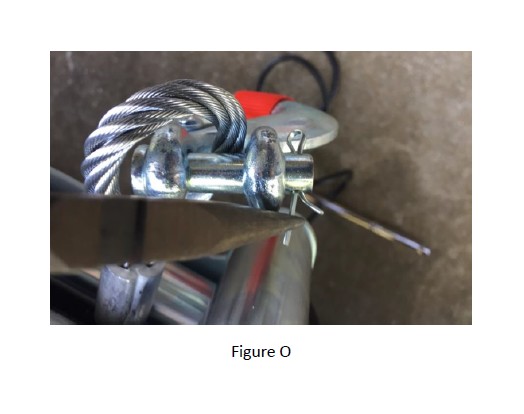
14. Pull the winch cable through the roller fairlead (Figure N) and attach the red line flag and hook by removing the cotter pin with pliers and reinserting the cotter pin once the hook is in place. Bend ends to secure cotter pin (Figure O).
15. Run the black and red wiring through the front grill of the Jeep and along the outer edge of the interior to the battery. Note: Do not leave wiring close to heat sources or moving parts.
16. Remove the nut from the positive and negative terminals of the battery using a 10mm socket wrench. Note: Do not let positive and negative cables touch.
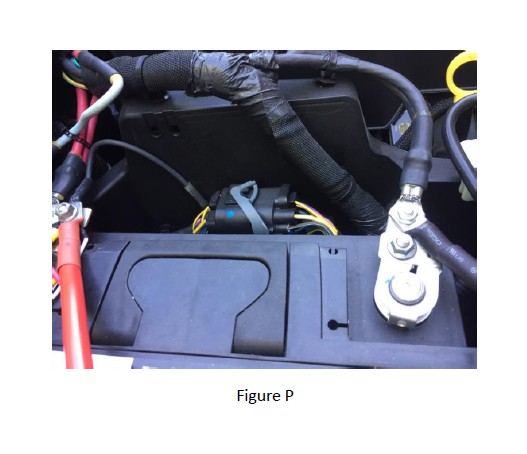
17. Connect the winch wiring to the appropriate terminals of the battery (red to positive, black to negative) and reinstall terminal nuts (Figure P).
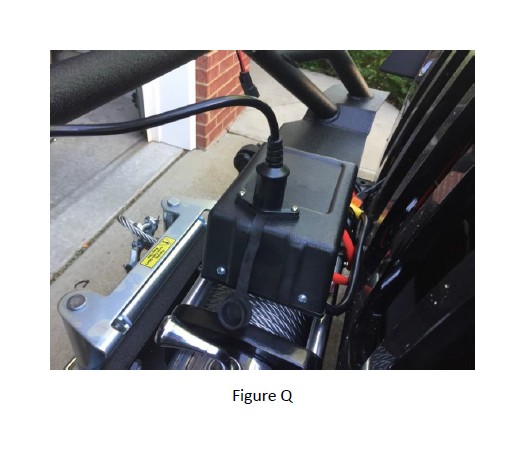
18. Attach the remote control cable to the top of the solenoid box (Figure Q).
19. With the winch clutch in the "engaged" position, rotate the spool by hand to fully engage the clutch.
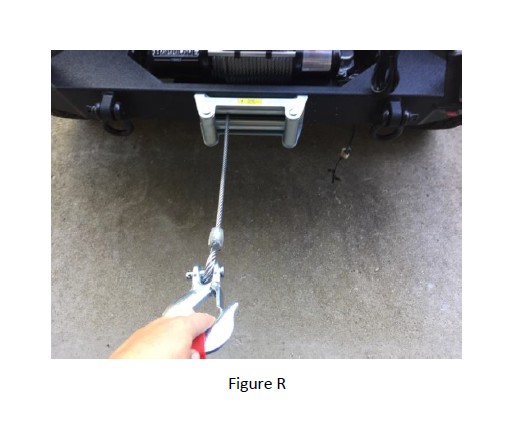
20. While applying tension to the cable, switch the remote control selector to the "out" position and release a foot or two of cable (Figure R).
21. While still applying tension to the cable, switch the remote control selector to the "in" position and respool the cable, ensuring each of the mechanisms are working properly.
Installation Instructions Written by ExtremeTerrain Customer J. Sandlin 05/15/2017

