FREE 1 to 3-Day Delivery on Orders $149+ Details

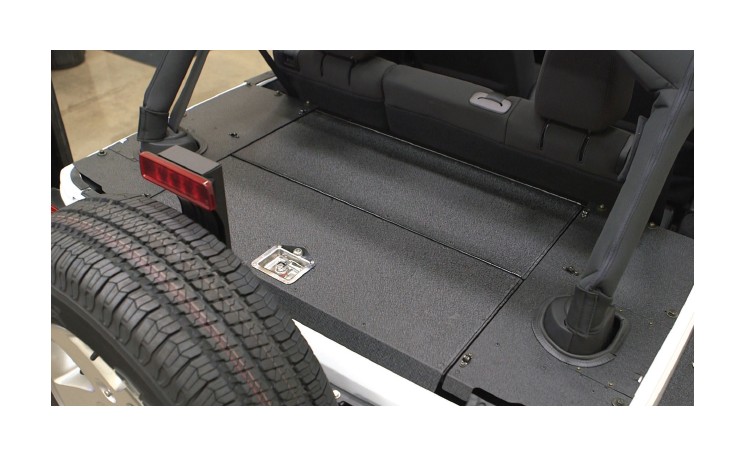
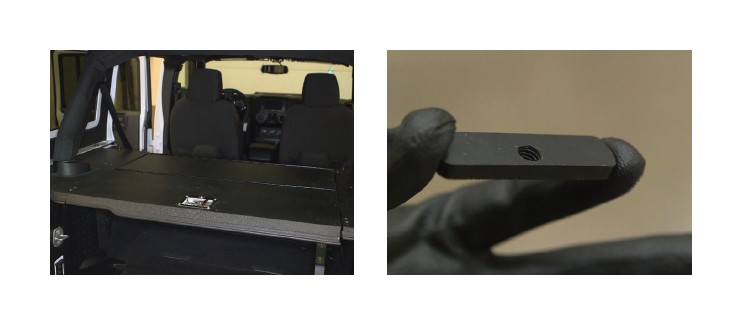
How to Install Aries Automotive Security Cargo Lid (11-17 Wrangler JK 4 Door) on your Jeep Wrangler
Installation Time
2 hours
Tools Required
- Ratchet
- Extension
- Allen wrench, 2.5mm
- Wrench, 10mm
- Allen wrench, 4mm
- Socket, 18mm
- Allen wrench, 5mm
- Torx bit, T30
- Utility Knife
- Torx bit, T45
- Scissors
- Philips screwdriver
- Marker
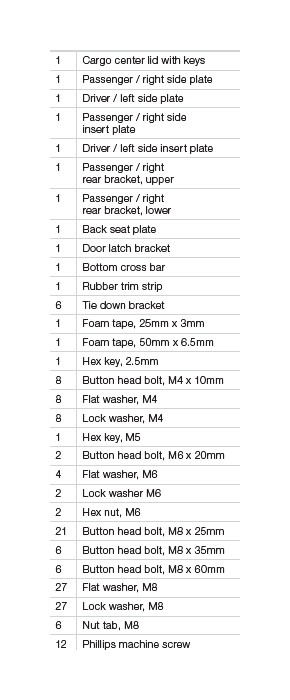
Parts List
Product Image

Step 1: Begin by referring to the owner's manual for removal of the hard / soft top.
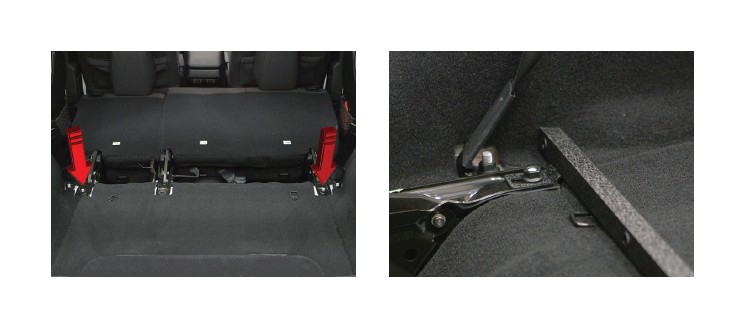
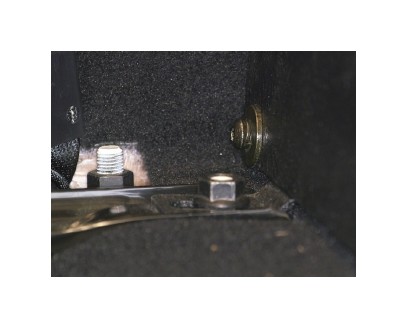
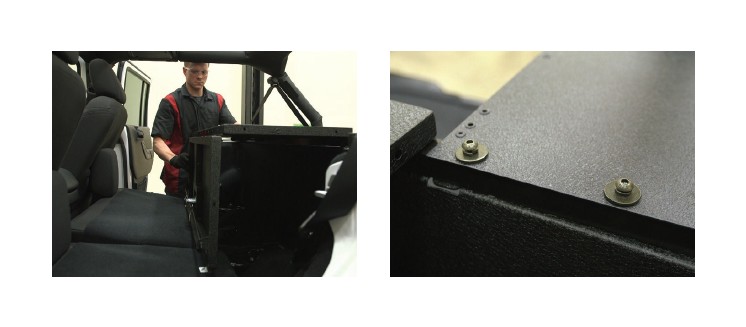
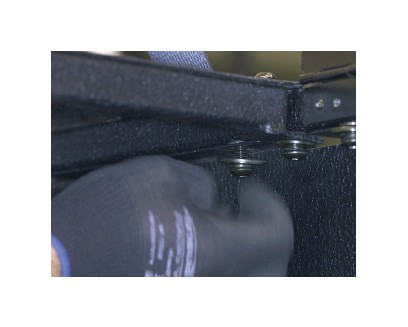
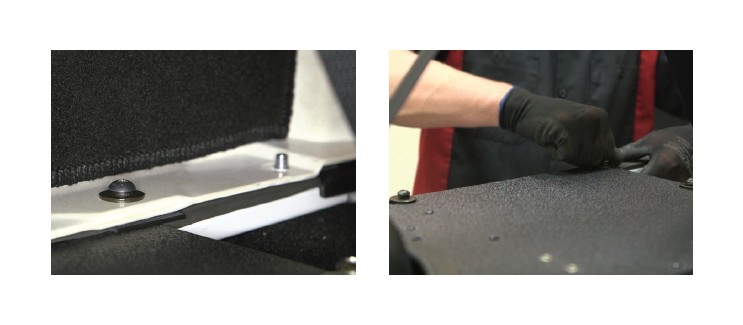
Step 2: Fold down the rear seats and locate the two M18 factory nuts.
Remove the factory nuts and place the bottom cross bar down, secure the cross bar using the previously removed factory hex nuts.
Snug the hardware, but do not fully tighten.
Step 3: Attach the back seat plate to the cross bar using five M8 x 25mm button head bolts, five M8 flat washers and five M8 lock washers.
Snug the hardware, but do not fully tighten.
Step 4: Locate the 50mm wide foam tape, fold in half and cut.
Remove the adhesive cover and apply the foam tape to the edge of the vehicle by the driver / left side rear door.
Repeat process on the passenger side.
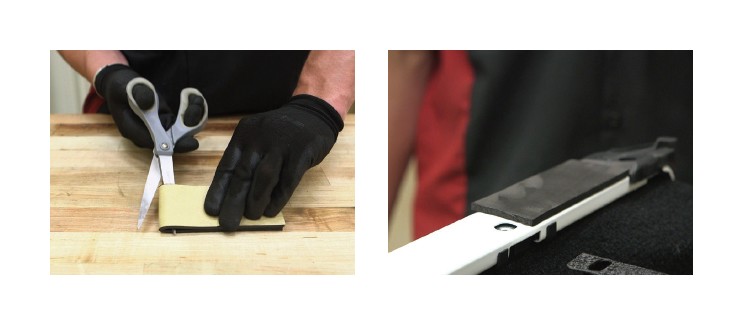
Step 5: Using the 25mm wide foam tape, apply to the vehicle along the edge of the vehicle back to the rear door.
Cut off the excess foam tape.
Using a utility knife, mark the three mounting points along the outer edge of the vehicle covered by the foam tape.
Repeat process on the passenger side.
Step 6: Place the cargo center section on top of the back seat plate and attach the center section to the back seat plate using four M8 x 25mm button head bolts, four M8 lock washers and four M8 flat washer at the four inner most points.
Snug the hardware, but do not fully tighten.
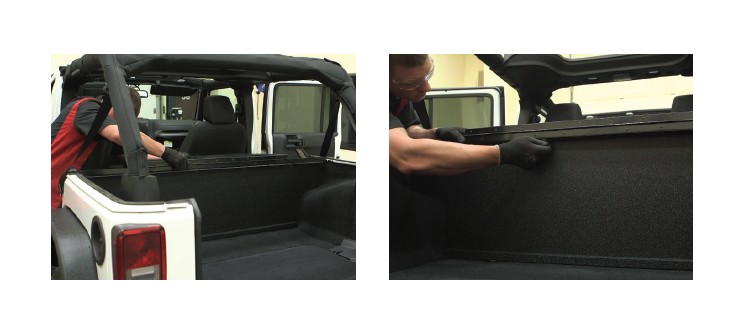
Step 7: With the center section attached, lift and fold the lid section over to the back seat.
Select the driver / left side plate, align the mounting holes on the driver side plate with the mounting points on the upper cross bar and secure using two 8mm x 35mm button head bolts.
Repeat process on the passenger side.
Snug the hardware, but do not fully tighten.
Step 8: Secure the bottom side of the cross bar to the back seat plate using two M8 x 25mm button head bolts, two M8 lock washers and two M8 flat washers on the two outer holes and a M8 x 35mm with 8mm lock washer and 8mm flat washer on the remaining mounting hole.
Repeat process on the passenger side.
Snug the hardware, but do not fully tighten.
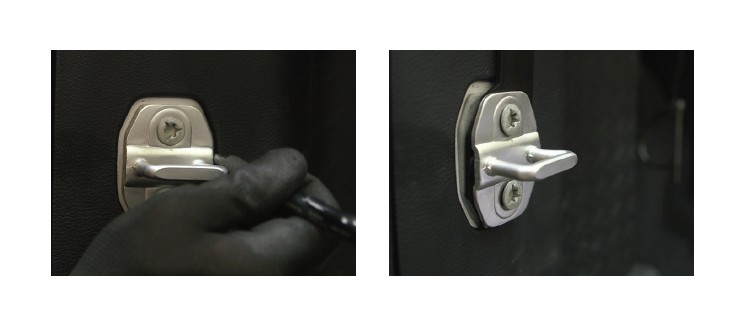
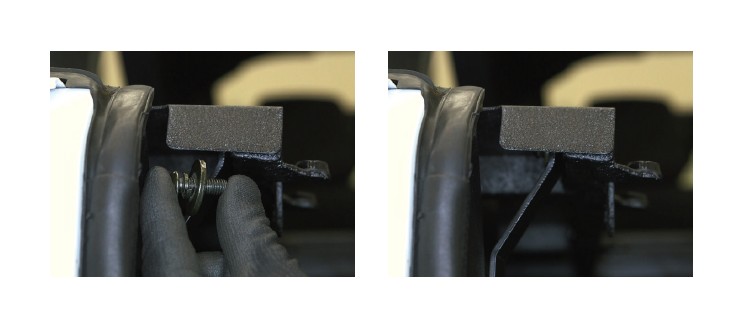
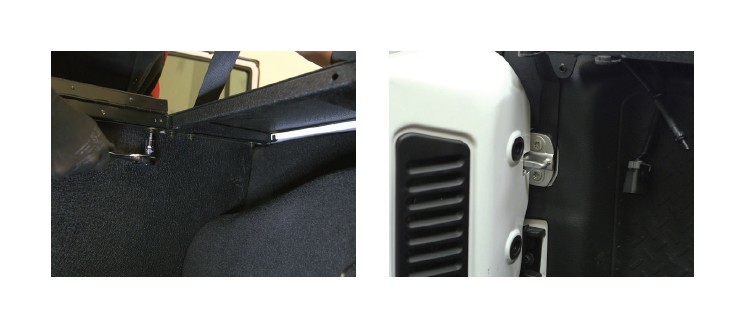
Step 9: With the rear door open, mark the latch plate location.
Loosen, but do not remove, the latch plate to allow the door latch bracket to slide in between the latch plate and rubber gasket.
Snug the hardware, but do not fully tighten.
Step 10: Secure the top of the door latch bracket to the driver / left side plate using a M8 x 25mm button head bolt, M8 lock washer and M8 flat washer.
Snug the hardware, but do not fully tighten.
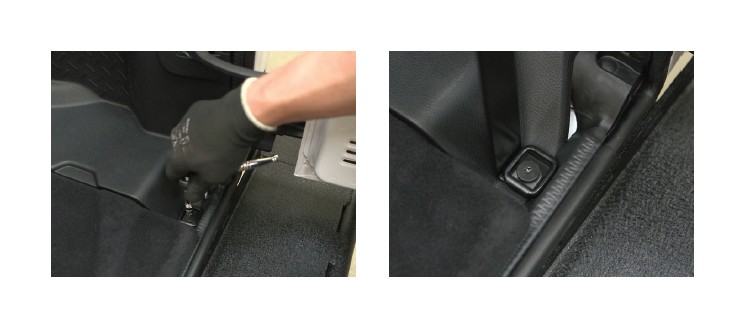
Step 11: Locate the factory tie down in the rear of the cargo section of the vehicle and remove.
Place the passenger / right side rear lower bracket over the mounting point and secure using the previously removed factory tie down.
Snug the hardware, but do not fully tighten.
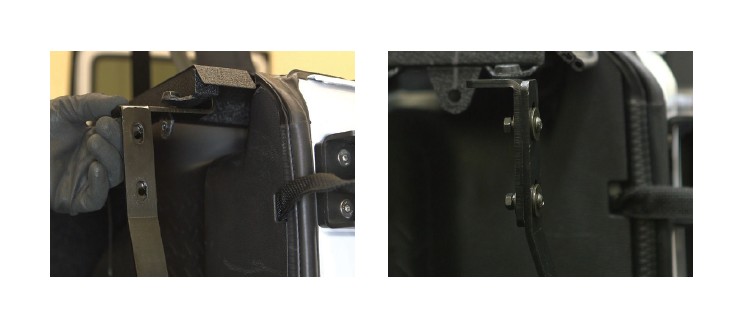
Step 12: Locate and secure the passenger / right side rear upper bracket to the passenger side plate using a M8 x 25mm button head bolt, M8 lock washer and M8 flat washer.
Align the slots on the lower mounting bracket with the mounting holes on the upper bracket and secure the two brackets together using two M6 x 20mm button head bolts, four M6 flat washers, two M6 lock washers and two M6 hex nuts.
Snug the hardware, but do not fully tighten.
Step 13: Locate the driver side insert plate, align the mounting holes on the insert plate with the mounting points on the driver side plate.
Secure the insert plate using four M4 button head bolts, four M4 lock washers and four M4 flat washer.
Repeat process on the passenger side.
Snug the hardware, but do not fully tighten.
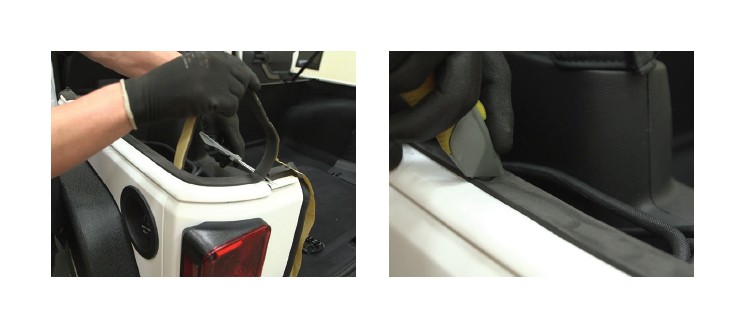
Step 14: Starting on the driver side, locate the rubber trim strip.
Slide the rubber trim over the edge of the driver side plate/ insert plate and wrap around the vehicle post.
Cut of the excess rubber trim.
Repeat process on the passenger side.

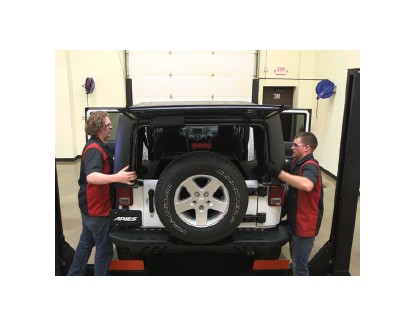
Step 15: Place the hardtop in position on the vehicle.
Close the center section, use a mallet to make any adjustments needed to close the center section.
Note: To reinstall a soft top on the vehicle, place three M8 nut tabs per side under the lip where the top will be fastened down.
Step 16: Once aligned, secure the top to the vehicle using an M8 x 60mm button head bolt, lock washer and flat washer for each of the factory mounting points.
If you are not reattaching a top at this time, secure the security cargo lid to the vehicle using an M8 x 25mm button head bolt, lock washer and flat washer for each of the factory mounting points.
Step 17: With the security cargo lid aligned and all bolts in place, tighten all of the hardware.
Close the rear door and check the alignment of the latch plate, adjust if necessary. Once aligned, tighten the latch plate.
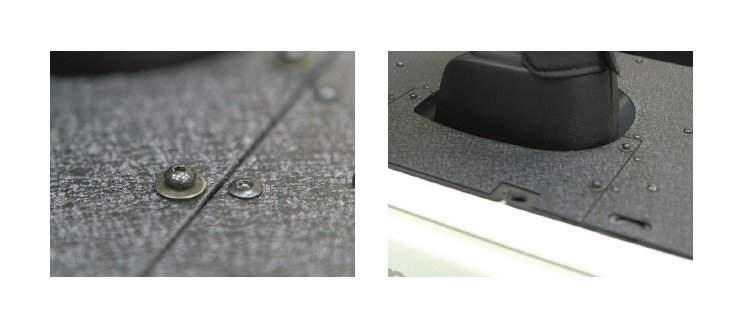
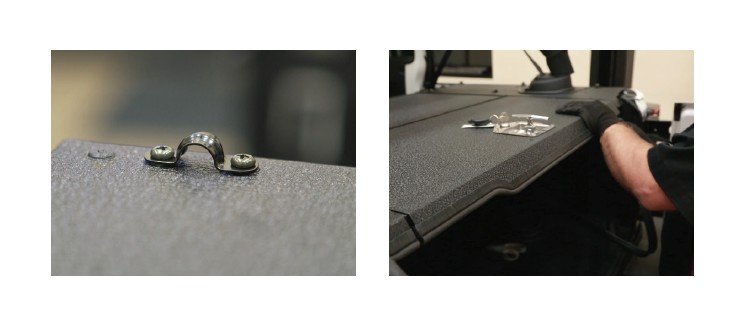
Step 18: Place the tie down brackets into position and secure them to the cargo using two philips machine screws per bracket.
To help seal the rear of the cargo lid, attach the rubber trim strip along the bottom edge of the side panels and center lid section.
Step 19: Congratulations on the installation of your new ARIES security cargo lid.
With the security cargo lid installed, periodic inspections should be performed to ensure all mounting hardware remains tight.