 FREE 1 to 3-Day Delivery on Orders $149+ Details

How to Install ARB Fire Retardant Awning 2500 - 98.43 in. x 98.43 in. (87-18 Jeep Wrangler YJ, TJ, JK & JL) on your Jeep Wrangler

Shop Parts in this Guide
Note: Due to the wide variety of mounting brackets and installation options, ARB does NOT provide brackets with the awning. You will need to purchase or fabricate your own for your specific installation. The brackets I used are actually available off the shelf at home improvement stores for about $4/apiece.
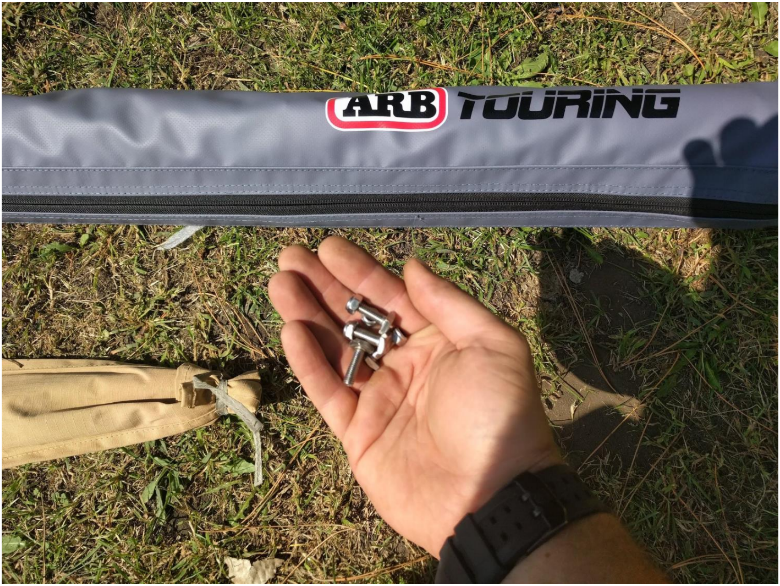
1. After unboxing, locate hardware bag containing 6 nuts and bolts, determine whether you will be using 2 or 3 mounting brackets for your installation, 3 is recommended by ARB if possible with your rack configuration.
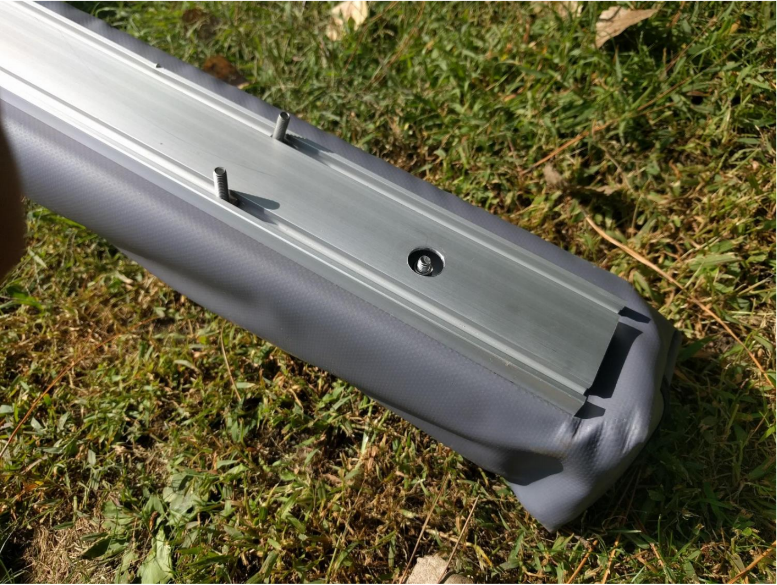
2. Prestage Bolts at the approximate mounting points/spacing in the aluminum track on the backside of the awning. This makes it FAR easier to install this without a second set of hands. OPTIONAL: Recruit a helper for the next step.
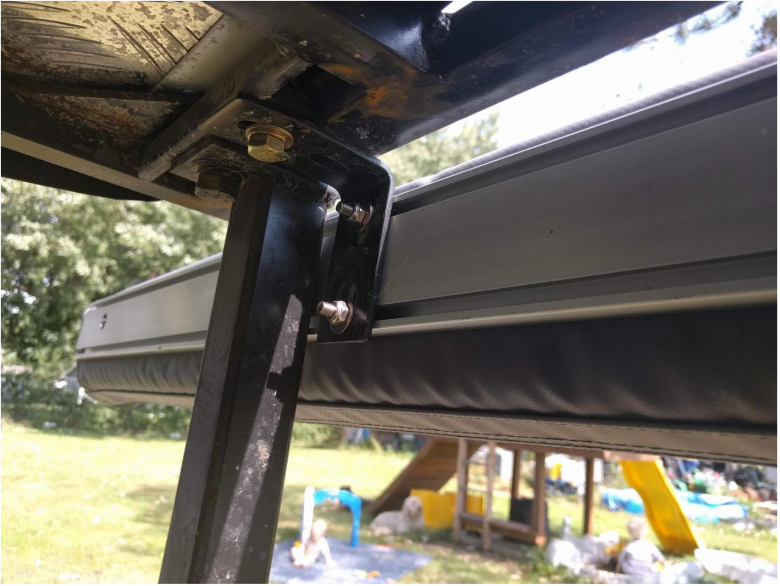
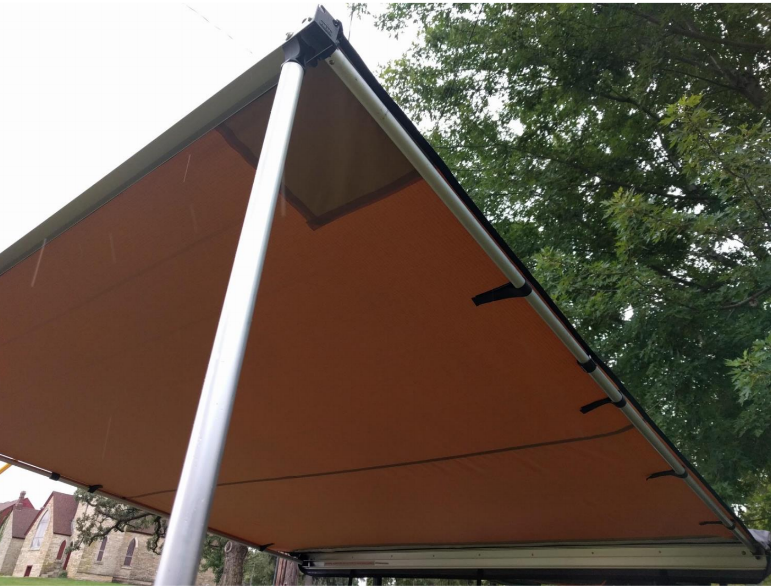
3. Raise the awning into place and align with your brackets. Insert one end (or middle) of awning bolts through bracket and while supporting awning, loosely thread provided locknuts on bolts, do not tighten. Repeat process for remaining brackets, and then tighten all fasteners with 10mm wrench or socket.
Setting Up for use
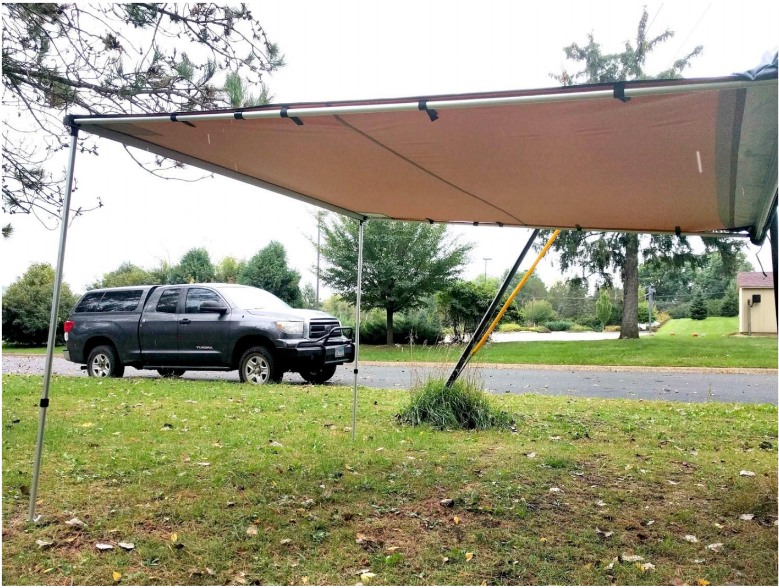
4. With awning secured to rack, unzip case and loosen velcro straps. Awning will start to unroll on it’s own, thanks to gravity. Allow it to unroll to the end, then prior to dropping the legs, walk back toward vehicle/trailer allowing it to fold back on itself like a taco, until you can reach and release the horizontal support arms. Extend the first arm until it reaches the end of the awning, then secure in the hole and twist arm to lock in place. Repeat with the other side.
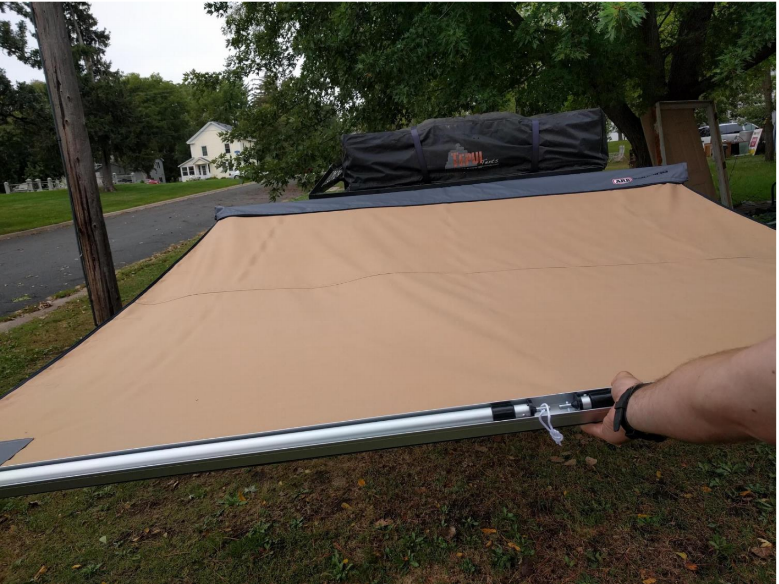
5. Now drop the stabilizing legs and twist to lock. Finally, from under the awning, secure horizontal arms with the attached velcro straps along sides.
6. Attach and secure guy lines with provided ground stakes if desired. Enjoy your new favorite spot wherever you go!
Installation Instructions Written by ExtremeTerrain Customer 09/20/2018
