 FREE 1 to 3-Day Delivery on Orders $149+ Details

How to Install Alpine Full Sound System Upgrade - 600W (11-18 Jeep Wrangler JK 4 Door) on your Jeep Wrangler
Installation Time
1 hours
Tools Required
- Box Cutter/Knife (For Packaging)
- 7mm Socket
- 10mm Socket
- 18mm Socket
- Socket Wrench
- Panel Removal Tool
- Impact Drill (Optional)
- T15 Torx Bit
- T20 Torx Bit
- T30 Torx Bit
- T45 Torx Bit
Alpine Full Sound System Upgrade - 600W Installation Guide for Jeep Wrangler '15-'18 4-Door JKU
Installation Instructions:
1. Disconnect the battery's negative (-) terminal using a 10mm socket wrench.
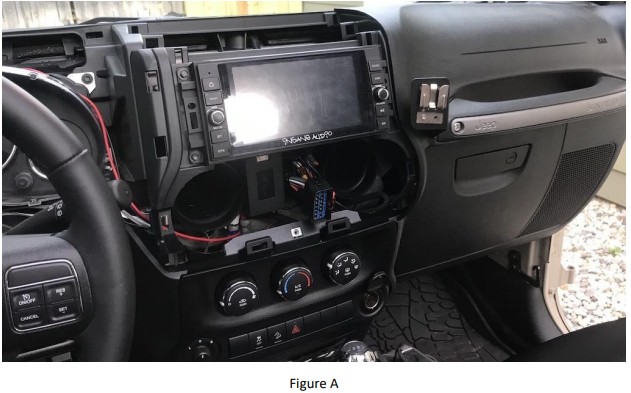
2. Remove the dash from the front of the vehicle using a 7mm socket wrench (Figure A).
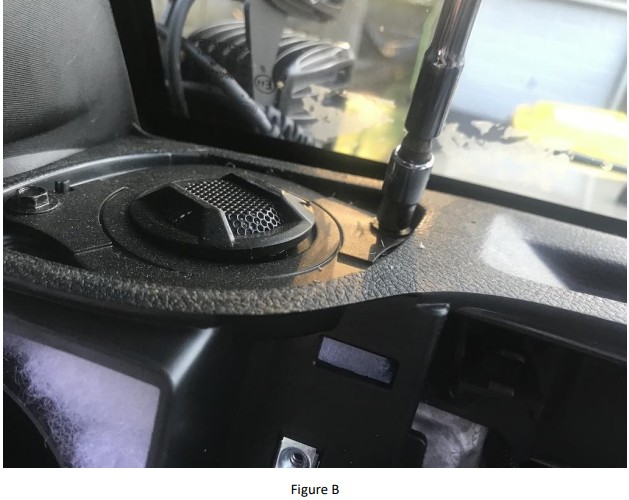
3. Remove the dash tweeter from each side using a panel removal tool and a 7mm socket wrench (Figure B).
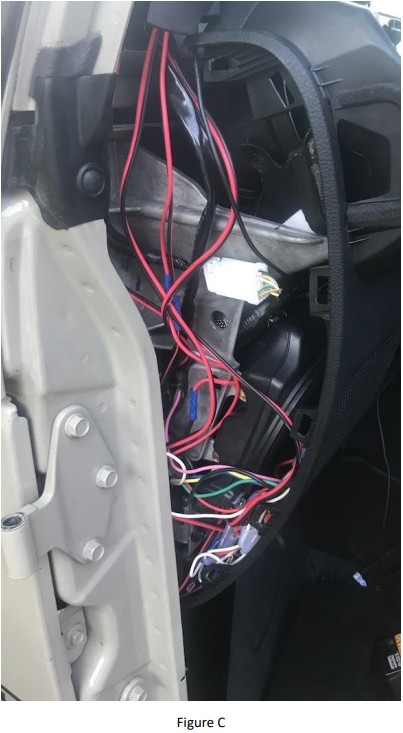
4. Remove the side panel on the driver's and passenger's sides using a panel removal tool (Figure C).
5. Remove the glove box by opening it and pressing inward on the bottom portion while pulling away from the dash.
6. Remove the two 7mm screws on the side of the driver's side lower dash speaker. Remove the one 10mm screw from the underside of the driver's side lower dash speaker.
7. Repeat Step 6 on the passenger's side lower dash speaker.
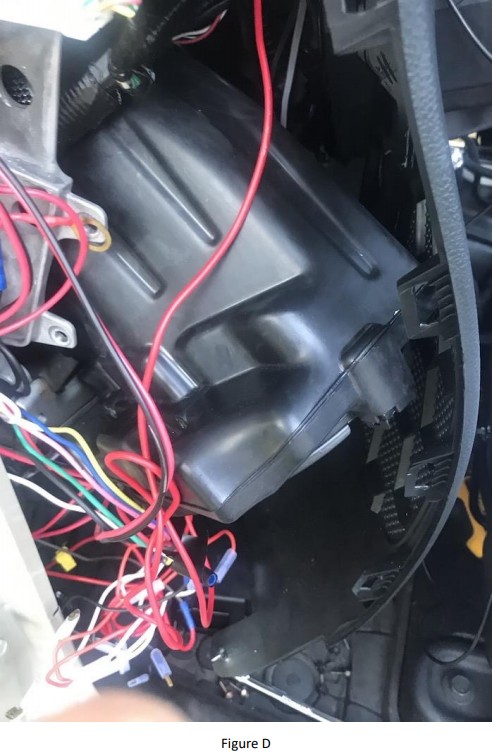
8. Disconnect the speakers and remove from both sides (Figure D).
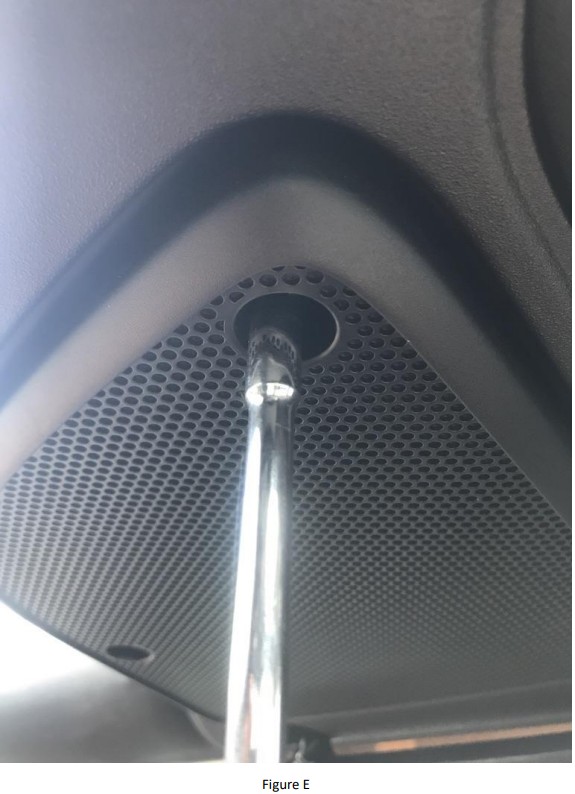
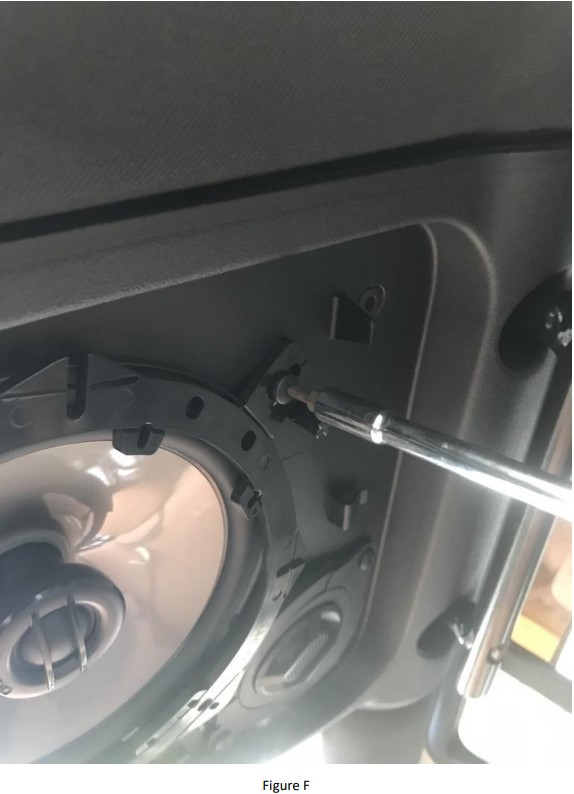
9. Remove the sound bar speakers from each side using a Torx 20 bit (Figure E) and disconnecting each speaker (Figure F).
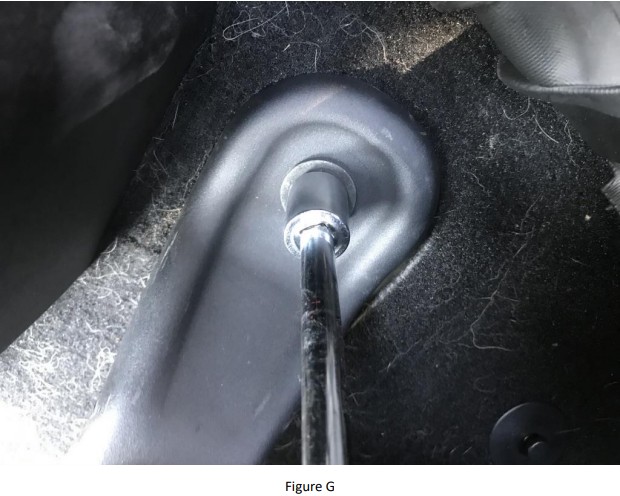
10. Using an 18mm socket wrench and extension, remove the four mounting bolts of the passenger seat and use a Torx 45 bit to remove the seat belt anchor (Figure G).
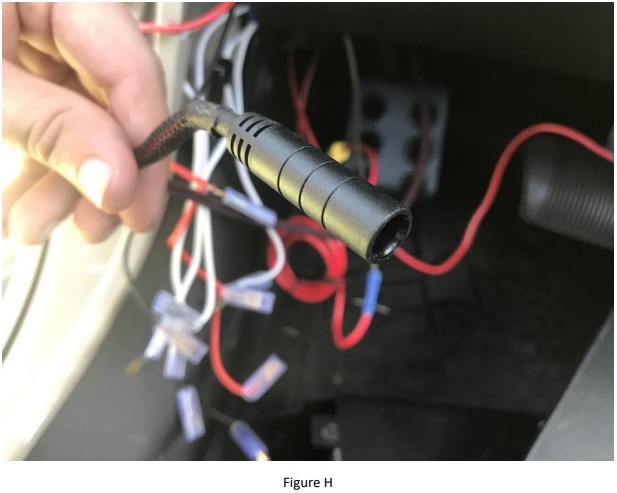
11. Route the power cable through the grommet separating the cab and engine bay then connect the positive wire to the positive ( ) battery terminal (Figure H). Then route the IN/OUT audio connections to the radio location and connect to the radio head unit.
12. Route the subwoofer cable down the center console and near the passenger seat, leaving enough slack to connect to the subwoofer once installed. Then mount the main harness's ground to the vehicle chassis then connect the power cable to the main harness.
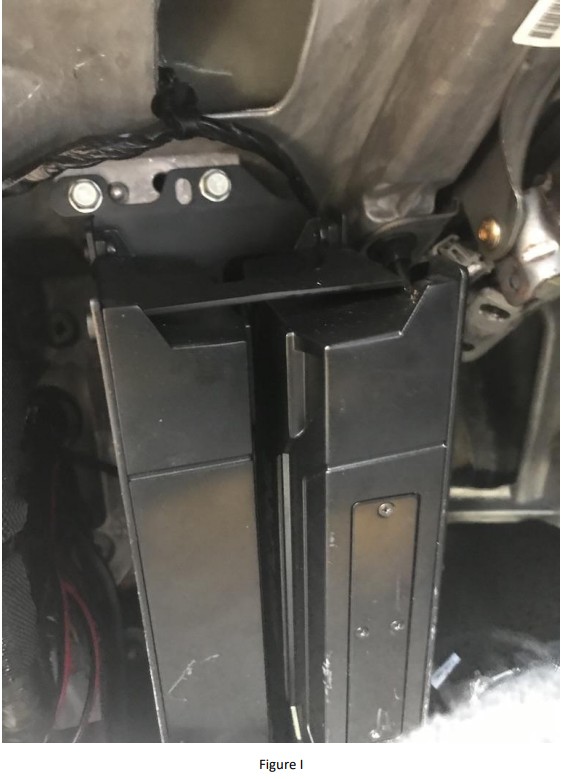
13. Note: Prior to mounting the amplifier assembly in the driver's side dash, set the amplifier and subwoofer settings to appropriate ranges as these buttons will be very difficult to reach once the assembly is installed. Mount the amplifier assembly in the driver's side dash using three supplied hex head screws (Figure I) then connect both amplifiers (easiest to use an impact drill here) (Figure J).

14. Using a Torx 30 bit, remove the harness mounting plate from below the passenger's seat and secure the plugs using provided cable ties.
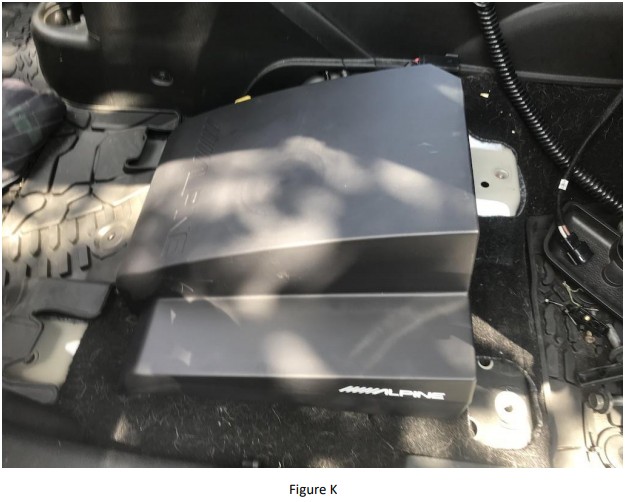
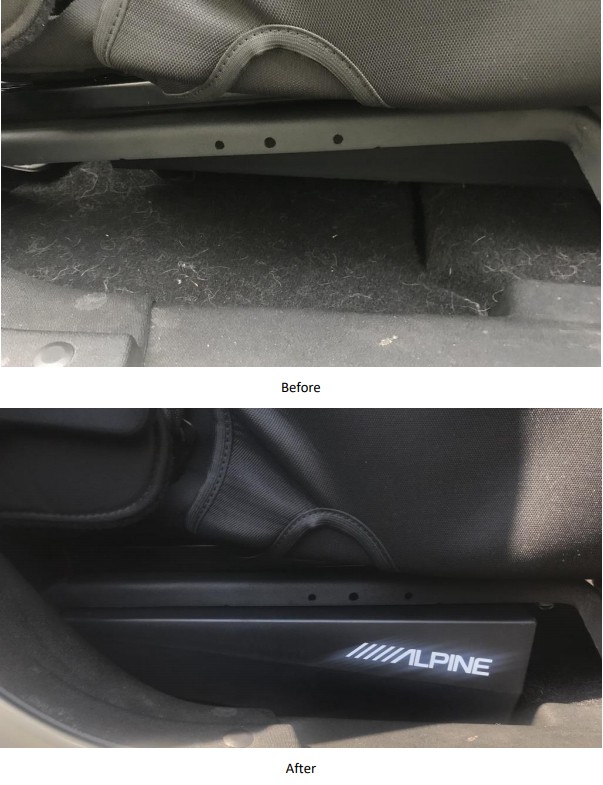
15. Place the subwoofer in the floorboard where the passenger seat will go and plug in the subwoofer (Figure K).
16. Place the passenger seat over the subwoofer and reattach by reinstalling the four 18mm bolts previously removed.
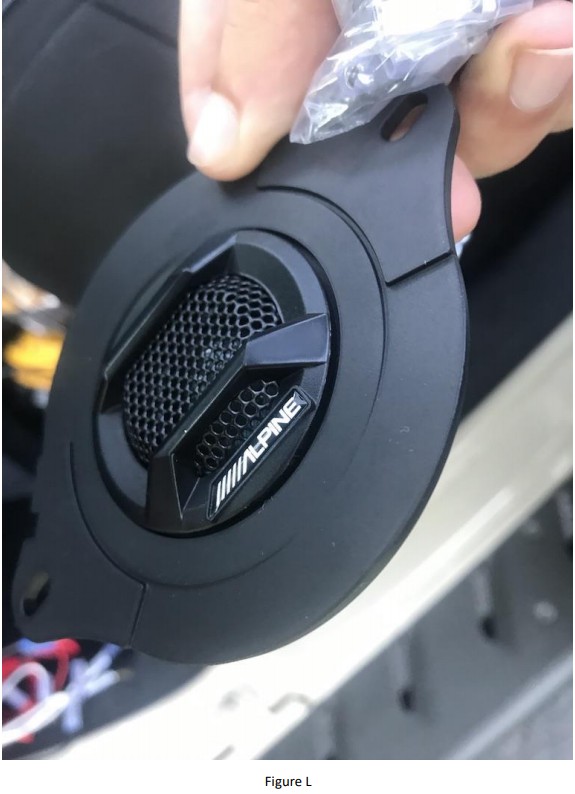
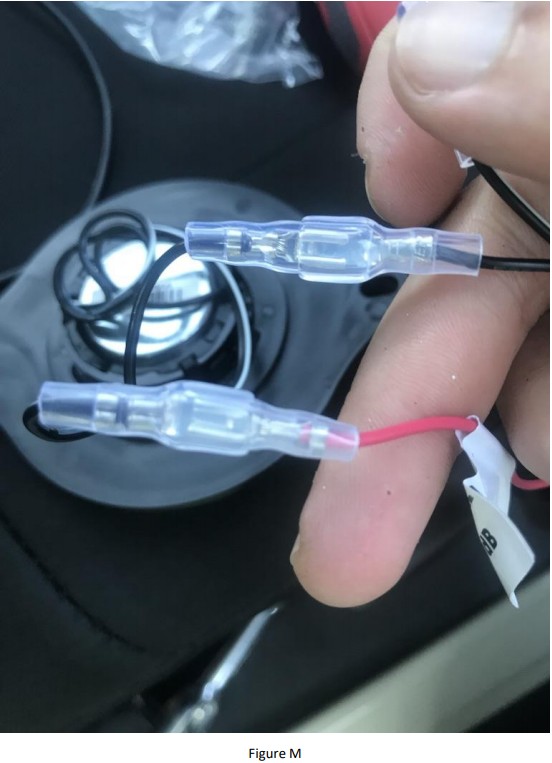
17. Press the front dash tweeters into their adapters (Figure L) and select the year-appropriate connection to attach to the speaker connectors (Figure M).
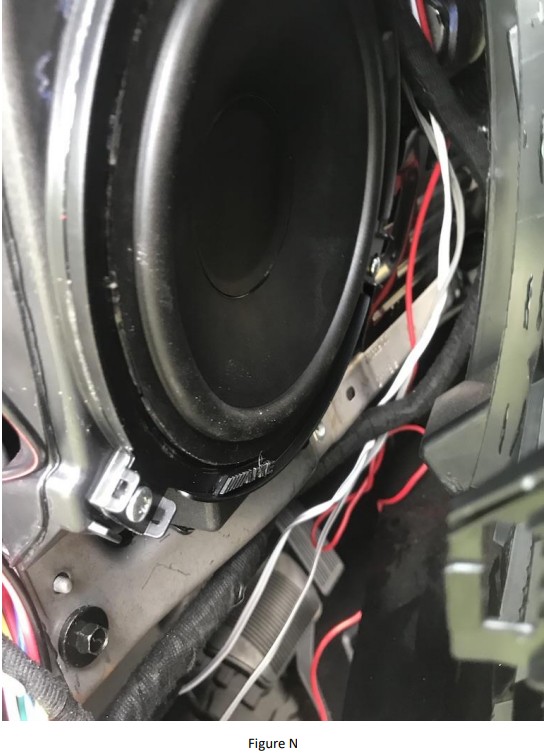
18. Cut a slit in the front woofer speaker polyfill and pull the speaker connector through before inserting excess polyfill. Adhere the foam strips to the outside of the speakers and connect the speaker wires before reinstalling using the previously removed screws (Figure N). Repeat on the other side.
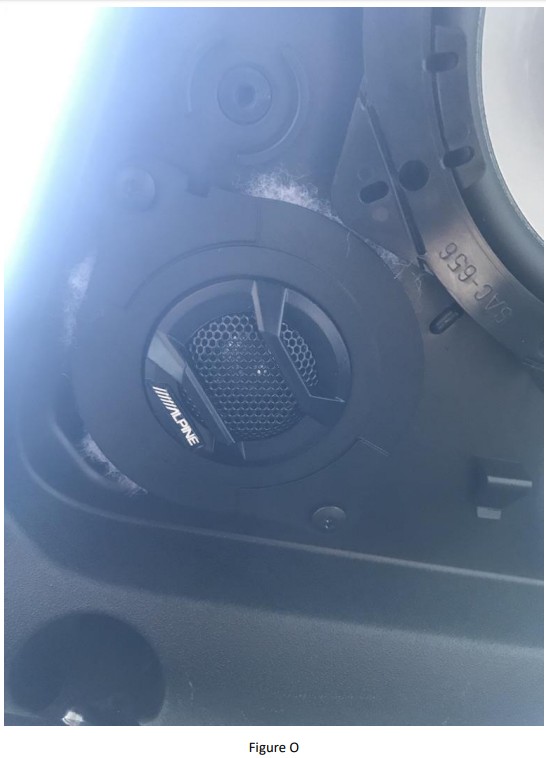
19. Press the soundbar tweeters into their adapters and select the year-appropriate connection to attach to the speaker connectors like Step 19 before reinstalling Torx15 screws (Figure O).
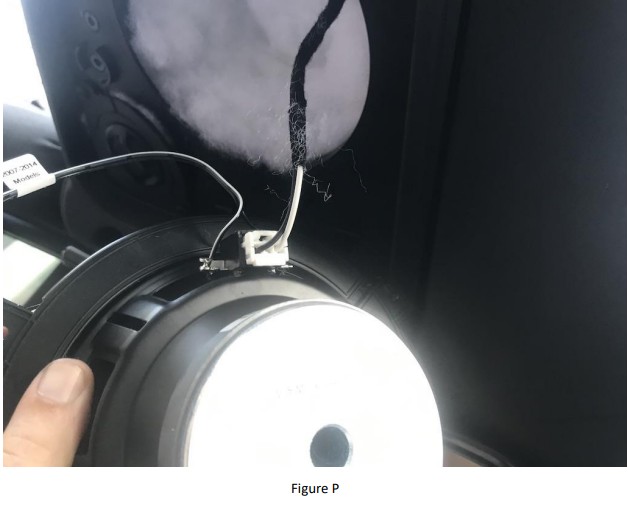
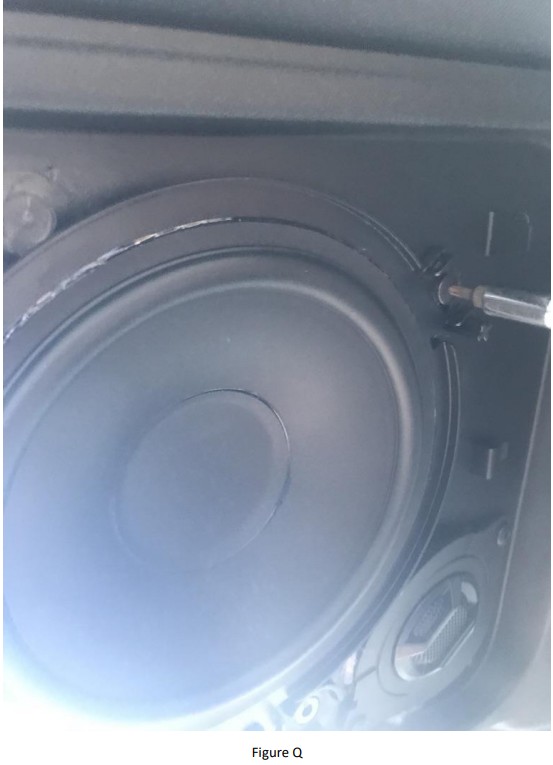
20. Cut a slit in the soundbar speaker polyfill and pull the speaker connector through before inserting excess polyfill. Adhere the foam strips to the outside of the speakers and connect the speaker wires (Figure P) before reinstalling using the previously removed screws just like Step 20 (Figure Q). Repeat on the other side.
21. Connect the negative wire to the negative (-) battery terminal.
Installation Instructions Written by ExtremeTerrain Customer J. Sandlin 07/28/2019
