 FREE 1 to 3-Day Delivery on Orders $149+ Details

How to Install Alloy USA Heavy Duty Ball Joint Kit (07-18 Jeep Wrangler JK) on your Jeep Wrangler
Installation Time
2 hours
Tools Required
- Basic Mechanic’s Tool Set
- Long Breaker Bar (Longer the better).
- Ball Joint Press Kit (Ideally heavy duty)
- Grease Gun
- Large Hammer (Deadblow recommended)
Alloy USA Heavy Duty Ball Joint Kit (07-18 Jeep Wrangler JK) Installation Guide
Installation Notes, Pre-Installation notes (only when needed)
Installation Instructions:
1. Lift vehicle and support with jack stands. Remove front wheel(s).

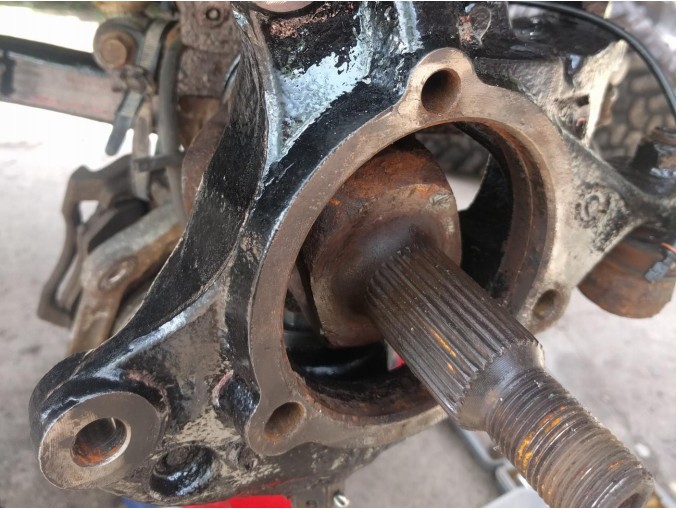
2. Remove brake caliper and support/hang appropriately to avoid damage to brake line. Locate and remove three 12 point 13mm bolts on inside of knuckle.
3. Remove 36mm axle nut and remove hub assembly and then axle. Exercise care to avoid damaging ABS sensor on hub and dust seal on axle shaft.
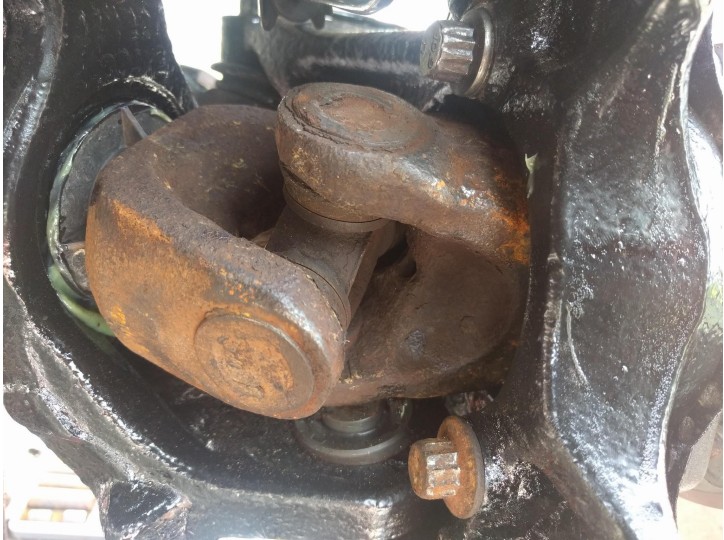
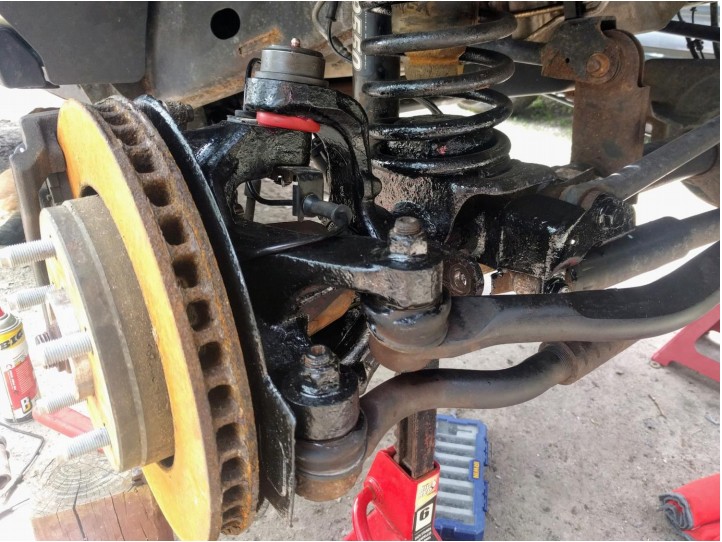
4. Remove cotter pins on existing ball joints and loosen (but do not remove) castle nuts on both upper and lower ball joints. Using a hammer or pickle fork, separate the steering knuckle from the ball joints. If using hammer, be careful where you strike as the knuckle is not hardened steel and can be damaged. Once knuckle is loose, finish removing castle nuts and rotate knuckle out of the way.
5. Using your press, remove the upper, and THEN the lower ball joints. Remember that the upper joint presses out upward, and the lower presses downward.
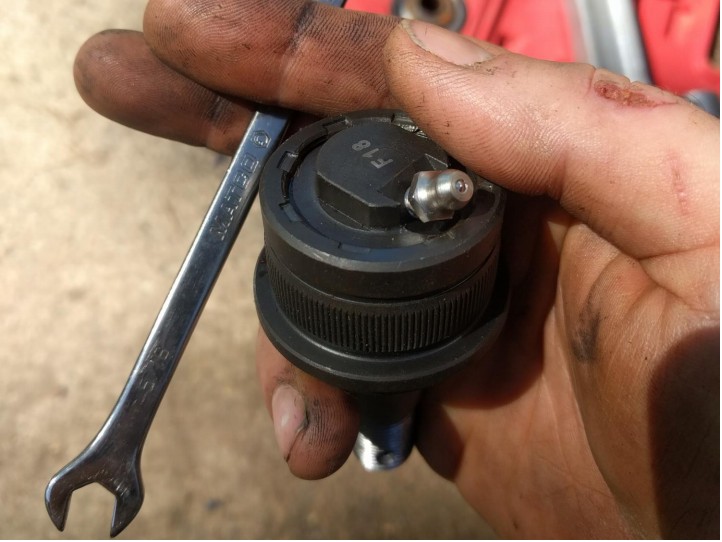
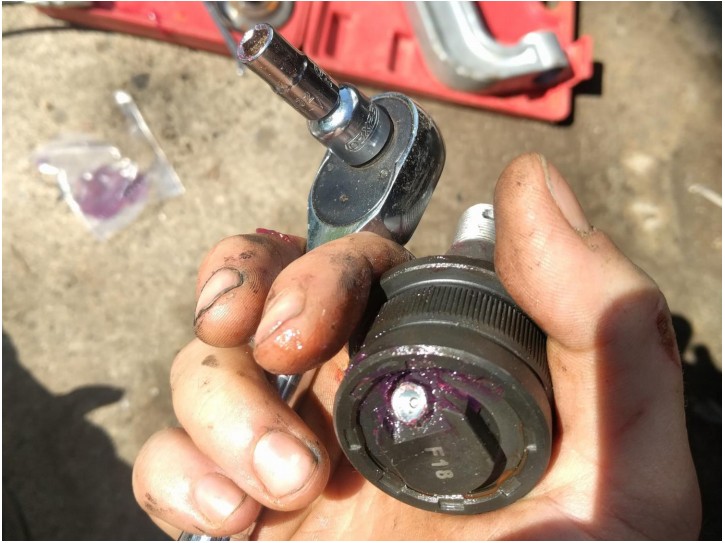
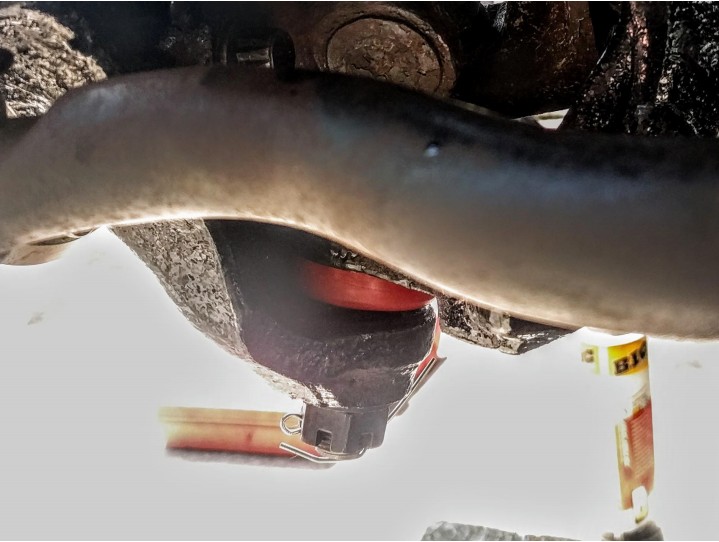
6. With old ball joints removed, you are ALMOST ready to begin installation of new! The following extra step is critical to long-term success AND maintaining your warranty. Beginning with the LOWER joint, locate the traditional zerk grease fitting that is packaged with the UPPER joint and TEMPORARILY install fitting in the LOWER ball joint before filling with a high-quality grease of your choice. Once greased, remove zerk fitting and install needle type grease fitting in LOWER. This is done to ensure that lower ball joint is completely greased prior to being under load, and because it’s much easier to grease it with the zerk than the needle fitting. Lowers are now ready to be installed with needle fitting facing FRONT of vehicle. Remove boot prior to install or damage may occur.
7. With lowers installed, TEMPORARILY install zerk fittings in uppers and pre-grease prior to install. After greasing, remove fittings and set aside before installation or else fittings and/or ball joint may be damaged or destroyed. Uppers can now be installed. Remove boot prior to install or damage may occur. Once installed, reinstall zerk fitting on top of upper ball joints.
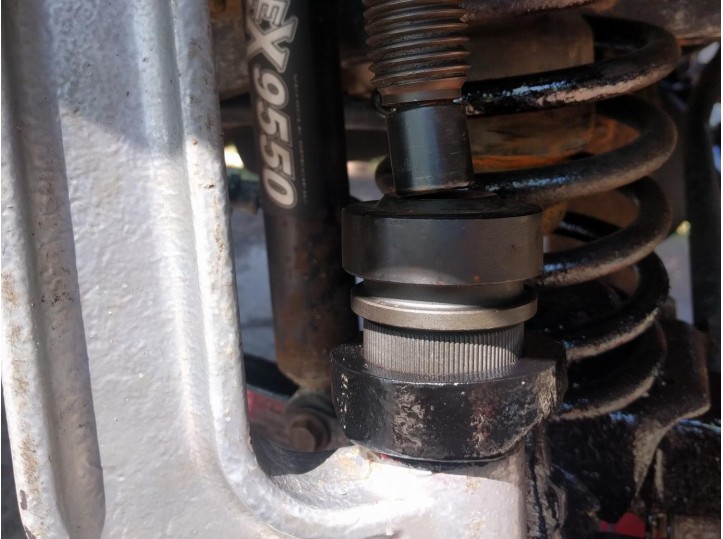
8. Once ball joints are installed and fully seated, reinstall the dust boots, and swing knuckle back into place. Don’t forget the ABS wire retainer on the upper ball joint! Install castle nuts and torque to spec (70 ft lbs on mine), install cotter pins.
9. Reinstall axle shafts, hub assemblies, and brakes in reverse order of disassembly. Don’t forget to torque axle nut to spec. (100 ft lbs on mine) Repeat steps 1-9 on opposite side. Put your wheels on and you’re done!
Installation Instructions Written by ExtremeTerrain Customer Robert S. 07/02/2019
