 FREE 1 to 3-Day Delivery on Orders $149+ Details

How to Install a Teraflex 231 Short Shaft Kit on your 1987-2006 Jeep Wrangler YJ & TJ
Installation Time
3 hours
Tools Required
- 10mm allen
- 13,14,15mm socket or wrench
- 10mm 12 point socket or wrench
- 1 1/8” socket
- Hammer
- Punch
- Flat head screw driver
- Snap ring pliers
- Pry bar
- Ft-lbs torque wrench
- Silicon
- Brake clean
- ATF dextron III
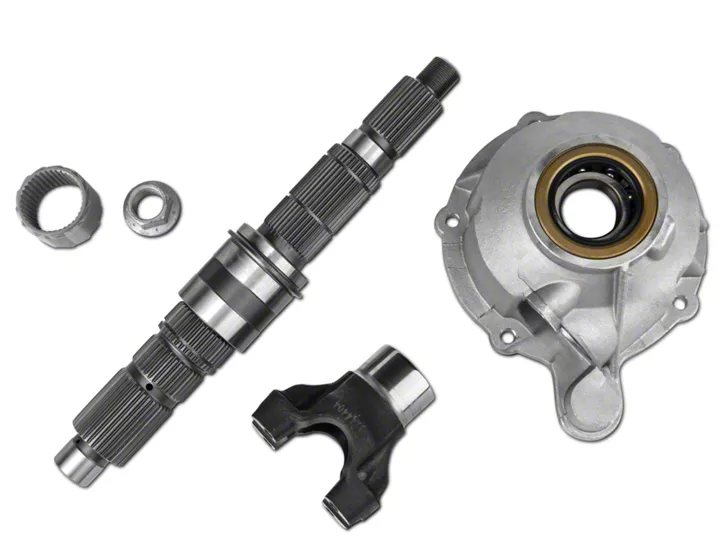
Shop Parts in this Guide
Installation
1. Drain the transfer case using a 10mm allen.
2. Remove the speedometer gear drive using a 13mm socket.
3. Remove the front and rear drive shafts.
4. Remove the shift lever using a 14mm socket or wrench.
5. Remove the transfer case from the transmission using a 14mm socket or wrench
and remove from the vehicle.
6. Remove the slip yoke boot using a flat head screwdriver to loosen the clamp.
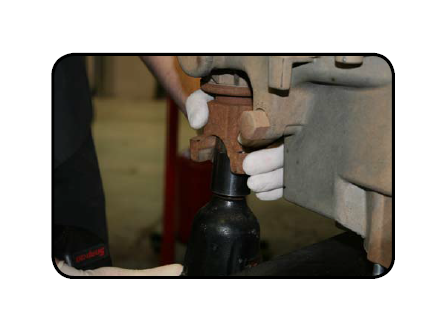
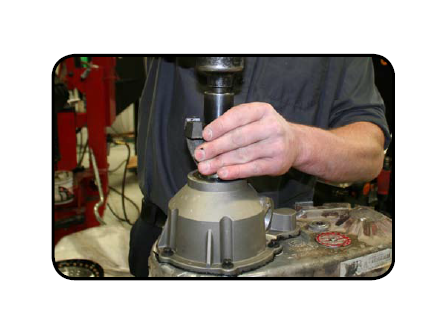
7. Remove the harmonic balancer (if equipped) using a punch and hammer. Make sure that you rotate the balancer while driving it off to ease in removal.
8. Remove the rear output shaft seal.
9. Remove the front output yoke using a 1 1/8” socket.
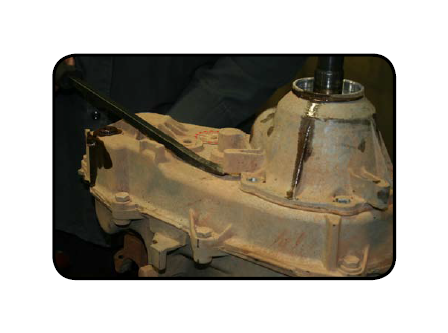
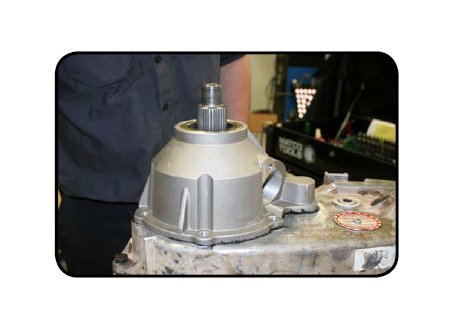
10. Place the transfer case onto the mounting studs. Remove the rear output shaft snap ring.
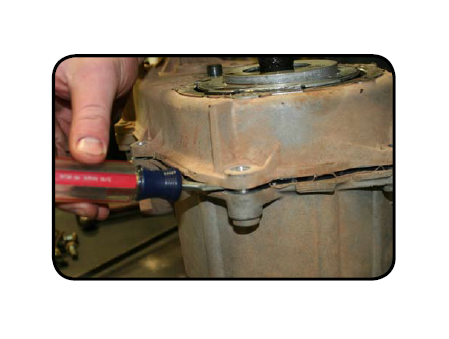
11. Remove the rear output housing using a 15mm socket and separate it from the transfer case.
12. You will need to remove eight bolts to separate the transfer case. On seven bolts use a 15mm socket and the last bolt is a 10mm 12point that also needs to be removed. Now separate the two half using the pry slots that are machined into the case.
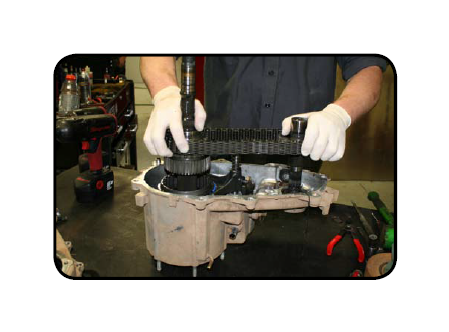
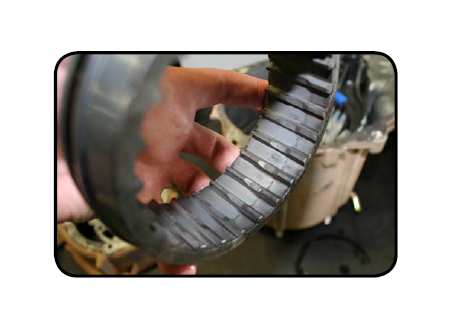
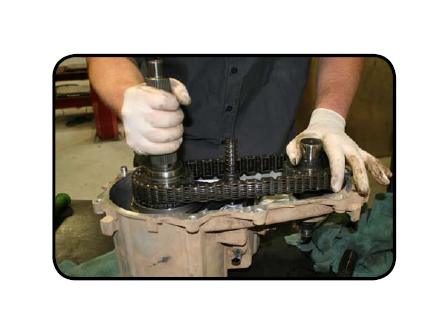
13. Remove the front and rear output shafts together with the drive chain.
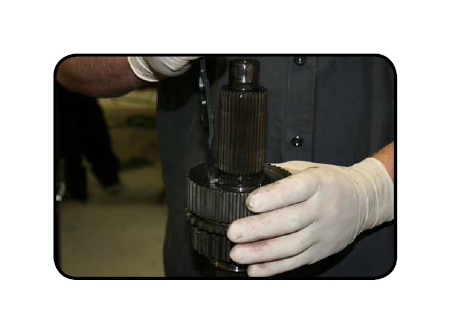
14. Remove the drive sprocket snap ring and remove the drive gear from the main shaft.
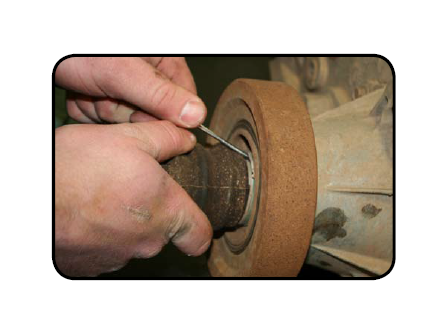
15. Check the mode fork inserts for damage. If they are worn replace them with factory
replacement parts. Remember which way the synchro sleeve goes on the range fork. The short half of the splines should go down.
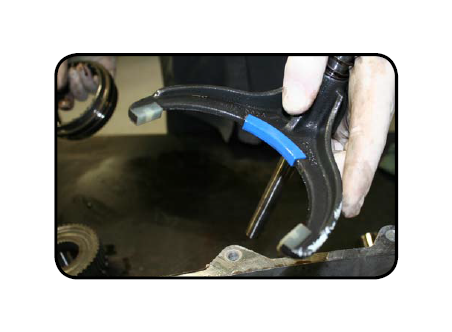
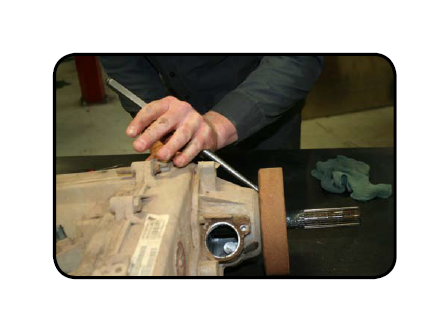
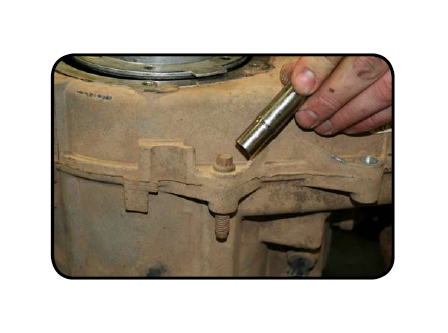
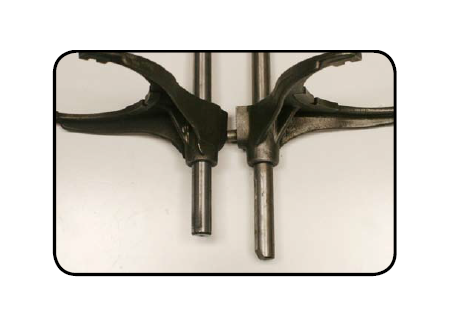
16. Verify the length of your mode fork shift rod as shown. If your shift rod measures 10.2”, it will need to be cut down to a length of 9.380”. This is typical of 1988 and 1989 model YJ’s & XJ’s
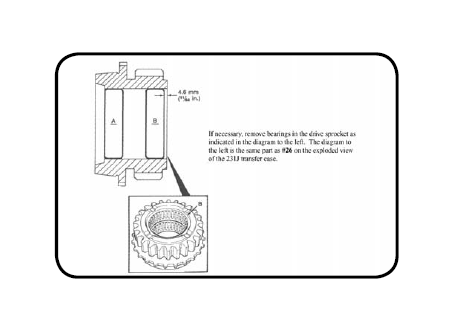
17. If your vehicle is a 1996 and older you will have to remove the bearings from the drive sprocket. You can use a big socket and hammer or equivalent to remove them.
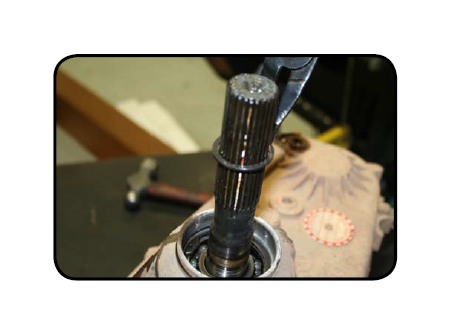
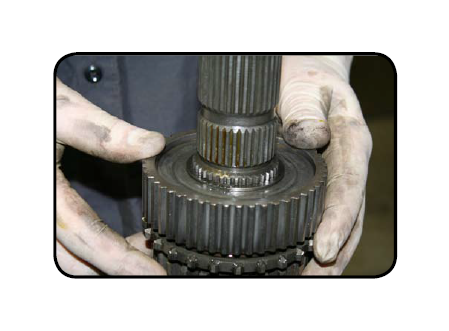
18. Install the drive gear onto the new short shaft and install the new snap ring.
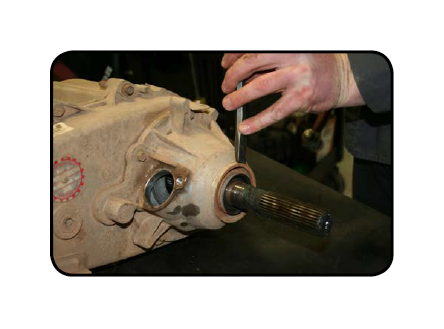
19. Install the new short shaft with the front output shaft and the drive chain.
20. Clean the seal surface and use silicone adhesive to seal the front and rear half of the case.
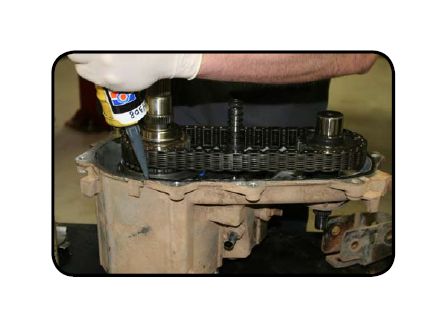
21. Install the rear half of the case. Make sure that the oil pick up is installed into the pump and the magnet is installed in the case. While installing the rear case slide the oil pump onto the shaft. Torque the bolts to 25 ft-lbs.
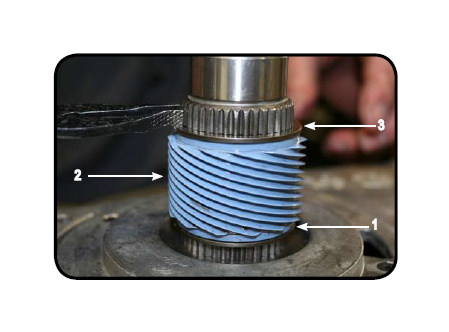
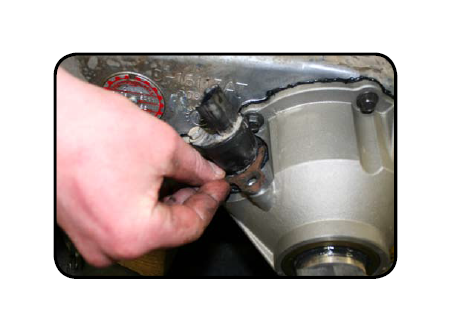
22. To install the speed sensor, install a new snap ring (1), followed by the speedometer gear (2), then the final snap ring (3) to hold the gear in place.
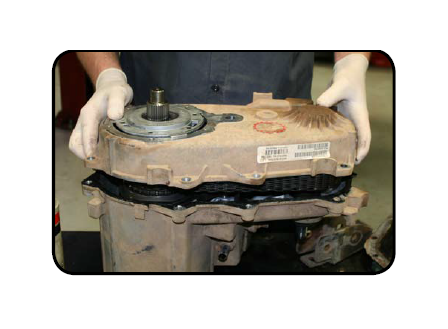
23. Install the new rear housing. Use silicone adhesive on the seal surface and torque to 20 ft-lbs.
24. Install the new yoke. Use silicone adhesive on the splines of the yoke to create the seal. Use red thread locker on the yoke nut and torque to 100 ft-lbs.
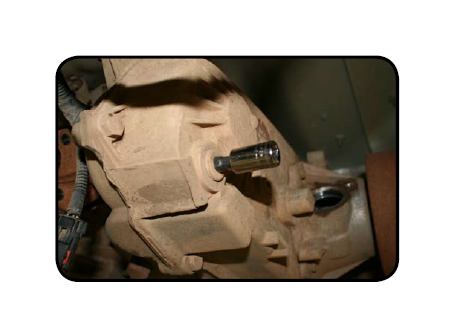
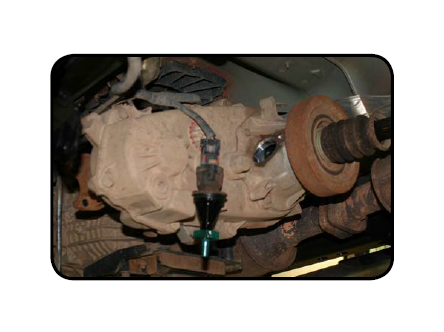
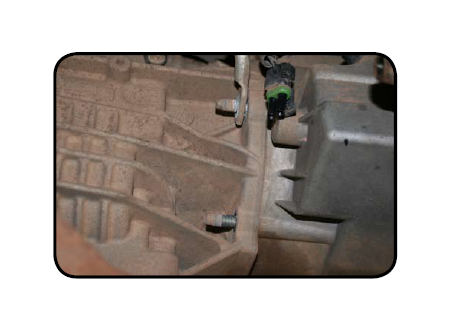
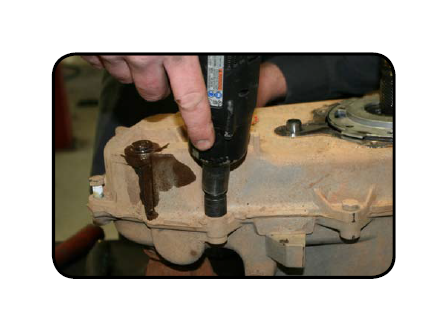
25. Reinstall the speed sensor into the transfer case. To make sure that the gears are
engaged by rotating the yoke and putting your hand on the speed sensor. You will be able to feel the speed sensor gear turn. Install the speed sensor clamp and bolt and torque to 8 Ft-lbs.
26. Reinstall the transfer case into the vehicle. Torque the mounting nuts to 30 Ft-lbs.
27. Reinstall the shift lever.
28. For best sealing results do not fill the transfer case for 24 hours. The longer you wait the better the silicon will set up and seal the transfer case. Use recommend ATF Dextron III oil.

