 FREE 1 to 3-Day Delivery on Orders $149+ Details

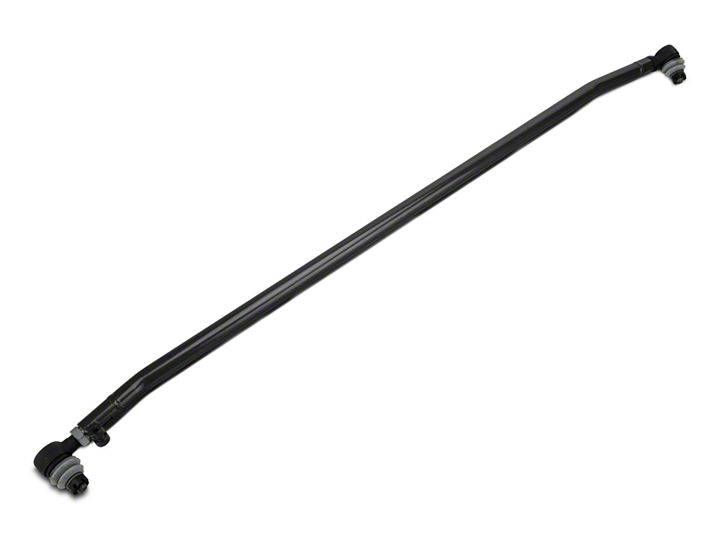
How to Install a Synergy Heavy Duty Chromoly Tie Rod on your 2007-2014 Wrangler JK
Shop Parts in this Guide
GENERAL NOTES:
- The Synergy Manufacturing Heat treated tie rod replaces the factory tie rod in the original location; you can re use the factory steering stabilizer clamp.
- Replacement tie rod ends are available from Synergy Manufacturing, part number 4131
1. Jack the front axle up so the tires are not touching the ground and support with jack stands.
2. Measure the toe in. Mark a vertical line near the middle of the tire tread on both tires. Measure between the two lines with a tape measure when the mark is on the front of the tire, at the 3 or 9 o’clock position looking from the side. Make sure the marks are at the same height so the tape measure is level. Note this measurement then rotate the tires 180 degrees so the mark is on the back of the tire, measure and note that distance. The difference between the two measurements is the toe-in, and should be about 1/8” positive. Positive toe-in is when the front of the tires is closer together than the rear of the tires.
3. Remove the steering stabilizer and bracket u-bolts
4. Remove the stock tie rod by removing the tie rod end nuts and separate the tie rod ends from the steering knuckle using a tie rod separator tool or by striking the end of the steering arm with a large hammer.
5. Adjust the tie rod on the hex end so that there is about ¼” of thread sticking out of the jam nut. We recommend that you use loctite on the threads of the tie rod end and jam jut.
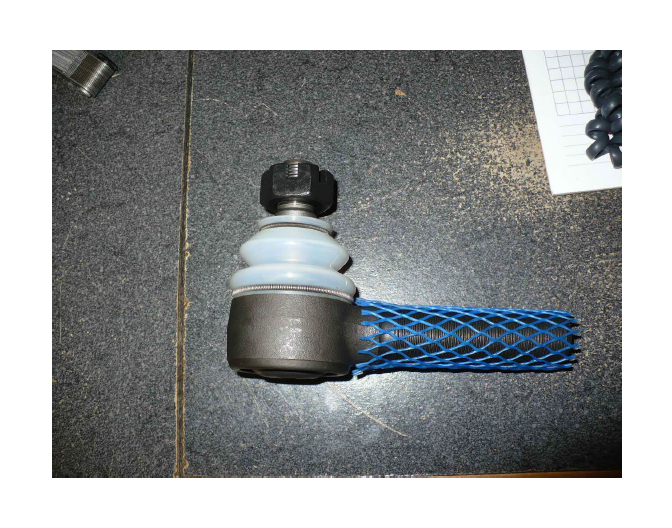
6. Install the dust boots onto the tie rod ends. Dust boots will ship with the lower spring pictured as shown below.
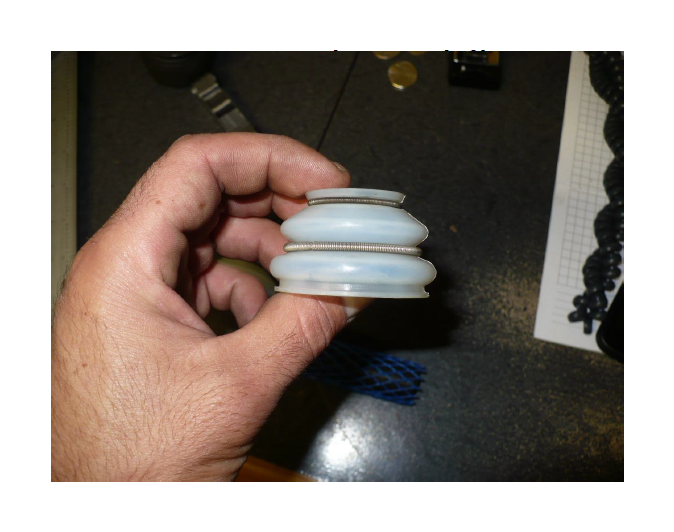
7. Install dust boot onto tie rod end and roll lower spring down to the bottom lip of the dust boot as pictured below.
8. Install the new tie rod so that the bends are flat and the tie rod is bent forward, away from the axle, the double adjuster side goes on the driver side (left) with the pinch bolt on the back of the tie rod.
NOTE: If you are installing on a RHD vehicle, install the tie rod so the double adjuster is on the right or driver side, with the pinch bolt on the back of the tie rod.
9. Tighten the castle nuts to 50 ft-lbs or more to align the cotter pin hole and install the cotter pins
10. Set the toe-in by turning the adjuster sleeve on the driver side to get the same toe-in that you had before. If you are taking it to an alignment shop the factory specification is .20 degrees /-.03 degrees.
11. Tighten the tie rod adjuster sleeve pinch bolts to 50 ft-lbs
12. Tighten the jam nut on the passenger side very tight. Jam nuts have tendency to come loose so man up and get it really tight!
13. Install the steering stabilizer bracket and steering stabilizer
