 FREE 1 to 3-Day Delivery on Orders $149+ Details

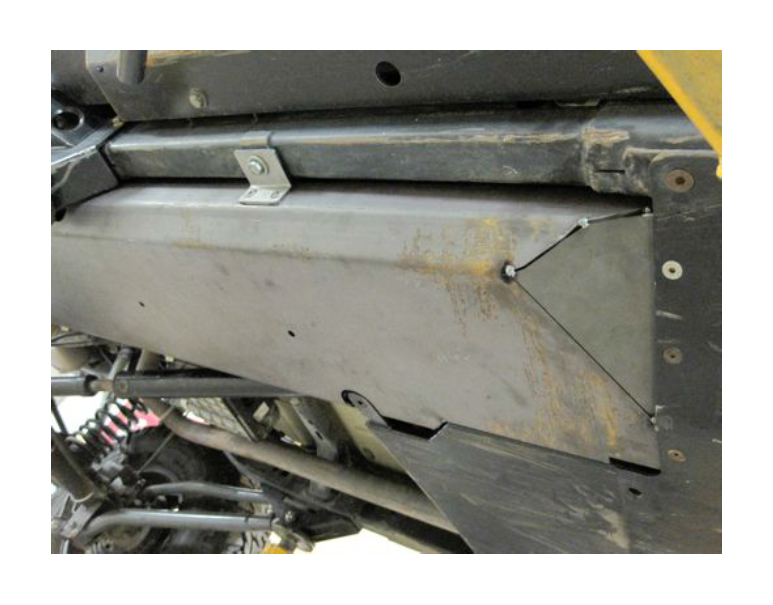
How to Install a Synergy Gas Tank Skid Plate on your 2007-2014 Wrangler JK
GENERAL NOTES:
• These instructions are also available on our website; www.synergymfg.com.
Check the website before you begin for any updated instructions and additional
photos for your reference.
• This skid plate assembly is designed to be used along with the Poly Performance
5710 JK skid plate assembly or can be used with the stock cross member and skid
plates. We make no claims that this skid plate will work with any other aftermarket skid plates and is up the purchaser and installer to make it work.
• These installation instructions are for both 2 and 4 door JK models.
• We recommend that you perform this installation with a close to empty gas tank, or empty it before you drop the tank. A full fuel tank is very heavy.
1. Unpack the skid plate components from boxes, verify that all parts are intact and in
good condition. The following is a list of included components:
• (1) 5714-01 Skid plate
• (1) 5714-03 Rear inner bracket
• (1) 5714-04 Mid inner bracket (not used on 2 dr)
• (1) 5714-05 Front inner bracket (4 dr) or (1) 5713-01 (2 dr)
• (1) 5714-06 Rear outer bracket
• (2) 5714-07 Front and mid outer brackets (only 1 with 2 dr)
• (1) 5714-11 Stock cross member adapter
• HARDWARE
2. Read all the following steps before beginning installation. If you do not have the
proper tools or ability to install the components properly do not attempt installation.
Find a creditable, local shop to do the installation work.
3. Drain the gas from the tank if it’s not close to empty. You can do this by removing
the filler hose form the fuel tank and inserting a drain hose, it needs to be a small hose
because there is a flapper valve installed into the opening.
4. Remove the stock T-case skid plate or any aftermarket T-case skid plate
5. Loosen and remove the passenger side rear lower control arm bolt, pull the bolt out so it is flush with the inside of the lower control arm bracket
6. It is very helpful to remove and install the tank if you remove the right rear coil
spring and disconnect the drive shaft at the pinion
WARNING: The fuel system is under constant pressure even with engine off. Before servicing fuel rail, fuel system pressure must be released.
7. Remove fuel fill hose clamp (2) at rear of tank (3).
8. Remove fuel fill hose (1) from fuel tank.
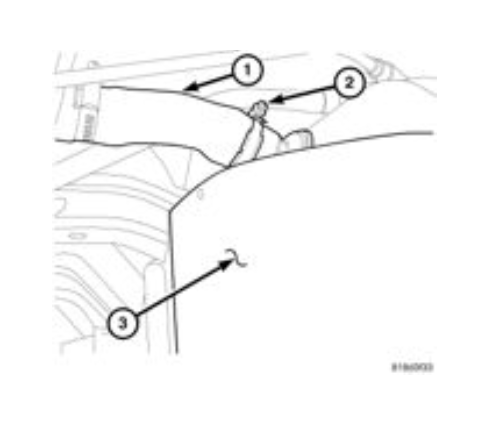
9. Disconnect quick-connect fitting (2), (9) and (10)

The fuel tank skid plate and the fuel tank assembly are removed at the same time. They share common fasteners.
10. Support tank with a hydraulic jack.
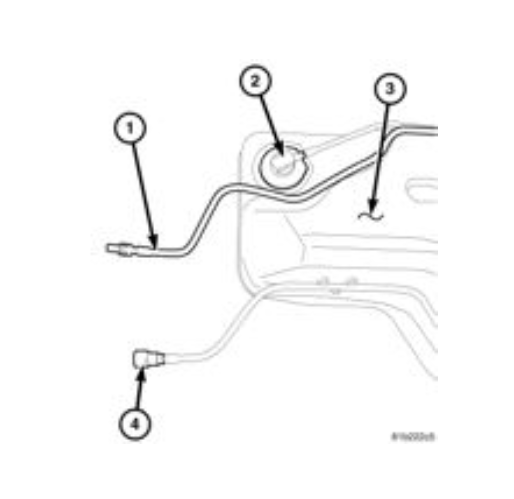
11. Disconnect quick-connect fittings at front of tank (1) and (4)
12. Remove all of the tank mounting bolts.
13. Partially lower tank to gain access to pump module electrical connector.
14. Disconnect electrical connector at fuel pump module.
15. Continue lowering tank for removal.
16. Lift fuel tank from skid plate.
17. Lay the new gas tank skid flat on the ground or work bench with the bottom side
down.
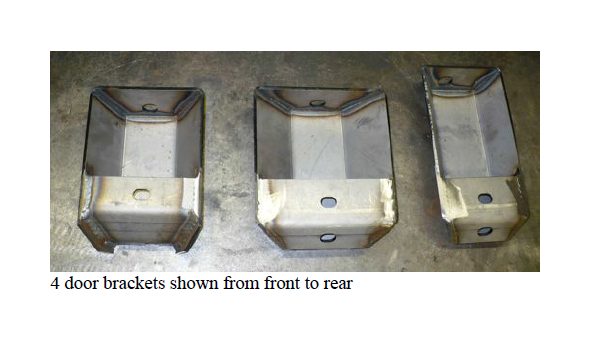
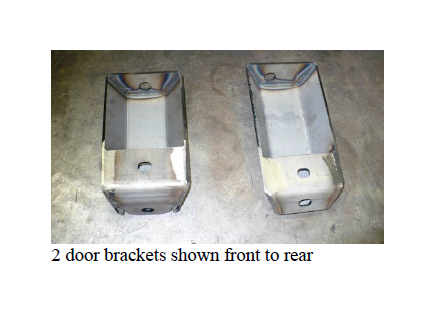
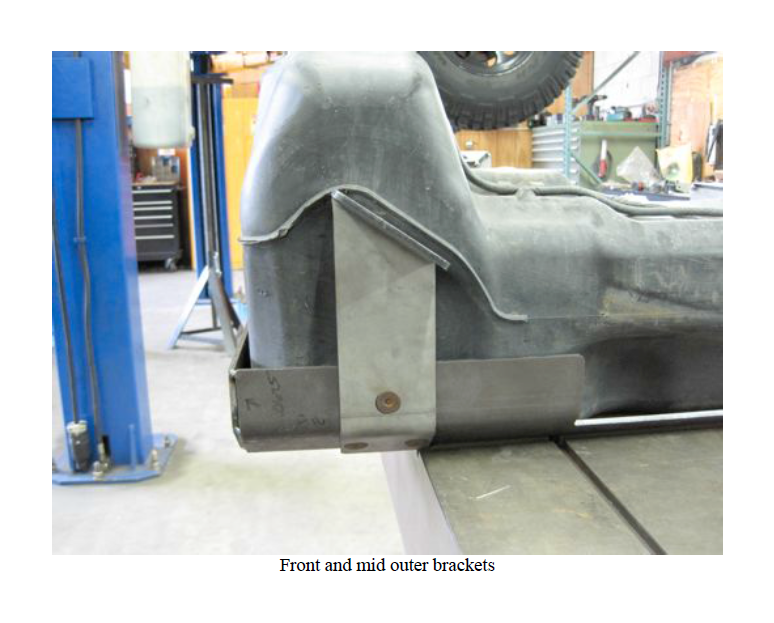
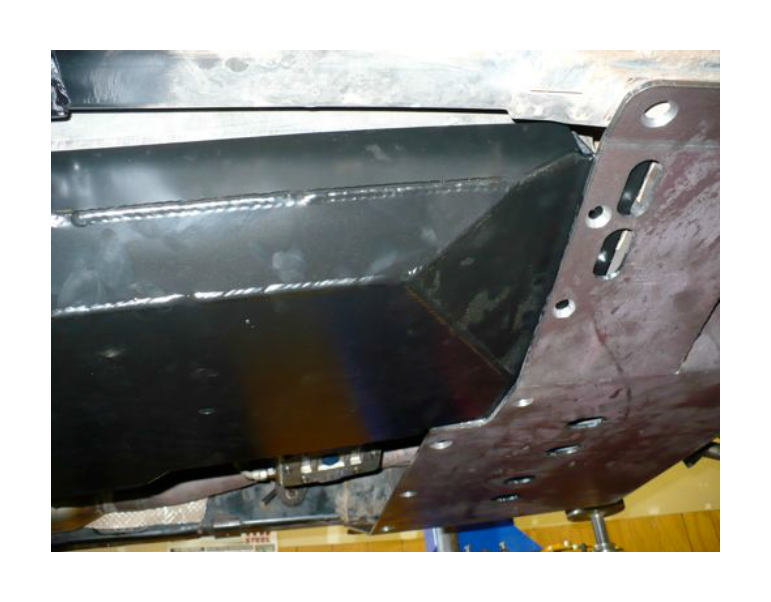
18. Loosely bolt the mounting brackets to the skid plate as shown below, leave the outer 3/8 flat head bolt finger tight but leave the inner 1/2” bolts very loose. Shown below is a 4 door Unlimited model. The 2 dr JK’s do not have the middle brackets on either side.
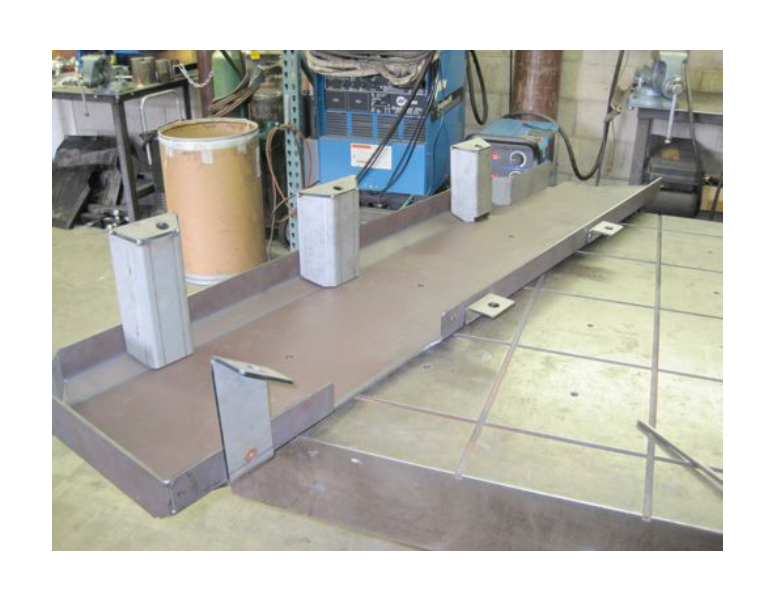
Use the supplied 3/8 flat head allen bolts to attach the outer brackets, use the flange nuts on the inside with no washers.
Rear outer bracket
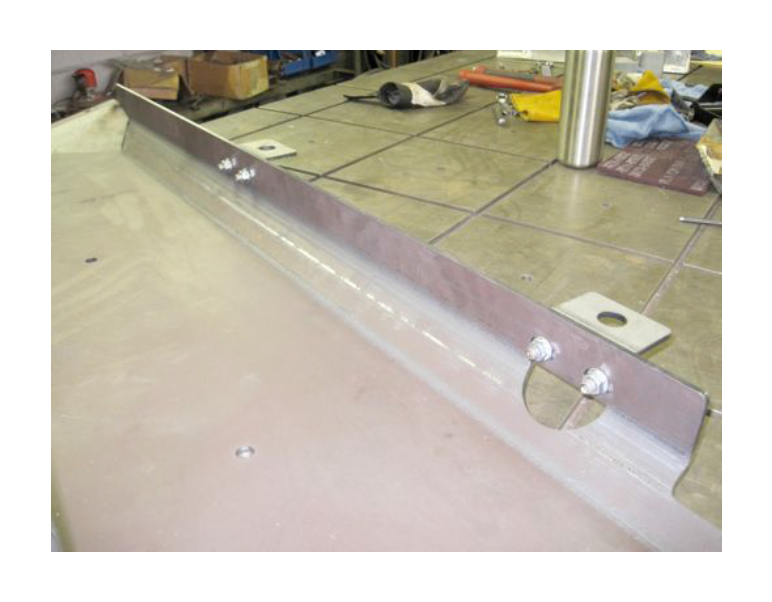
Use the supplied ½” bolts to attach the inner brackets, each bracket is made for a specific location, i.e., front, middle and rear so make sure the brackets are in the correct location. Use a washer under the bolt head and the flange nuts with no washers.
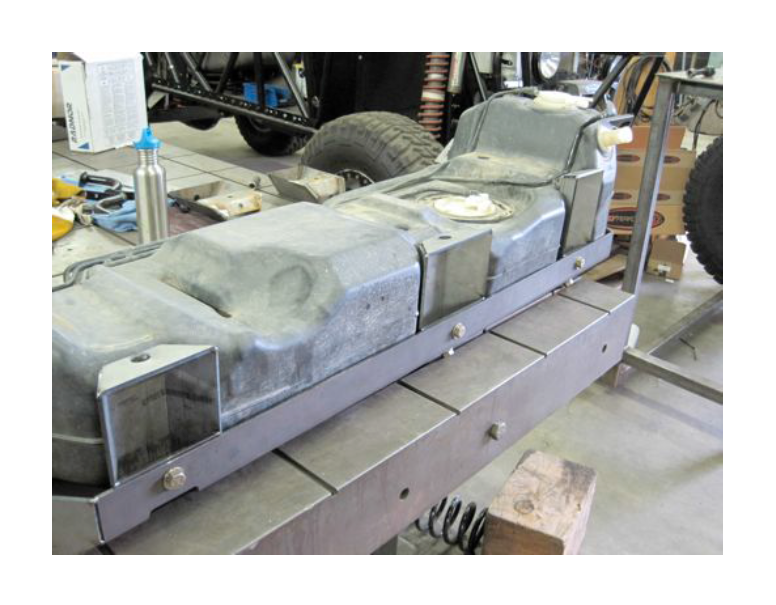
19. Position fuel tank into skid plate.
20. Position fuel tank assembly on a floor jack under the vehicle and prepare to install.
21. Partially raise tank to allow connections at top of tank.
22. Connect electrical connector to fuel pump module.
23. Continue raising tank snugly to body. If you are using the Poly Performance 5710
skid plate assembly, put the front flange of the gas tank skid on top of the 5710 center
skid plate as shown
24. Install hose (4) to tank and install clamp (3).
25. Install all of the stock tank mounting bolts into the frame, tighten enough to allow the tank and brackets to move for positioning
26. If you are using the Poly Performance 5710 skid plate assembly, install the three 3/8 flat head bolts with flange nuts in the from the bottom of the gas tank skid plate
27. Connect quick-connect fittings at front of tank.
28. Connect quick-connect fitting (2), (9) and (10)
29. If you are using the stock transmission cross member, attach the 5714-11 adapter to the front of the gas tank skid and to the stock cross member with the factory bolts.
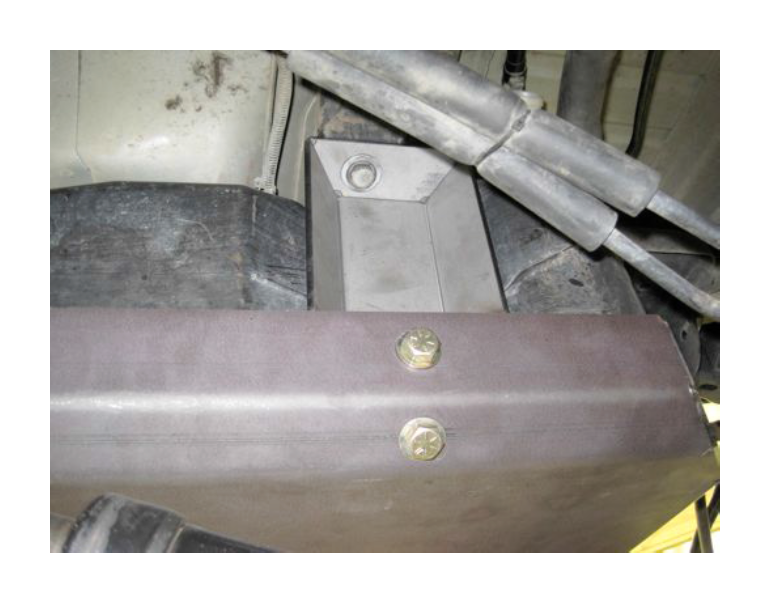
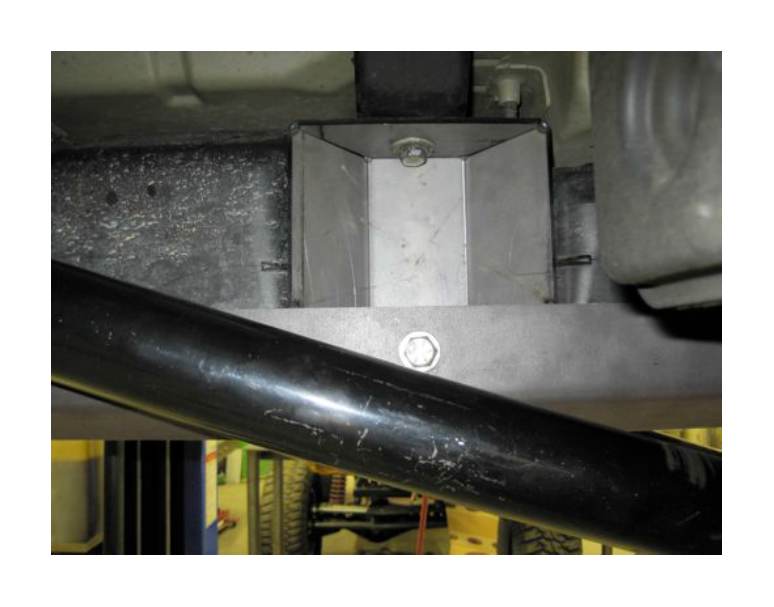
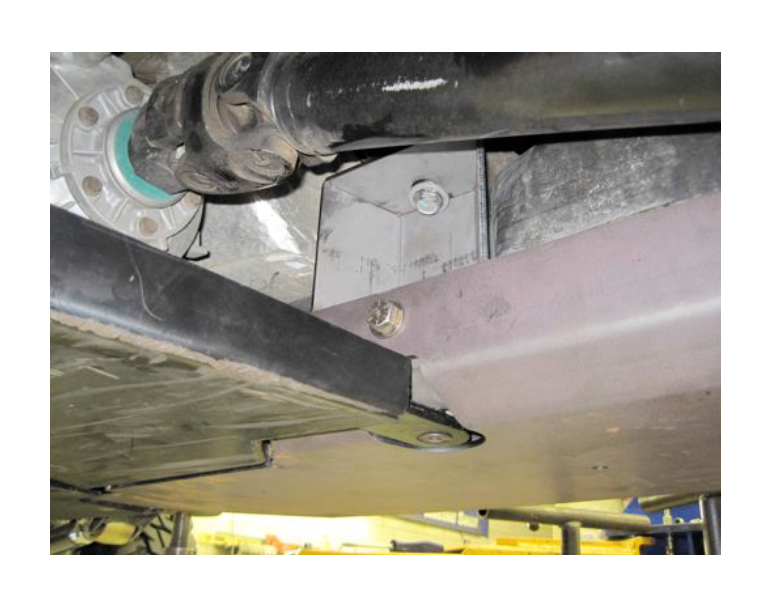
30. Tighten the bolts that secure the skid plate to the side brackets, tighten the ½” bolts to 50 ft-lbs, tighten the 3/8 flat head bolts to 20 ft-lbs
31. Tighten the factory frame bolts to 30 ft-lbs.
32. Install the T-case skid plate, if you are using the Poly Performance 5710-02 T-case
skid plate, use the new ½” flat head bolt and flange nut, if you are using the stock Tcase skid, use the new supplied ½” bolt, washer and flange nut.
