 FREE 1 to 3-Day Delivery on Orders $149+ Details

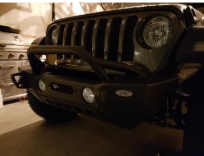
How to Install Smittybilt XRC Gen2 Front Bumper (18-19 Jeep Wrangler JL) on your Jeep Wrangler
Installation Time
2 hours
Tools Required
- Trim Removal Tool
- Ratchet (1/4” and 1/2”)
- Ratchet Extensions
- Sockets (7, 13, 16 [Deep Socket], 18 and 19 MM)
- Hex (5 and 6)
- Torx (T-15)
- Zip Ties

Shop Parts in this Guide
Note: Park the vehicle on a safe and leveled surface and wear protection gear.
Installation Instructions:
1. Remove the air dam.
a. On Rubicon and Sahara models use a 13 MM socket and remove all the screws holding the factory air dam to the body.
b. On models with a plastic air dam, remove the 2 factory bolts in the bottom using a 7 mm socket and then detach the 8 clips holding the air dam to the bumper using a trim removal tool.
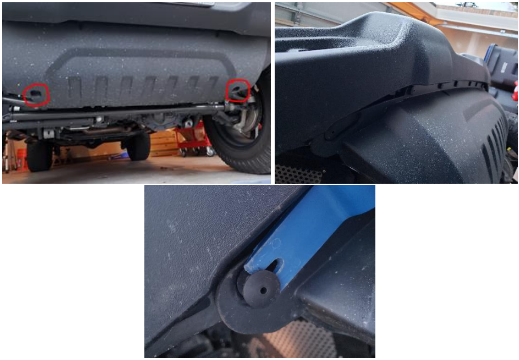
2. Using a trim removal tool, remove the two clips in the top of the bumper.
3. Using a 16 MM socket, remove the two bolts securing the metal skid plate. Then slide the plate up and detach.
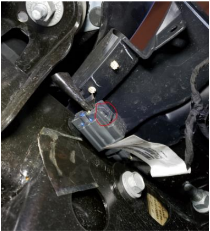
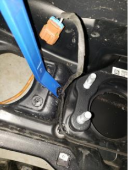
4. Detach the wire harness in the passenger’s side. Press the locking tab and then pull.
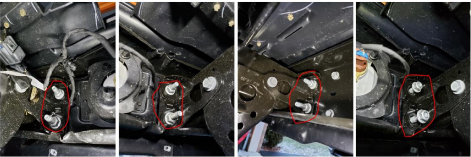
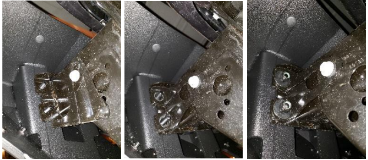
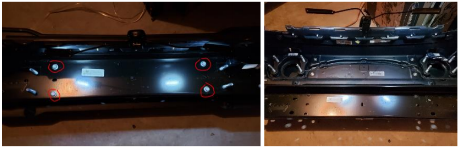
5. Using a 16 MM deep socket, remove the 8 bolts securing the bumper to the frame. Those are shown below in the following order: Passenger Outside, Passenger Inside, Driver Inside, Driver outside. For safety, leave at least one loosely secured nut in place in the outer top bolts of on each side to ensure the bumper does not fall on you while you are working from behind it.
6. Ensure that nobody is behind the work area and completely remove the two nuts left for safety. Now the bumper is loose and can be carefully removed.
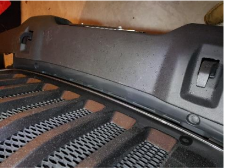
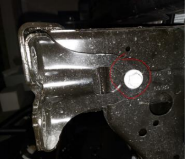
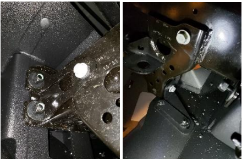
7. Using a 16 MM socket, loose the bolt holding the bracket attached to the frame. You don’t have to remove the bolt. Just let it loose so you can leave the bracket temporarily hanging. This will ease installation of the bumper in a later step.
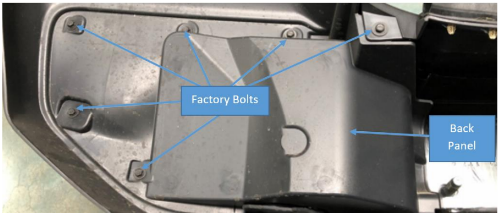
8. If you will install aftermarket light pods go to step nine. To install the factory fog lights in the new bumper, remove the factory back panel. There are a total of six 8mm bolts and a clip on the top.
a. For JLs without the led package use a T-15 to remove the three bolts securing the fog light’s bracket to the factory bumper and release the cable connector.
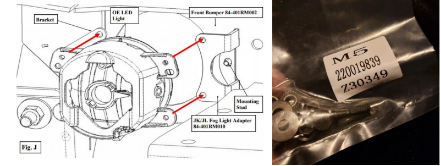
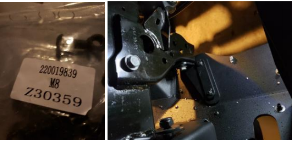
b. Using the hardware provided (part no. Z30349), secure the factory bracket to the new bumper.
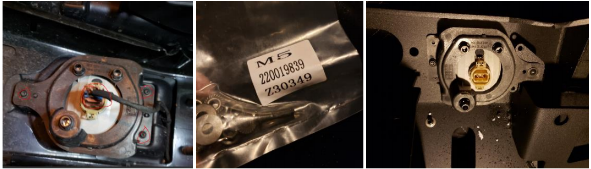
c. For JLs with the led package and the led light housing shown below, install the fog light adapter (84-401RM010) in the mounting stud and secure using the provided hardware (part no. Z30349).
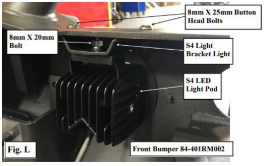
9. For aftermarket light pods, install the provided S4 light brakets (84-401RM007) to the S4 LED light pods using the provided 8mm x 20mm button head bolts and hardware.
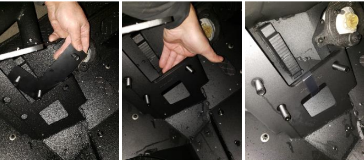
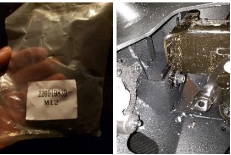
10. Install the driver and passenger side bolt plates to the new front bumper pockets and secure in place using the 12mm bolt retainers. The unit I got did not included the retainers, so I used electrical tape instead to hold the bolt plates instead as shown in the pictures below.
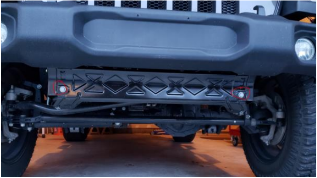
11. With the help of a friend, lift the bumper up in place and align the 3 mounting studs in each side with the holes in the frame mounting plates. Secure the bumper using the eight 12mm nuts supplied but leave them loose. This will ease installing the lower mounting tabs in a later step.
12. Using the supplied 5mm hex tool, remove the bolts in the upper corner of the protective plastic cover on the bottom. This screw will help secure the lower mounting tab.
13. Using the bolt removed in step 12, the supplied 8mm bolt and hex tool and the factory 16mm bolt, attach the lower mounting tab and the nut plate to the lower end of the bumper and the JL’s frame. Note that the nut mounting plate have different sized nuts and align appropriately. Tight the 8mm and 5mm bolts but secure loosely the 16mm factory bolt for now.
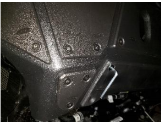
14. Working with a section of two bolts at a time, remove the 12mm nuts and re-attach the factory brackets. Make sure you use the provided washers and secure nuts loosely.
15. With the bumper center-aligned, you can now tight all eight 12 mm nuts to 70 ft-lb. Also tight the two 16mm bolts securing the lower portion of the bumper to the frame and the four 16mm bots holding the factory bracket.
16. If using the factory lights follow the steps below. For aftermarket light pods, follow the lights manufacturer’s wiring instructions.
a. Using a 13mm socket, remove the rear metal panel from the factory bumper to re-use the factory wiring harness.
b. Using the trim removal tool, detach the clips securing the factory wiring harness to the factory bumper.
c. Connect the factory wiring harness’ connectors to the factory lights.
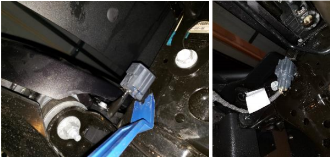
d. Detach the factory connector from the frame and swing it to the inner side of the frame. The mounting location of the lights in the new bumper is closer to the middle of the JL’s front and will need to be relocated. Connect to the factory wiring harness.
17. Installation is now complete.
Installation Instructions Written by ExtremeTerrain Customer Duamel Santiago 1/14/2019
