 FREE 1 to 3-Day Delivery on Orders $149+ Details

How to Install Rugged Ridge Polished Aluminum Cold Air Intake on your Wrangler
Shop Parts in this Guide
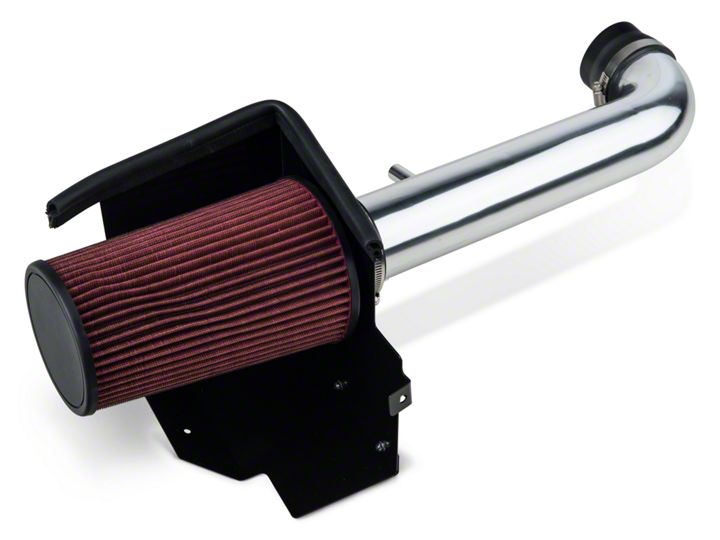
This installation guide will illustrate the steps required to install the Rugged Ridge Polished Aluminum Cold Air Intake (Item # J20402).
After getting larger tires on my Rubicon, and the fact that I drive quite a bit back and forth to see my beautiful wife and children on the weekends, I was looking for something that would improve both my fuel economy as well as my performance. After speaking with a few knowledgeable folks, I decided on the Rugged Ridge Cold Air Intake. This installation guide will walk you step by step through the installation process. It’s a little bit longer than usual, but then again, this is a more involved installation than my other guides.
Installation Instructions:
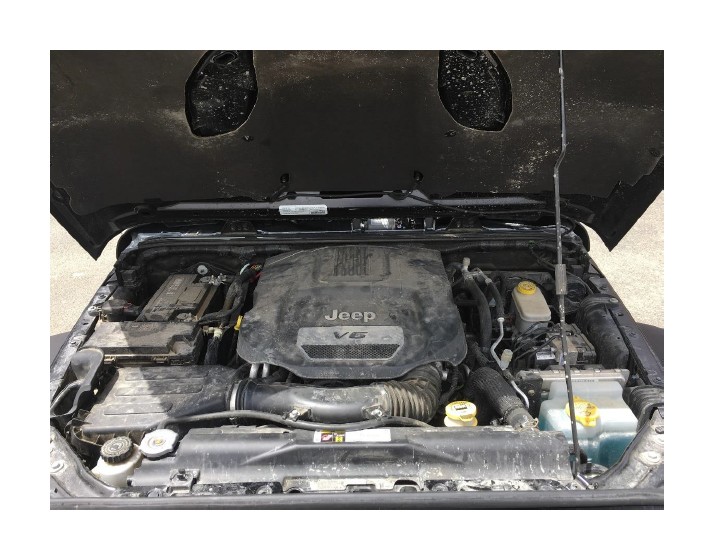
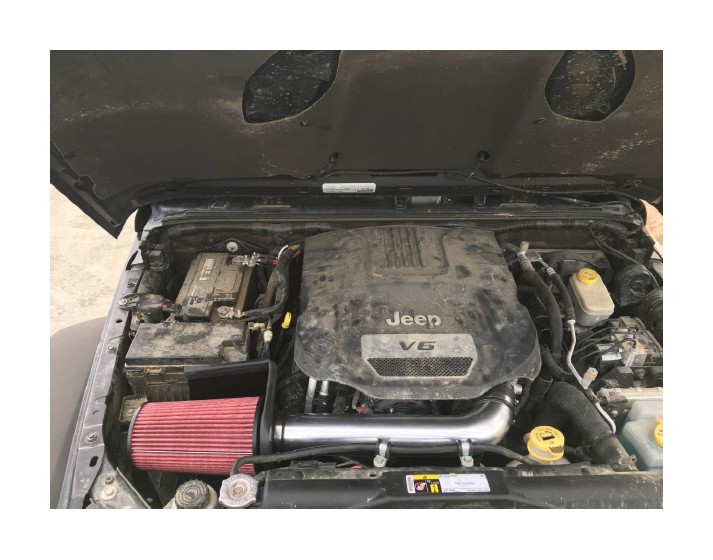
1. So the first thing you have to do is remove the factory engine cover. Simply put your hands under the front and lift up and pull out. Set it aside and out of the way.
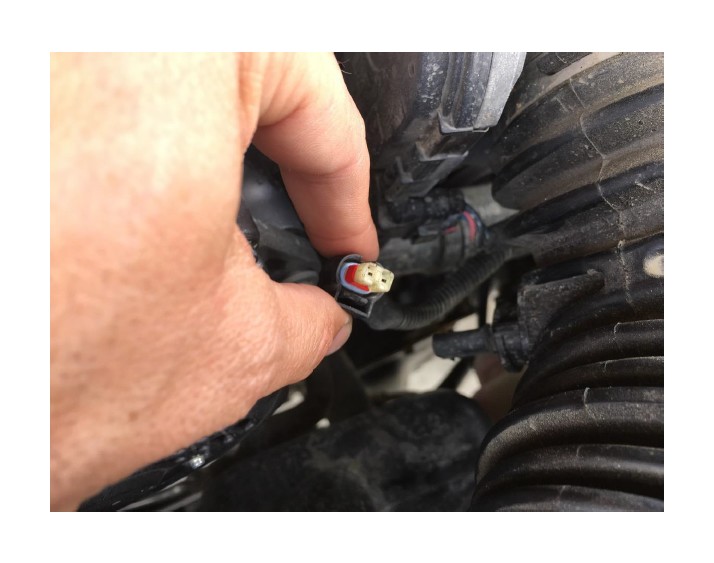
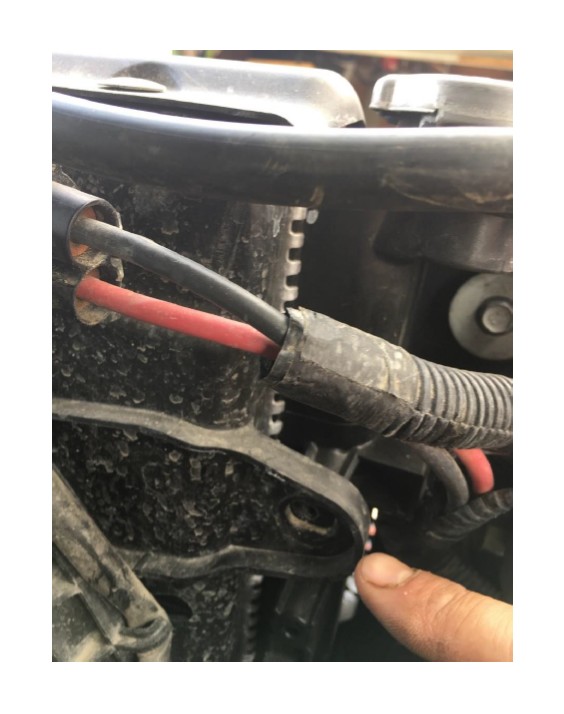
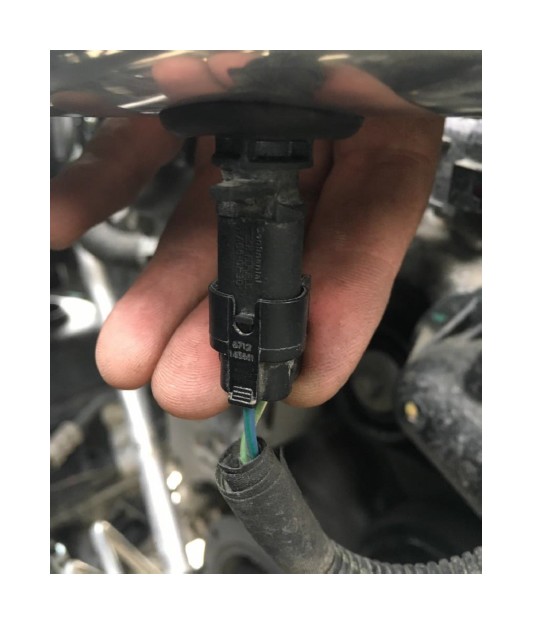
2. Next carefully remove the O2 sensor plug from the factory intake tube. There is a clip on the plug, just press and pull gently.
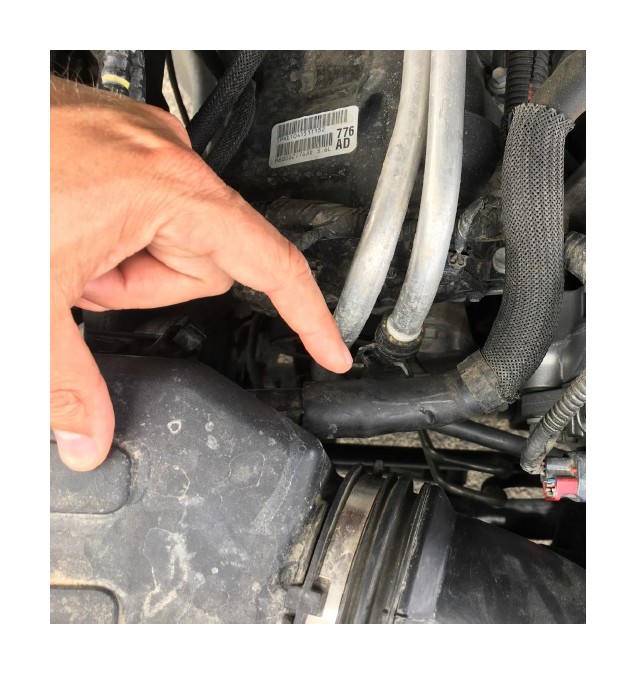
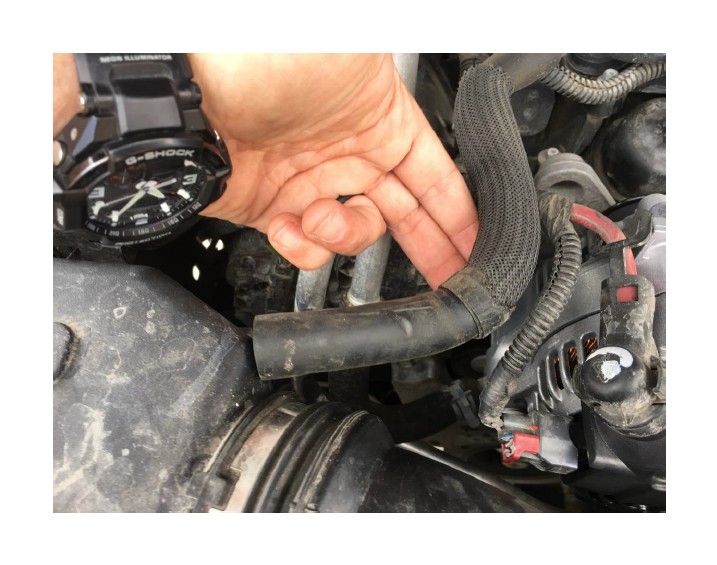
3. Next take the PVC hose off the factory air box. Just pull while twisting a little, it will come off rather easily.
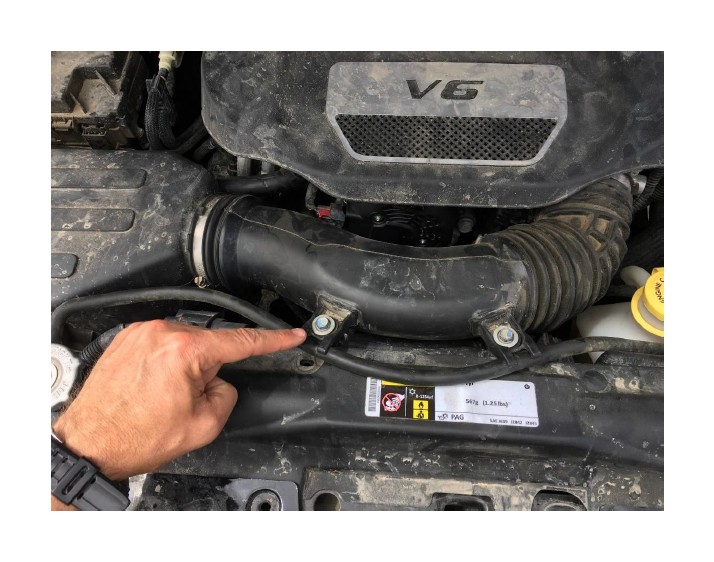
4. After I had the O2 plug and the PVC hose off, the next thing to disconnect is the take the bolts holding the intake tube to the fan shroud. This is done with the 12mm socket and wrench.
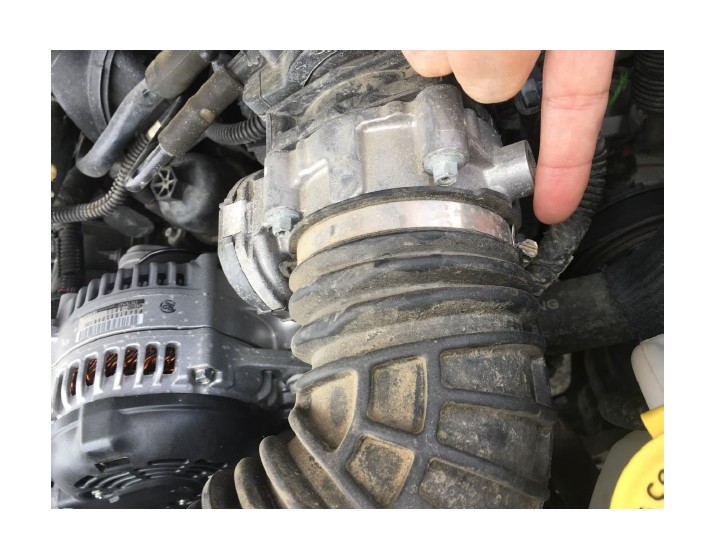
5. Next loosen the hose clamp holding the intake tube to the throttle body.
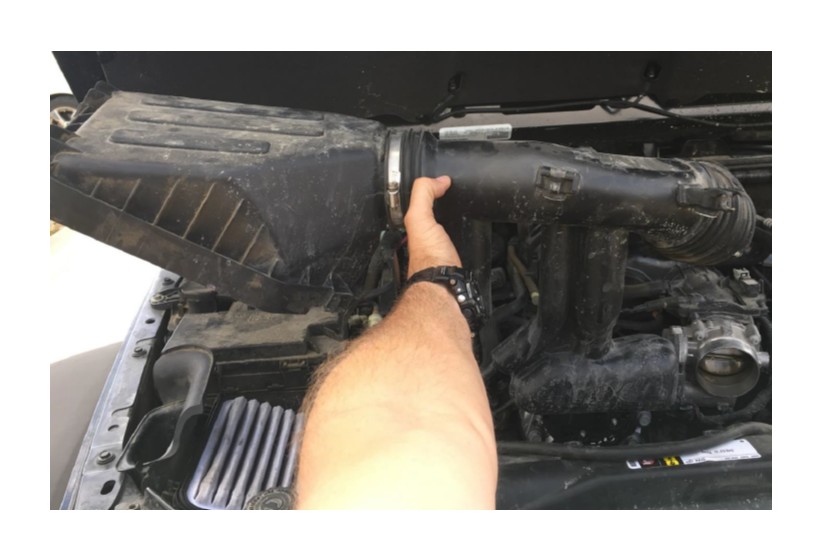
6. Once these steps have been taken open the air box, and lift the entire factory intake tube out of your Jeep.
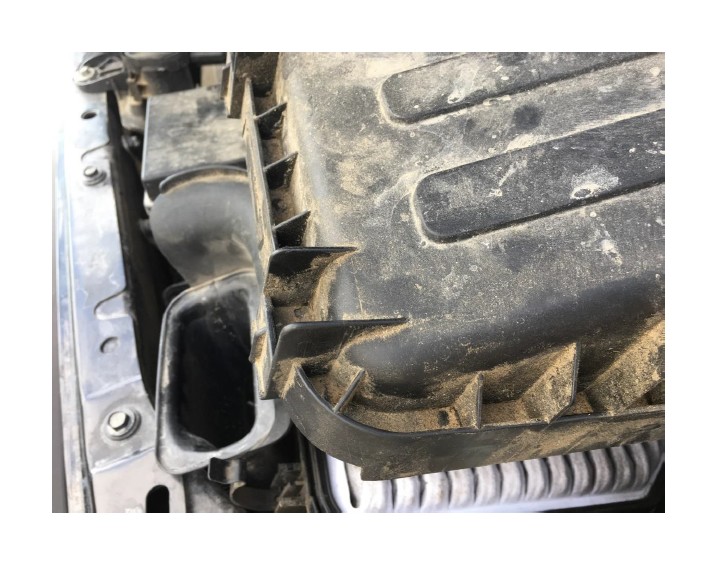
7. Once you have the intake tube out of your Jeep, grab the air box, and pull up sharply. It will pop out of its seat, and then you will be ready to start installing.
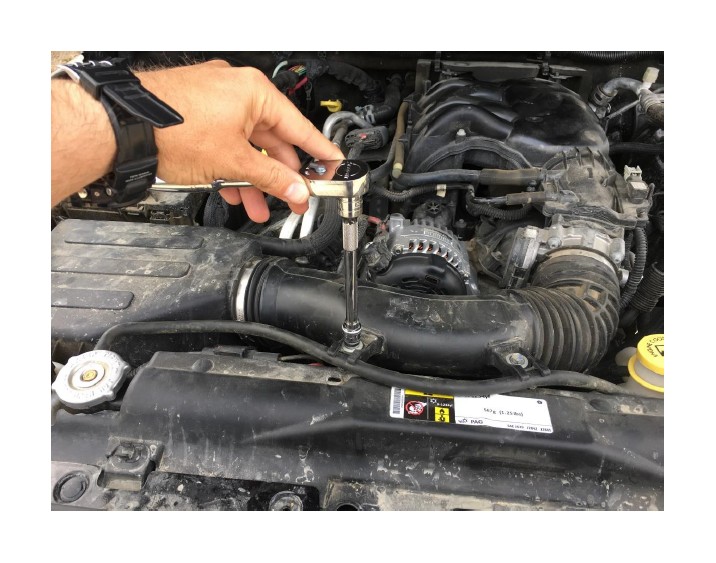
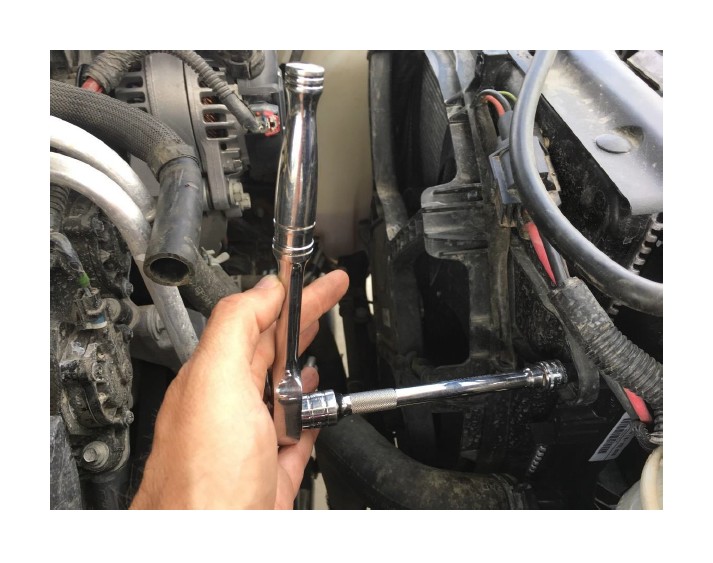
8. Next take the top left fan shroud screw out using a 10mm socket and wrench.
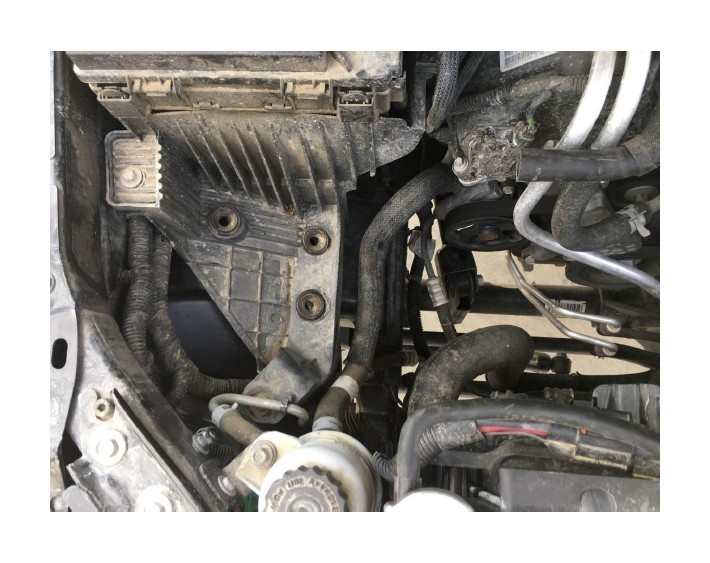
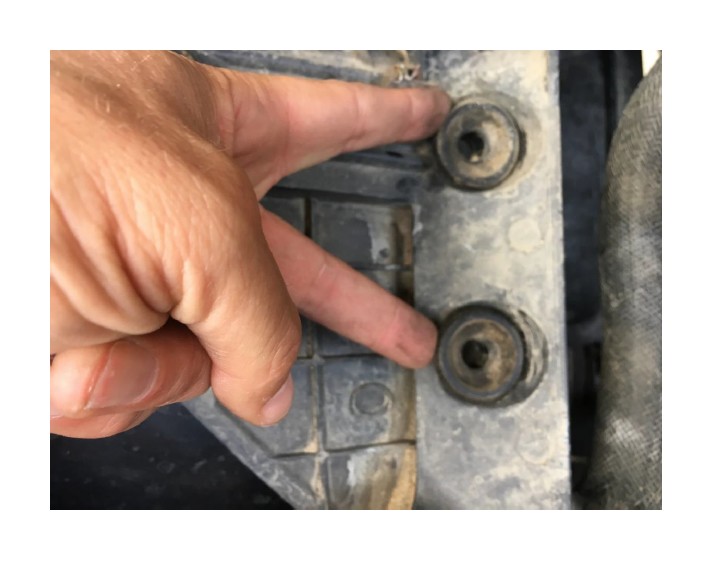
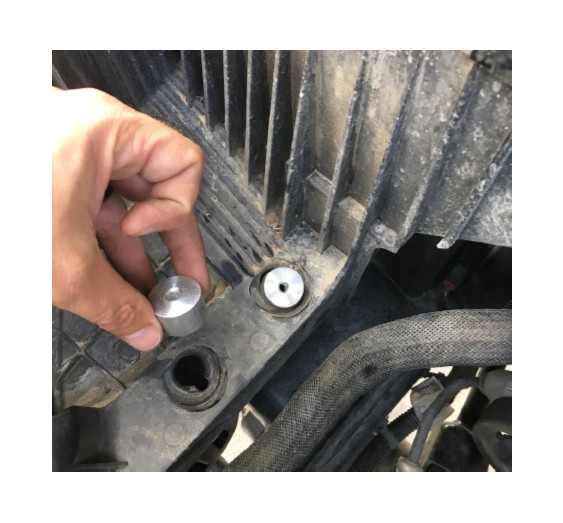
9. Next take the rubber grommets out of their holes that held the factory air box and replace them with the provided aluminum spacers using the same holes. These just set in there, but will be secured in the next step by the M6 mounting bolts.
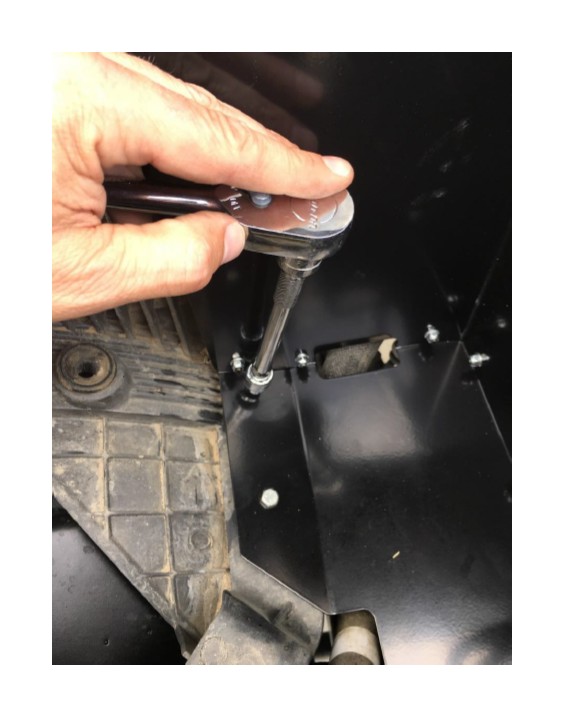
10. Now grab the heat shield out of the box, and take the two M6 mounting bolts, two washers, and M6 nuts and feed them through the holes in the heat shield. Once the bolts are in the heat shield, simply insert the bolts into the aluminum spacers and attach the washer and M6 nut from underneath the heat shield using the 12mm socket. Then reattach the fan shroud screw through the hole on top of the heat shield using the 10mm socket.
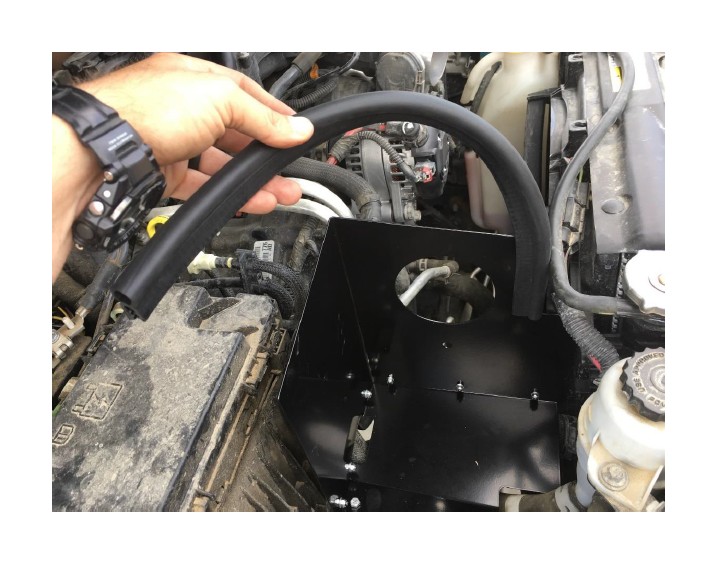
11. Once you have the heat shield installed, attach the provided rubber gasket to both the top of the heat shield, as well as the hole for the intake tube, and cut to the proper length using the tin snips.

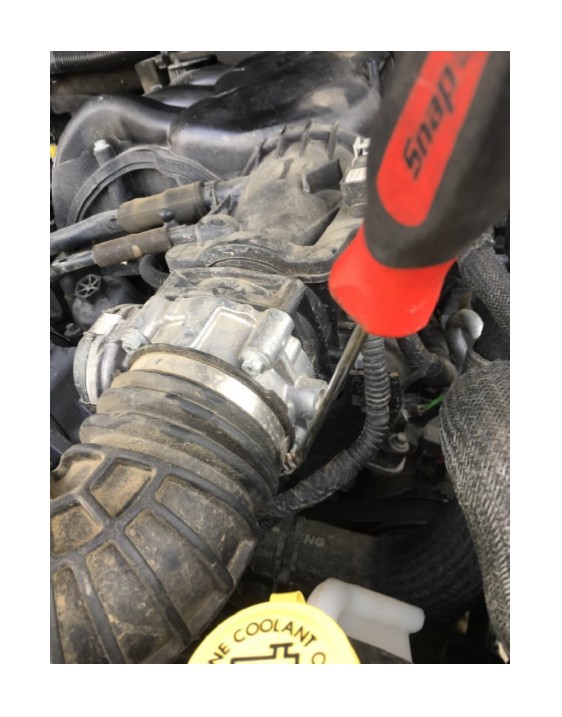
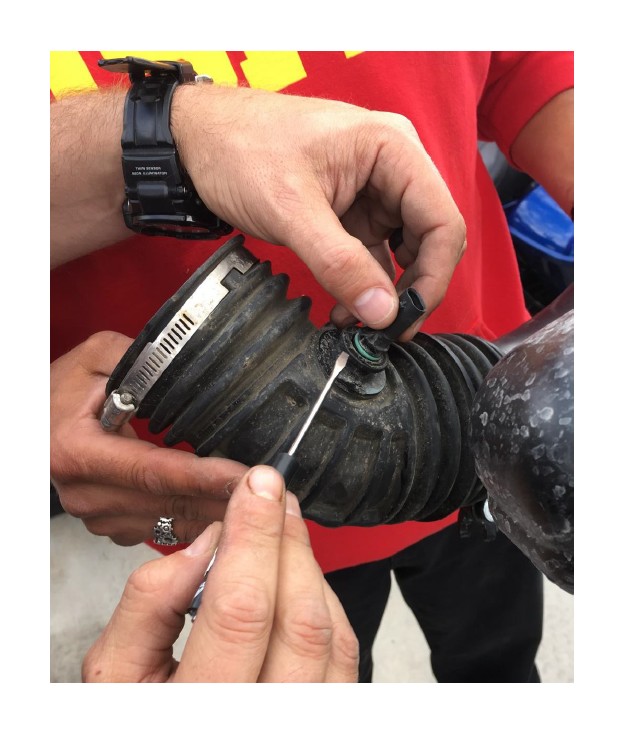
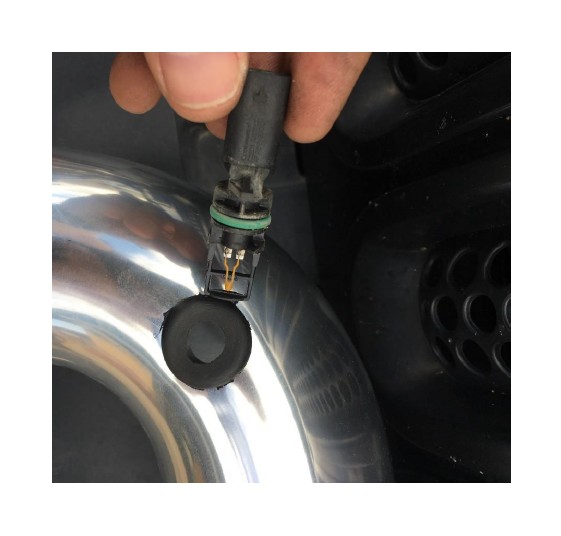
12. Now You are ready to remove the O2 sensor from the original factory intake tube. BE VERY CAREFUL. This is a fragile part. Turn the sensor counter clockwise, and then gently with a flathead screwdriver work the sensor out. If you break this piece you will be in a world of hurt.
13. Next insert the provided O-ring grommet into the new intake tube, and insert the O2 sensor.
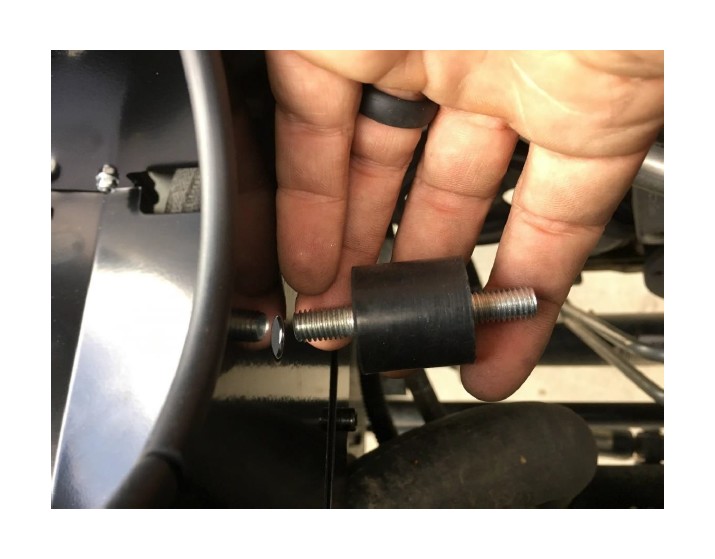
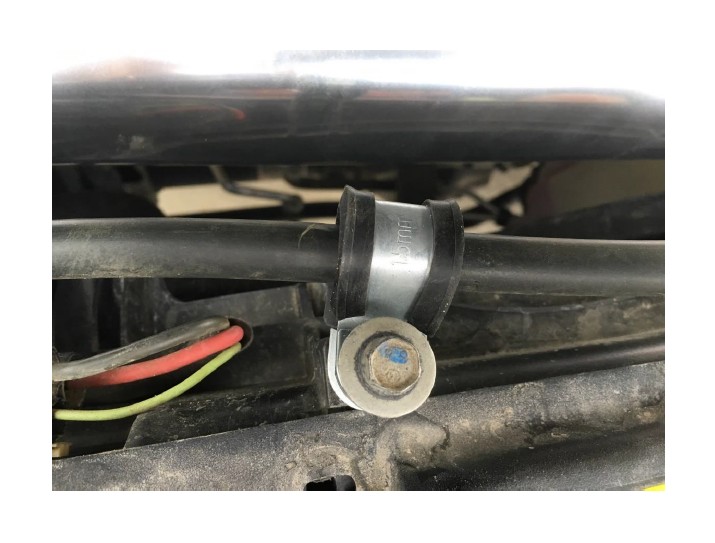
14. After the O2 sensor is installed, grab the rubber isolator and bolt it on, using the provided hardware. You will use the 13mm socket for this.
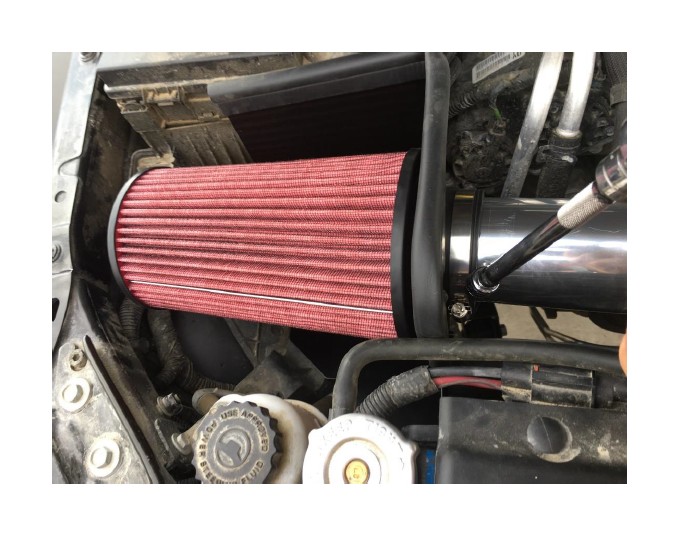
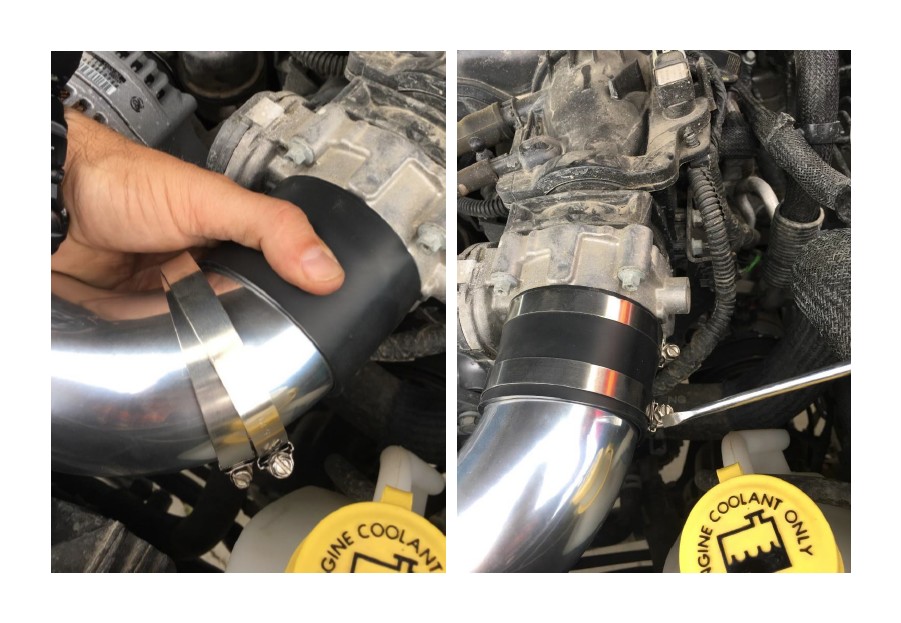
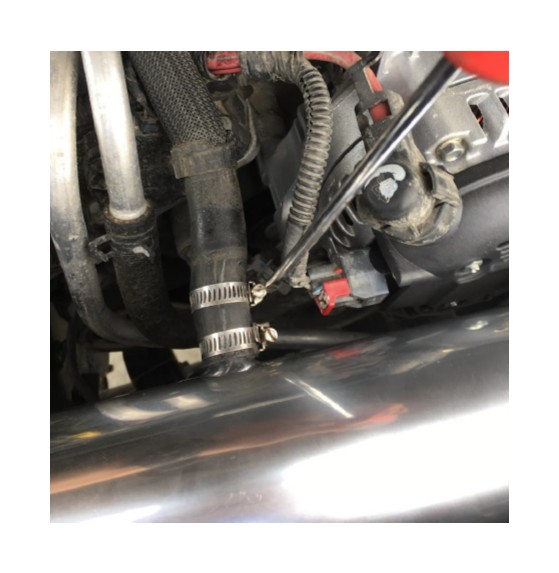
15. Next put the filter into position in the heat shield, and after placing the provided hose clamp around filter (on the engine side of the heat shield) insert the new intake tube into the filter. Additionally on the throttle body end of the intake tube, attach the coupling tube and (2) hose clamps. Once you have the intake tube attached to the filter, attach the coupling tube over the throttle body and tighten all hose clamps using a flathead screwdriver, or a 10mm socket.
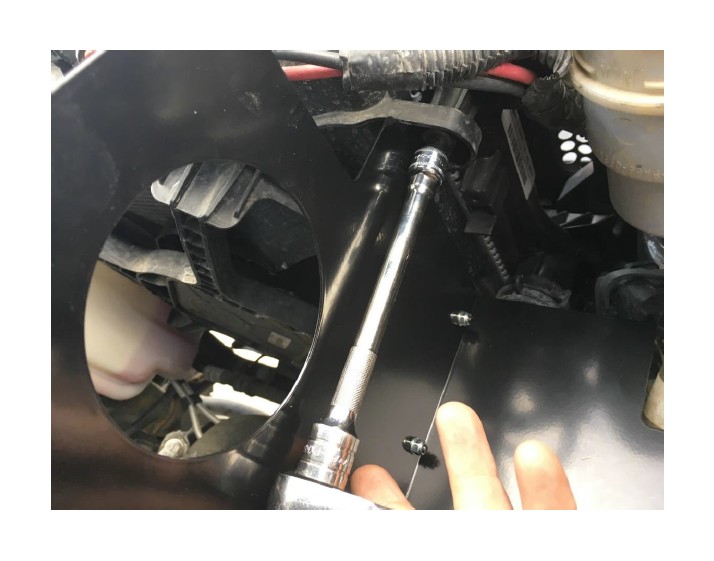
16. Reaching under the intake tube with a 12mm socket and wrench, tighten the bolt on the rubber isolator.

17. Using the (2) provided hose clamps, attach the PVC tubing to the new intake tube.
18. Next reattach the O2 sensor plug, it just snaps back on.
19. Once the O2 sensor is connected, the next step is to reattach the rubber intake tube to the fan shroud. Use the provided attaching clamps.

20. Once that is completed, put the engine cover back in place, and you are ready to drive down the road with your new Rugged Ridge Cold Air Intake.
Installation Instructions Written by ExtremeTerrain Customer Terry Hunt 05/10/2017

