FREE 1 to 3-Day Delivery on Orders $149+ Details

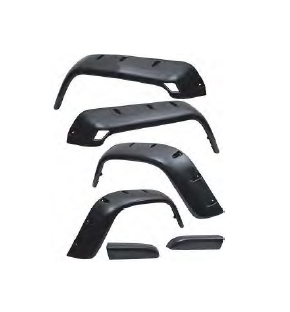
How to Install Rugged Ridge 6 In. All Terrain Fender Flare Kit on your 1997-2006 Wrangler
Tools Required
- 1. 6 mm Allen wrench
- 2. 10 mm Wrench
- 3. 5/16" wrench
- 4. Scissors
- 5. Isopropyl Alcohol

Shop Parts in this Guide
HARDWARE LIST:
1. M5 Socket Head
Cap Screws- (28)
2. M5 Flat Washers- (28)
3. M5 Flange Nuts- (28)
4. Edge Trim- (1 roll )
5. Edge Trim Tool
Important! Please read instructions completely before installing flares.
*See page 2 for optional painting instructions.
Step 1. Remove front factory side markers. Do not discard markers, they will be reused. Remove all flares including the front flare extensions. Clean body surface where new flares will mount. Temporary removal of rear fender well liners may be necessary for installation of flares.
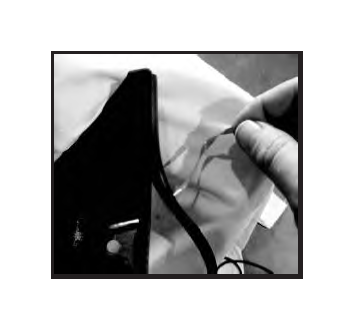
Step 2. Clean inside mounting lip edge with rubbing alcohol. Install edge trim as shown by removing red vinyl tape covering only a few inches at a time. Do not stretch the trim while being applied, this may cause shrinkage after installation.
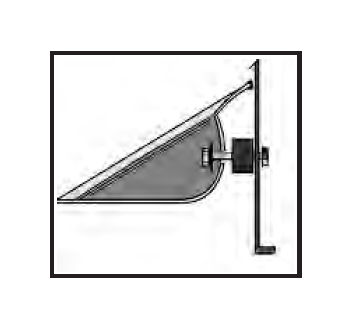
Step 3. Install the hardware as shown in the image. First place a washer on the M5 bolts. Place one bolt through each hole in the flare. Next place a rubber spacer on the bolt on the back side of the flare. ( Note: Over tightening of the flares may not allow them to expand and contract with climate changes.)
Step 5. Install the flares on the body. The flares will be held on the body by either placing a nut on the inside of the fender or screwing the bolt into a factory nutsert in the body. Both the front and rear flares will have this multiple mounting method. Install flare extensions using the factory M5 bolts that were previously removed.
Step 6. Reinstall the front side markers, and marker bulb socket.

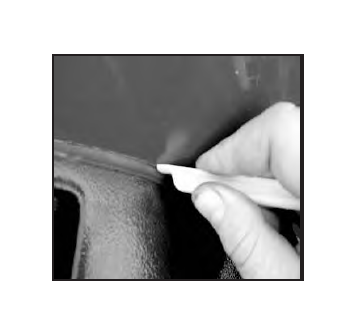
Step 10. Use of the trim tool may need to be used on any parts of the trim that have been misaligned during installation. To seat the trim against the body, the curved side will be used. To seat the trim side against the flare the flat side will be used. It may be necessary to start at one end and run the tool the full length of the flare.
NOTICE: Do not use any harsh chemicals on flares. Use only plastic approved cleaning chemicals.
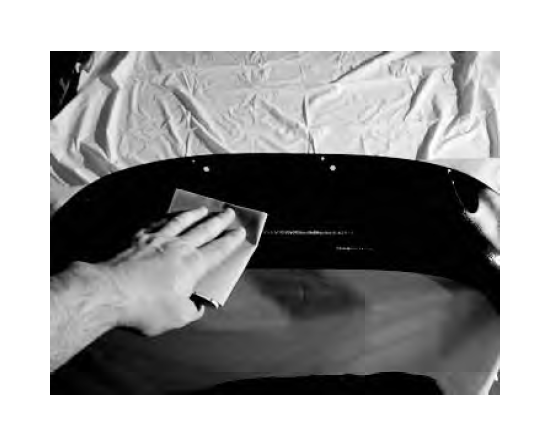
CUT OUT FLARE PAINT PREPARATION:
Step 1. Lightly sand flares with 320 grit sandpaper.
Step 2. Remove all suface contaminents from flares using an approved grease and wax remover.
Step 3. Wipe flares with a tack rag to remove any dust or dirt.
PAINTING
Step 1. Apply two even coats of adhesion promoter to flares. Allow recommended flash time between coats. Let second coat dry for 15 minutes before primer application.
Step 2. Apply an even coat of primer to flare surface. ( A high build primer is recommended. )
Step 3. Paint flares with a automotive grade paint. ( A flex additive must be added to paint. )