 FREE 1 to 3-Day Delivery on Orders $149+ Details

How To Install RedRock 4x4 1.5 in. Wheel Spacers 5x5 Bolt Pattern on your 07-18 Jeep Wrangler JK; 2018 Jeep Wrangler JL
Installation Time
2 hours
Tools Required
- Torque Wrench
- 19mm Socket
- Socket Extension
- Lug Wrench
- Flat Blade Screwdriver
- Large Screwdriver
- Jack
- Jack Stands
Shop Parts in this Guide
Note:
This guide will show installation of all 4 wheels. You will need to purchase 2 pars of spacers if you want to do all 4
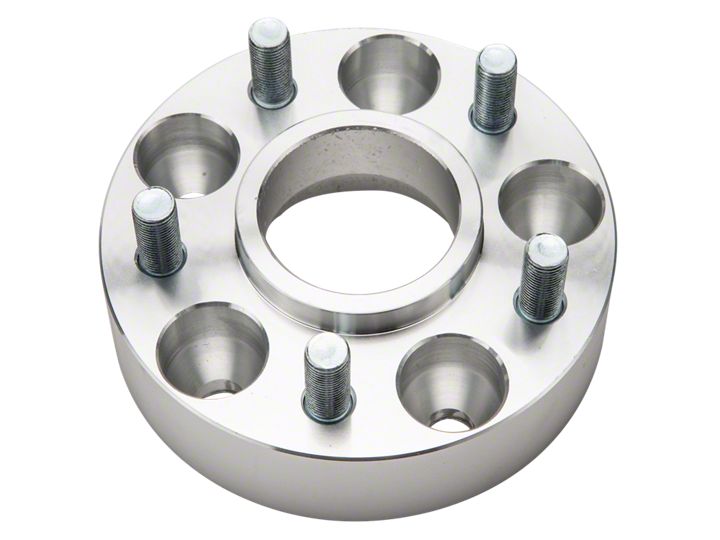
In The Box:
Before Pictures:
Installation Instructions:
1. I started with the front left, but you can do any wheel first. Before Jacking up your Jeep, loosen the lug nuts slightly. Only about 1⁄4 turn is needed.
2. Jack up the wheel and lower the axle on to the Jack stand.
3. Remove all the lug nuts and the wheel
4. Using a flat blade screwdriver, pry up the tabs on the 2 assembly washers. Remove and discard them.
5. Place the wheel spacer on the hub.
6. Using the included red loc-tite apply a small amount to the threads of the 5 nuts that came with the spacers.
7. Orient the nuts as shown below and thread on all 5. Gradually hand tighten all of them until they are all snug.
8. If you have a helper they can hold the brakes while you torque the nuts. If not, place a screwdriver in the rotor to hold it still while you tighten the nuts. First mildly tighten them in a star pattern as shown below. Then, using a torque wrench and 19mm socket, go back over each one and torque them all to 100 ft/lbs, again using a star pattern.
9. While you have the wheel off it’s a good idea to check your brake pads for wear.
10. Now put your wheel back on and hand tighten all the lug nuts. You will want to push the tire up, down, left and right while gradually hand tightening all the nuts. Do this until they are all hand tight and the wheel won’t move. Next mildly tighten the lug nuts in a star pattern.
11. Now you can lower the wheel back to the ground. Then, using a torque wrench, 19mm socket, and extension, torque each lug nut to 100 ft/lbs using the same star pattern.
12. Repeat steps 1-11 on the right front wheel.
13. To install on the rear wheels first loosen all rear lug nuts 1⁄4 turn just as you did on the front wheel.
14. For the rear you can jack up both wheels at the same time using the jack and jack stands as shown below.
15. Install the rear spacers by repeating steps 4-11. There are only 2 minor differences when installing the rear. First there are 4 assembly washers to pry off instead of just 2. Next, when tightening the spacer nuts you can set the emergency brake and/or put the jeep in gear to keep the hub from spinning.
16. Following install it is very important that you check the wheel spacer nuts periodically to ensure they stay tight. You should check them after the first 100 miles, then at least every 3000 miles after that to be safe. When checking them I recommend you set your torque wrench to 95ft/lbs to ensure they are tight but not break the loc-tite seal if they are.
After Pictures:
Installation Instructions Written by ExtremeTerrain Customer John Parker 02/21/2016
