FREE 1 to 3-Day Delivery on Orders $149+ Details

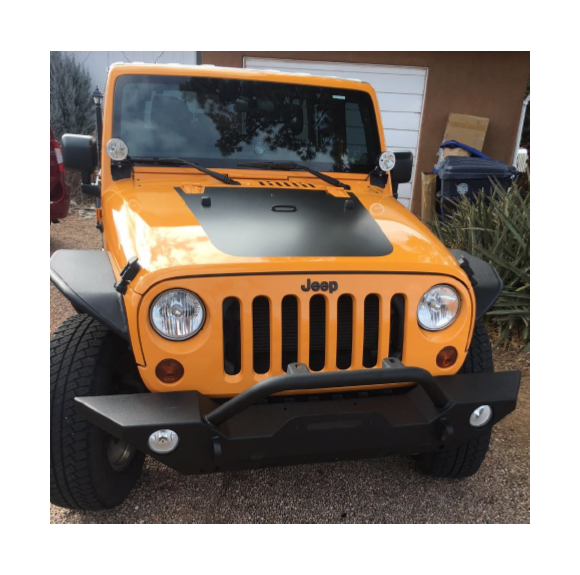
How to Install XT Graphics Hood Decal - Matte Black on your 07-18 Jeep Wrangler JK; 2018 Jeep Wrangler JL
Installation Time
15 minutes
Tools Required
- 9mm socket or combination wrench
- Small razor knife
- Spray bottle filled with a soapy water
- Scissors
- Painter’s tape
- Felt-covered squeegee (included)

Shop Parts in this Guide
Installation Instructions:
1. Inspect contents. You should have a rolled decal, a felt-covered squeegee, and a directions pamphlet. Read the directions.
2. Remove hood hardware.
Start with the windshield bumpers. These are held in by two prongs on the side and pop out very easily. Press on the sides of the bumper base from under the hood and one side will pop through. Press the other side and it will come fully out. Repeat this for the other bumper.
Next remove the footman loop. This is retained by two 9mm nuts under the hood. The studs are brass set into plastic, so this is not a rugged part and the nuts are not very tight. Remove the two nuts and the footman loop will come right off.
Finally, remove the windshield washer nozzle. Start by removing the supply hose. It will slip right off with a gentle tug. Next, squeeze the front and back of the nozzle base under the hood. Press upward while squeezing and it’ll come out.

3. Clean the hood well.
Use paper towels and a solvent to remove all wax and dirt. I used carb cleaner followed by glass cleaner to remove the residue.
4. Place the decal.
Trim the decal backing paper, leaving a ~1/4”border.
Lay the decal on the hood and get it lined up where you want it. Use the back edge of the hood to gauge straightness and the gaps between the decal and hinges to confirm left / right alignment.
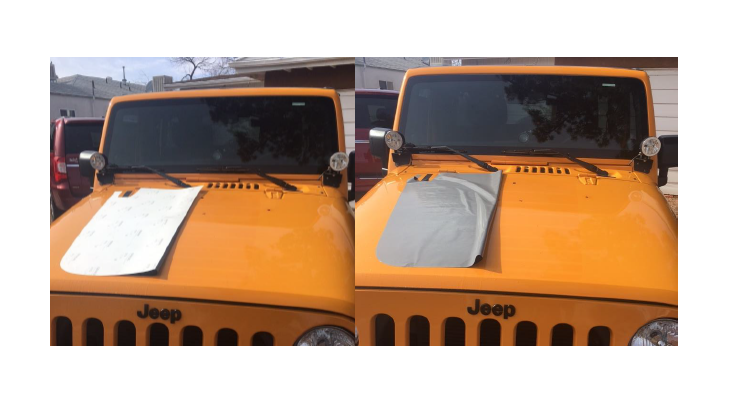
5. Remove the decal backing. This is the tricky part so go slowly and try to find a helper.
Use painter’s tape to secure one half in place.
Fold the un-taped side of the decal over the taped side.
Peel the backing paper off, leaving the decal folded over itself.
Use scissors to trim the peeled backing paper off.
Spray the hood and decal back GENEROUSLY with soapy water. This is what will keep it from immediately sticking and let you make minor adjustments.

Carefully remove the tape and fold the other side back.
Remove the backing and spray this side of the hood and decal back with soapy water too.
Lay the decal back in place flat on the hood. It will look bubbly and uneven, but that’s ok.
6. Attach the decal. Take your time and be careful.
The decal will slide easily on the soapy water. Make any minor adjustments needed. Step back and double check that the decal is where you want it.
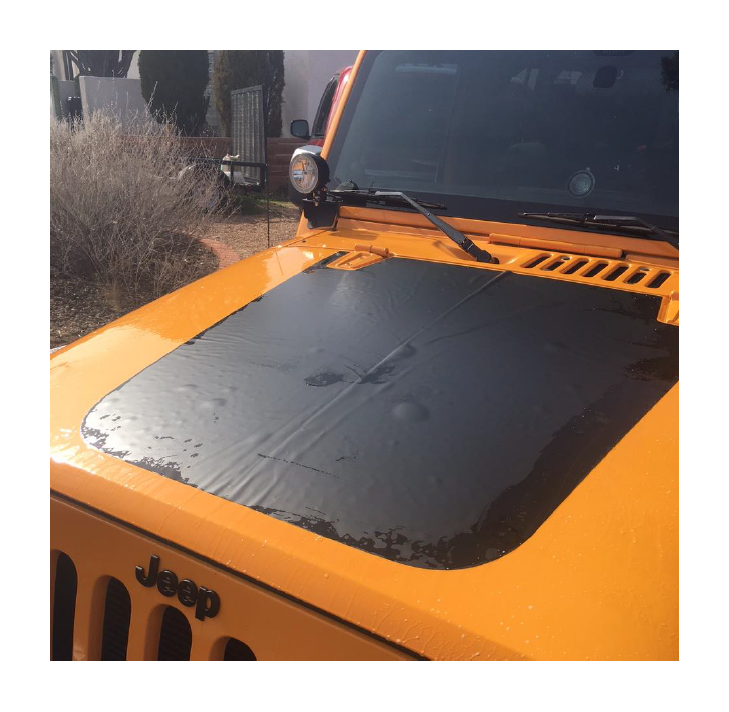
Use the felt-covered squeegee to swipe across the decal surface and wipe the soapy water out from underneath. Work from the center toward the edges. Ensure that you’ve wiped the entire decal surface and that there are no bubbles left. I went over it three times to be sure.
7. Install the hood hardware.
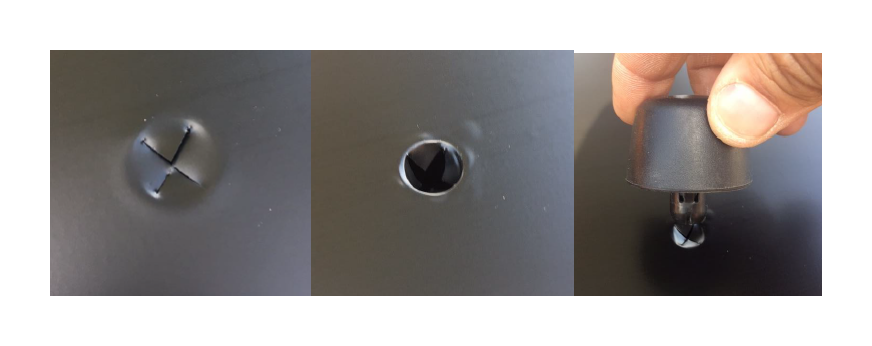
Locate the windshield bumper holes. Use a sharp knife to make an X-shaped cut across the hole. Press your finger into the hole to fold the flaps back. Press the windshield bumper back in place. Repeat on the other side.
Use this same process to reinstall the windshield washer nozzle and footman loop. Be careful to not overtighten the footman loop nuts! I found that using a deep-well socket held in my hand (not mounted on a ratchet) got it tight enough without overtightening it.
Reattach the windshield washer supply hose.
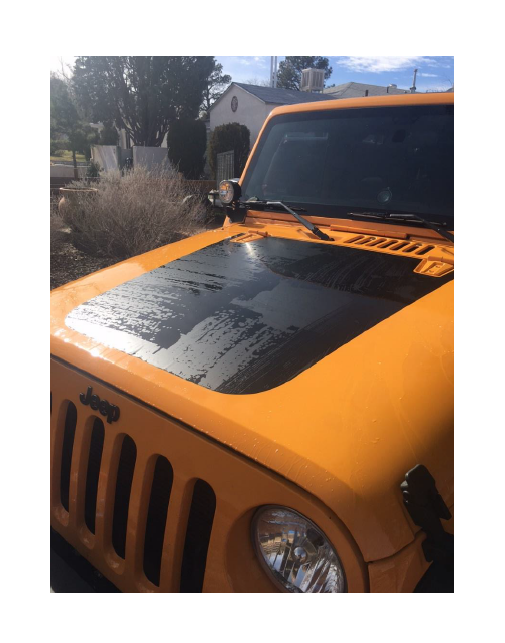
Before
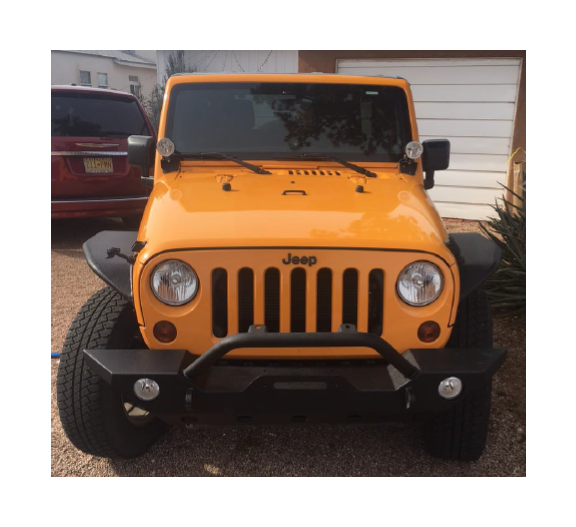
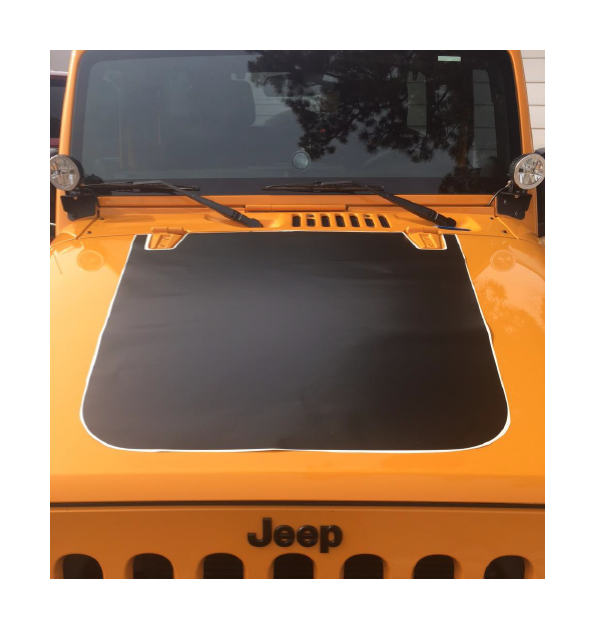
After