 FREE 1 to 3-Day Delivery on Orders $149+ Details

How to Install GraBars Handles, Front and Rear on your 07-18 Jeep Wrangler JK 2 Door; 2018 Jeep Wrangler JL 2 Door
Installation Time
30 minutes
Tools Required
- 10mm and 13mm sockets
- 5mm and 6mm hex sockets
- 2-3” socket extension
- Socket wrench
- Paper towel

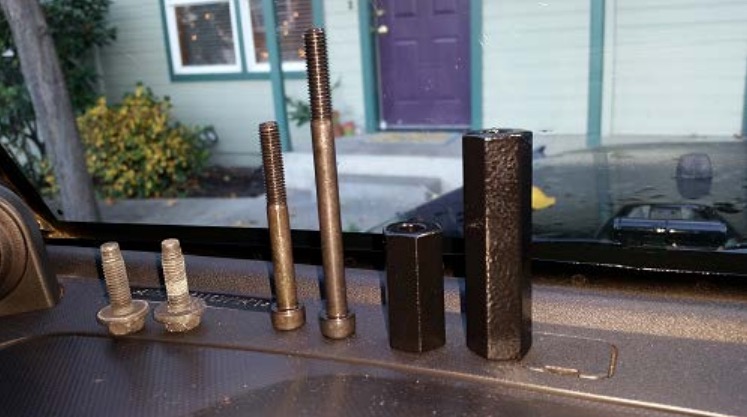
Shop Parts in this Guide
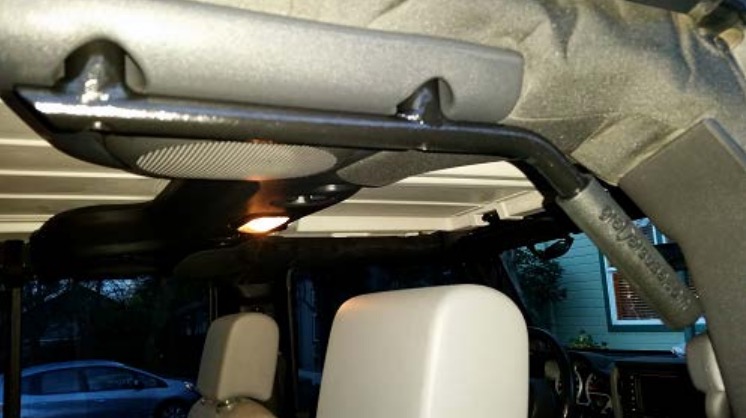
Before:


Installation Instructions:
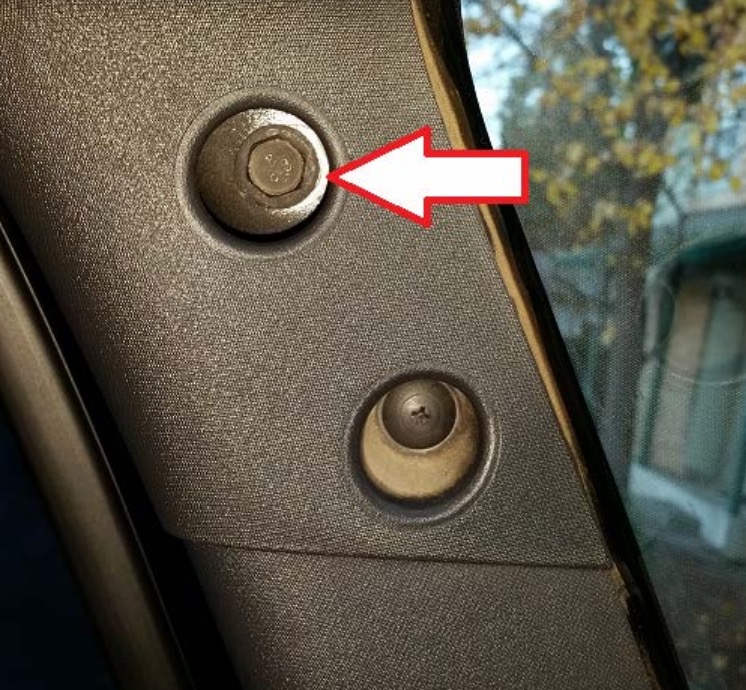
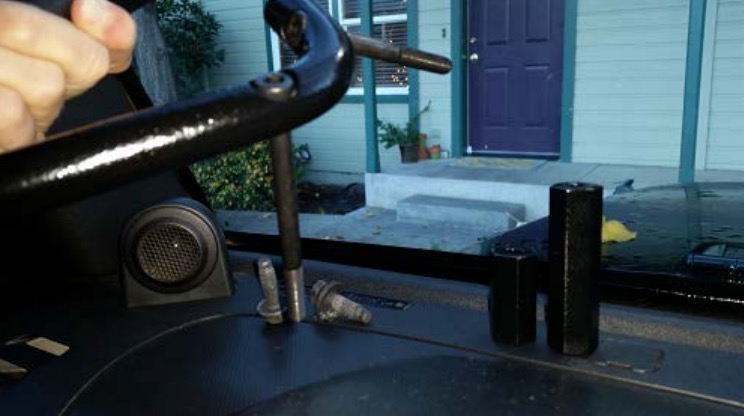
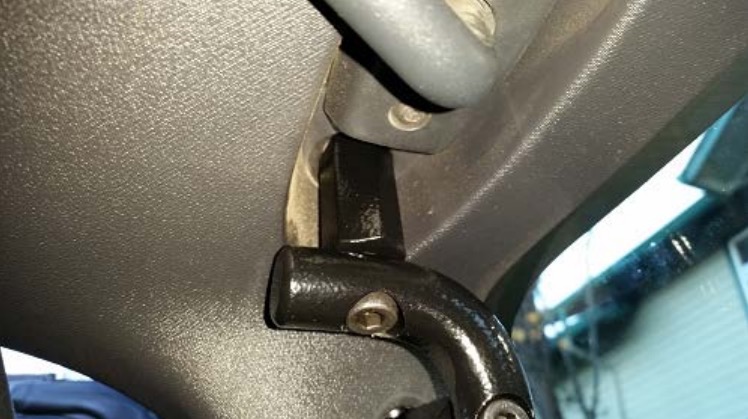
1. Locate the bolts in the upper corner of the windshield frame and the outer side of the sunscreen base.
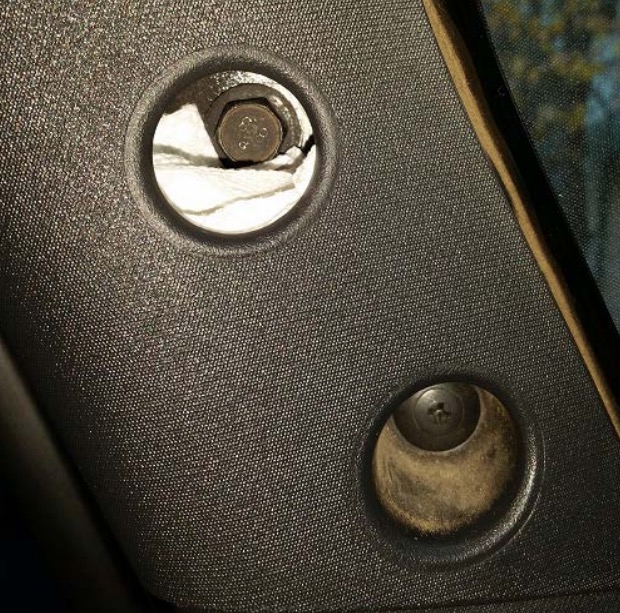
2. Use the paper towel under the bolt in the column to prevent losing the bolt inside the plastic housing. Remove the paper towel once the bolt is out.
3. Remove the bolts located in Step 1, using the 13mm socket and wrench with extension.
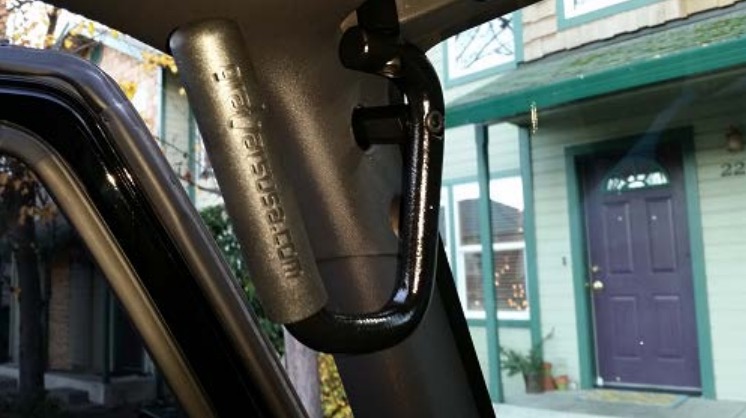
4. Locate the Bolts and Extension Sleeves for the Front handles.
5. Push the bolts through the handle in the appropriate locations (short to top, long to side). Ensure you are using the correct handle for the correct side of the vehicle: the counter-sink holes should be towards the inside of the vehicle so the bolts can tighten down into them.
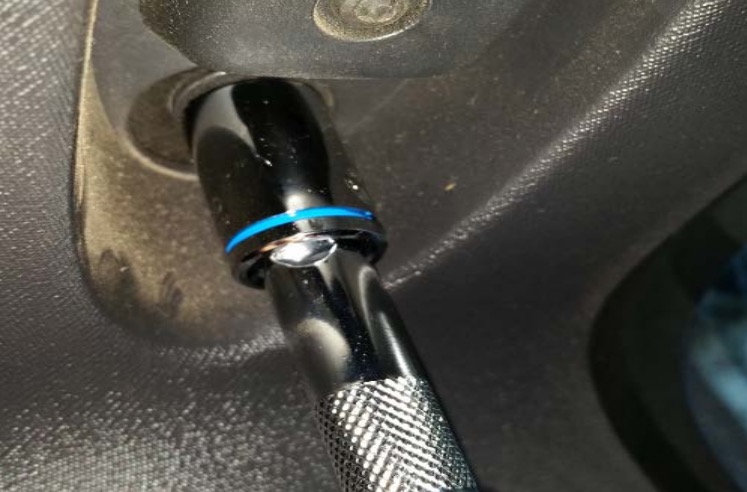
6. Install the upper bolt first, (ensuring the extension sleeve is already on the bolt), using the 6mm Hex socket. Only tighten enough to keep handle in place.
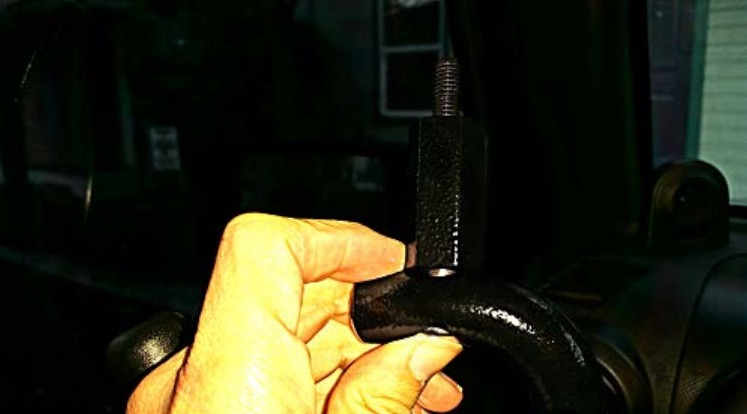
**If you find this bolt having trouble threading easily, remove the handle and start the longer bolt into this upper hole without the handle. Once it is solidly in place, confirm the bolt is straight up and down. If it is not, the move the bolt by hand until it is (the nut in the upper part of the frame may not have been installed straight on, this will move it into place for an easier installation).**
7. Install the side bolt, (ensuring the extension sleeve is already on the bolt), using the 6mm Hex socket. Just tighten enough for the bolt to catch and hold.
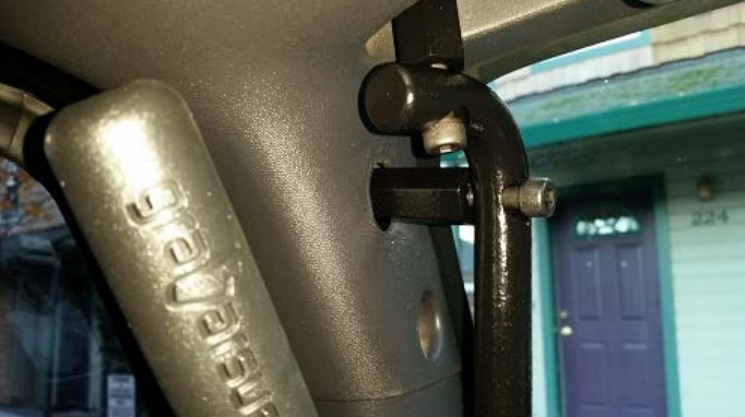
8. Alternate between the bolts, tightening until both cannot be turned further by hand (approximately 300lbs torque). Shake the handle occasionally to ensure there is no play while tightening, and be careful not to cross thread the bolts.
9. Repeat Steps 1-8 on the other side to install the other front handle.
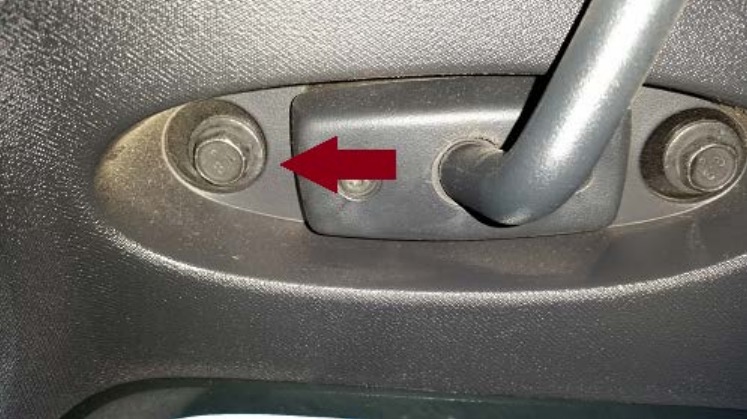
10. To install the Rear Handles, locate the bolts into the roll bar.
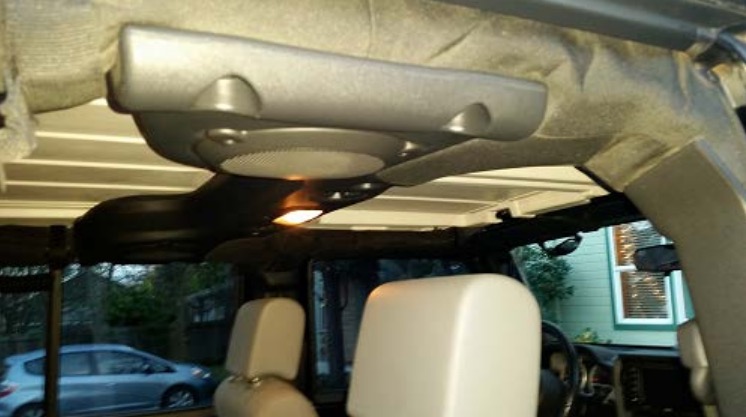
11. Remove these bolts using the 10mm socket with the socket wrench and extension.
12. Install the handle using the 5mm hex socket with the wrench, tightening the two bolts by alternating between them until solidly in place (approximately 120lbs torque). Take care not to cross thread the bolts.
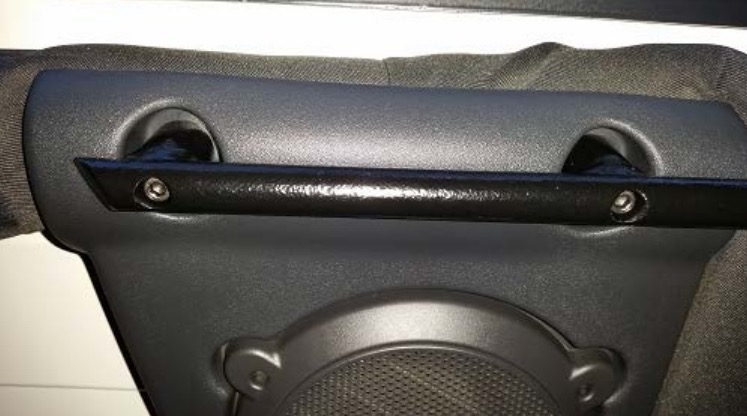
13. Repeat Steps 10-12 for the other side.
After:

Installation Instructions Written by ExtremeTerrain Customer Royal Cook 12/26/2014
