 FREE 1 to 3-Day Delivery on Orders $149+ Details

How to Install GraBars Fixed Third Brake Light Bracket w/ LED Light (87-18 Jeep Wrangler YJ, TJ & JK) on your Jeep Wrangler
Installation Time
60 minutes
Tools Required
- 3⁄4 Socket (to remove lugnuts)
- T20 Torx Bit
- Ratchet
- 13 mm Socket
- Wire Cutters
- Wire Stripper
- Crimping Pliers
- Electrical Tape
- Electrical Butt Connectors (I purchased these at Ace Hardware)
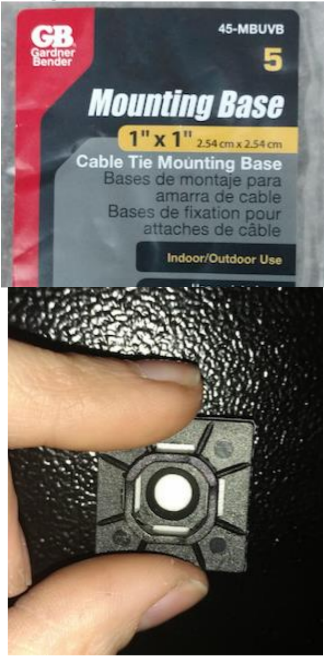
- Indoor/Outdoor Cable Tie Mounting Base (I purchased these at Ace Hardware)
- Small Zip Ties
Shop Parts in this Guide
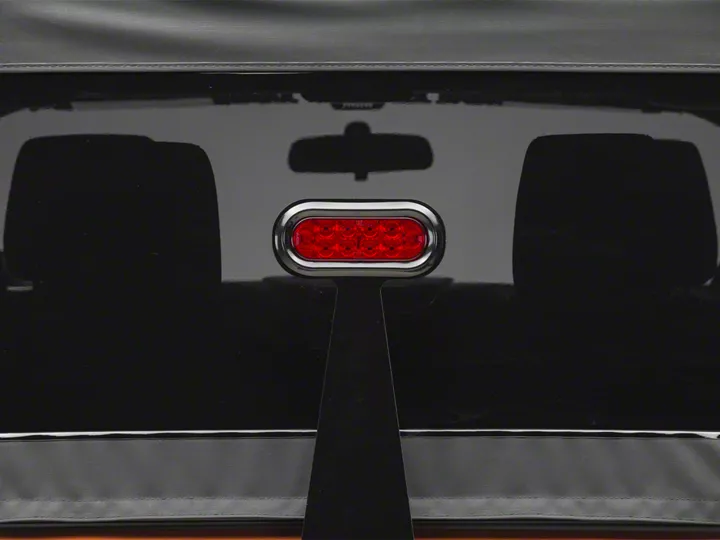
When you unpack the box, you should have the following:
1. [1] fixed third brake light bracket with LED light (no hardware is included since you will use the screws from the stock tire carrier)
Installation Instructions:
Removing the stock brake light and tire carrier:
1. Using a 3⁄4 socket, remove the spare tire.
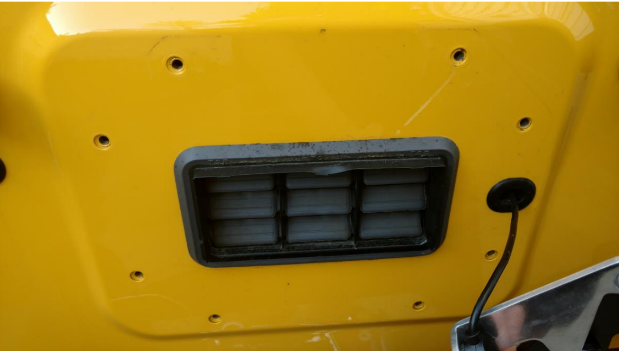
2. Open the tailgate and use a T20 Torx bit to remove the four screws behind the stock
brake light to remove it from the tire carrier.
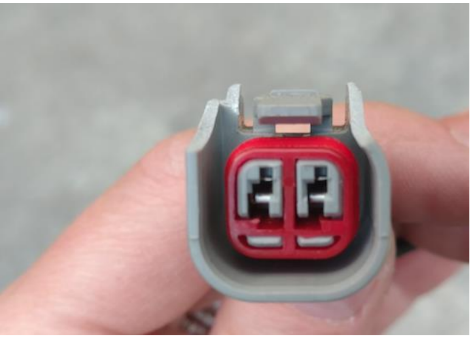
3. Unplug the wire harness from the break light by pushing on the tab and pulling the
plug.
4. Using a 13 mm socket loosen and remove the eight bolts mounting the tire carrier to
the tailgate. Please note – start with the bolts on the bottom and work your way up so the tire carrier doesn’t swing down and scratch the Jeep.
5. Once the tire carrier is removed you will have a blank slate. Keep the screws as you
will use them to mount the new third brake light bracket.
Installing the new Grabars Fixed Third Brake Light with LED Light:
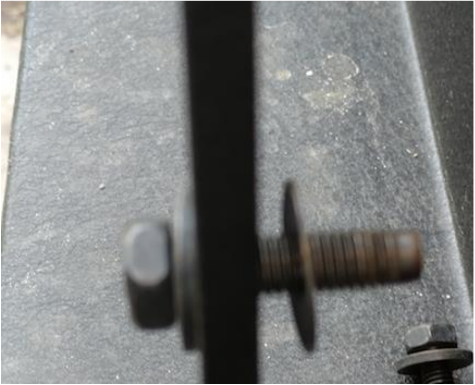
1. On each of the stock bolts, there is a thin plastic washer. I removed the washer and
used it as a buffer between the Jeep and the new third brake light bracket to keep the bracket from scratching the paint.
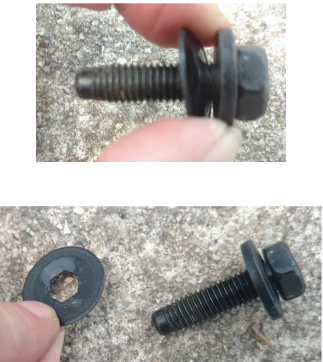
2. Put the thin plastic washer between the Jeep and the third light bracket, put the thicker washer between the screw head and the third light bracket.
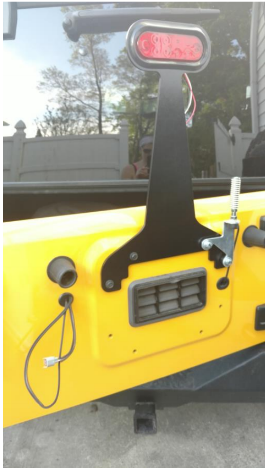
3. Use the top four bolts to mount the new third brake light bracket (please ignore the
silver mount I have in the right corner, that is my CB antenna mount, if you have a CB antenna mount, this is where you would mount it with the new third brake light bracket.)
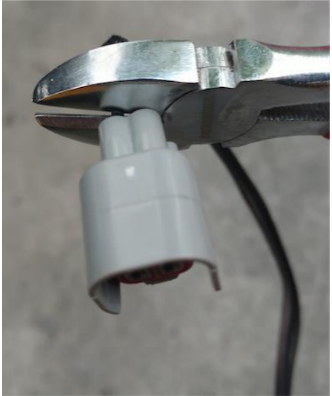
4. Use wire cutters to cut the stock wire harness close to the plug.
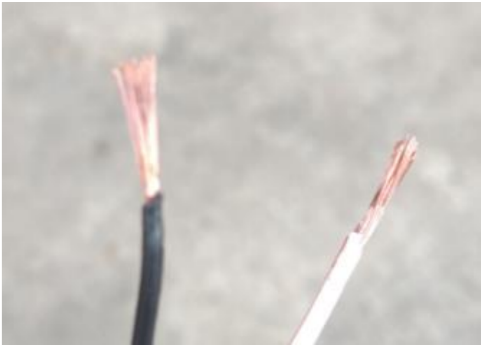
5. Use wire strippers to strip about 1⁄2 inch of the wire insulation off of the wire so the
wire is exposed.
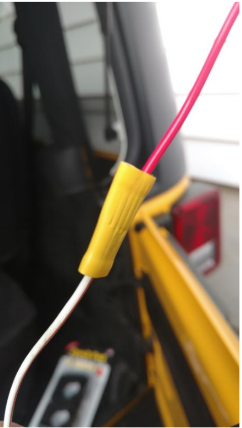
6. IMPORTANT note – on the back of the LED light, you will have three wires; one red,
one black, and one white. The white wire has a circle ring terminal on the end of it. The ring terminal may lead you to believe the white should be grounded to the Jeep, but that is NOT the case. You actually have to cut the ring terminal off of the white wire. Use wire cutters to cut the wire as close to the ring terminal as possible. Use wire strippers to strip 1⁄2 inch of the insulation to expose the wire.

7. The wires should be spliced together as follows:
- Black stock wire with WHITE LED light wire
- White with orange strip stock wire with RED LED light wire
- The BLACK LED light wire does NOT get spliced with anything nor does it get grounded (I’ll tell you what to do with that wire later in the guide)
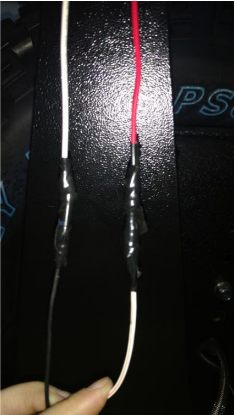
8. Use a butt connector to splice the stock wire harness with the LED light wires as stated above. Use the crimping plies to crimp the butt connector onto the wire.
9. Have someone get in the Jeep and press on the brake pedal to test the connection. If you have any issues, double check to make sure you have the appropriate wires connected and that the butt connector is crimped enough.
10. Use electrical tape to seal the openings on both sides of the butt connectors.
11. Also, put a butt connector on the end of the LED light black wire (this wire will not be connected to anything). Use electrical tape to fully cover the end of the butt connector on this black wire so it is sealed up.
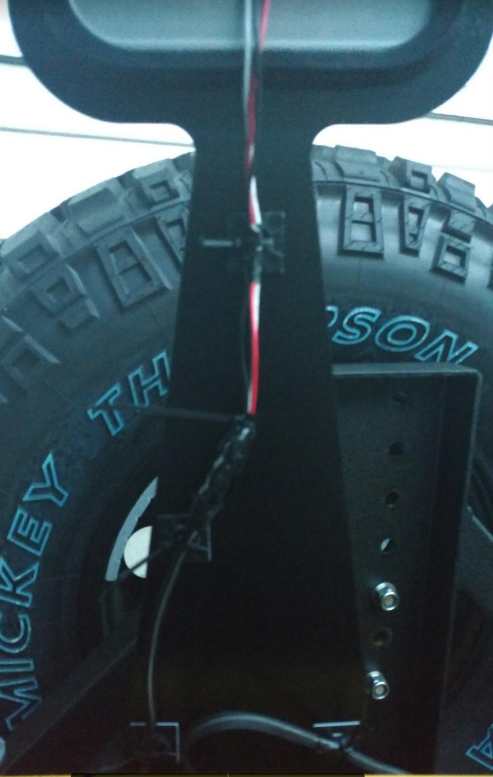
12. Use the cable tie mounting bases to secure the wires to the bracket.
13. Remove the adhesive backing of each mount and place them on the bracket. Thread a zip tie through each mount to secure the wires in place.
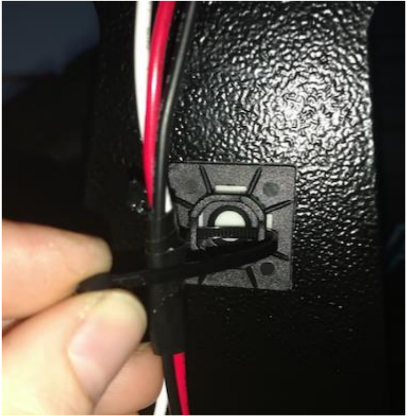
14. Once you have all of the wires zip tied, cut the excess zip tie end so you have a clean, finished appearance.
15. Congrats! You’ve successfully installed your Grabars fixed third brake light bracket
with LED light...enjoy!

Installation Instructions Written by ExtremeTerrain Customer Lori N. on 4/28/2017

