FREE 1 to 3-Day Delivery on Orders $149+ Details

How to Install DV8 Off-Road Tire Carrier (07-18 Wrangler JK) on your Jeep Wrangler

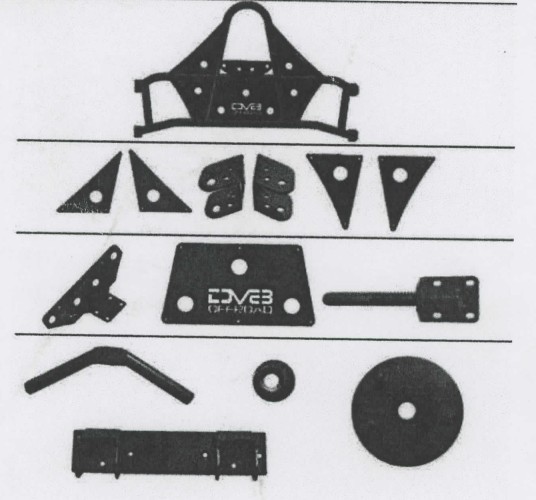
Shop Parts in this Guide
*Read Instructions entirely before installing product*
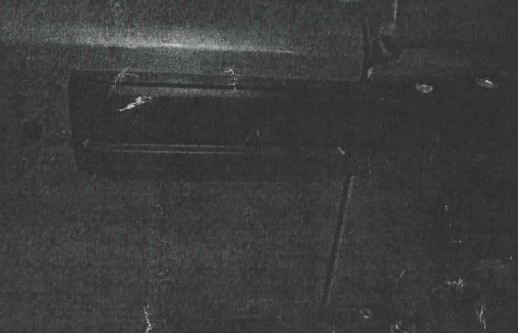
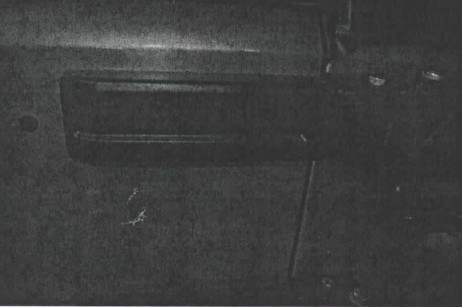
Step 1: Remove plastic hinge covers from rear door hinges.
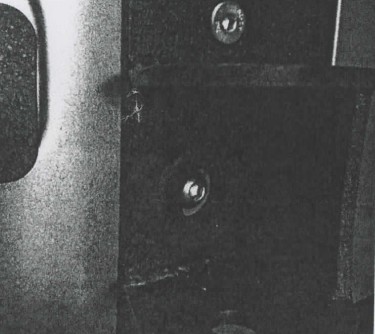
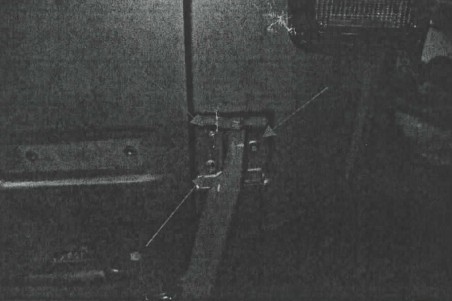
Step 2: Remove the two 13mm bolts from upper hinge on the rear door. (Note: Only do one hinge at a time.)
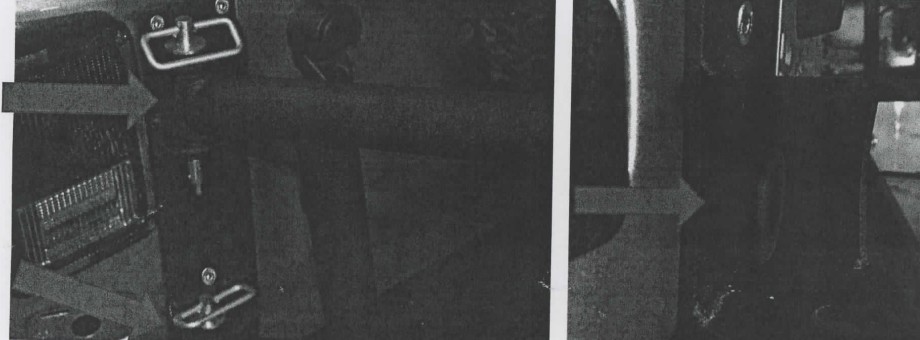
Step 3: Remove the 3 torx head bolts from the upper hinge on the body. Hinge should be free from Jeep.
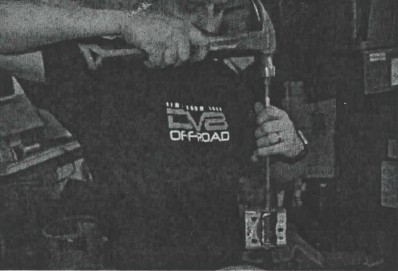
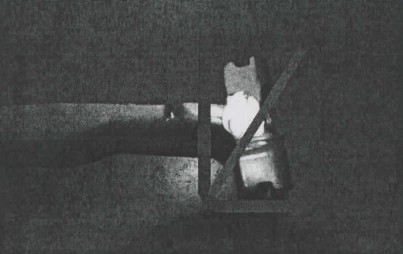
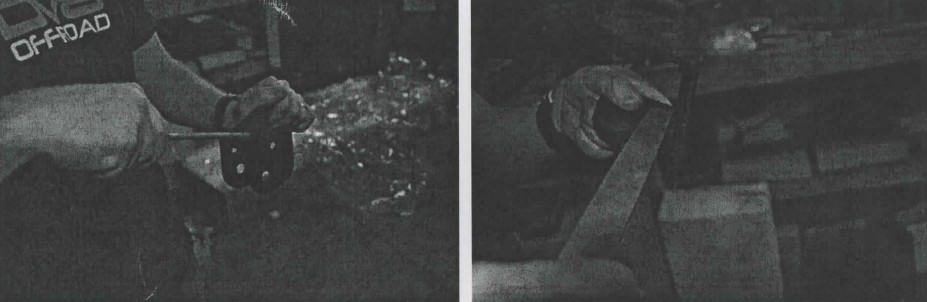
Step 4: On the bottom of the hinge grind the hinge pin smooth with the hinge using a grinder.
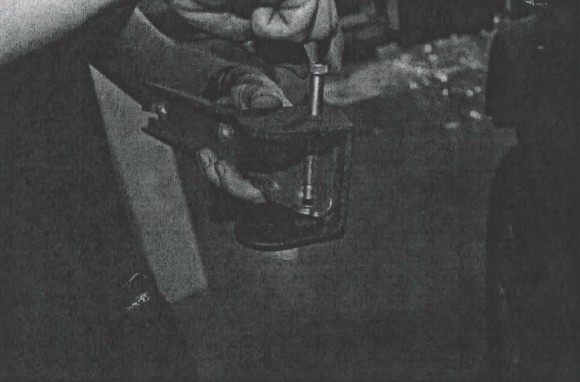
Step 5: With a punch, drive the factory hinge pin out with the hinge supported in a bench top vise.
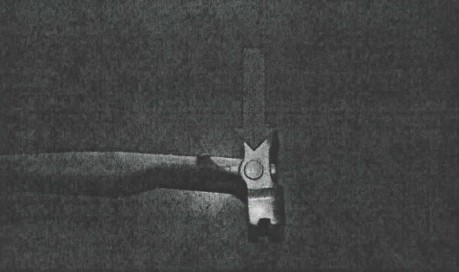
Step 6: Pull the hinge apart and discard the portion of the hinge that previously bolted to the body.
Step 7: Take the new upper body hinge with the elongated bolt hole and take a round file and remove powder coating from holes so the new hinge pins and bolts will fit through. You may also need to file the powder coating away from the inside of hinge so that the rear door hinge will fit inside.
Step 8: Take the door hinge and body hinge and slide them together so that the hinge pin holes line up and slide new hinge pin through and secure with nut.
Step 9: Install the new hinge to the body with the 3 torx head bolts first.
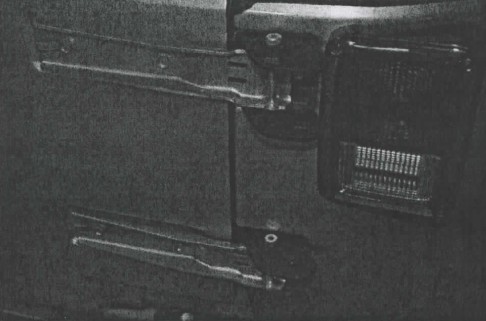
Step 10: Install the hinge to the door with the two 13mm bolts. Install the hinge stopper bolt through the upper hinge, this bolt keeps the tire carrier from opening too far.
Repeat the process for the lower door hinge. (Note: Lower body hinge bracket does not have an elongated hole.)
Step 11: Reinstall plastic hinge covers on rear door.
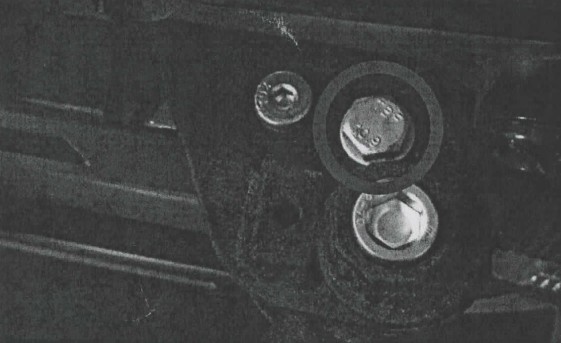
Step 12: With the help from a friend lift the new tire carrier into the hinges that you just installed on the body. Install the Allen headed bolt with adjusting nut on upper hinge and secure with nut. Install bolt on lower hinge and secure with nut. (Note: Only tighten finger tight at this point.)
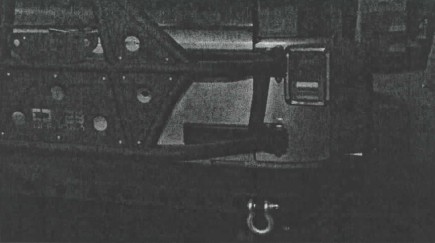
Step 13: Install tire stud and license plate holder with the six 12mm bolts provided.
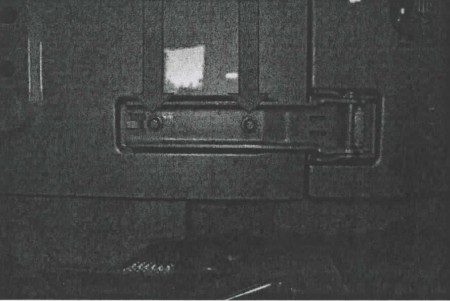
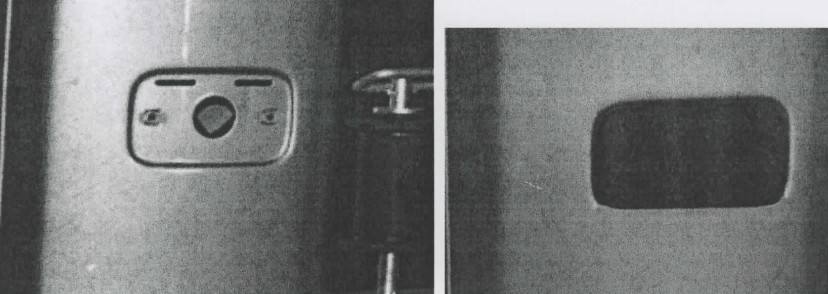
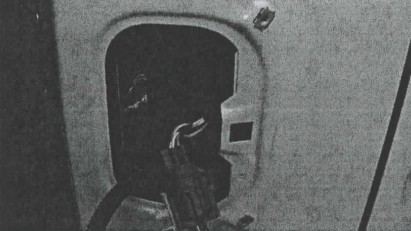
Step 14: Remove rear license plate housing, disconnect wiring from license plate housing. Place wiring inside body and cover license plate hole with plate provided, secure with double stick tape.
Step 15: Remove driver side brake light housing and disconnect wires, set aside you will be reinstalling later.
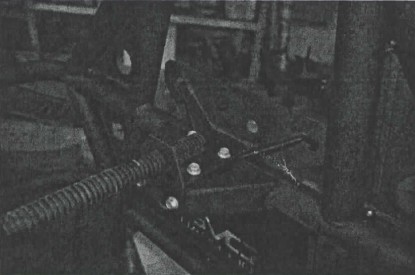
Step 16: Take new body bracket and attach to the tire carrier with quick release pins. (Note: Install your spare tire onto the carrier so that the carrier is fully weighed down, to ensure proper alignment with body plate once installed.) Using the tire carrier as a guide move the tire carrier into the closed position.
Step 17: With the tire carrier in the closed position, and the new body bracket touching the rear body panel, take a marker and mark the 5 mounting hole locations.
Step 18: Use a center punch and hammer and lightly punch the center of your mounting marks, so that your drill bit won't walk when you're drilling the pilot hole. Use a 1/8" drill bit to drill your pilot holes first for the rear mounting bracket. Once you have drilled the 5 pilot holes go back with a 5/16" drill bit and finish drilling mounting holes to the correct size. (Note: Some holes you will be drilling through 2 layers of sheet metal.)
Step 19: Move the tire carrier and mounting plate back to the closed position. Using the hardware provided mount the bracket to the body with the tapered headed 5/16" bolts and secure with nuts.
Step 20: Remove the quick release pins and pull the tire carrier to the open position. The body mounting bracket should be securely mounted to the body. Mark the last two mounting holes that were covered by the tire carrier when closed. Use center punch and hammer and lightly punch the center of your mark, drill pilot holes with 1/8" drill bit and then drill to final size with 5/16" drill bit.
Step 21: Install the rubber bumper stops to the last two mounting holes with the provided hardware using the two button head bolts and secure with nuts. (Note: Do not overtighten or you will collapse the stopper.) The rear body mounting plate is now fully installed. Reinstall brake light housing and don't forget to plug the rear light harness back into the housing.