 FREE 1 to 3-Day Delivery on Orders $149+ Details

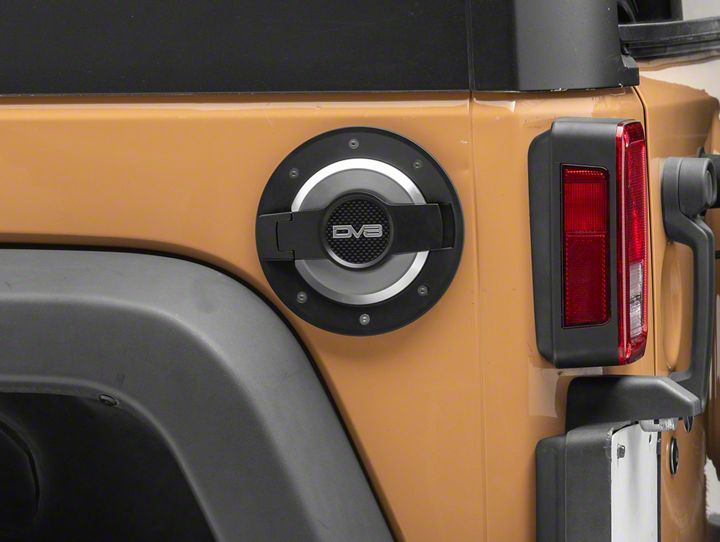
How to Install a Drake Off Road Billet Fuel Door on your 2007-2015 Jeep Wrangler JK
Shop Parts in this Guide

Step 1: Remove Fuel Cap.
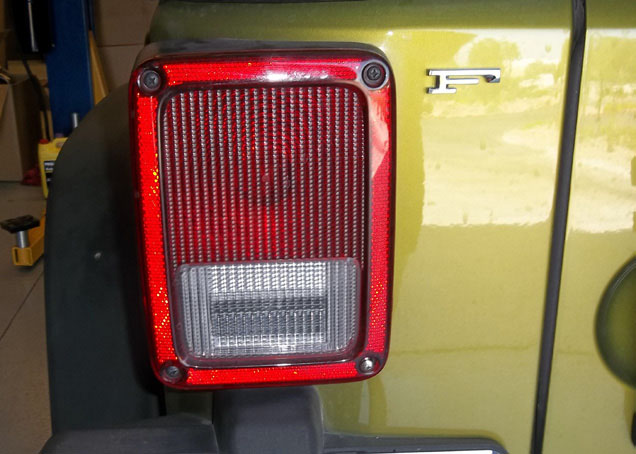
Step 2: Remove 2 right side screws on drivers side tail light
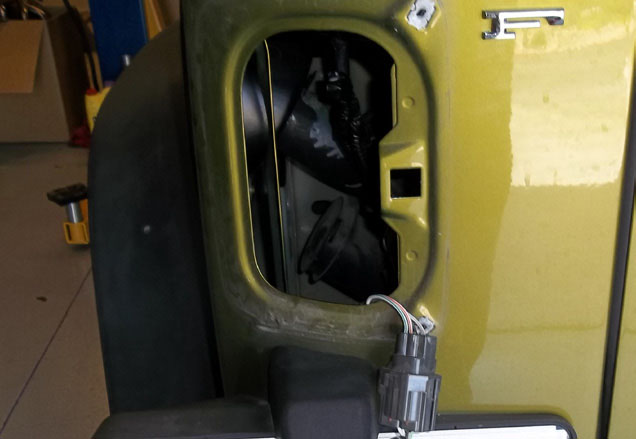
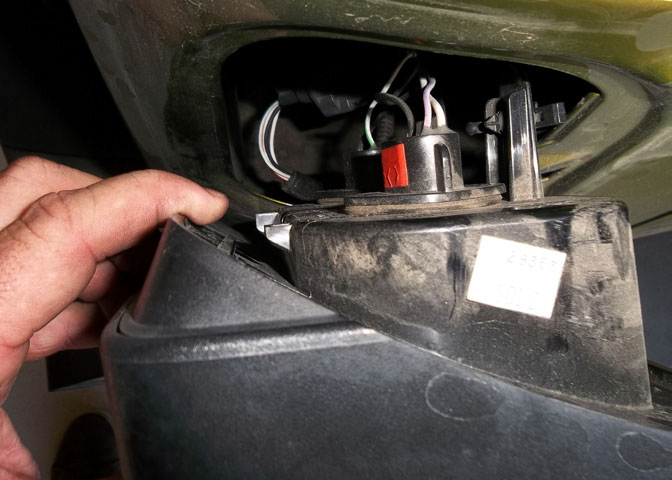
Step 3: Push tail light to the right and remove. Harness should be long enough to rest light housing on top of bumper. If not, unplug wiring harness, take care not to damage wires.
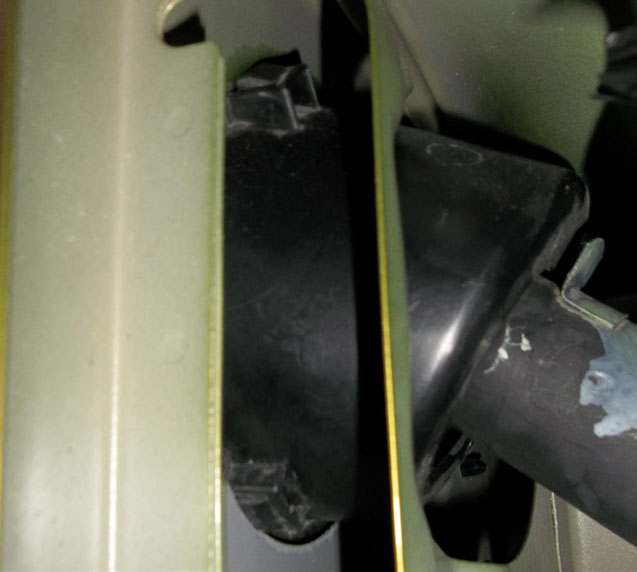
Step 4: Inside opening for tail light are plastic tabs/clips to push in to remove OE fuel retainer. While reaching around outside and gently pulling outward on retainer press in clip to allow to free. The 2 clips towards the rear are easy to reach. Pull back half of retainer outwards from body and work around a bit until 2 clips on front side let loose. It may be necessary to reach around front side and compress clips if it won’t come loose but this is very difficult to access.
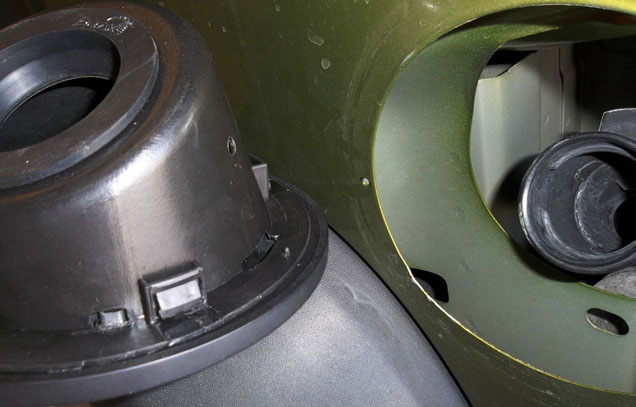
Step 5: Notice small hole on front side of large hole in body where OE retainer ring covered. There is a small pin on the Drake Offroad fuel door that will need to line up with that hole.
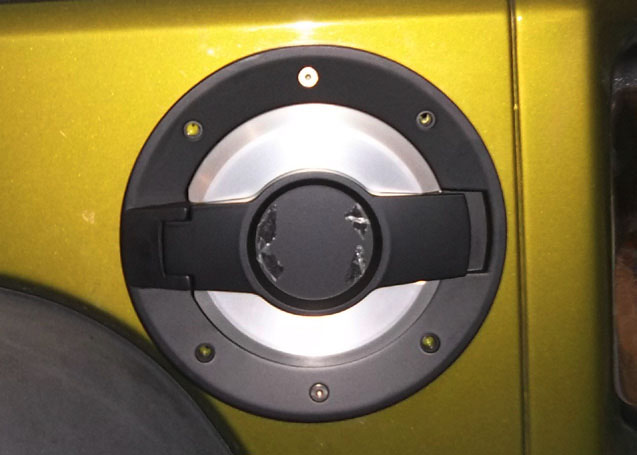
Step 6: Making sure pin is lined up, slide filler neck through rubber grommet and simply push fuel door assembly into the body until all 4 clips are engaged and it’s secure.

Step 7: Take care to make sure the fuel door is positioned straight and level. Use the fuel door itself to help align four holes to be drilled and use a center punch to mark your drill locations. A spring loaded hand center punch is highly recommended over a punch and hammer. If using a punch and hammer take great care to not dent the body panel. The sheet metal is thin and easily damaged in this area
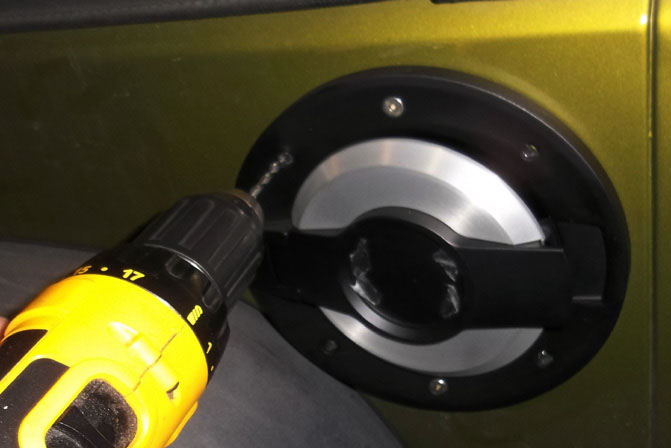
Step 8: Using a #29 (0.136”) drill bit drill 4 holes where marked

Step 9: Using a 3mm allen wrench, install 4 supplied sheet metal screws. It’s recommended to get all 4 screws started but do not fully tighten until all 4 screws are partially installed. Take note, these sheet metal screws are specially manufactured for the fuel door. The allen head is not as deep as a standard screw typically found. Take care to make sure you do not round out the allen head. Make sure allen wrench is fully seated into bolt while installing all 4 bolts. Coat screws with light layer of RTV silicone to help prevent corrosion at hole locations
Step 10: Gently tighten all 4 sheet metal screws until tightened. Take care not to strip out screws.
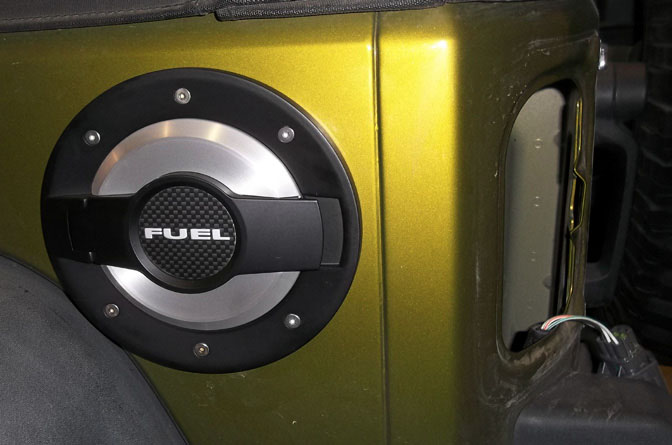
Step 11: Install peel and stick “fuel” emblem if wanted. Take care to make sure it’s properly lined up and level. Removal of the emblem to redo will be difficult without damaging the part.
Step 12: Reinstall tail light. Notice 2 small clips that need to hook onto left edge of body. Push light into hole and then slide light assembly to the left to hook clips behind body lip. Reinstall 2 previously removed screws.

