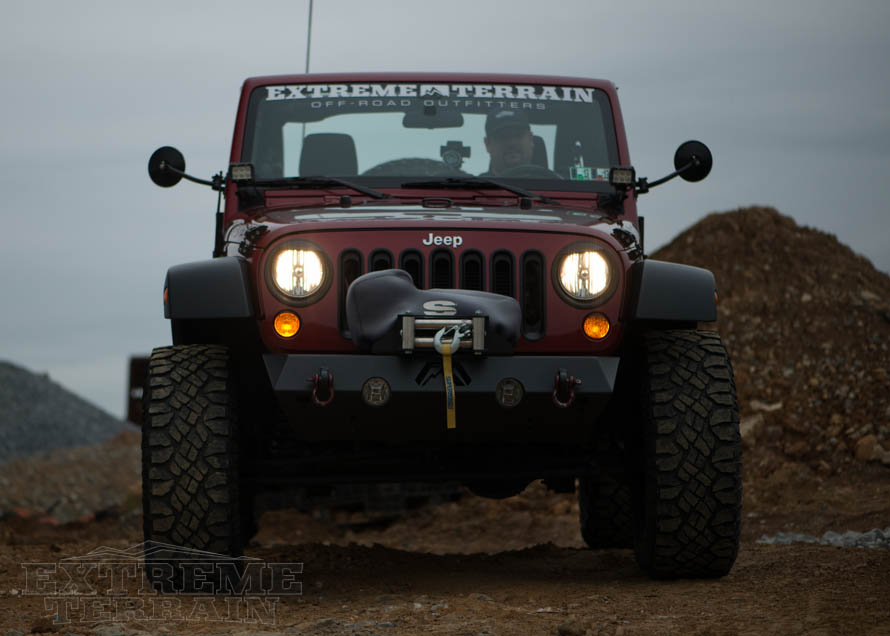
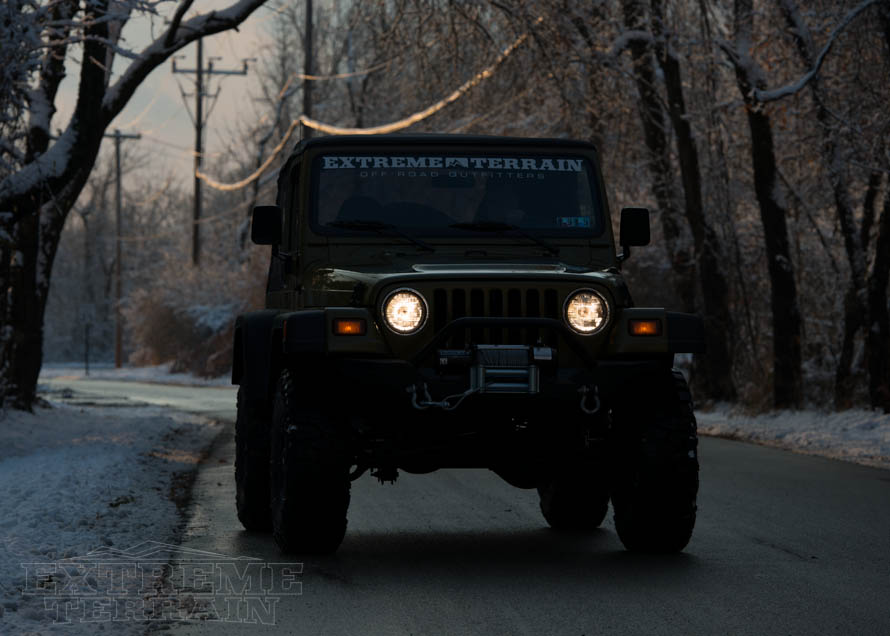
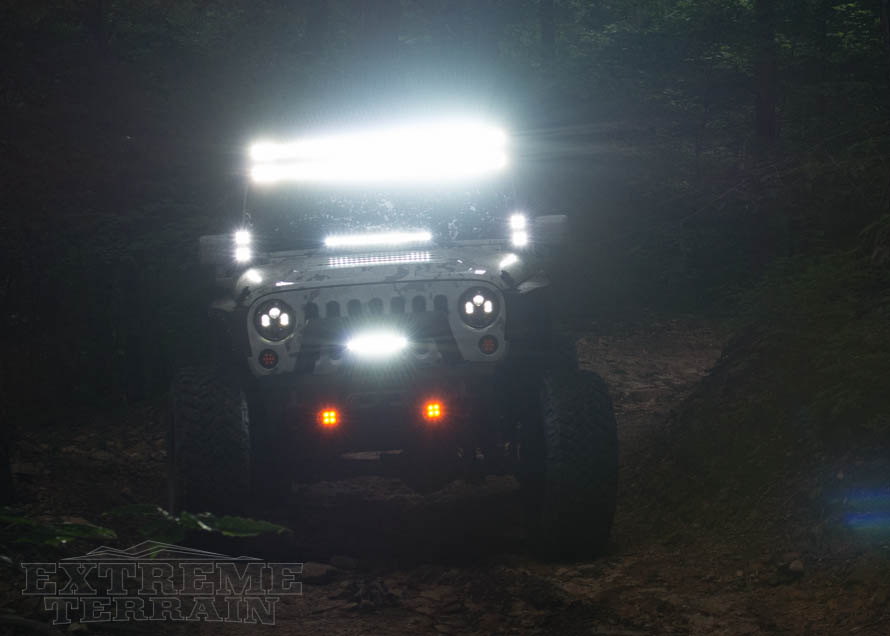
The lack of good factory lighting for our favorite off-road rig has opened up an entire aftermarket segment, dedicated to just headlights. In this tech guide, we’ll discuss the different Jeep Wrangler headlight upgrades and offer some pros and cons for each option.
Contents
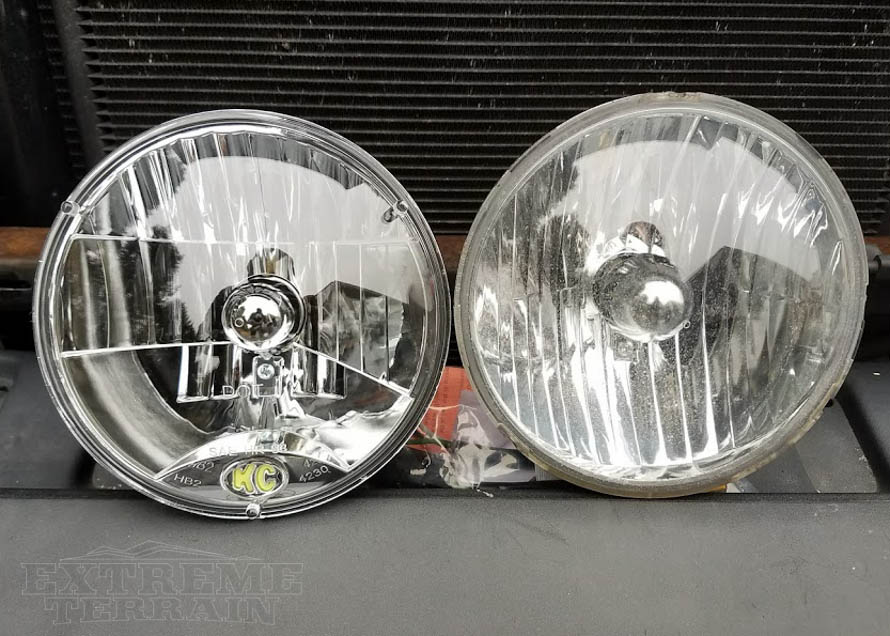
- Halogen Wrangler Headlights
- Projection Wrangler Headlights
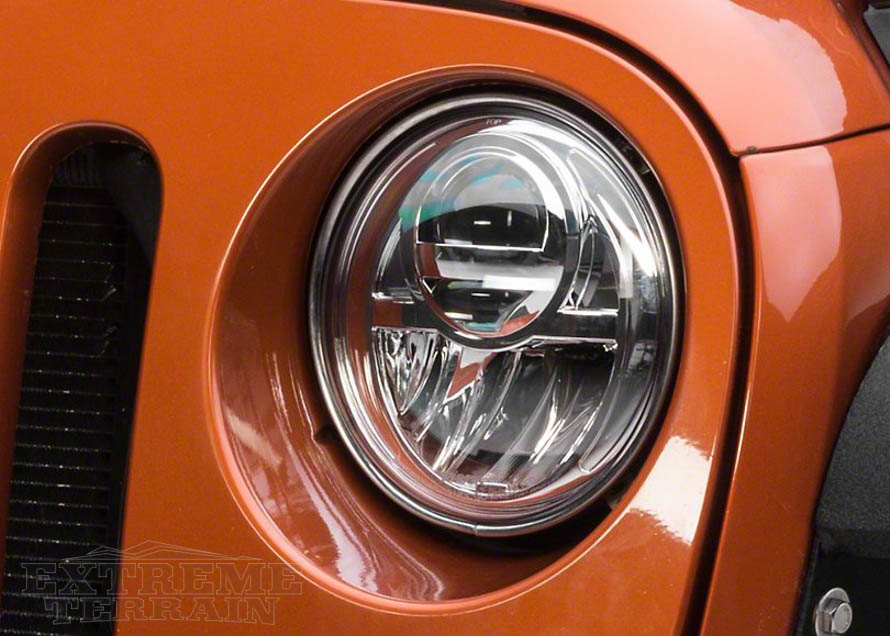
- LED Wrangler Headlights
- VIDEO: LED Headlights Review for JK & TJ Jeeps
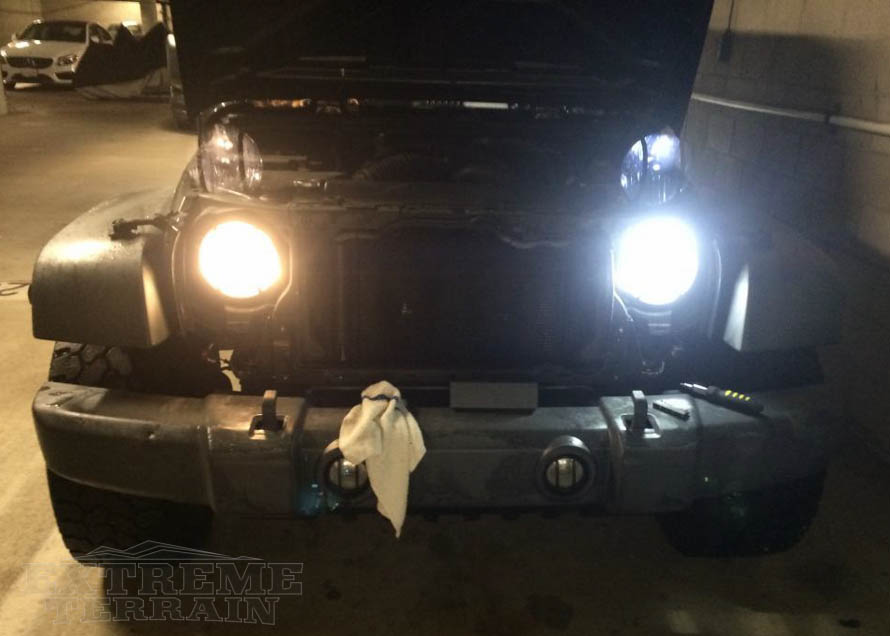
- Comparing the Light Technology
- Jeep Wrangler Headlight Replacement: How to
- Jeep Headlight Adjustment Process
- Mark the Center of Your Jeep
- Mark the Center of Your Headlights
- Bring the Jeep 25 Feet Back
- Connect the Center Points
- Mark the Ideal Height
- Adjust Your Lights
- Adjustment Complete
Shop Wrangler Lights
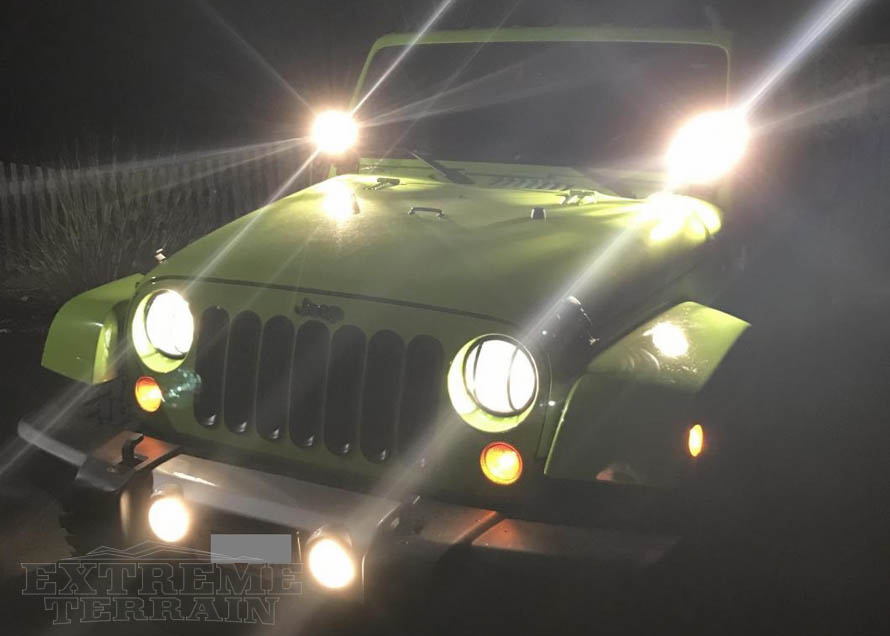
Lighting can really change the attitude of your Jeep, but more importantly how well you can see at night or during rough weather. There's a variety of lighting solutions, so you can get exactly what you need for your exact situation. We’ll also detail how to adjust your new headlights.