 FREE 1 to 3-Day Delivery on Orders $149+ Details

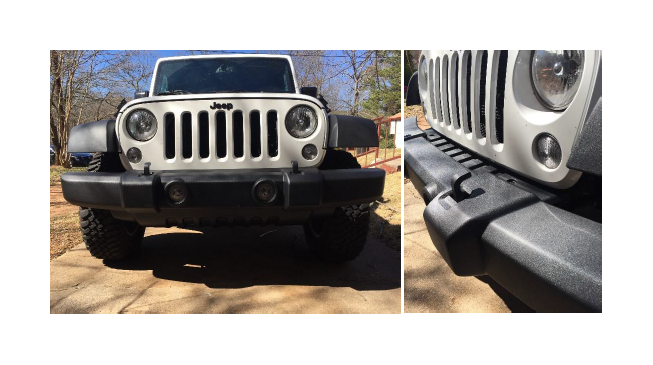
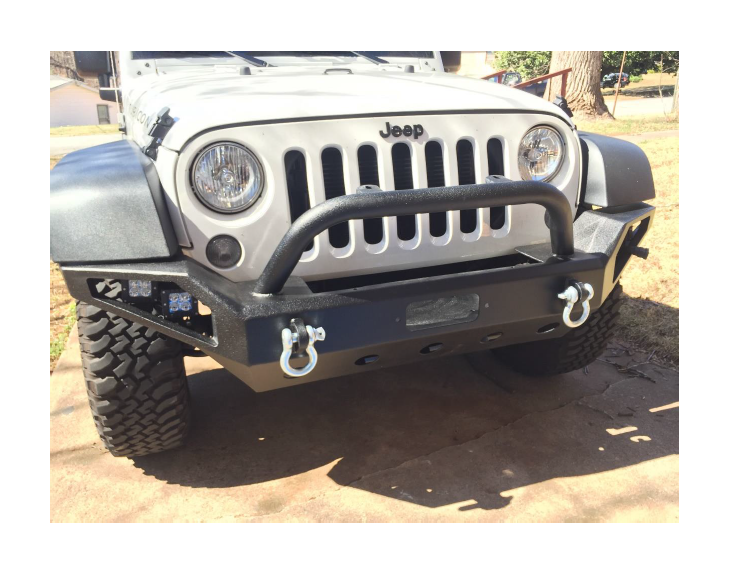
How to Install Barricade Trail Force HD Full Width Bumper w/LED Lights on your Wrangler
Installation Time
2 hours
Tools Required
- 19mm or ¾” Deep Socket
- Ratchet
- 2 X 10mm Wrench
- 3” Ratchet Extension
- 5” Ratchet Extension
- Allen Wrenches
- Plastic Fastener Remover (Or screwdriver)
- Zip Ties
- Drill
- Electrical Tape (Optional)
- Flashlight / headlamp (Optional)
- 19mm or ¾” wrench (optional)

Shop Parts in this Guide
Installation Notes, Pre-Installation notes (only when needed)
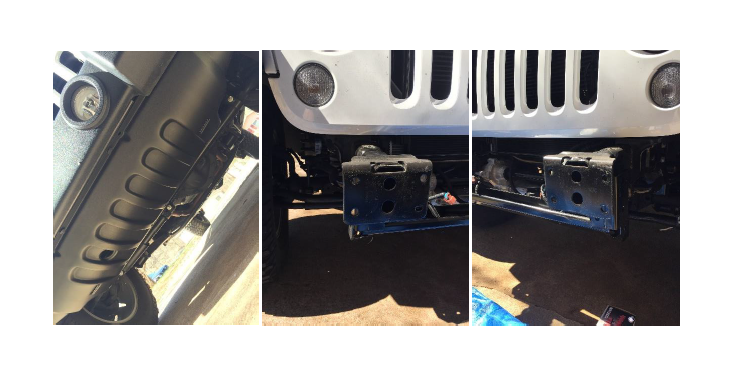
1. Remove existing bumper by using 19mm socket. There are several videos or instructions to find regarding this online. There will be 4 bolts on each side to remove and I have summarized the steps that most efficient to remove the OEM bumper.
It seems easiest to work in this order:
- Remove air dam from under the vehicle
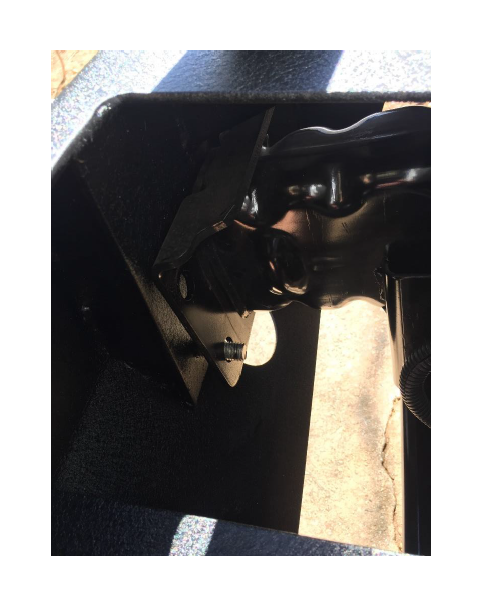
- Loosen and remove bolts on the outsides (L&R) of the bumper support by crawling under the vehicle
- Remove the frame cover. Its easiest to drill out the plastic Phillips style clips and set the cover aside
- Next loosen all 4 inner bumper bolts, removing all but one to keep bumper secure
- Find and unplug tail lights (you can remove them from the bumper later)
- Remove final bolt, remove OEM bumper and set aside
- Keep the 4 bumper spacers that are on the OEM bumper for the new installation
Installation Instructions:
2. Unbox bumper and check LED light fixtures for tight fit. Use the 10mm wrench(es) to secure lights and allen wrench to tighten any side bolts that may have loosened during transit on the LED Lights.

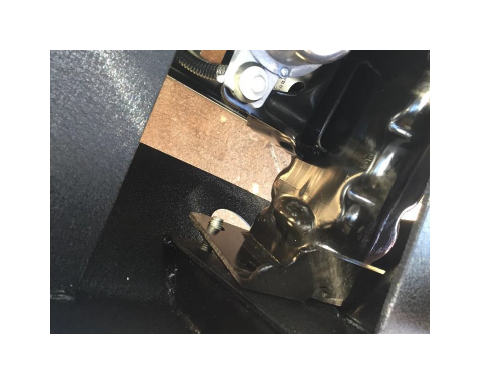
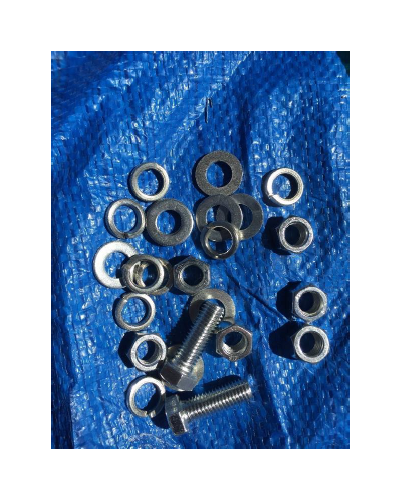
3. Lift Barricade Trail Force HD Full Width Bumper w/LED onto your vehicle. It’s best to seek the help of somebody else when lifting and positioning the bumper. Place the OEM spacers you saved earlier on the back sides of the bolts and place the single, opposing bolts, lock and flat washers onto the bumper.
Straighten the bumper, measuring the distance between each outer edge of the bumper and your fenders. Tighten bolts and nuts on all 8 mounting points.
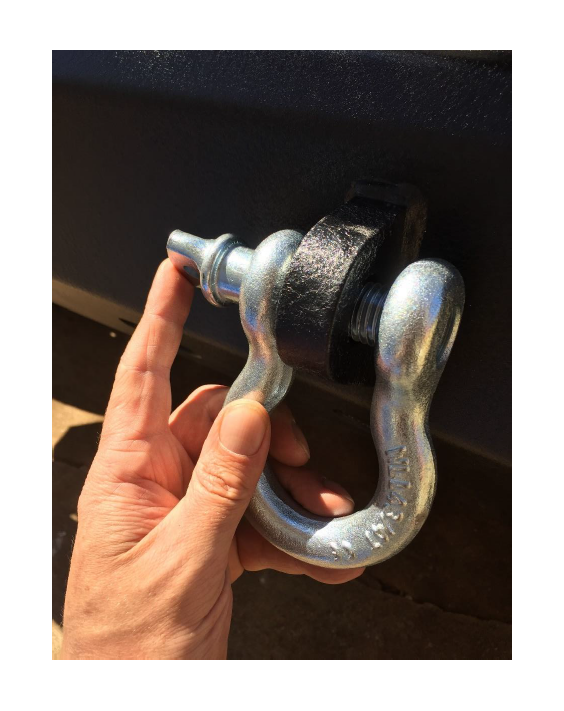
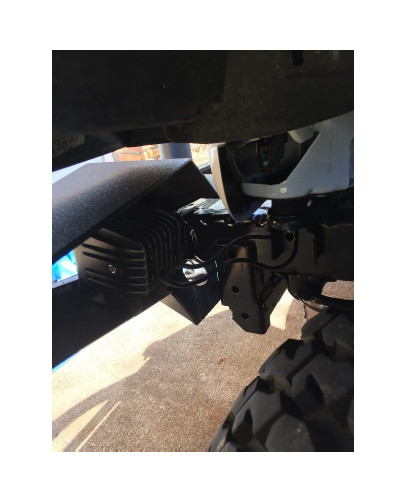
4. Install D-Rings
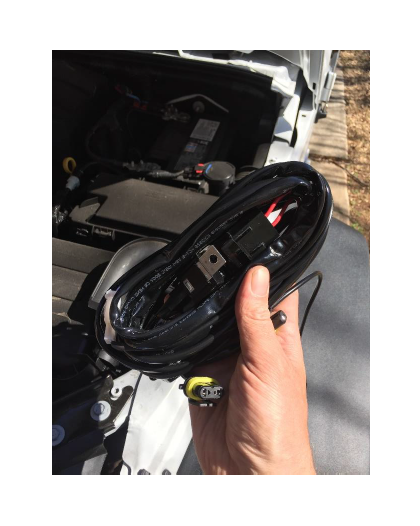
5. Remove Switch and Power Supply wiring from the box. Remove the fuse from the power supply and set aside. Locate relay. The relay may be installed to your preference, but in this application I installed the relay on the battery clamp temporarily. I plan to remove this at a later date and install a bulk switch.

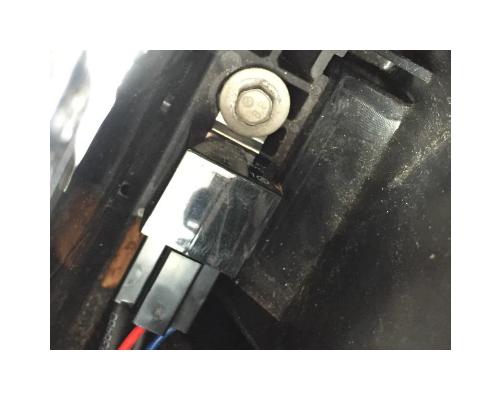
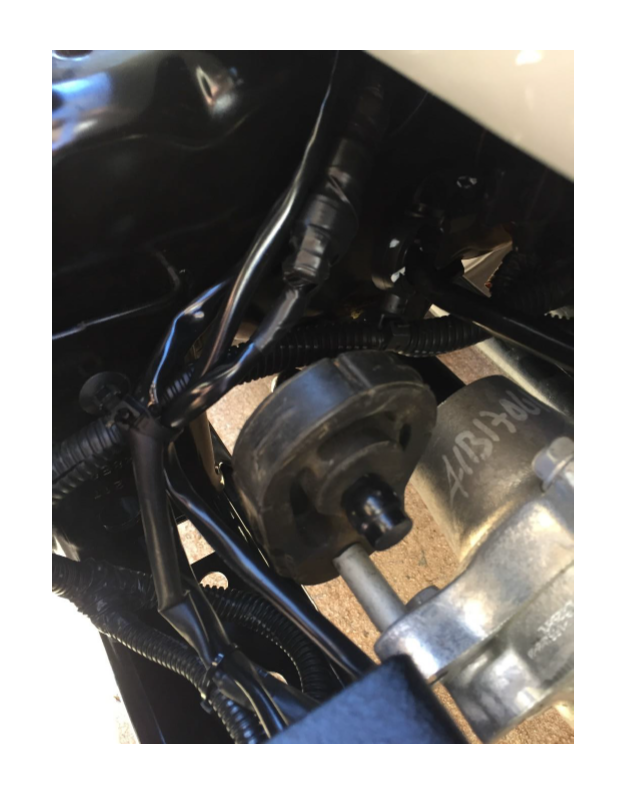
6. Install Power Supply and find a safe ground.

7. Run the line to the LED light pods down the passenger side of the vehicle. Snaking wire and and zip-ties can be used here to make task easier.
8. Stretch lines from LED lights toward center of the vehicle. You should bring the power supply out near the left side of the radiator. Plug the power supply into the lights. Replace fuse and test lights by using switch. Assuming all lights work, tape light plugs with electrical tape (optional)
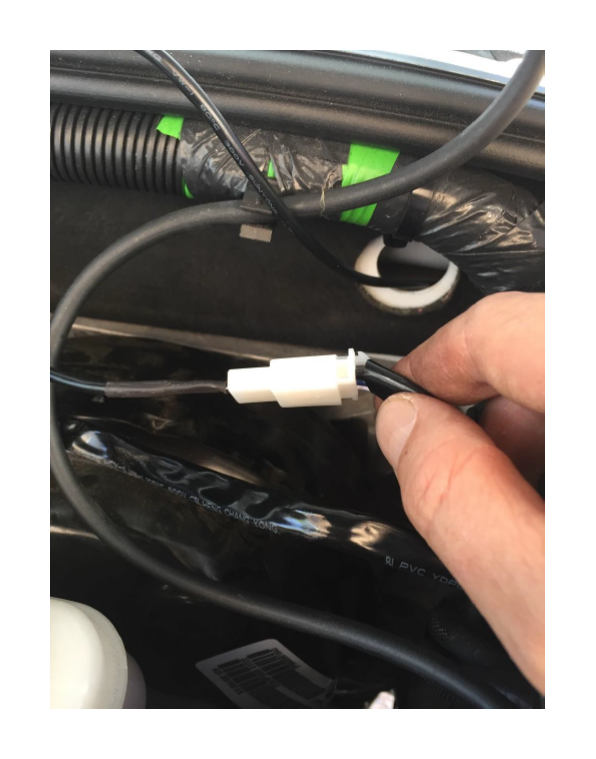
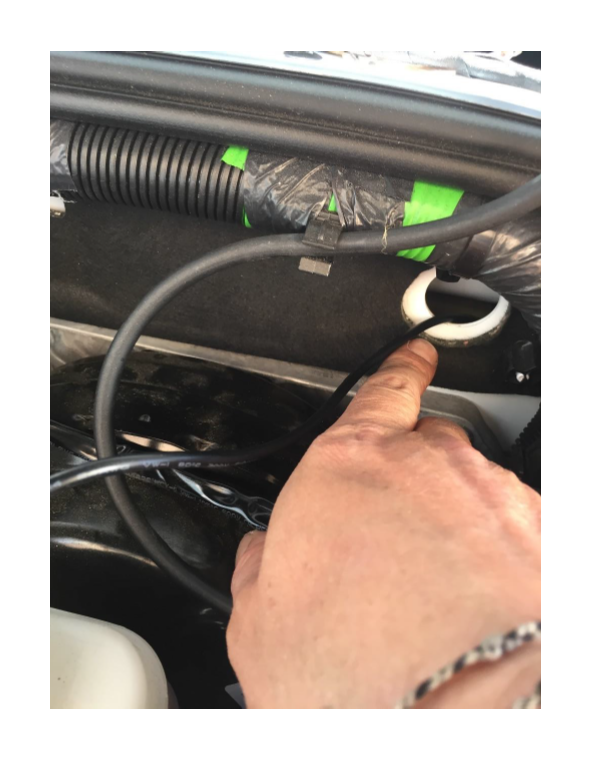
9. Unplug fuse and set aside. Take switch wire and run just under windshield toward steering wheel, using zip ties to secure. Unplug the switch from the power supply. If you haven’t removed the rubber grommet on your Jeep, do so now and use your Snaking wire to push switch line through the firewall.
Inside the jeep, you’ll bring the power supply line and secure to your preference, plugging the switch back in to the power supply line. Reinstall fuse and test lights again.
Installation Instructions Written by ExtremeTerrain Customer Ryan McDevitt 02/26/2017
