 FREE 1 to 3-Day Delivery on Orders $149+ Details

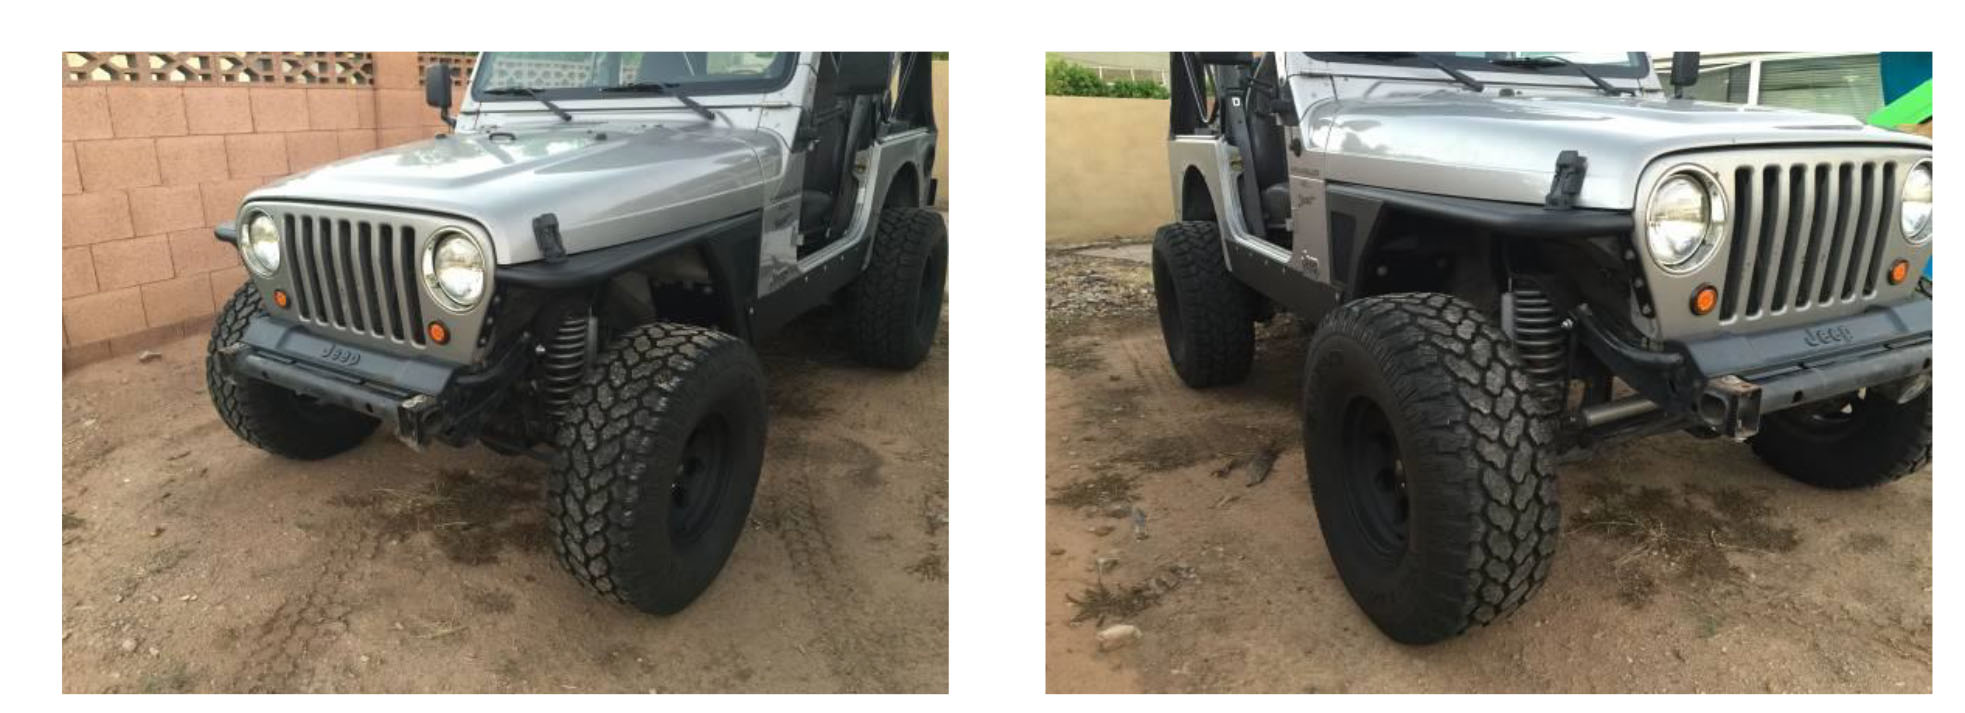
How To Install Barricade Front Fenders On Your 1997-2006 Jeep Wrangler TJ
Installation Time
2 days
Tools Required
- 1⁄2” Impact
- Cut off Wheel
- Jig Saw with Metal Blade
- 3/8 Impact Wrench
- 3/8 Ratchet
- 3/8 Metric Socket set
- 3/8 SAE Socket set
- 3/8 (3” & 6” EXTENSION)
- 3/8 Universal Joint
- 1⁄2 Socket Set For Impact
- Screw Drivers
- Pry Bar
- Marker
- Ruler / Straight Edge
- Drill & 1⁄4 inch Drill Bit
Installation Instructions:
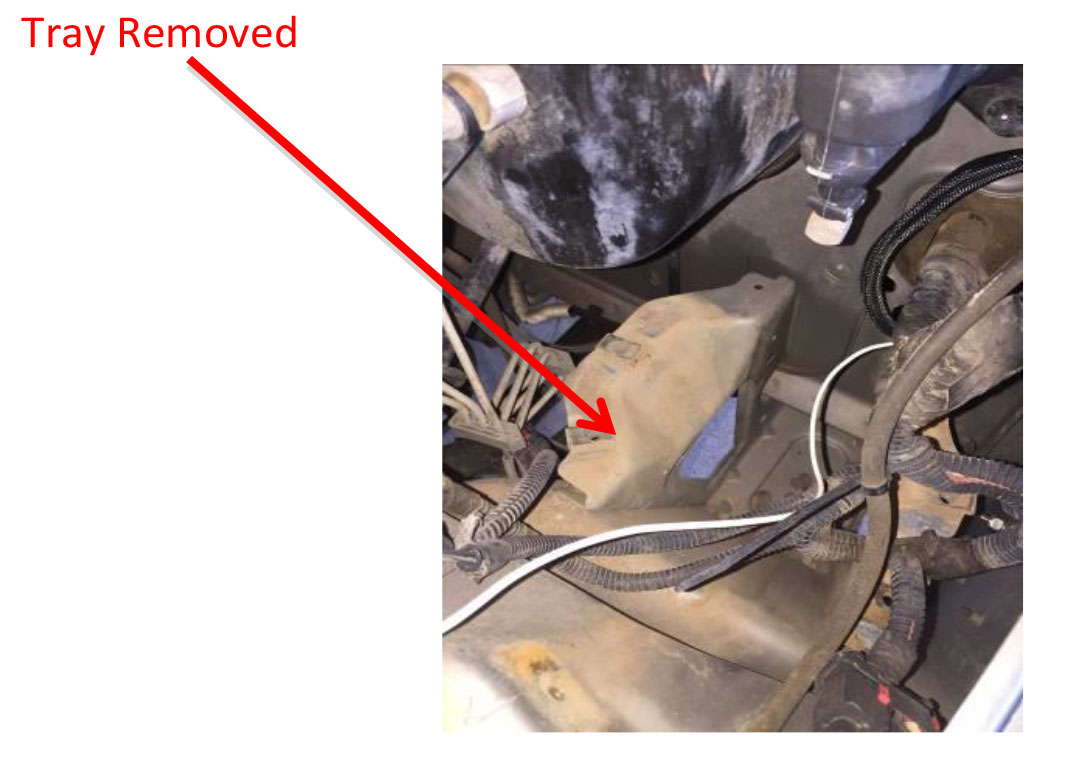
1. Choose Driver or Passenger side to start. Begin with removing all canisters and bottle attached to the inner fender of the jeeps Driver side (Figure 3) to gain access to the bolts that directly fastens the fender to the cab of the jeep. After the emissions canister is out of the way you can then see a plate that looks like a battery tray. Remove the tray and put aside. (Figure 4) & (Figure 5)
Figure 1
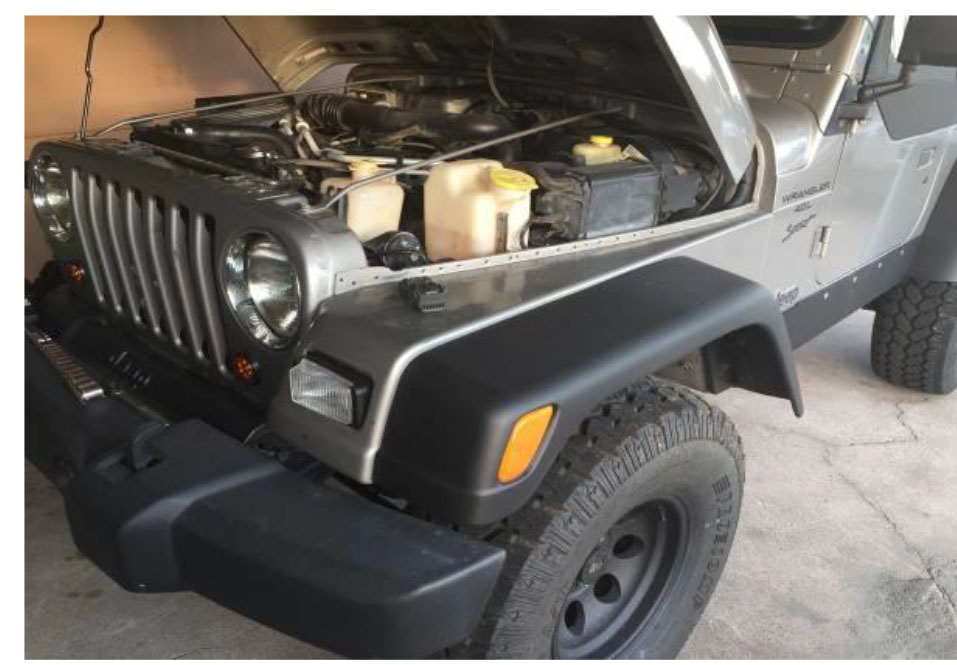
Figure 2
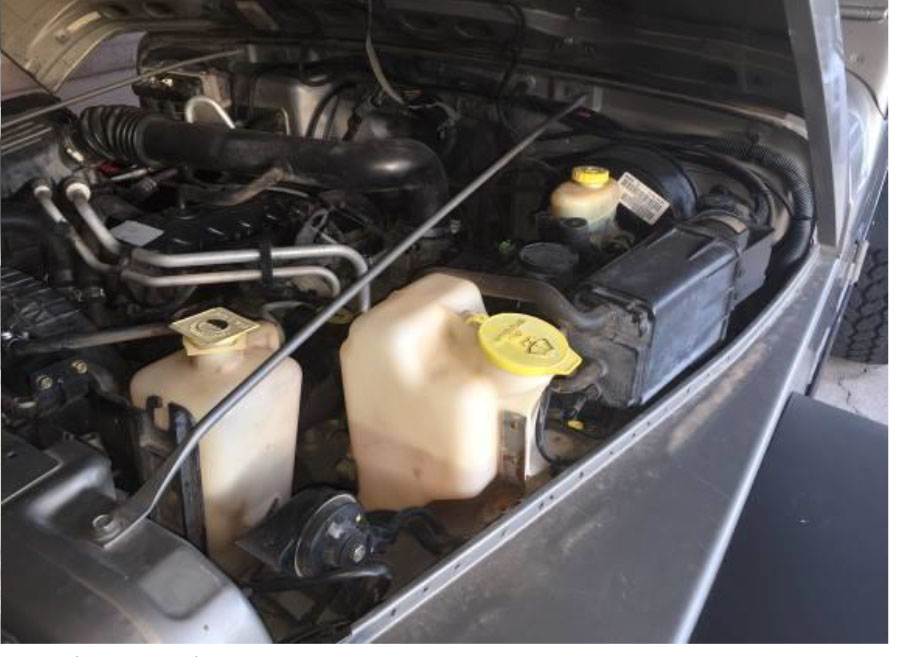
Figure 3
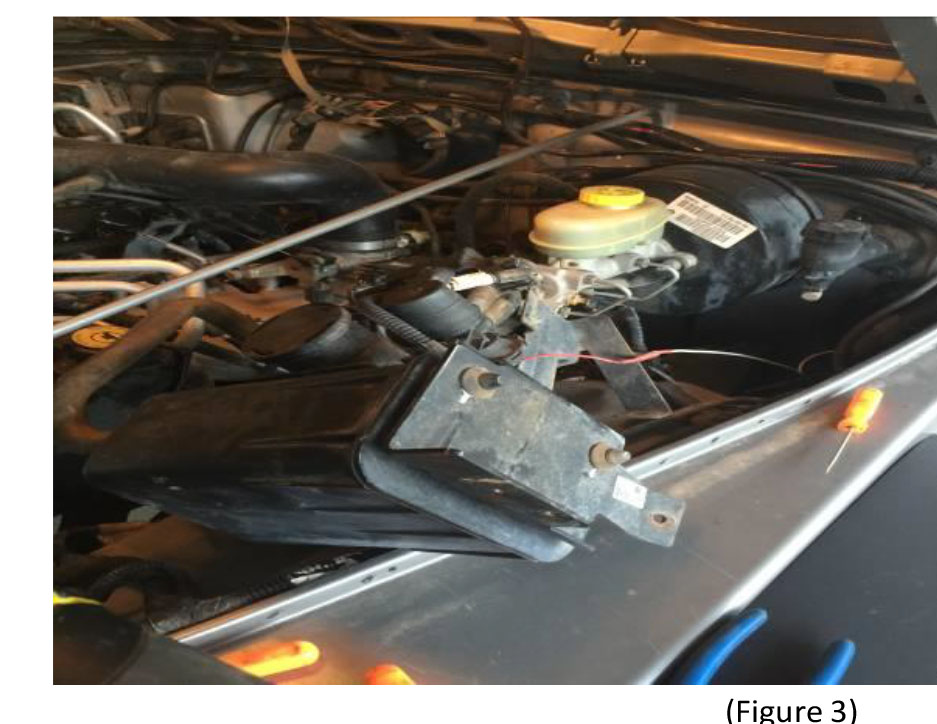
Figure 4
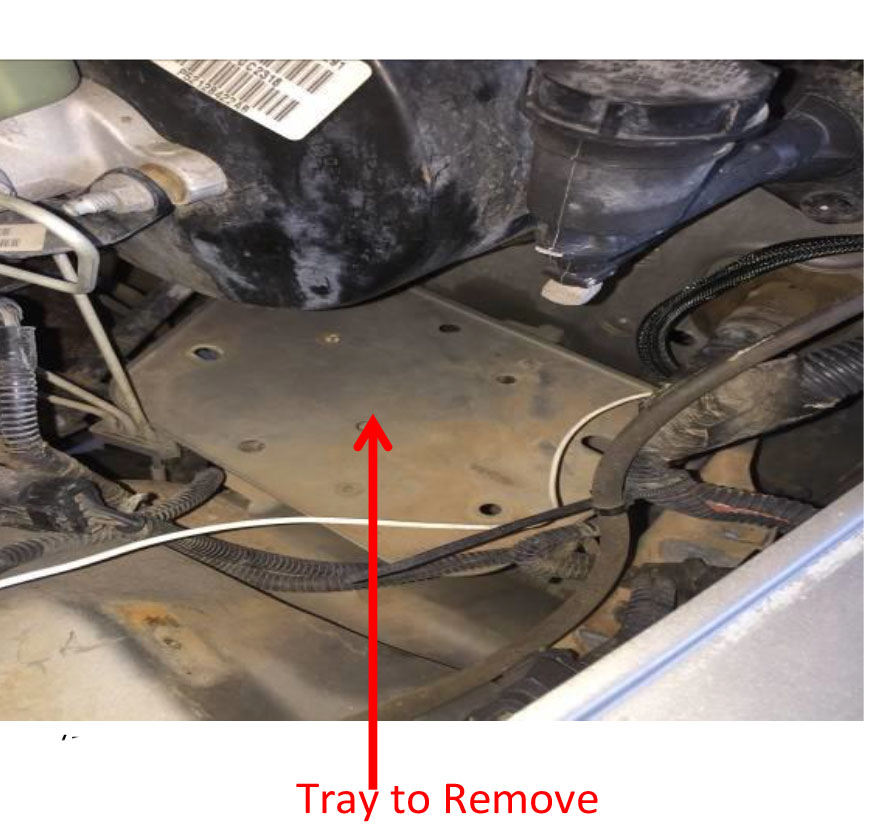
Figure 5
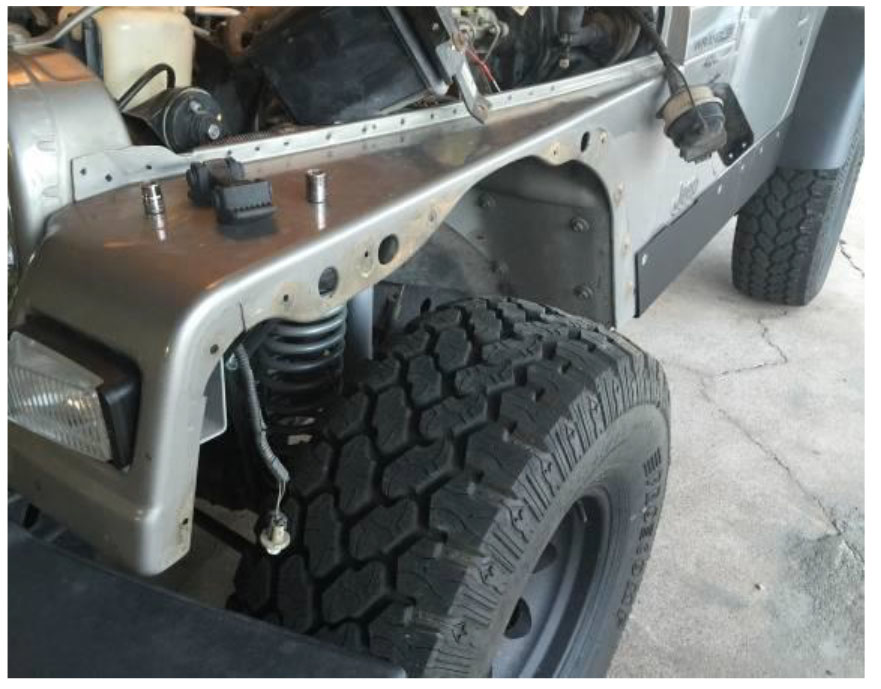
2. Remove the plastic fender flare and disconnect the outside blinker.
Figure 6
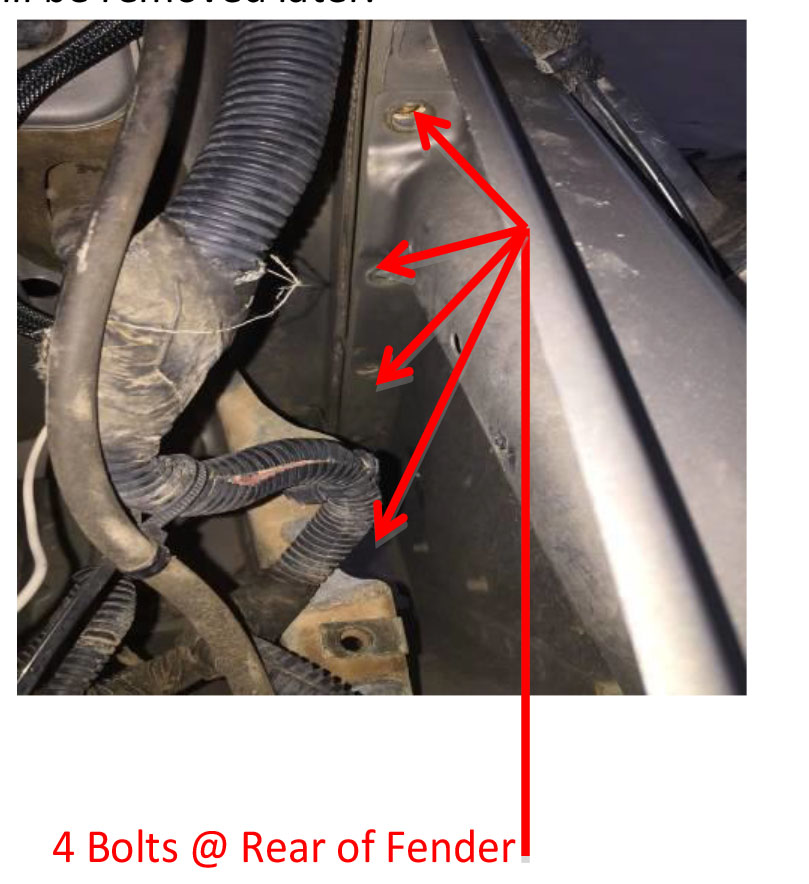
3. Begin to remove the fender from the inner fender well. Start by removing all the bolts that hold the fender to the rest of the body. Start by removing the 3 front bolts that hold the fender to the grill/core support (Figure 7). Remove the 4 bolts that hold the fender directly to the cab of the jeep. (Figure 8) There are 4 bolts located on the underside of the fender well behind the front tire leave those in place they will be removed later.
Figure 7
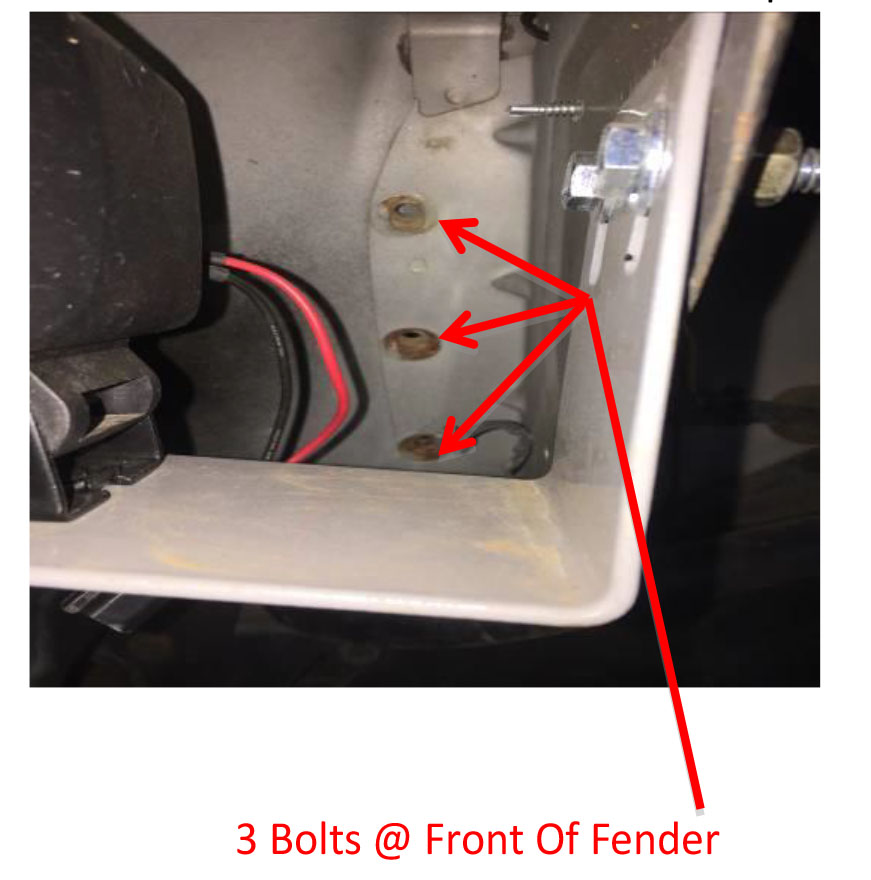
Figure 8
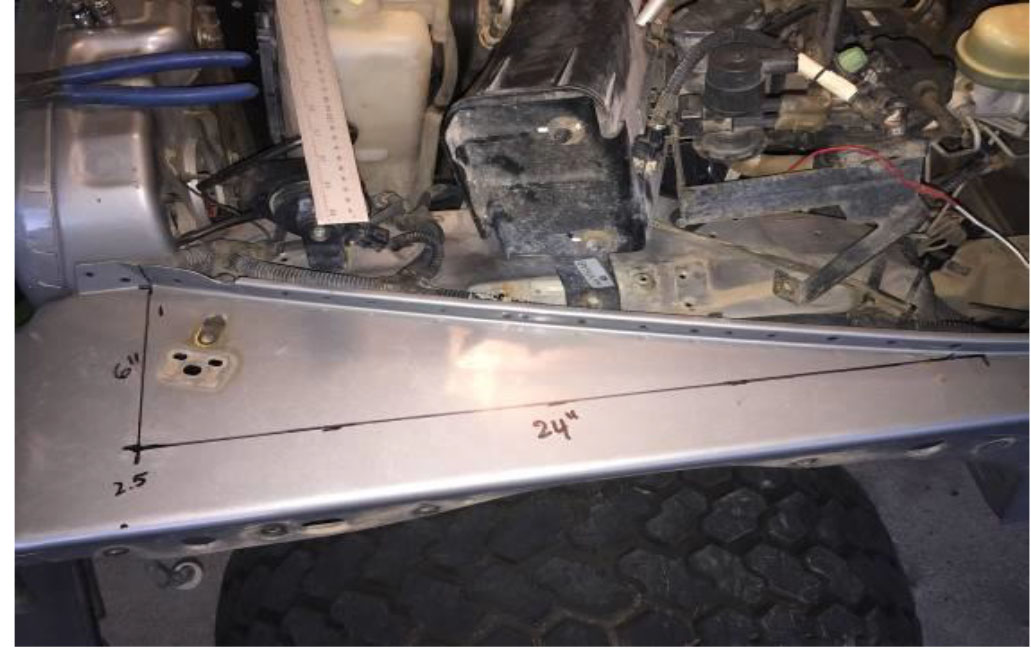
4. After the bolts have been removed begin marking the fender to cut and remove. (Figure 9) &(Figure 10)
Figure 9
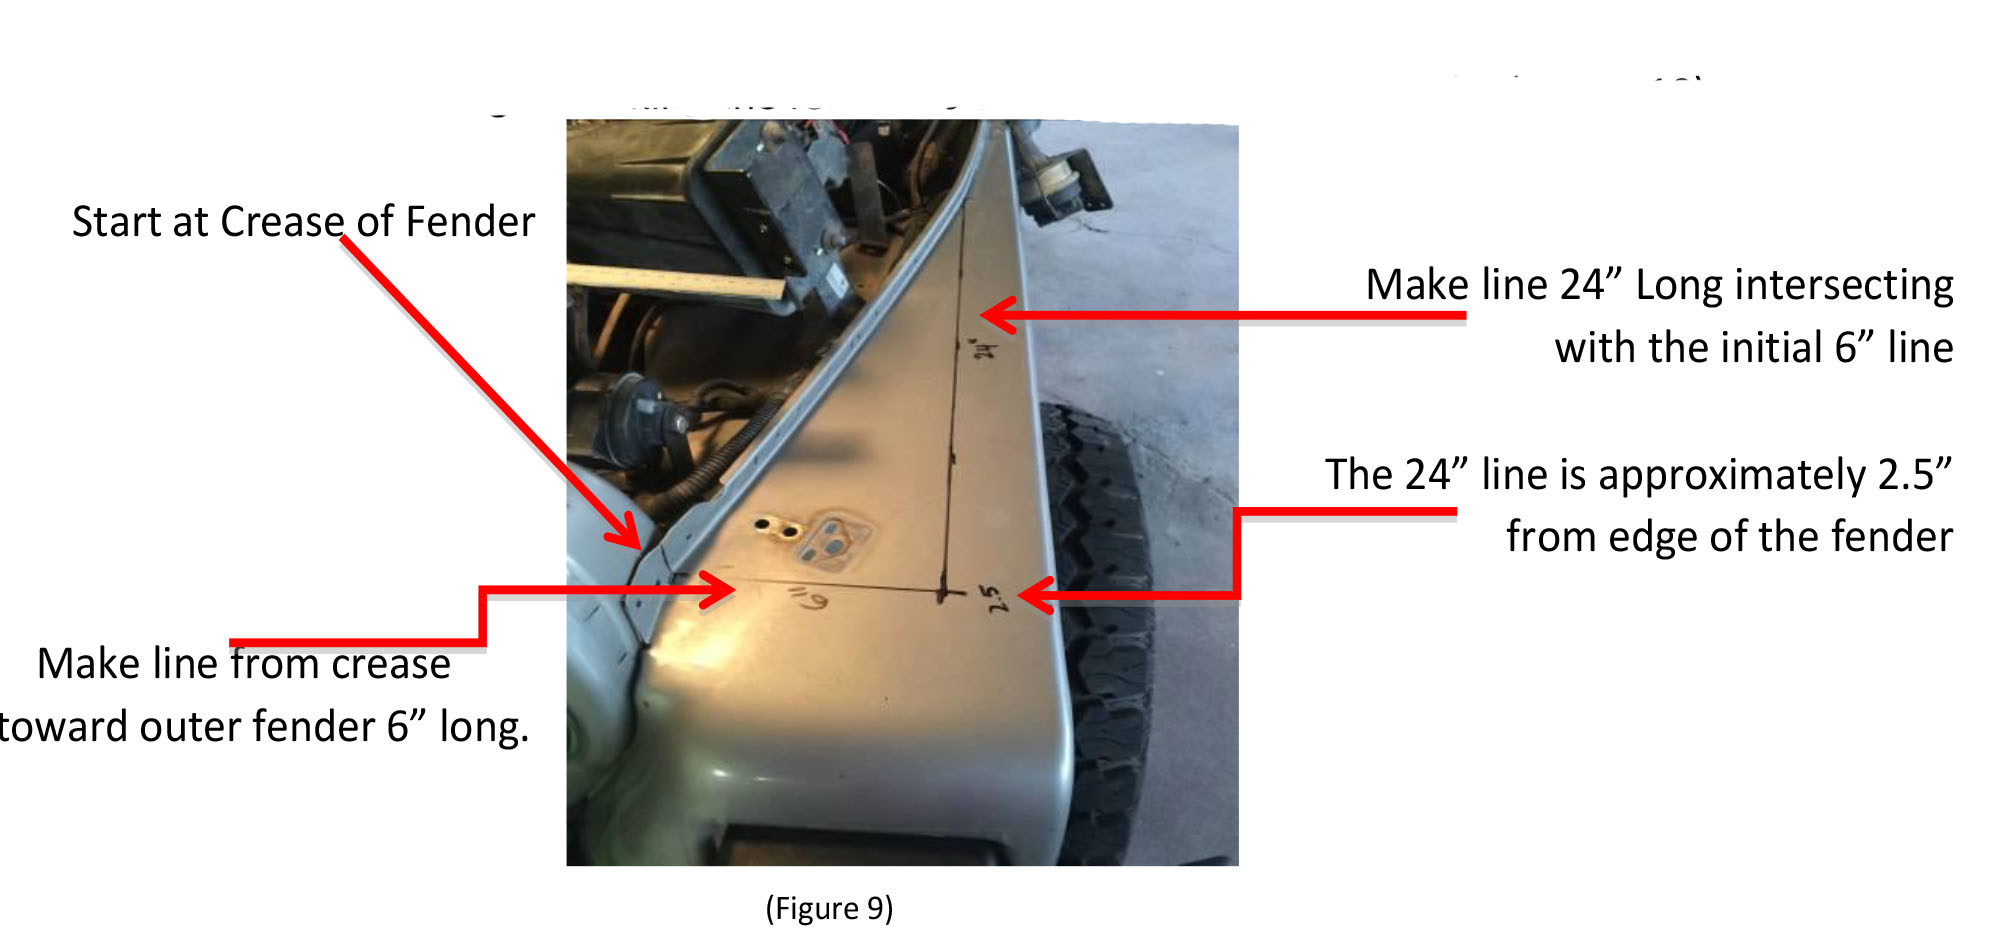
Figure 10
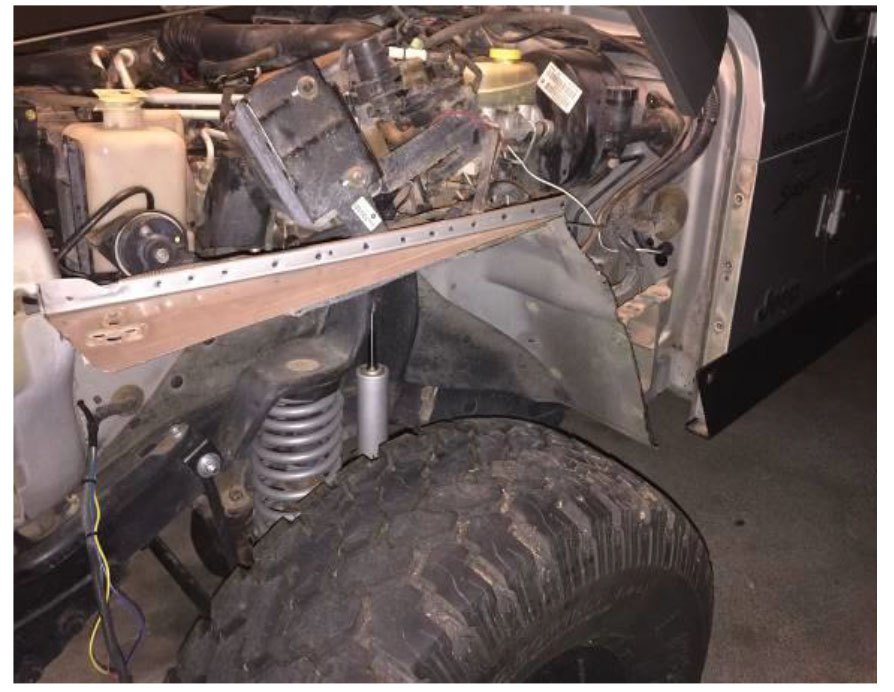
5. Cut along the drawn lines to begin to remove the outer fender. (Figure 11) & (Figure 12)
Figure 11
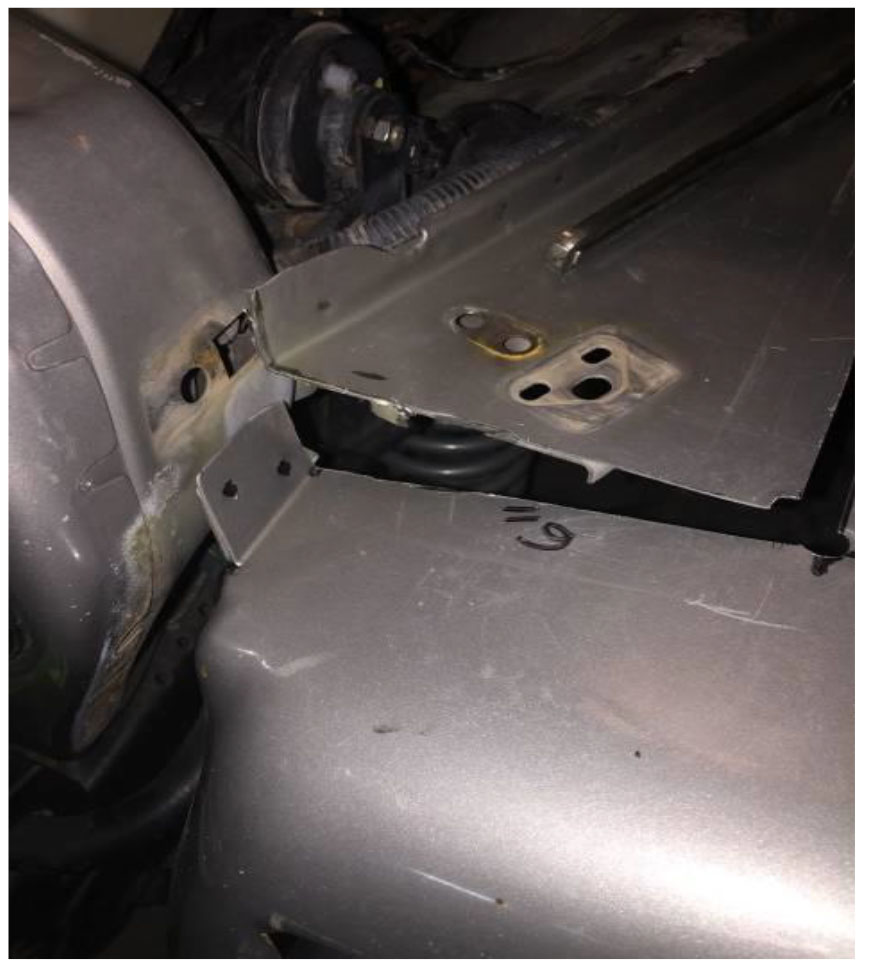
Figure 12

6. Next now that the top of the fender is free peel back the fender to expose the remaining area to cut (Figure 13) . Trace a line from the end of the cut at the top of the fender to the bottom staying just outside of the remaining bolts holding on the lower inner fender. These bolts are to stay in place until final installation of the Barricade fender. (Figure 14). The final product after the cut. (Figure 15)
Figure 13
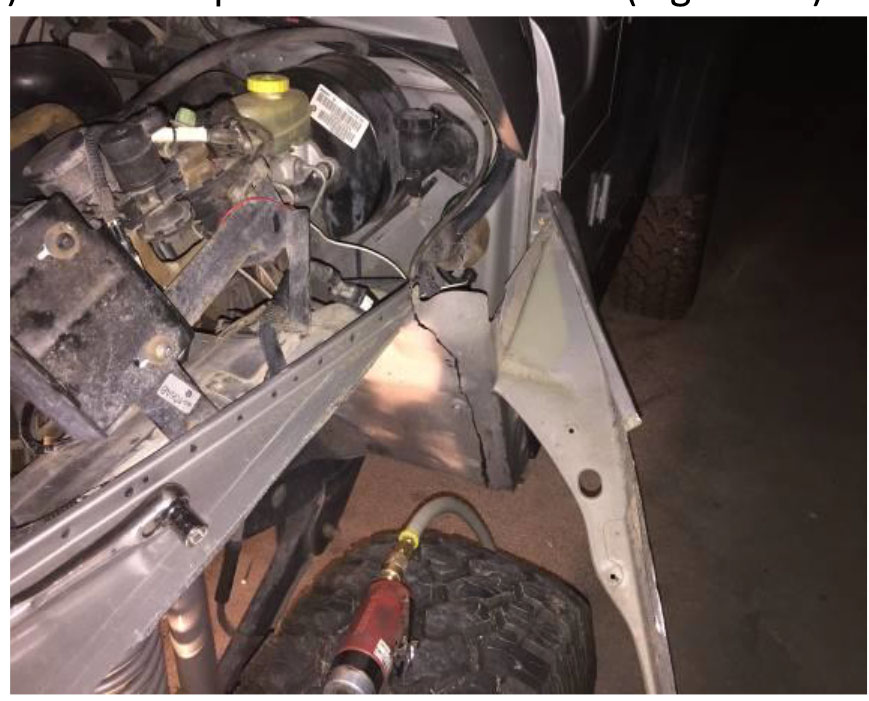
Figure 14
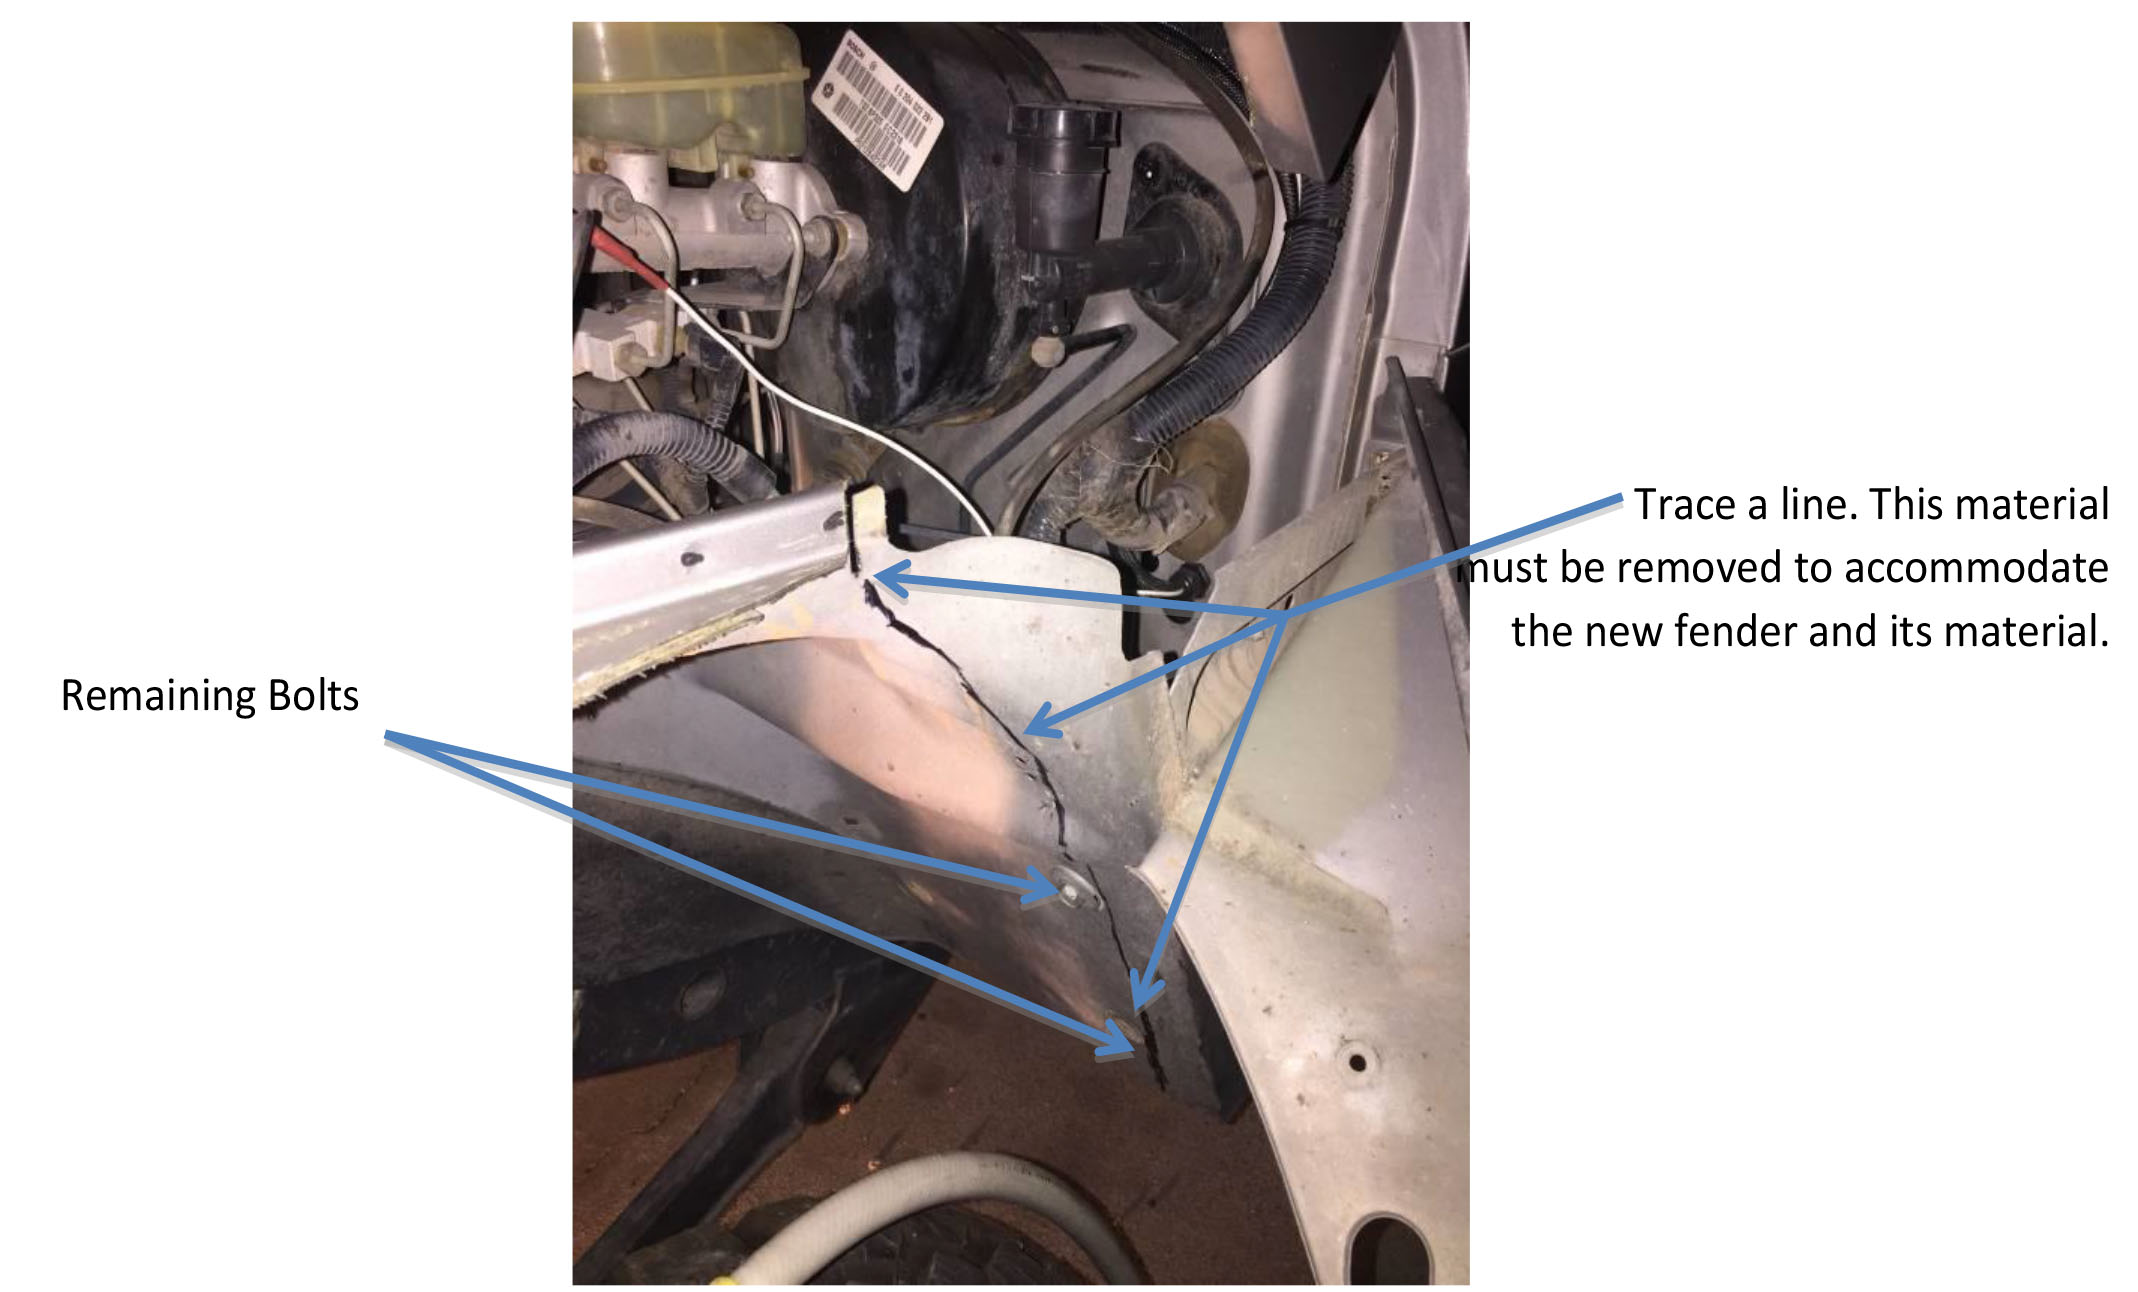
Figure 15
7. Remove the 4 Remaining bolts holding the inner fender to the body.
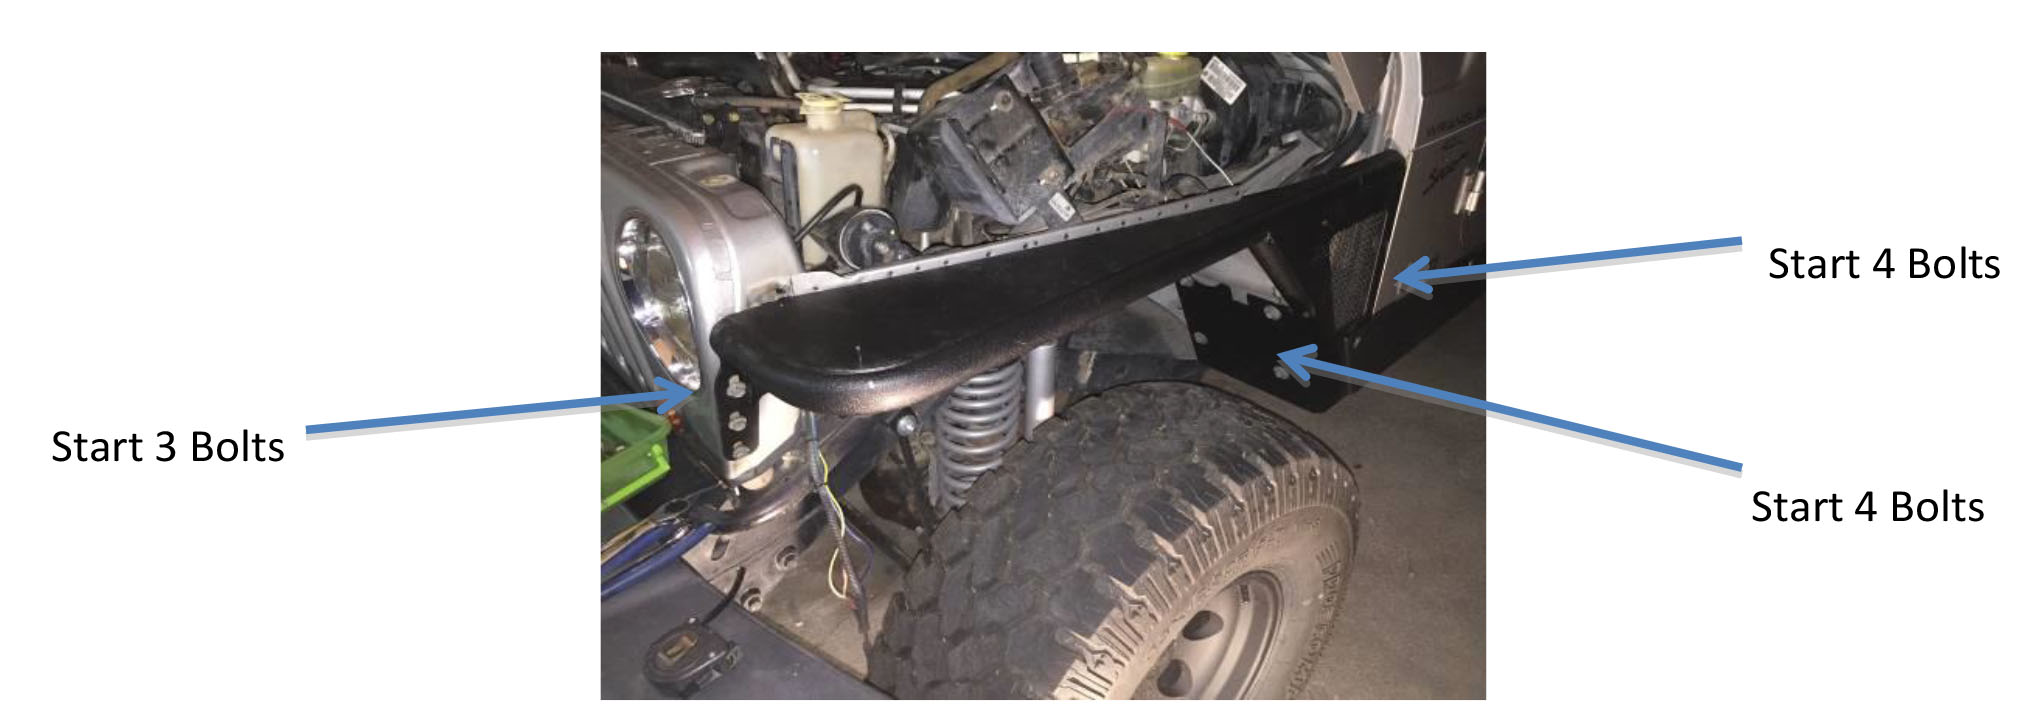
8. Install the New Barricade fender. Only start the bolts on the front at the core support and at the rear at the cab. Also start the 4 bolts on the inner fender well. There are adjustments that need to be made to the hood before tightening. (Figure 15)
Figure 15
9. After the fender is temporarily mounted close your hood and clamp. Adjust the fender up or down accordingly for a proper gap between the fender and the hood. Once the gap has been determined tighten all fender bolts.
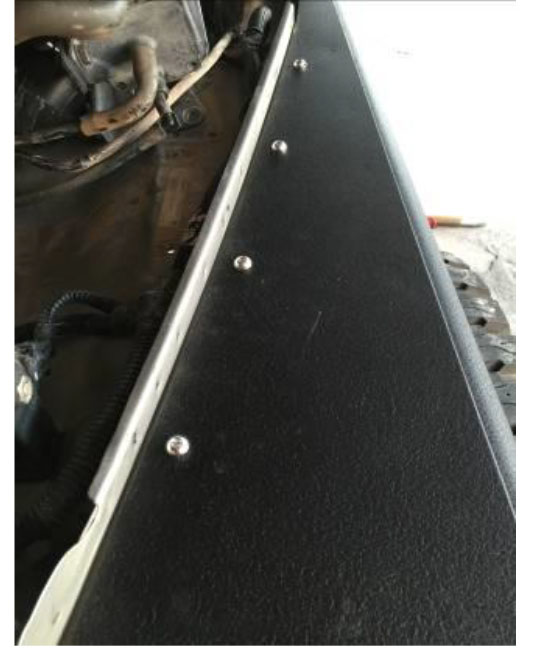
10. Use the bolts supplied with the fenders to fasten the new fender to the remaining sheet metal of the original fender. Using a 1/4in drill bit, use the holes in the barricade fender as a guide and drill through the sheet metal. (Figure 16) (Figure 17)
Figure 16
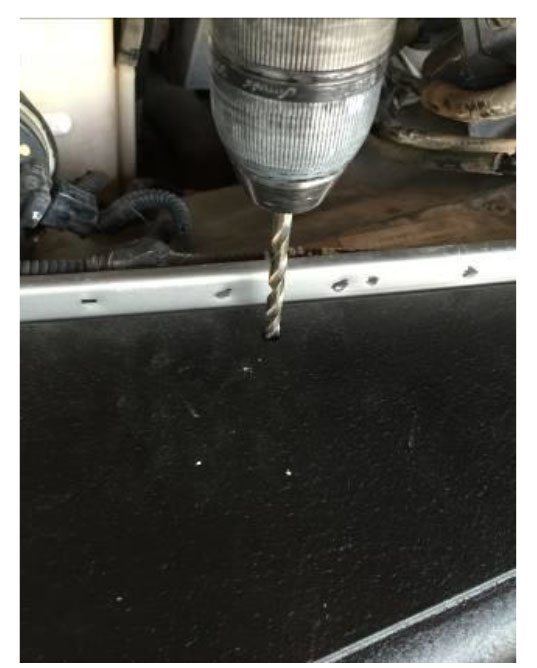
Figure 17
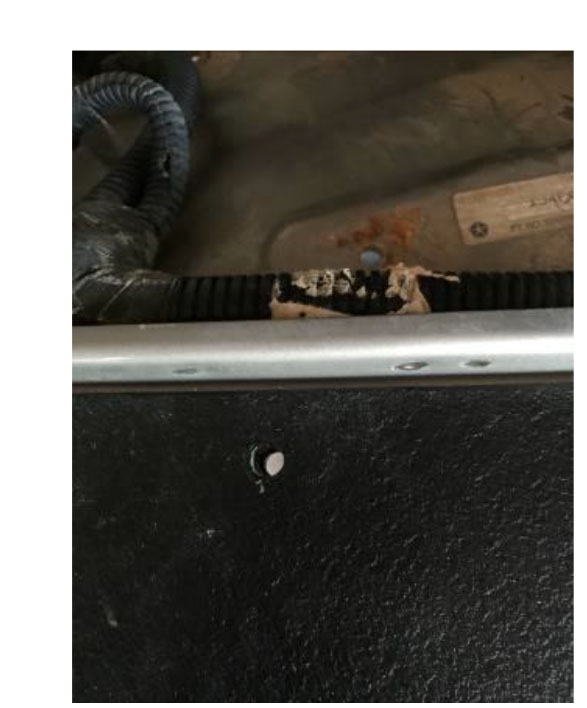
11. Use the fasteners supplied and tighten. (Figure 18)
Figure 18
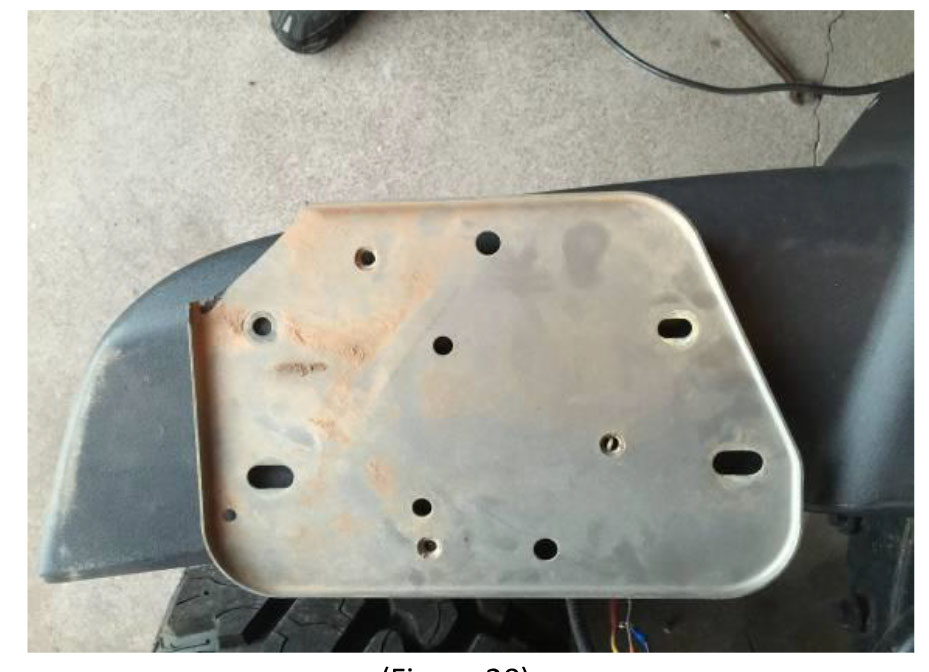
12. After the fender is tightened completely reinstall the tray that was removed in step 1. To do so the edge to the tray must be cut off to fit back into position. (Figure 19) (Figure 20) Now reassemble all other equipment and parts that were removed.
Figure 19
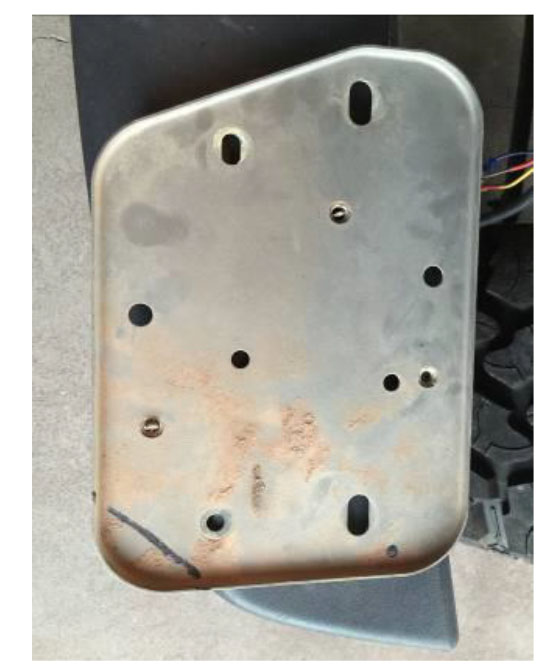
Figure 20
12. Now the Driver side is complete. Repeat steps 1-13 on the passenger side. Except there will be modifications to the battery tray instead.
Installation Instructions Written by ExtremeTerrain Customer Jason D’Ambrosio 10/15/2015
