 FREE 1 to 3-Day Delivery on Orders $149+ Details

How to Install Barricade Classic Rear Bumper (87-06 Wrangler YJ/TJ) on your Jeep Wrangler
Installation Time
60 minutes
Tools Required
- T27 Torx
- 18mm Sockets or Wrenches
- Center Punch (optional)
- Small Drill bit (optional) I used 1/8
- Unibit (optional)
Shop Parts in this Guide
Installation Notes: Installation time is around 1 hour for original bolts in good condition. My bolts were very rusty and stuck and I had to do a lot of extra work to get them out so it took me a lot longer than an hour. Some people on the internet choose to not drill the bumper frame for the 4 extra mounting holes. I chose to for the extra mounting strength.
While you are doing the install, you can also install the “LoD Offroad Frame Tie-In Bracket” to strengthen the bumper to frame mounting. I’m going to add them very soon since my jeep was very rusty. Removing the spare tire is probably optional but it should allow more room to work. Mine was already removed.
Installation Instructions:
1. Remove the torx screws that hold on the end caps using the T27 torx bit. Each end cap has 2 screws on top and 2 on the bottom.
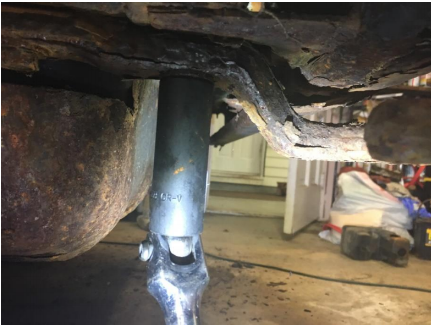
2. Remove the 18mm bolts that hold the bumper to the Jeep. There are 2 on each side.
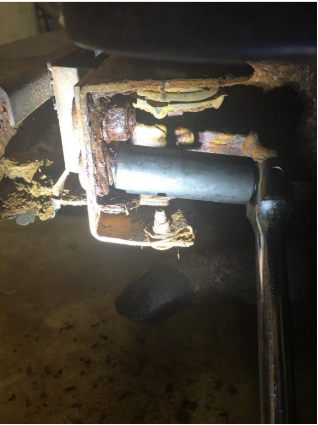
3. There are also 18 mm bumper bolts underneath the Jeep. There were 2 on the driver’s side and 1 on the passenger side. Once these bolts are removed the bumper will come off. Save the 2 closest to the bumper. They will be used on the new bumper.
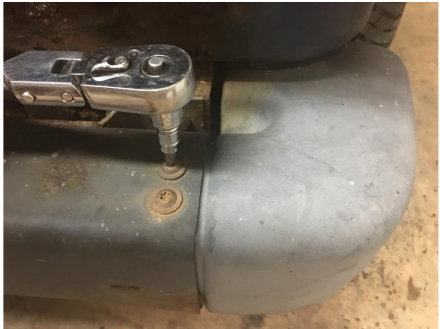
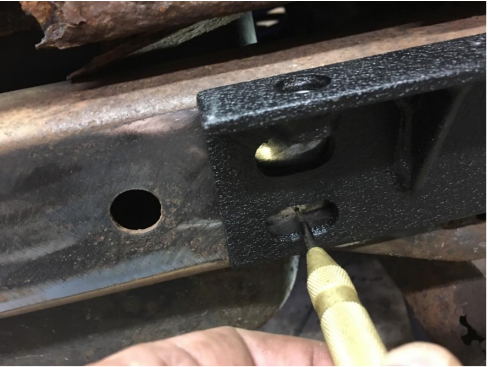
4. Some people on the internet decided not to drill the extra 4 holes. I decided to since I want the extra strength. If you don’t want to drill the holes you can skip to step 7. I installed the 2 bolts in the mounting plates so I could use it as a template of where to drill the holes. I used an automatic center punch to mark the holes and to keep the drill bit from moving while drilling. You may want to lay the bumper on the mounting plates to make sure that the bottom bolt holes will line up to the holes in the bottom of the jeep frame once the bumper is mounted.
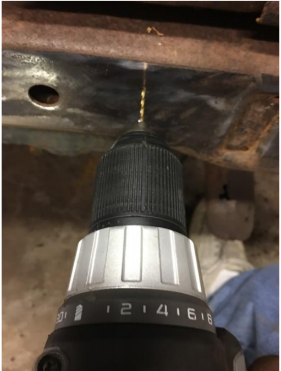
5. I then removed the mounting plates and drilled a pilot hole with a 1/8 drill bit. Be aware that the gas tank is right behind the holes you will drill so don’t go too far once the bit gets all the way through. If you don’t think you can stop before hitting the gas tank you can use drill bit collars.
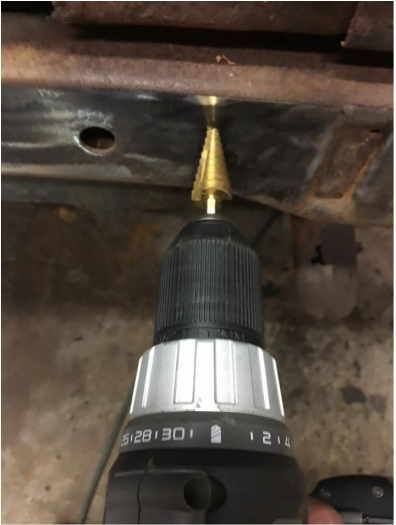
6. Once the pilot holes were drilled, I used a unibit to drill the holes to the correct size for the mounting bolts.
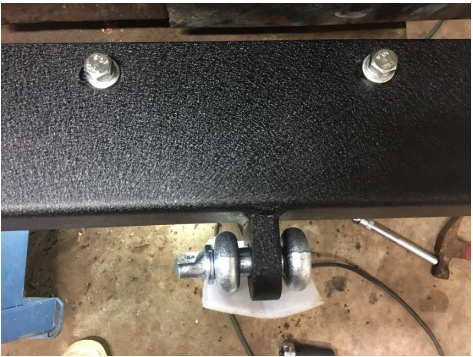
7. Secure the mounting plates using the supplied 18mm bolts. There will be 2 or 4 bolts per side depending on whether you drilled the extra holes. Be aware that the extra bolts are very hard to get in since the gas tank is in the way. Some people have reported that they had to drop the fuel tank down some to get these bolts in.
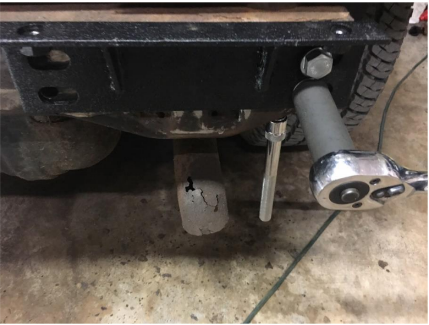
8. Once the mounting plates are installed, put the bumper on the mounting plates and attach the 4 supplied 18mm bolts. Then secure the bottom bumper tabs to the existing frame mounting holes with the bolts you removed when taking off the original bumper.
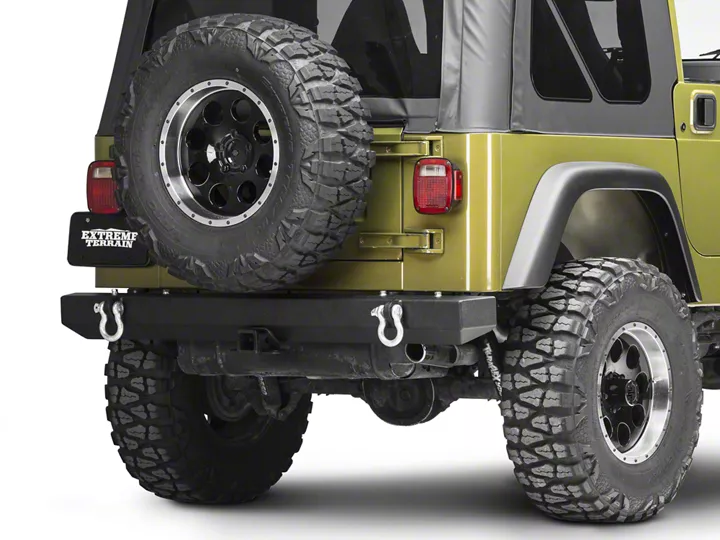
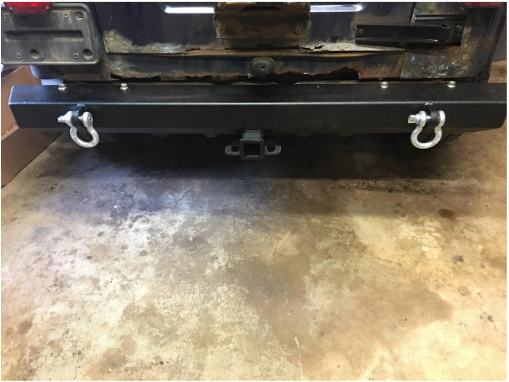
9. The finished bumper.
Installation Instructions Written by ExtremeTerrain Customer Bob Cox 5/31/2018

