 FREE 1 to 3-Day Delivery on Orders $149+ Details

How To Install Running Boards on a 2nd Gen Tacoma
XT Staff
/ May 12 2025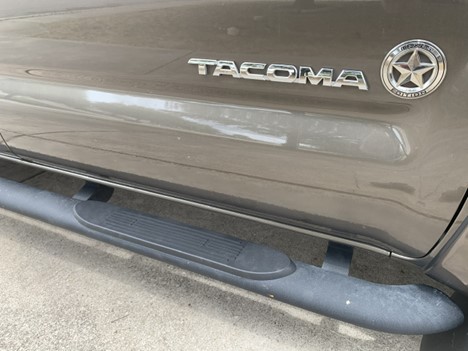
So, you want to install some running boards on your 2nd-gen Tacoma, right? The steps are simple, parts are easy to find when you know where to look, and you don't even need a toolbox's worth of tools to get the job done right. Read on to learn more about how to install running boards on your Toyota.
Choosing the Right Running Boards for Your 2nd-Gen Tacoma
Look, knowing how to install Tacoma running boards is great and all, but what if you don't know which option to choose? Stick around for some tips for choosing the right running boards.
Size
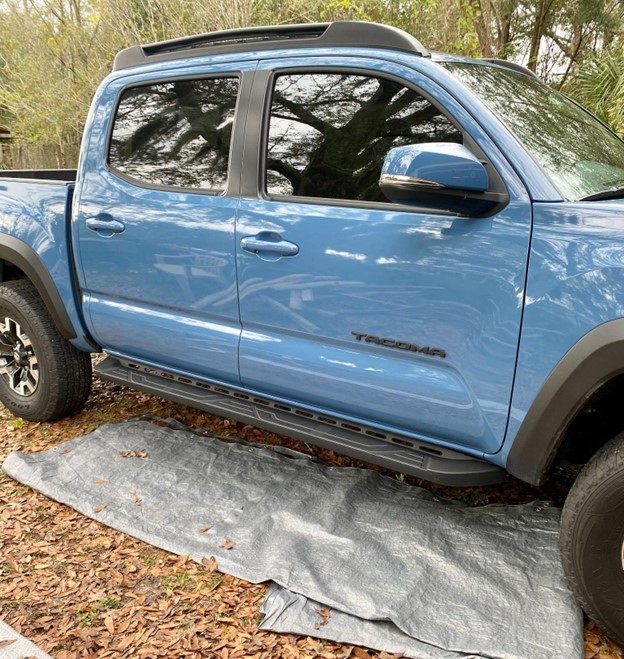
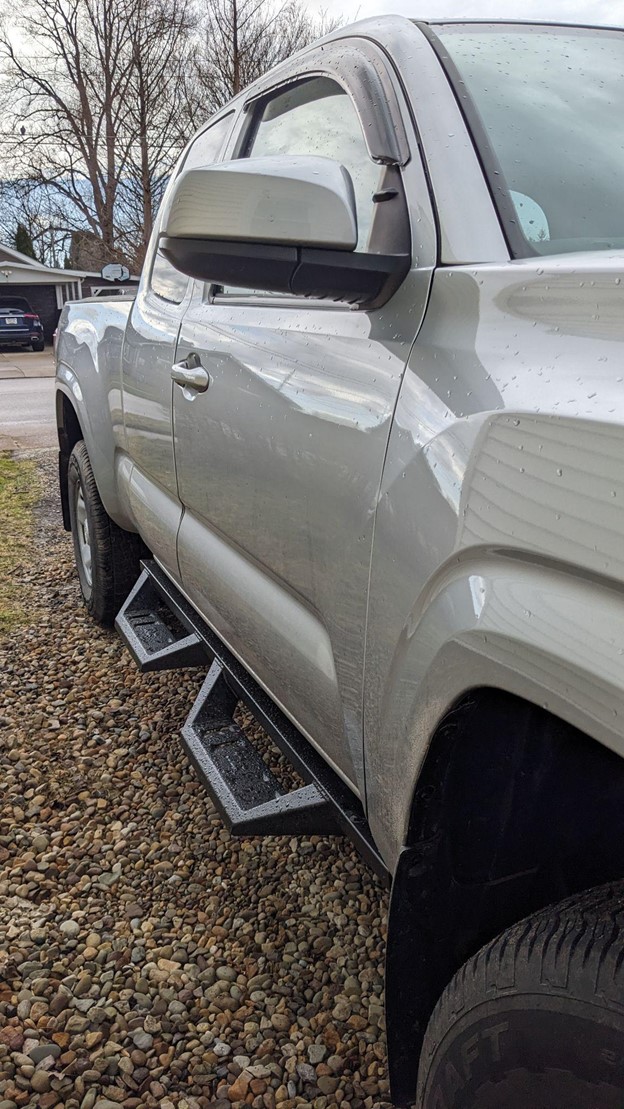
A great place to start is the size of the running board. This determines how far it will stick out. If you want to keep a minimal look, opt for something like RedRock 3-Inch Side Step Bars and if you want the biggest possible boards something like Barricade 6-Inch Running Boards may be more your speed. When choosing the right size, it comes down to style preference and whether or not you have a lot of tight spaces to park in or drive through.
Type of Running Boards
You also need to consider the specific type of running board. While many running boards are just single bars that run along the length of your truck, you can find options like Barricade’s TCX Drop Side Step Bars that only have steps where each door is. This helps achieve a more minimalist look. There are also plenty of other designs like running boards that have unique grips, different colors, and even stronger metal, so it's important to carefully consider your options.
Budget
Budget is always a factor when choosing parts. Typically, running boards start out at around $150 but you don't get a lot of grip, features, or unique designs with these options. For more features and unique styles, you’re looking more in the $250 to $750 ballpark.
How to Install Running Boards on Your 2nd-Gen Tacoma in 5 Steps
Installing running boards on your 2nd-gen Tacoma is simpler than it may seem. Just make sure you've cleared your day in case anything goes wrong, especially because the installation process can take a few hours. Thankfully, following our steps below will help you mitigate any problems before they arise.
1. Get the Right Tools for the Job
First and foremost, it's important to make sure you have the right tools for the job. Thankfully, you don't need anything crazy, just some wrenches, drills, and the necessary bits. Some other tools you'll need include:
- Tape or a wax pencil to mark where the running boards will go
- Ratchet and socket set
- Wheel chocks or jacks
- A drill and drill bits
- An impact driver
- Flathead screwdriver
The tools you'll need may vary depending on the kit but this is a great place to start. You may also want to keep additional parts and accessories handy, like touch-up paint, tape, and safety glasses.
2. Measure Twice and Drill Once
Before you even start playing with a ratchet, make sure you determine exactly where the running boards will go. Check the instructions to see where you need to drill holes and where the boards and mounting hardware have to go. While they tend to have predetermined locations, you also have to account for drill holes and other mounting hardware. Once you find out where these parts have to go, mark them with a wax pen or tape.
2. Drill the Necessary Holes
Once you have everything measured out it's time to drill the holes. Check the instruction manual in the box for the right drill sizes and then get to it. Since you have everything marked it should be as easy as drilling in the places you have marked. Also, do yourself a favor and make sure your drill is fully charged before you start. The last thing you need is your drill dying and getting stuck halfway through a hole.
3. Install the Mounting Hardware
Now for the fun part – it's time to secure and mount your new running boards. If your kit has brackets that hold things in place, you'll need to fasten those first, so keep an eye out for them in your instructions. Make sure you’re using all the parts from the kit, so don't leave any stray washers or leave out any hardware. You'll also want to leave some play on the bolts at this stage so you can mount the running boards to the brackets.
5. Mount the Running Boards to the Mounting Hardware
Next, place the running boards into the brackets and make sure all of the hardware matches up properly and adjust as needed. Then, you can fully tighten your hardware using a ratchet or an impact driver if you have one. Make sure everything is tight, but don't overdo it because you don't want to strip anything, especially if you plan on taking them off in the future. While most kits come with two running boards, once you figure out how to get the first one on, the second one is a cakewalk because it's just the same steps on the other side.
The Benefits of 2nd-Gen Tacoma Running Boards
Running boards for your 2nd-gen Tacoma are more beneficial than you may think, and their benefits extend beyond a convenient place to put your feet before jumping into the cabin. Additional benefits include:
- They can protect your truck against damage by acting as a barrier in tight spaces.
- Great for accessing roof racks and other accessories.
- Sometimes they can assist with weight distribution.
Plus, running boards give your truck that rugged appearance it deserves.
Install Your 2nd-Gen Tacoma Running Boards Today
As long as you follow the steps we covered in this article, you shouldn't have any problems installing running boards on your Tacoma. Make sure you carefully consider your options and choose the best running boards for your specific needs. And if this is your first DIY project, don't worry, you’ve got this because running boards are a great place to get started.