 FREE 1 to 3-Day Delivery on Orders $119+ Details

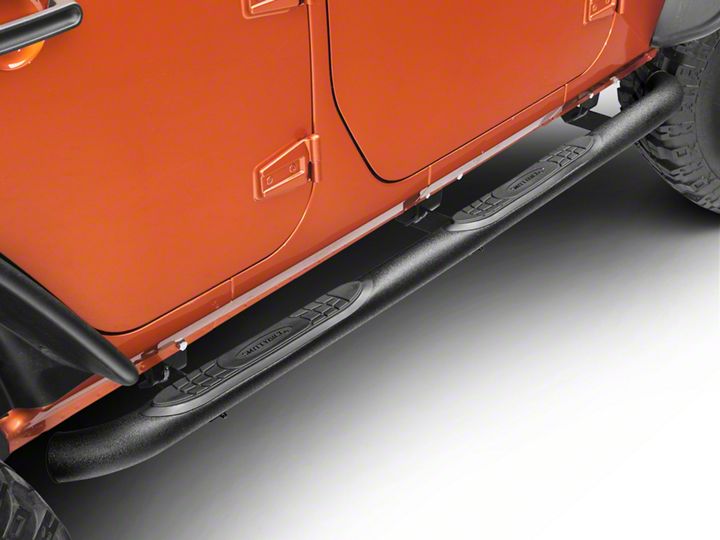
How to Install Smittybilt Sure Step 3 in. Side Bars on your 2007-2015 Jeep Wrangler JK 4 Door
Installation Time
2 hours
Tools Required
- 10mm Wrench or Socket
- 13mm Socket
- Ratchet for 13mm Socket
- Supplied 4mm Allen Wrench
Shop Parts in this Guide
WARNING!!!
Before starting all factory installed steps, running boards, and rock rails will have to be removed. Also check to make sure all parts are in good condition and verify all parts and hardware are there. You will need to make sure that there are...
(6) 8mm x 35mm Hex Head Bolts
(18) 8mm Lock Washers
(6) 8mm x 28mm Outside Diameter x 3mm Large Flat Washers
(12) 6mm x 25mm Button Head Allen Bolts
(24) 6mm Inside Diameter x 18mm Outside Diameter Flat Washers
(12) 6mm Inside Diameter Nylon Lock Nuts
(12) 8mm x 25mm Hex Head Bolts
(12) 8mm x 24mm Outside Diameter x 2mm Flat Washers
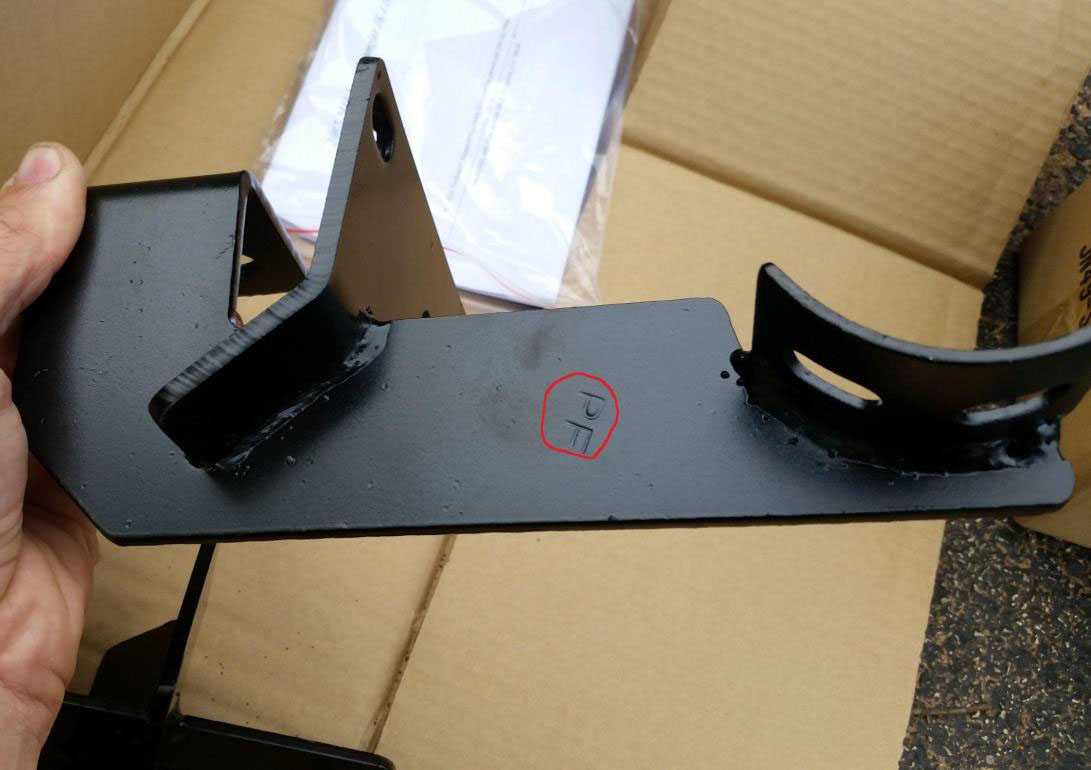
1) Beginning on the passenger side of the Jeep, you will need to locate the Passenger Front “PF” Bracket. “PF” will be etched in the bracket.
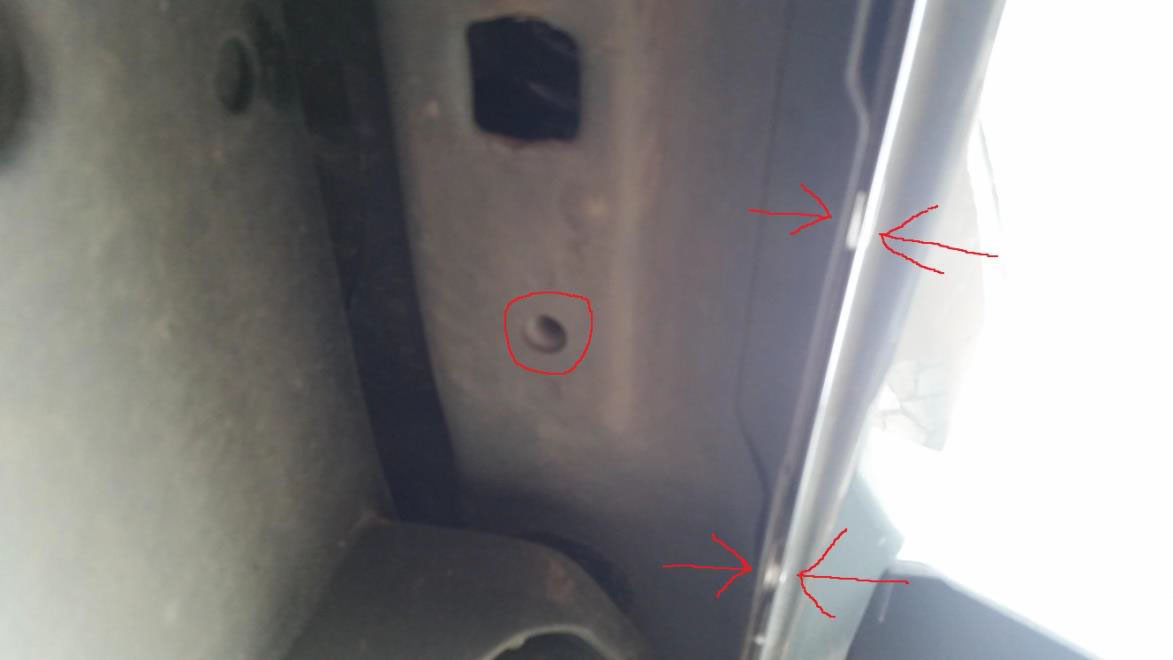
2) Once the correct bracket has been found, locate the Passenger Front 8mm Bolt hole. Also locate the 6mm Bolt holes in the pinch weld of the body.
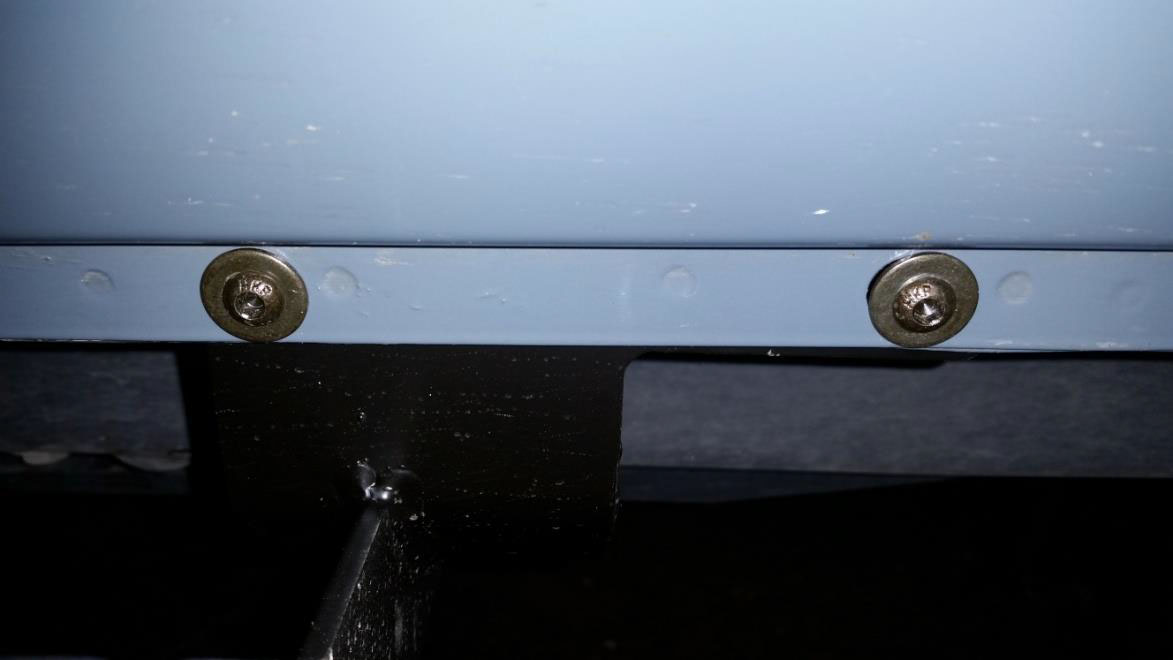
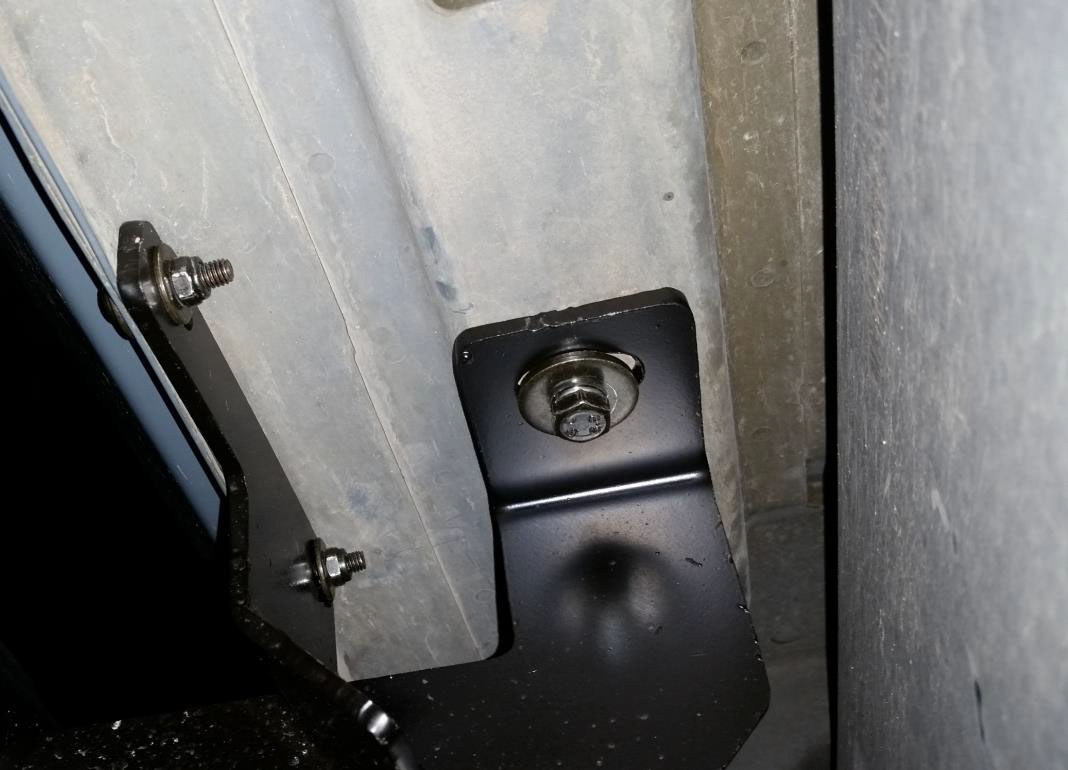
3) Mount the bracket to the pinch weld area of the body with (2) 6mm x 25mm Button Head Allen Bolts, (4) 6mm Inside Diameter x 18mm Outside Diameter Flat Washers, and (2) 6mm Inside Diameter Nylon Lock Nuts. While holding the provided 4mm Allen Wrench on the head of the Allen Head Bolt, use a 10mm Wrench or a 10mm Socket and Ratchet to fasten the 6mm Inside Diameter Lock Nuts to the threads of the Allen Head Bolts. LEAVE ALL HARDWARE LOOSE UNTILL STEP IS INSTALLED ONTO BRACKETS
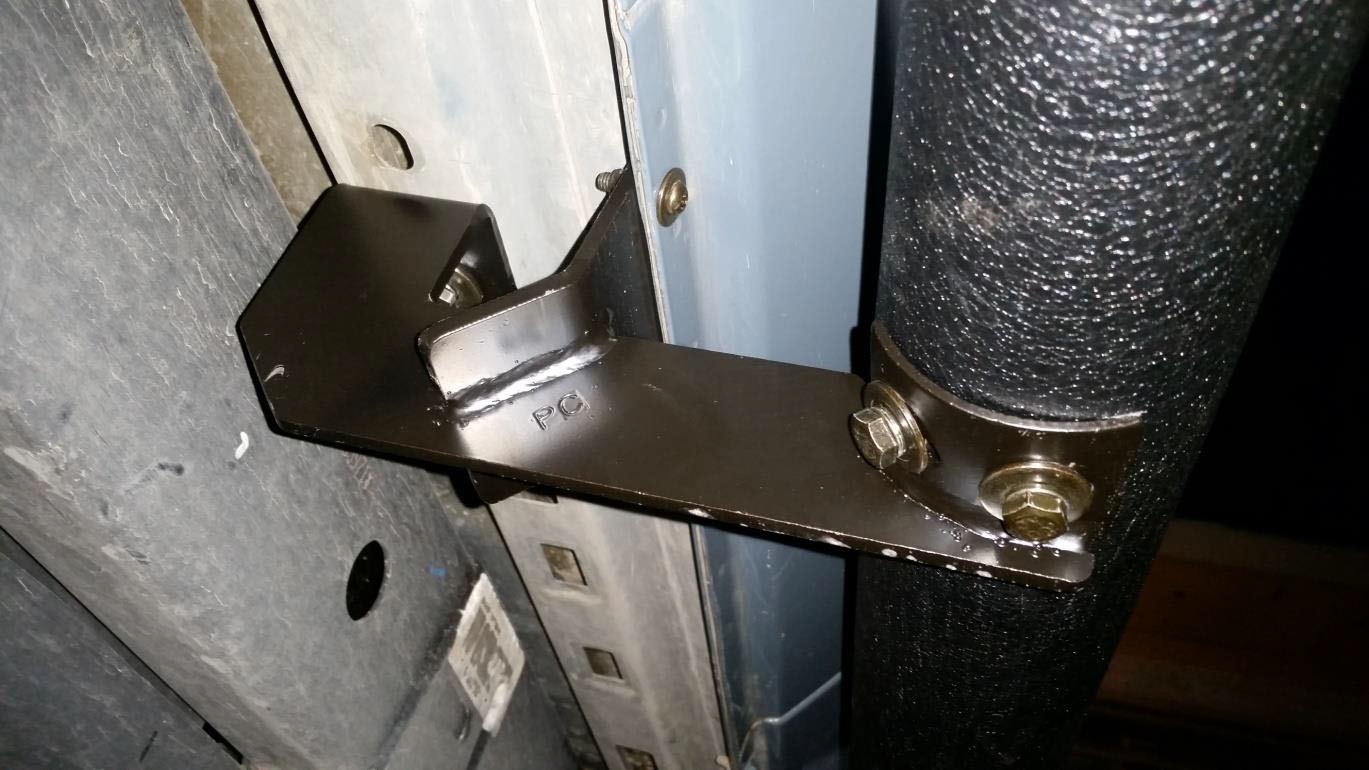
4) Using (1) 8mm x 35mm Hex Head Bolt, (1) 8mm Lock Washer, and (1) 8mm x 28mm Outside Diameter x 3mm Large Flat Washers mount the bracket to the bottom of the body panel. Start to thread the bolt into the hole in the body panel by hand, then loosely tighten the bolt with a 13mm socket and ratchet.
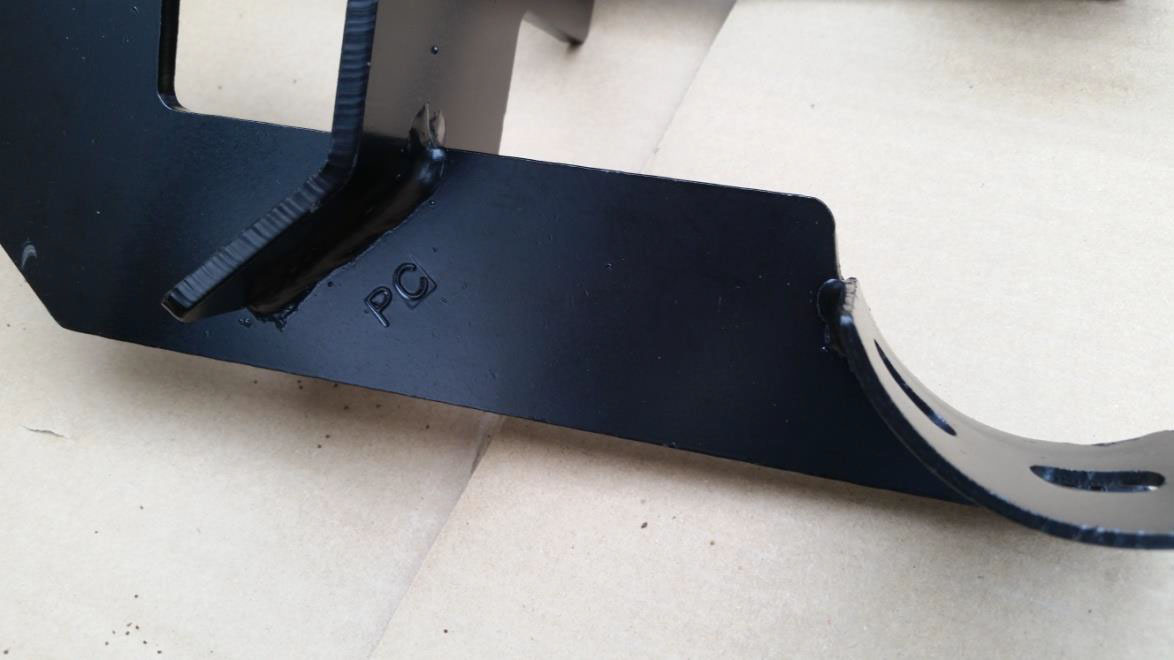
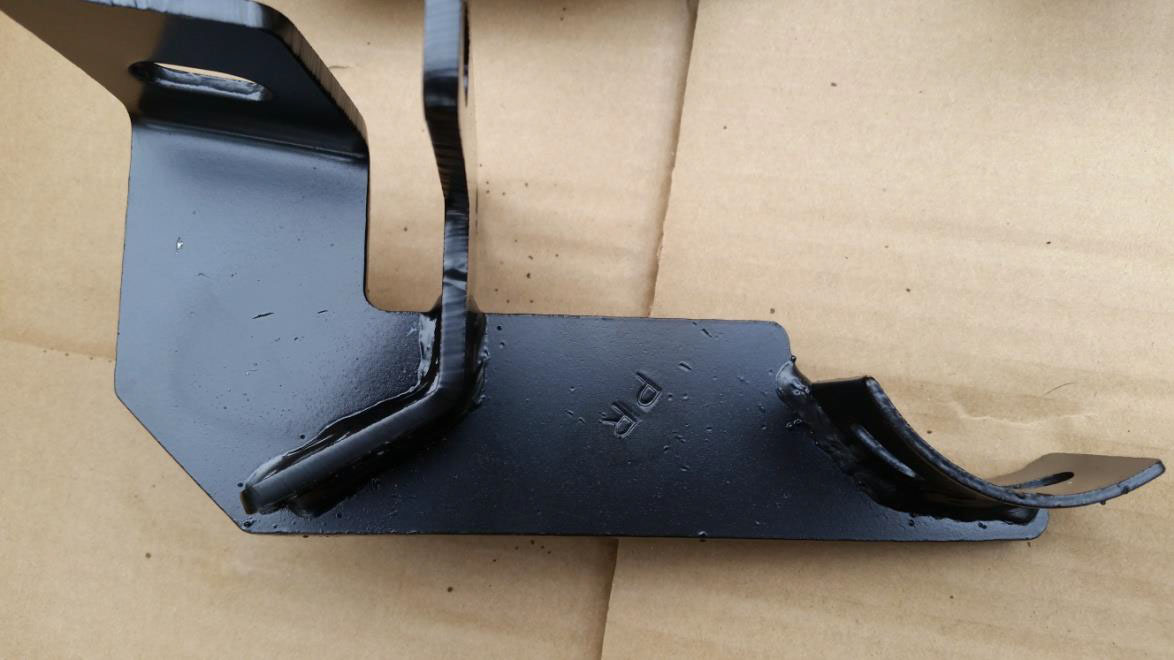
5) Follow steps 1-4 to mount the Passenger Side Center bracket “PC”, which is etched in the metal and the Passenger Rear “PR” Bracket.
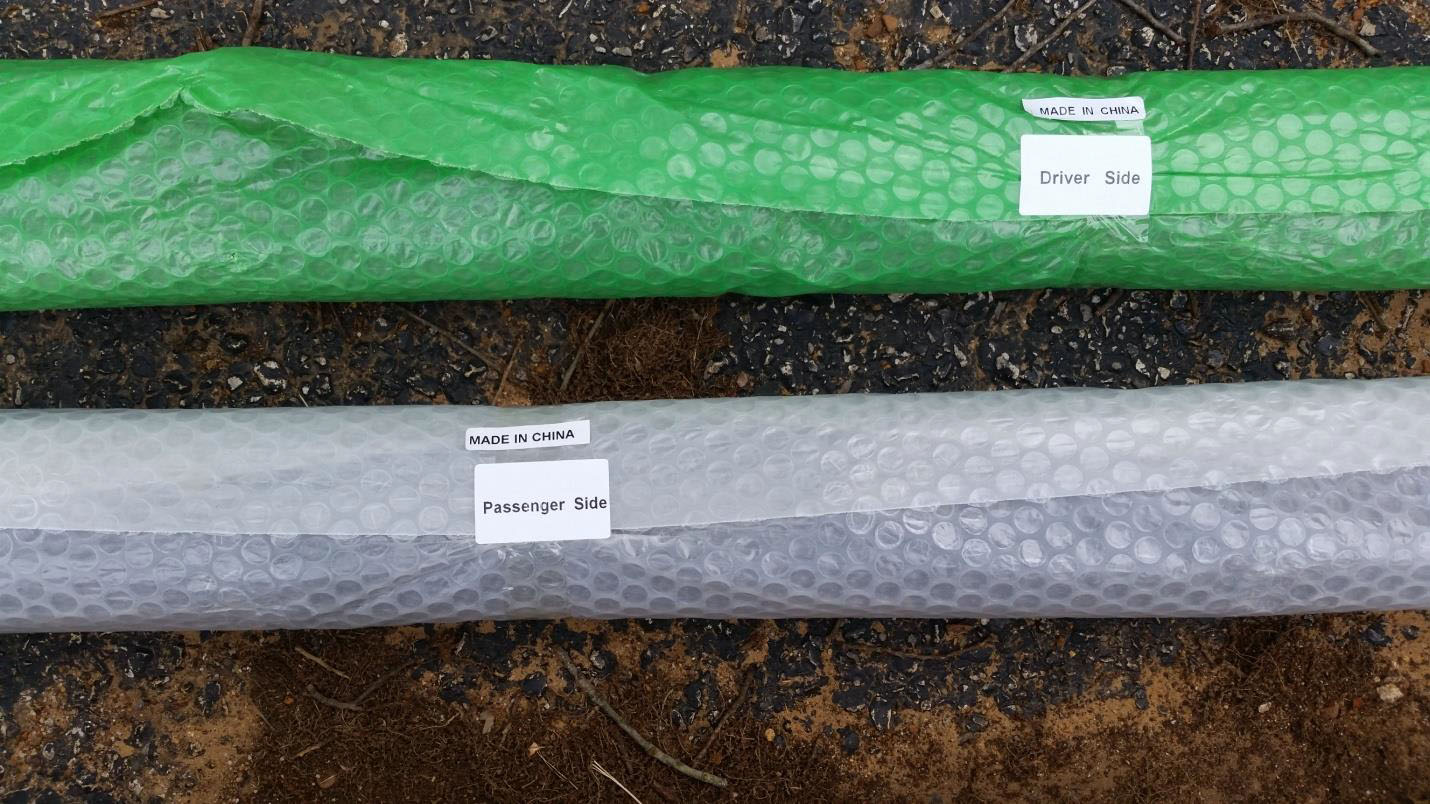
6) Now find the Passenger Side Step. (They are labeled on the outside of the bubble wrap).
7) Mount the Passenger step on the brackets with (6) 8mm x 25mm Hex Head Bolts, (6) 8mm Lock Washers, and (6) 8mm x 24mm Outside Diameter x 2mm Flat Washers. Thread by hand the 8mm x 25mm Hex Head Bolts into the holes of the step, and then loosely tighten the Hex Head Bolts with a 13mm Socket and Ratchet.
8) Refer back to step 3 and finish tightening up all loosely installed hardware. Then continue to tighten all loosely installed hardware in steps 4 and 7.
9) Repeat steps 1-8 on Drivers side. Note: Remaining brackets will say “DF” for Driver Front, “DC” for Driver Center, and “DR” for Driver Rear...
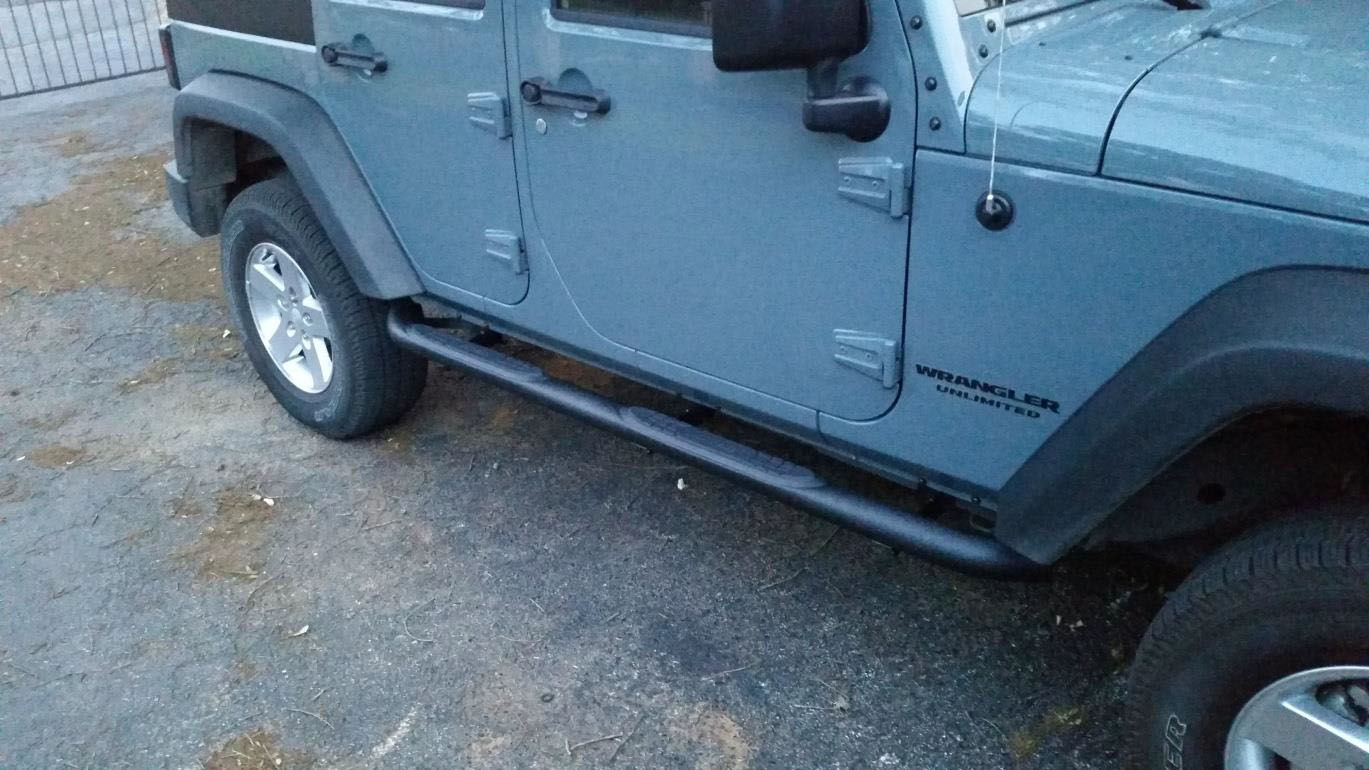
Enjoy your new steps!!!
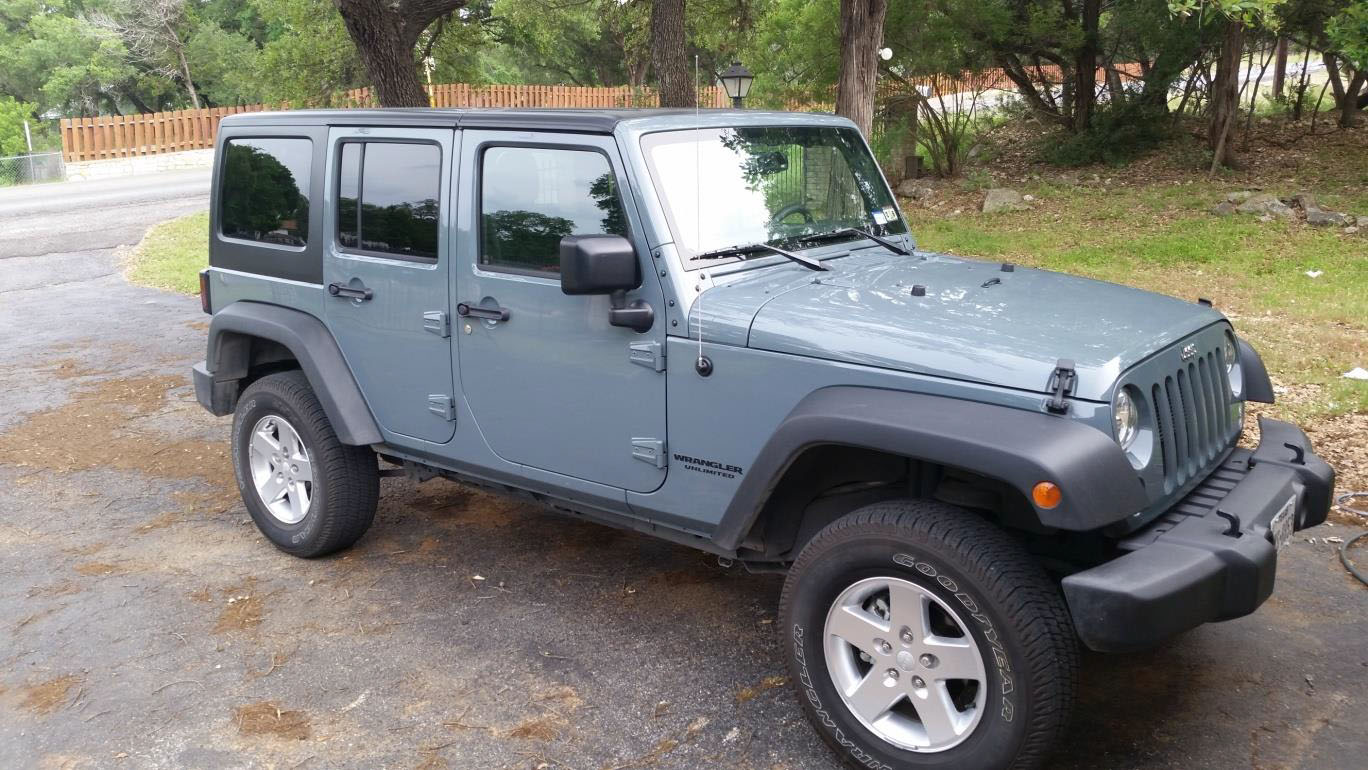
BEFORE...
AFTER!!!
Installation Instructions Written by ExtremeTerrain Customer Nathan H. Kennedy 5/6/2015
