 FREE 1 to 3-Day Delivery on Orders $119+ Details

How To Install a Rugged Ridge Aluminum Hood Catch Kit, Textured Black on your 2007-2016 Wrangler JK
Installation Time
30 minutes
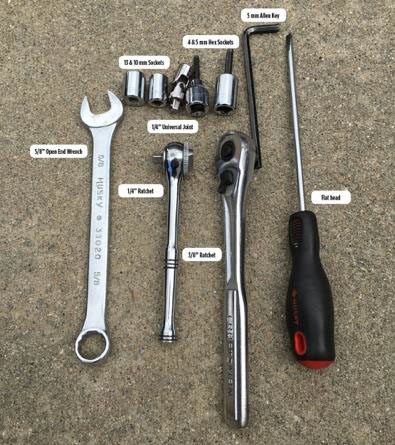
Tools Required
- 5/8” Open End Wrench
- 1/4” & 3/8” Ratchets
- 13 & 10 mm Sockets
- 1/4” Universal Joint
- 4&5mmHexSockets
- 5 mm Allen Key
- Flat Head Screw Driver
Shop Parts in this Guide
Tools Required:
Installation Instructions:
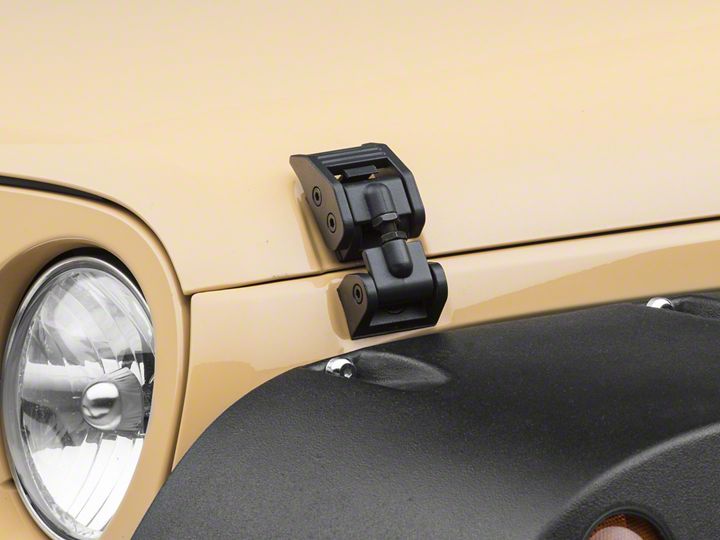
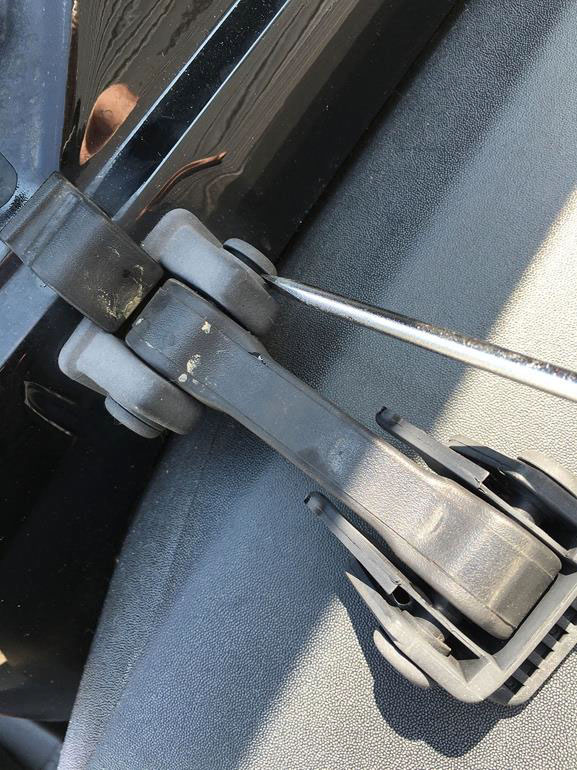
1. Un-latch factory hood catches
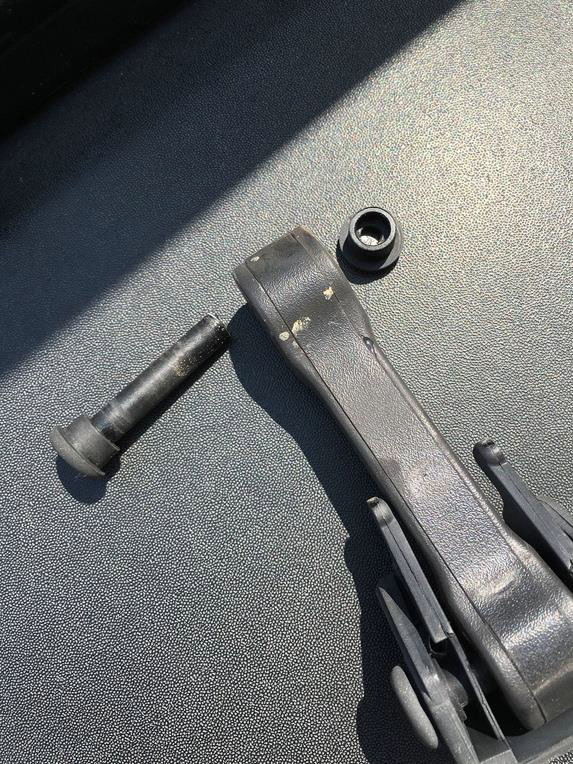
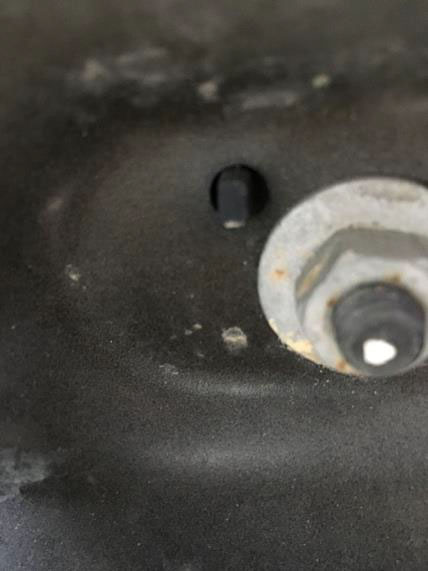
2. Using the flat head screw driver, pry off the cap end of the center factory pin.
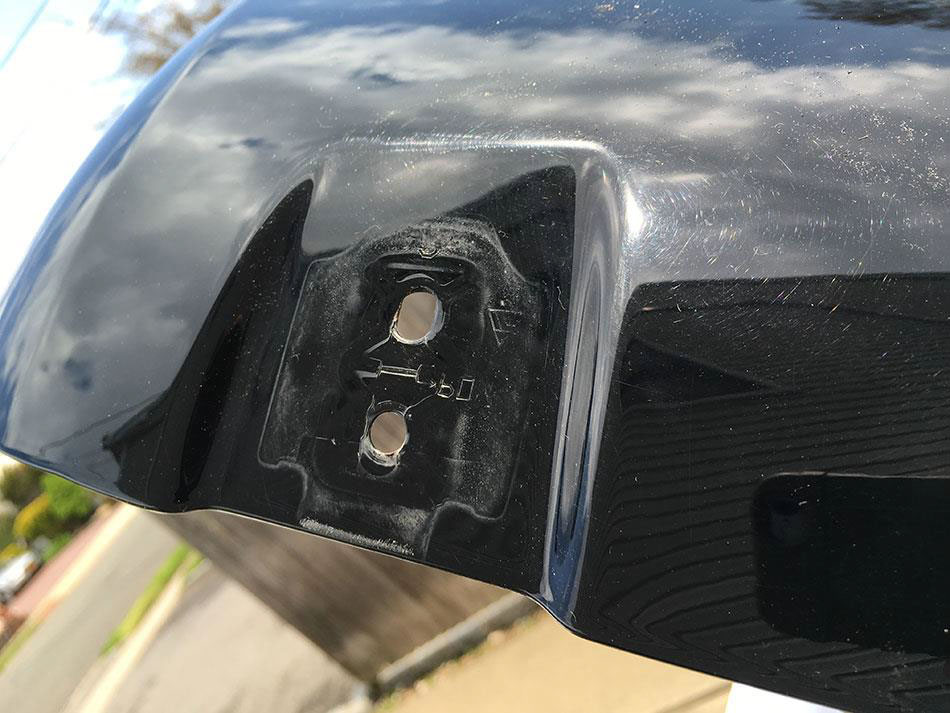
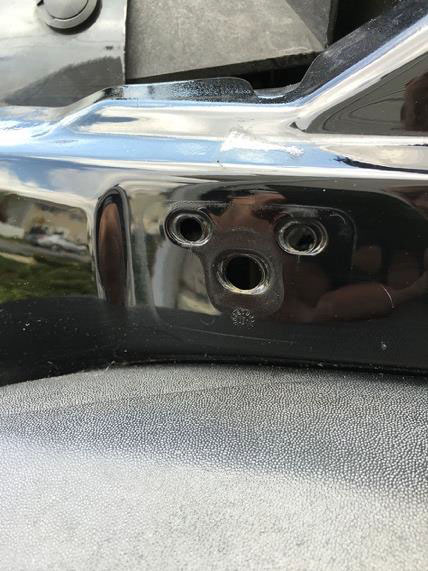
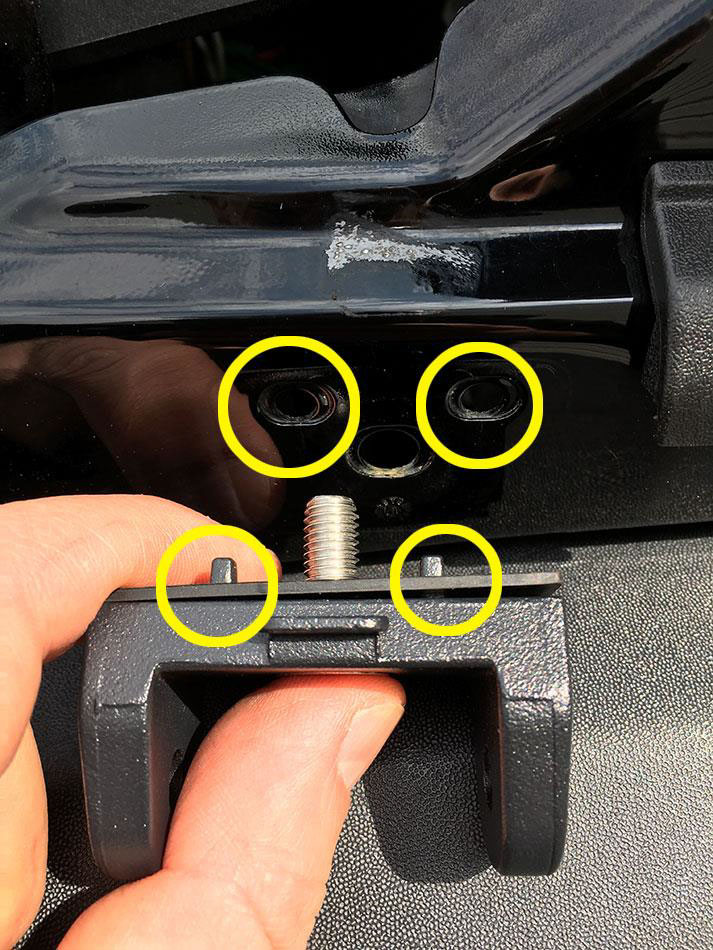
3. Using the 10mm socket and 1⁄4” ratchet, unbolt the (2) bolts from the top bracket, clean the surface after removal.
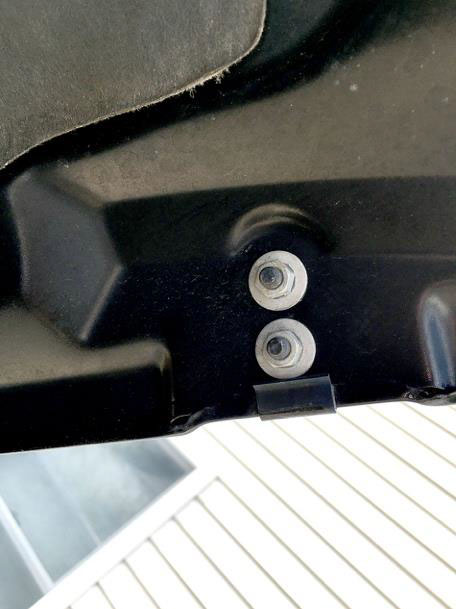
4. Using the 13mm, universal joint and 1⁄4” ratchet, remove the (1) bolt securing the bottom bracket, clean the surface after removal.
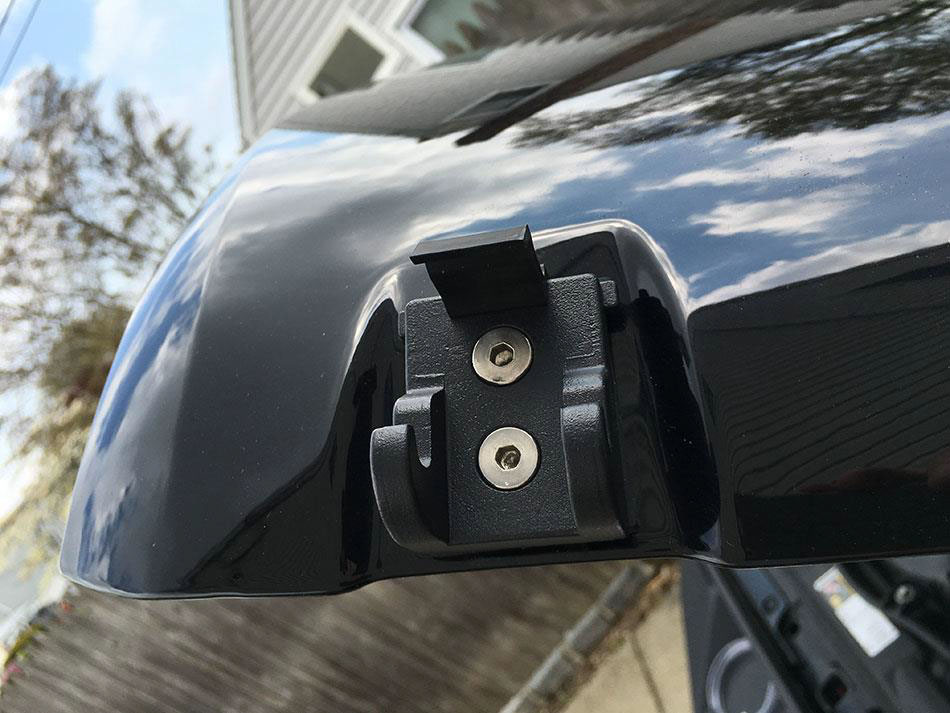
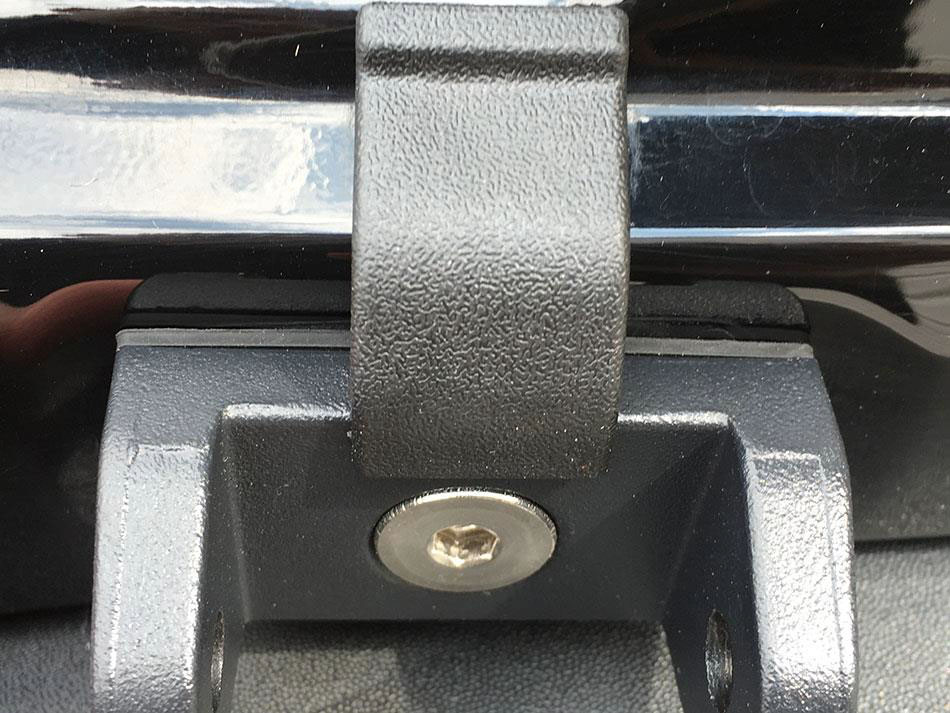
5. Attach the new top bracket using the hardware provided. Tighten into position with the 4mm hex socket and 10mm socket. Ensure to use the (2) flat washers also supplied with the kit.
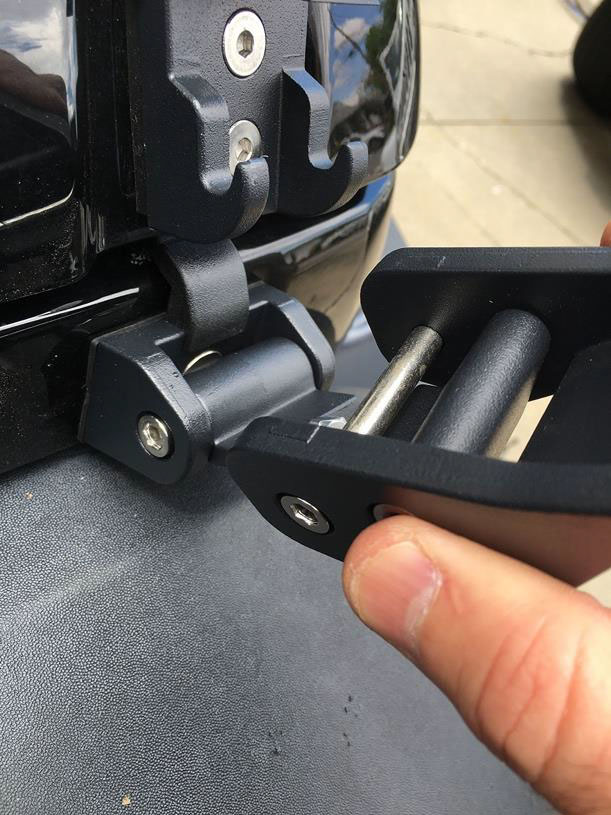
6. Position and align the bottom bracket. Pay close attention to the alignment tabs and the holes on the fender. Secure into position with the 4mm hex and 13mm sockets. Note: You might have to dissemble the bottom bracket in order to access the mounting bolt. To remove the mounting pin, using the 5mm hex socket and 5mm allen key. Once mounted, attach the hoof bump stop onto the top mounting tab.
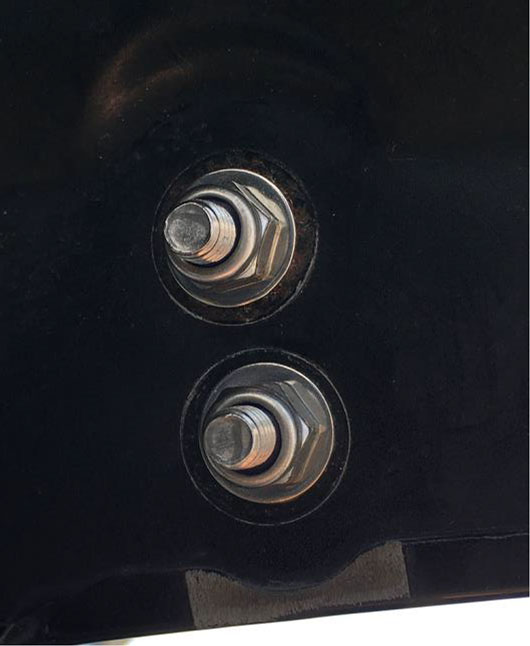
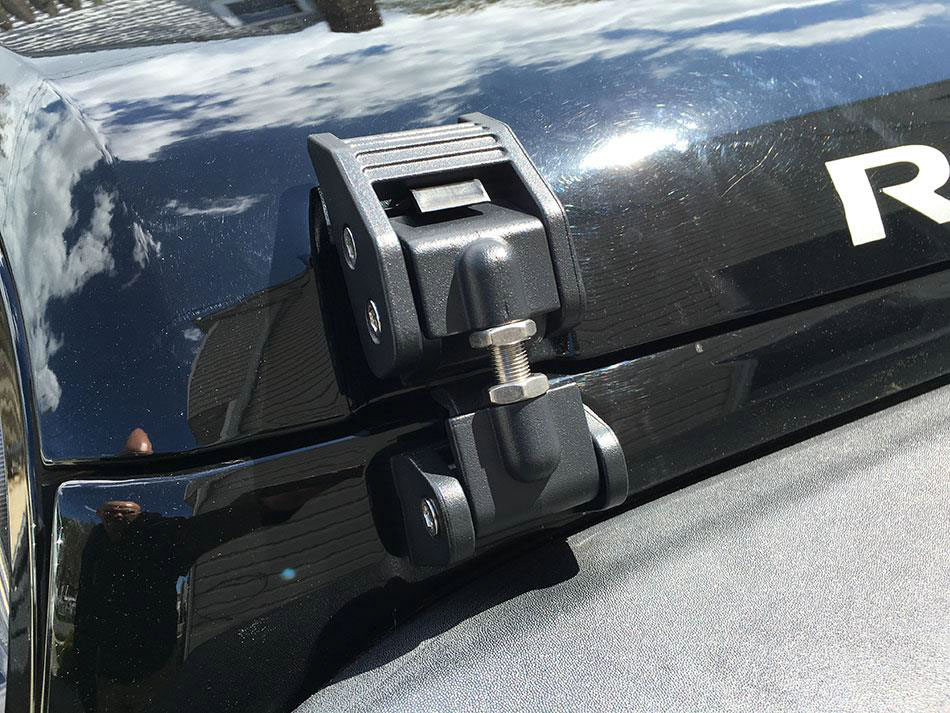
7. Re-attach the bottom latch and lower the hood into position. Pressing down on the hood, swivel the bottom patch around to gain the appropriate length to secure the hood. Once satisfied with the position, lock the two jam juts into place using the 5/8” open end wrench.

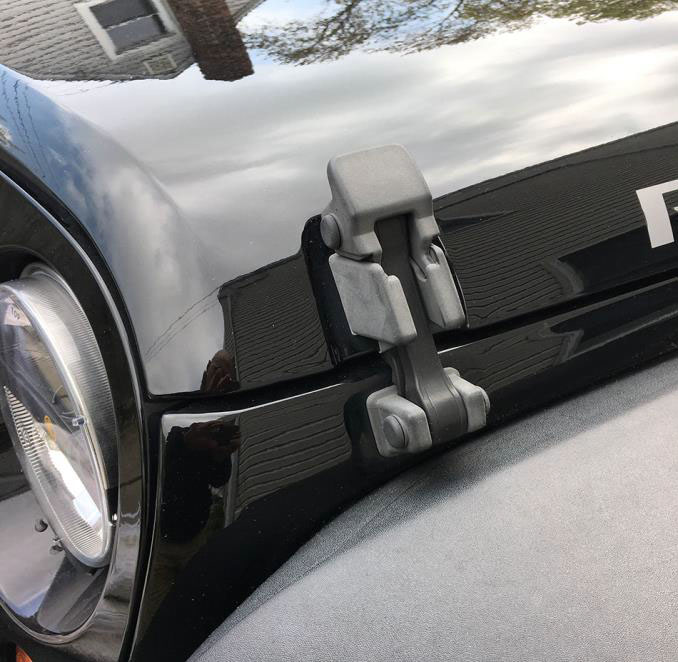
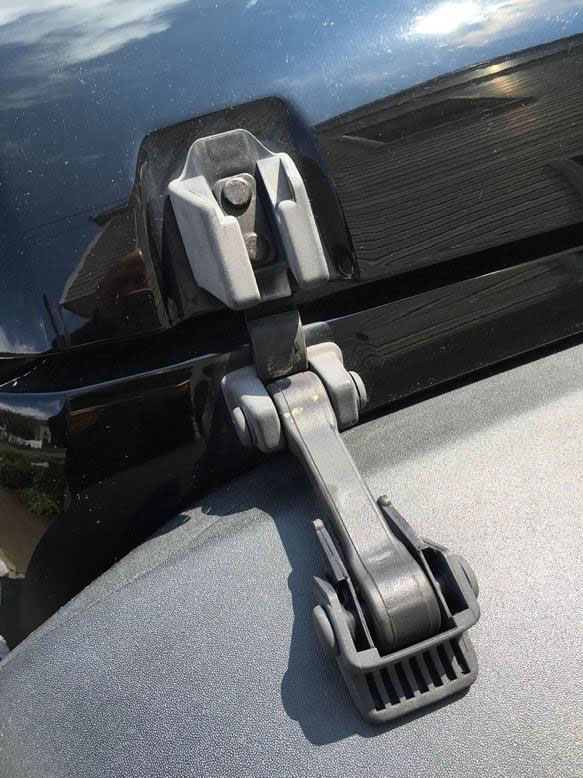
Completed Photo:
Installation Instructions Written by ExtremeTerrain Customer Louis Orellana 05/09/2016
