 FREE 1 to 3-Day Delivery on Orders $119+ Details

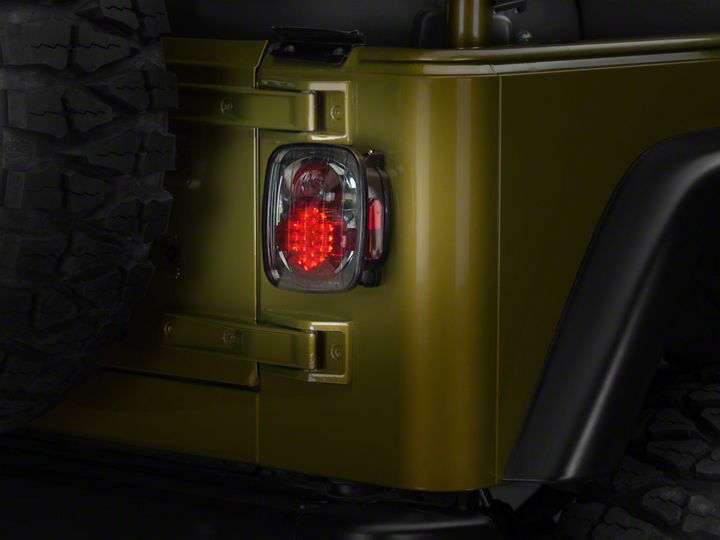
How to Install Alteon LED Tail Lights - Platinum Smoke (87-06 Jeep Wrangler YJ, TJ) on your Jeep Wrangler
Installation Time
60 minutes
Tools Required
- Phillips Head Screwdriver
- Flat Head Screwdriver
- 3/8” Socket/Nut-driver
- Wire Strippers/Cutters
- Multi Meter
- A Helper
Shop Parts in this Guide
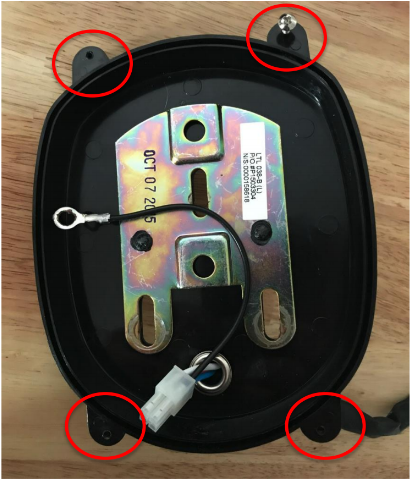
Pre-installation: There are 8 screws provided for securing the LED fixtures to the back plates. Before proceeding, run a screw through all four of the corner mounting holes on both back plates. This will make installation of the LED lens easier in the final step.
On the new LED taillight, the wire functions are as follows:
- Red: taillight/running light
- White: backup light
- Blue: brake light/turn signal
The vehicle wire harness taillight colors for TJ’s are as follows:
Black with yellow stripe: taillight/running light
Green with red stripe: brake light/turn signal
Violet with black stripe: backup light
Different model years may vary, it is recommended to check your own with a multi
meter as outlined below.
Installation Instructions:
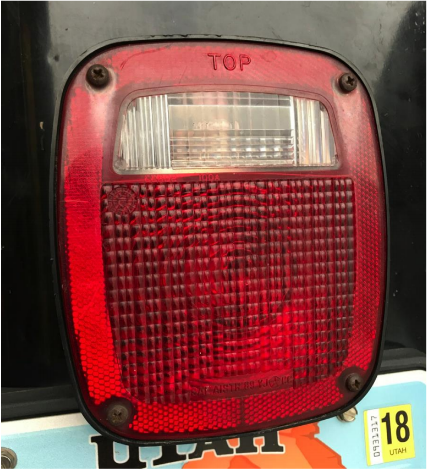
Step 1 - Using the Phillips head screwdriver, remove the 4 screws (1 in each corner), affixing the existing tail light lens cover. If the lens doesn’t fall out, a flat head screwdriver may be needed to gently pry the lens from the housing.
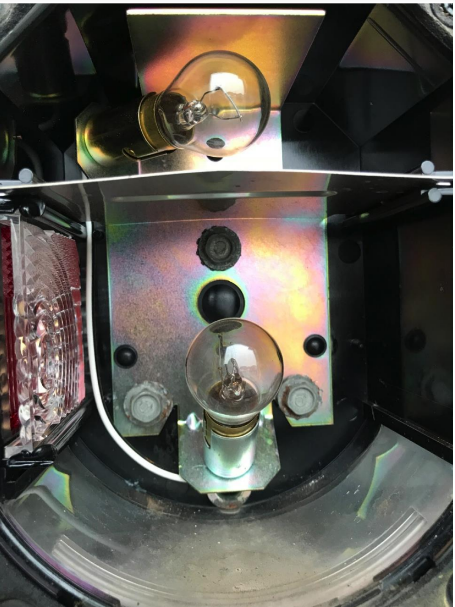
Step 2 - Using a 3/8” socket or nut driver, remove the 3 hex screws located behind
the lower bulb.
Step 3 - Gently remove the existing taillight housing from the tub, and pull the
attached wiring harness through the access hole.
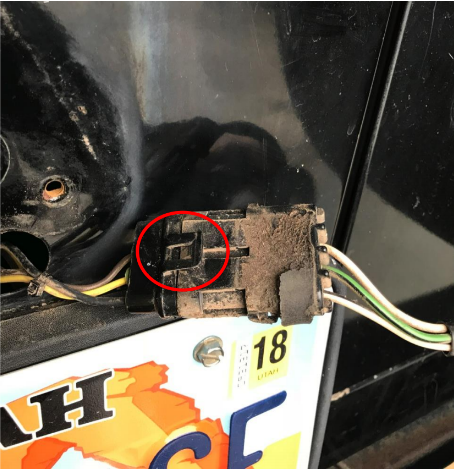
Step 4 - Disconnect the tail light harness from the vehicle by lifting up on the plastic
retaining clip and pulling the two halves apart.
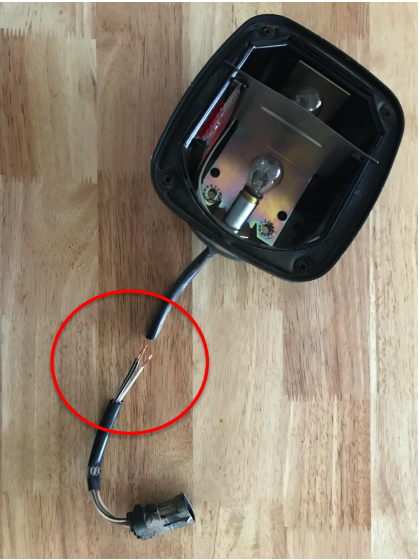
Step 5 - Next, cut the existing harness about halfway between the connector and the
taillight. The existing harness will be attached to the new light.
Step 6 - Peel back the outer sheath exposing the 3 wires inside.
Step 7 - Using wire strippers, strip each of the 3 wires on the existing harness back
about 3/8”.
Step 8 – At this time you must determine which wires perform what function on the vehicle. With the Jeep in Park and with the emergency brake applied, turn the ignition to the “On” position. Do not start the vehicle at this time.
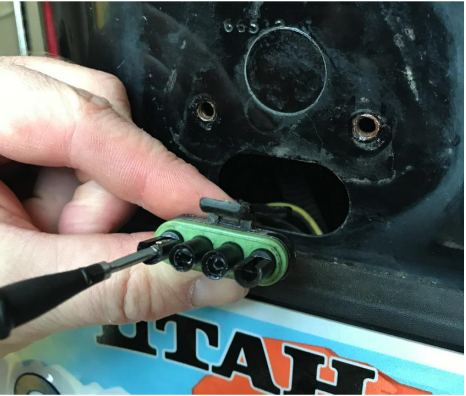
Step 9 - On the vehicle side of the taillight harness, there are 3 contacts visible inside
the connector. Using a multi-meter set to DC volts, touch one of the meter’s leads to each of the three contacts while holding the other lead to bare metal on the chassis
or tub (ground). All 3 contacts should show 0 voltage.

Step 10 - Turn on the headlights and repeat step 9. The contact displaying approximately 12 volts is the taillight/running light. Document the wire color leading to that contact.
Step 11 - Turn off the headlights. Next have a helper step on the brake and repeat step 9. The contact displaying approximately 12 volts is the brake light. The brake light doubles as the turn signal. Have your helper release the brake pedal and turn on the applicable turn signal. You should see intermittent voltage on the same contact as the brake light. Document the wire color leading to that contact.
Step 12 - The third contact is your back up light. Document the wire color leading to
that contact as well. DO NOT PLACE THE VEHICLE IN REVERSE WHILE BEHIND
THE VEHCILE TO TEST VOLTAGE.
Step 13 - Next you must splice the harness removed from the old taillight to the new
taillight. The new LED back plate has three pre stripped wires. The red wire is the taillight/running light. The white wire is the backup light. The blue wire is the brake light/turn signal. The wire colors on the old harness may not match the colors documented in steps 9-12. When you splice the old harness to the new LED, make sure the new color coded wire functions line up through the old harness to match the color coded wire functions on the vehicle’s harness that you documented earlier.
Step 14 - Using the provided splice blocks, insert the applicable wire from the old
harness into one end and the applicable wire from the LED taillight into the other
end.
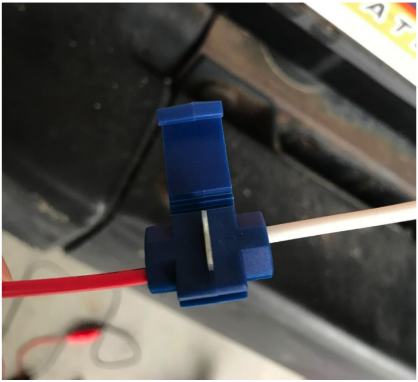
Step 15 - Fold the center of the splice block over until it clicks and snaps into place.

Step 16 - Repeat steps 14-15 for the remaining two wires.
Step 17 - Tuck the wire harness and the excess wire back into the tub through the
access hole.
Step 18 - Using the original 3 hex screws from the old taillight, mount the new back
plate to the Jeep.
Step 19 - Be sure to attach the black ground wire on the new back plate with one of
the original screws.
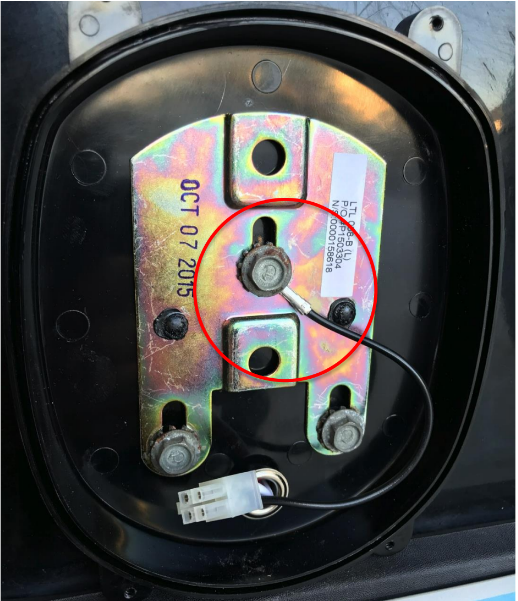
Step 20 - Plug the connector on the new LED taillight into the connector on the back
plate. It only fits together one way.
Step 21 - Line the new LED light up with the mount plate and use 4 of the provided screws to attach the two. This step is much easier if you threaded the holes with the
screws earlier.
Step 22 - Repeat steps 13 through 21 for the other side of the vehicle.
Installation Instructions provided by ExtremeTerrain Customer
