 FREE 1 to 3-Day Delivery on Orders $119+ Details

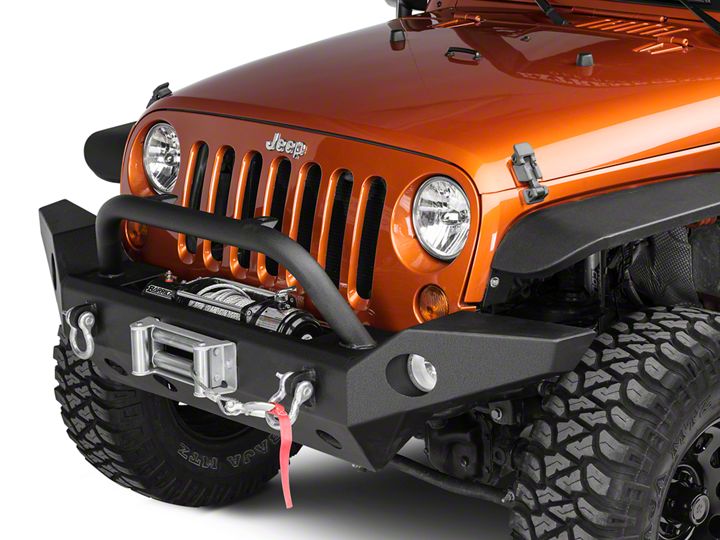
How to Install a Barricade Trail Force HD Full Width Bumper on your 07-18 Jeep Wrangler JK; 2018 Jeep Wrangler JL
Installation Time
2 hours
Tools Required
- 18mm socket
- 18mm wrench
- 7 mm wrench
- 1⁄2 drive torque wrench
- 1⁄2 drive impact wrench
- Philips screwdriver
Shop Parts in this Guide
Note
This is a two step process: 1st step (Mounting of Bumper) 2nd step (Extending fog light wiring harnesses)
Installation Instructions Step 1 (Bumper):
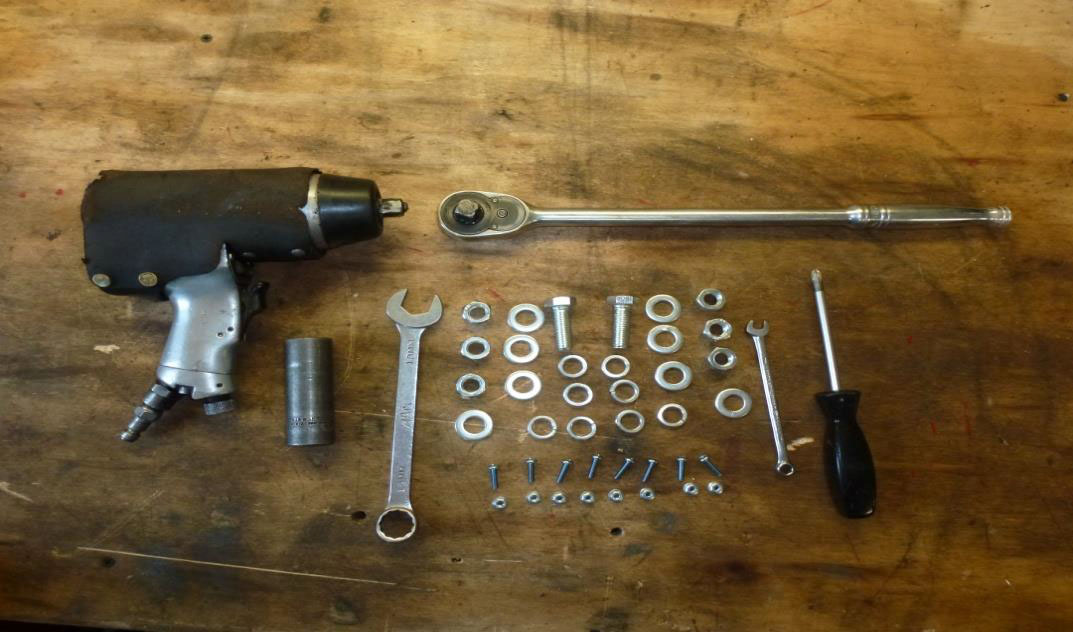
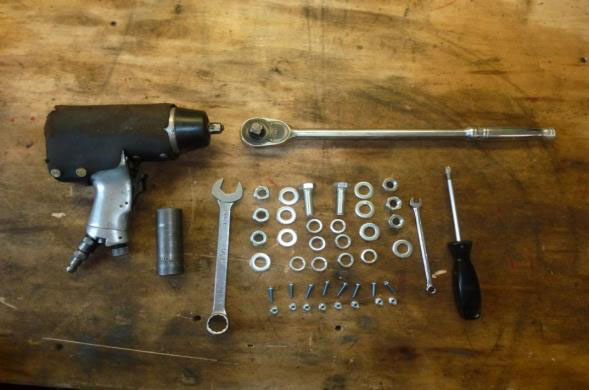
1. Assemble your tools and bumper for installation:
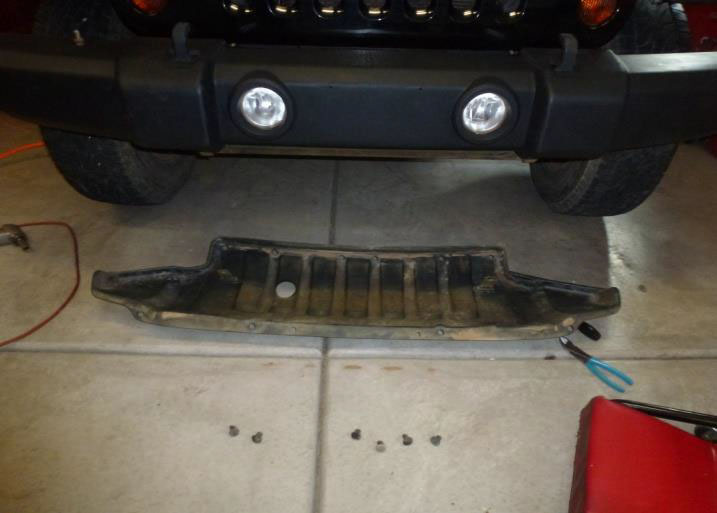
2. Remove existing OEM bumper and OEM fog lights:
a) Unplug fog lights by pinching clips on fog light plugs and pulling wiring away from fog lights.
b) Using 1⁄2 inch impact wrench or 1⁄2 inch ratchet wrench with 18 mm socket or 18 mm wrench remove 8 nuts holding front bumper on.
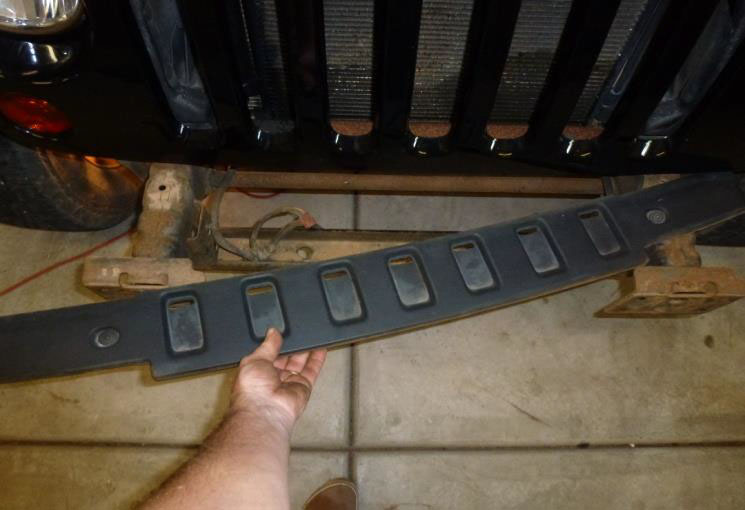
c) Remove upper frame cover and lower air dam by using Philips screwdriver to remove push pins (8 push pins in all).
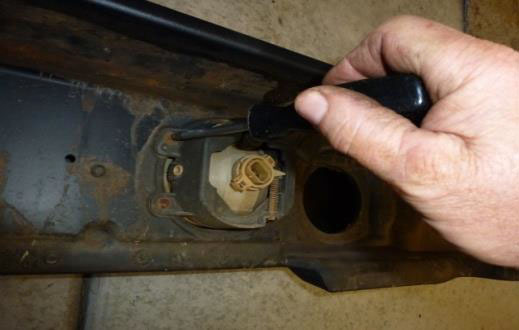
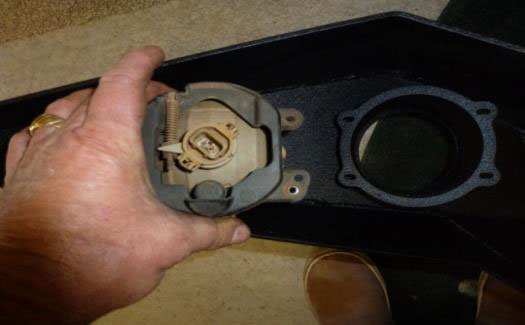
d) Remove both fog lights from back of OEM bumper using Philips screwdriver (8 screws in all).
3. Place both fog lights on your new Barricade Trail Force HD Full Width Bumper. Use the provided screws and nuts for mounting. Use the Philips screwdriver and 7mm wrench to fasten screws and nuts (8 screws, 8 nuts).
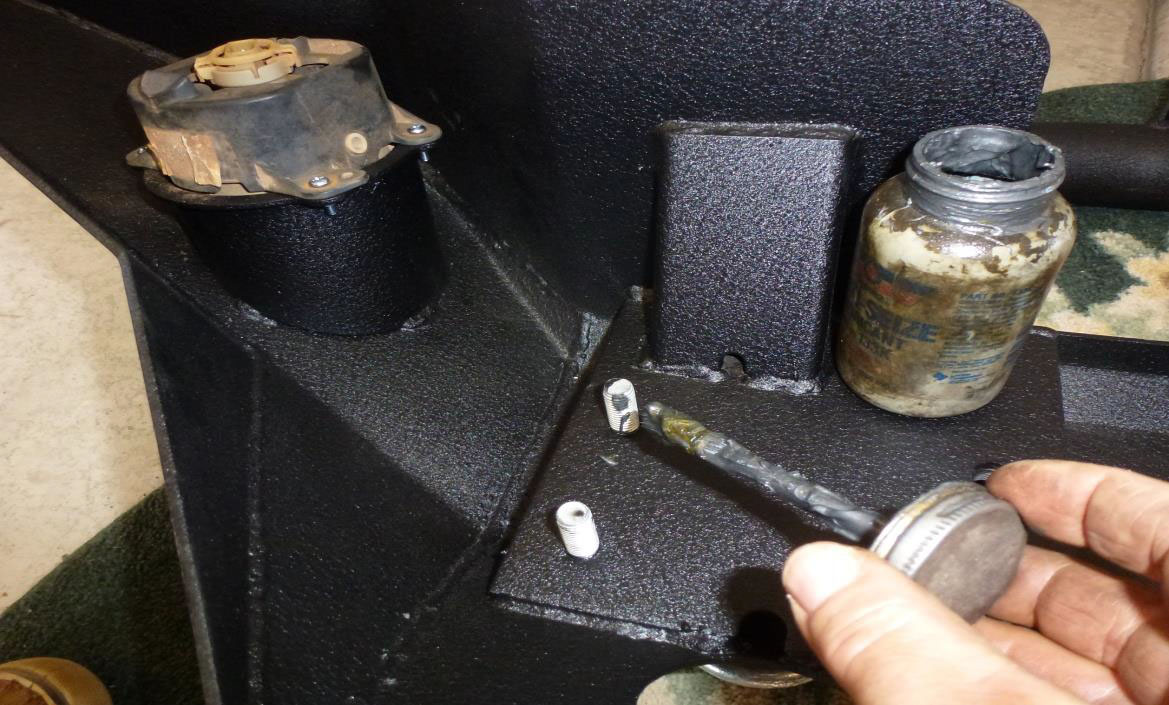
4. Prep all studs and nuts using an anti-seize oil.
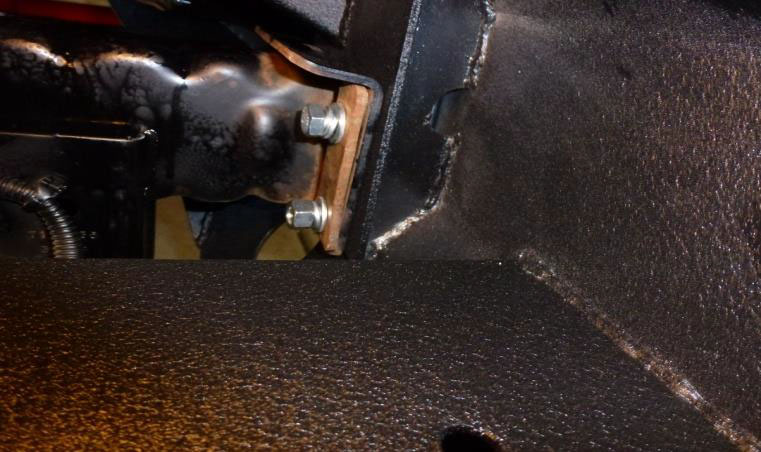
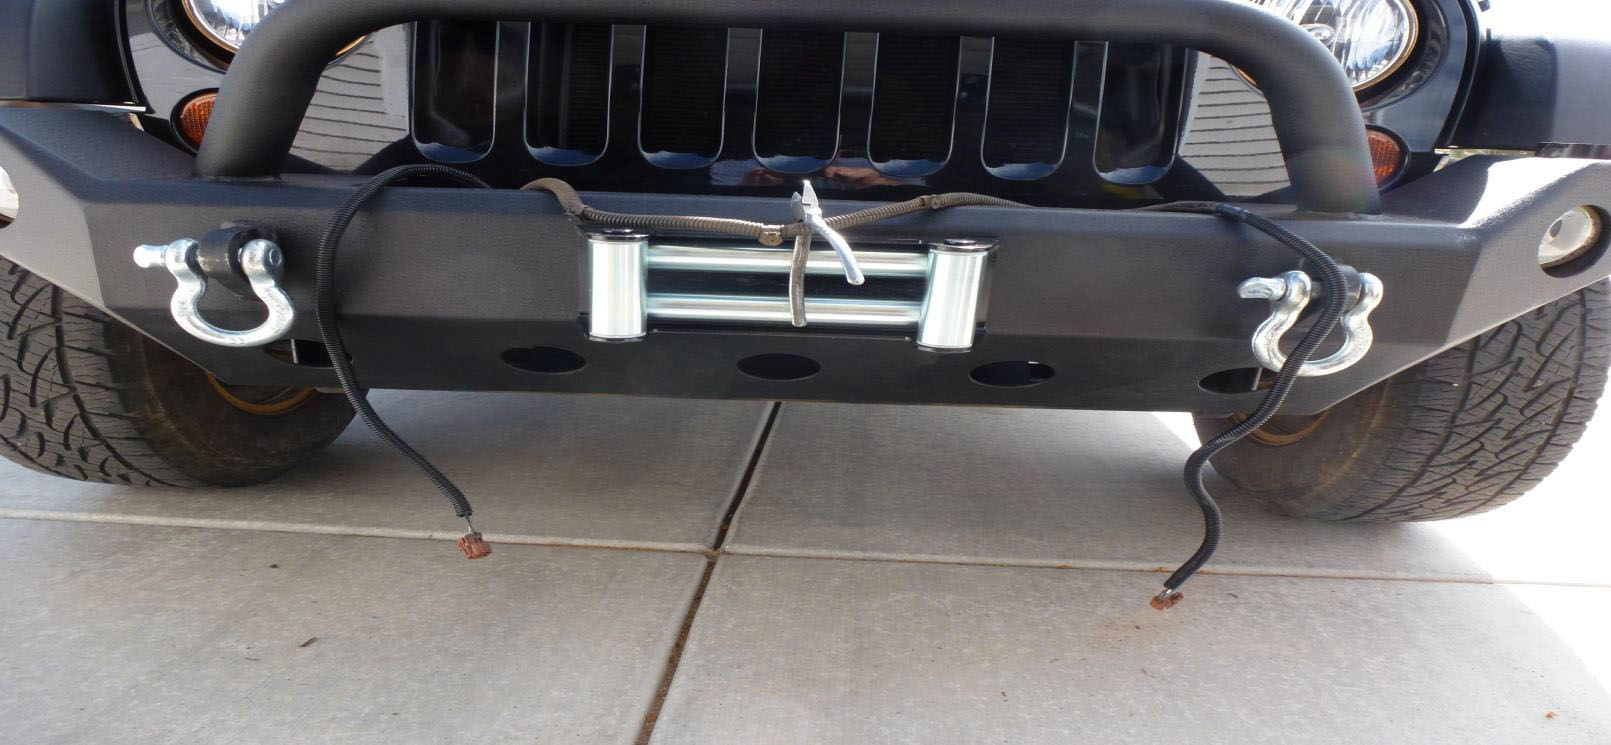
5. Place your Barricade Trail Force HD Full Width Bumper on the frame mounts and attach all nuts and bolts (2 bolts, 6 nuts with lock and flat washers) to back side of bumper. Torque bolts to 60 ft pounds using 1⁄2 inch torque wrench and 18 mm socket.
Installation Instructions Step 2 (Wiring harness extension):
1. The wiring harness to the fog lights will need to be extended around 20” to 24 “ then reattached to fog lights.
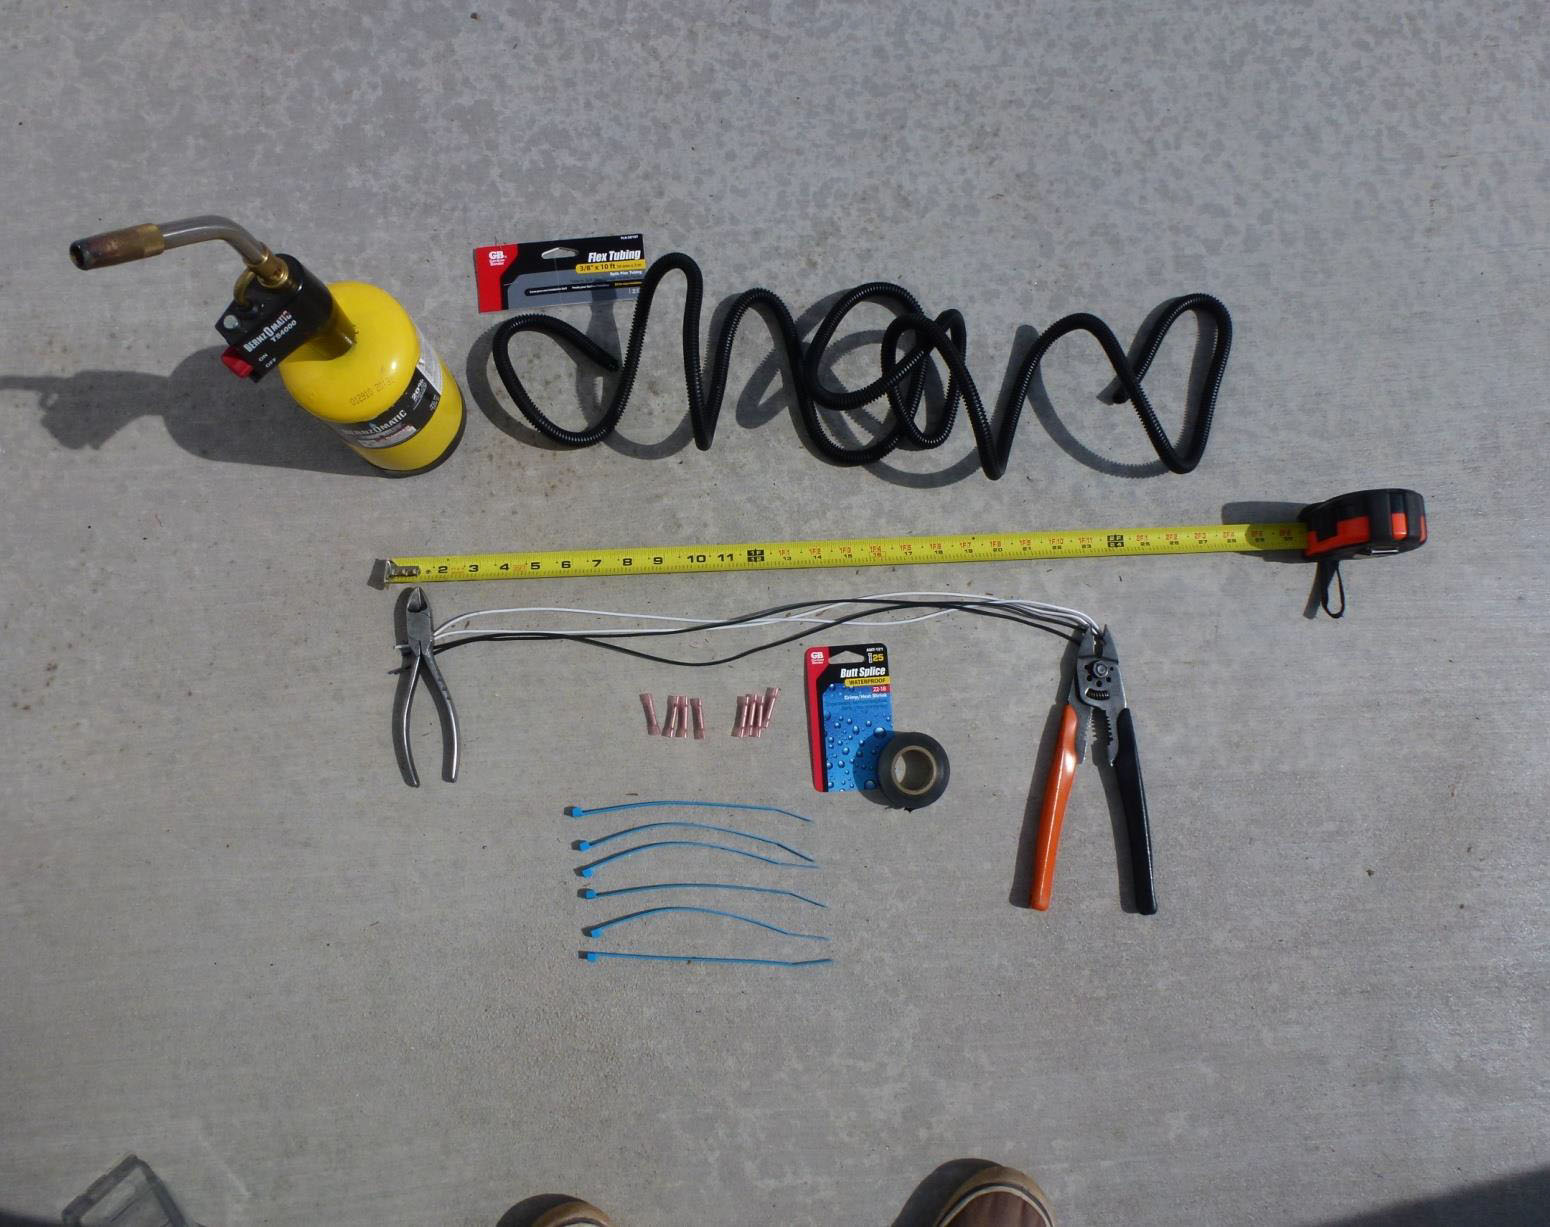
Assemble hardware kit and tools. (Not provided)! 2 - 20” to 24” #18 Black wiring.
2 - 20” to 24” #18 White wiring.
2 – 20” to 24” 3/8” flex tubing
8 - #25 Butt Splice Crimp/Heat Shirk connectors (Waterproof) 6–6”Wireties
Electrical tape
Heat gun (Barbeque lighter will work)
Wire strippers
Wire cutters (Dikes)
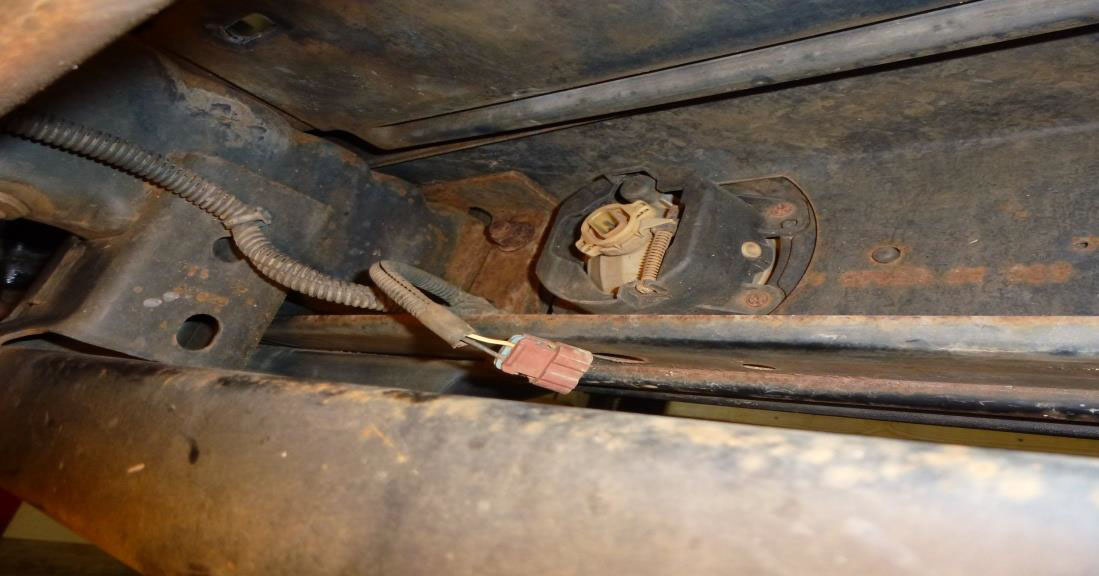
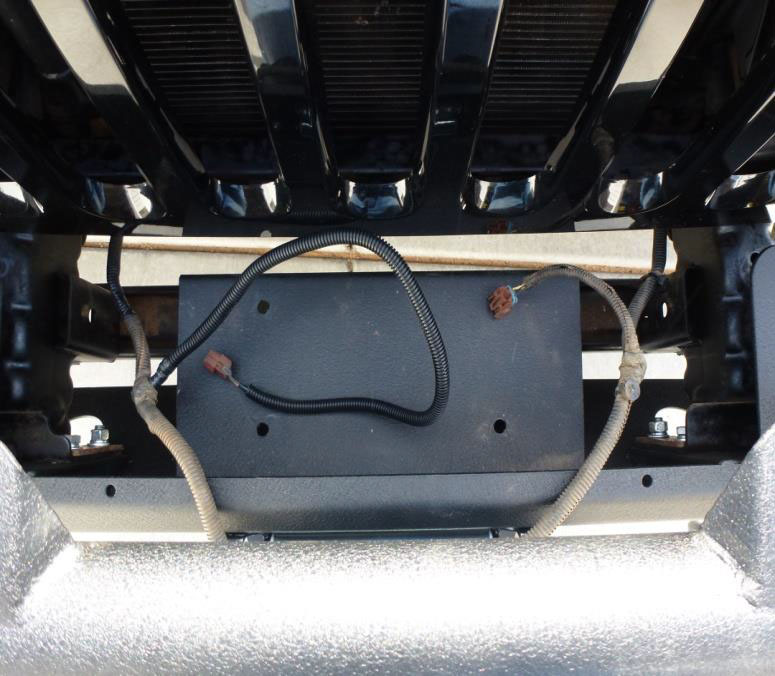
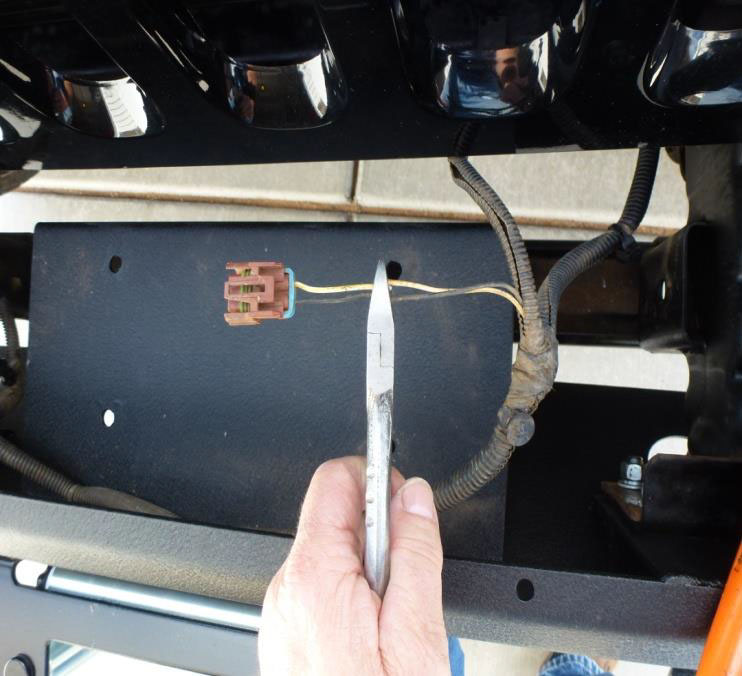
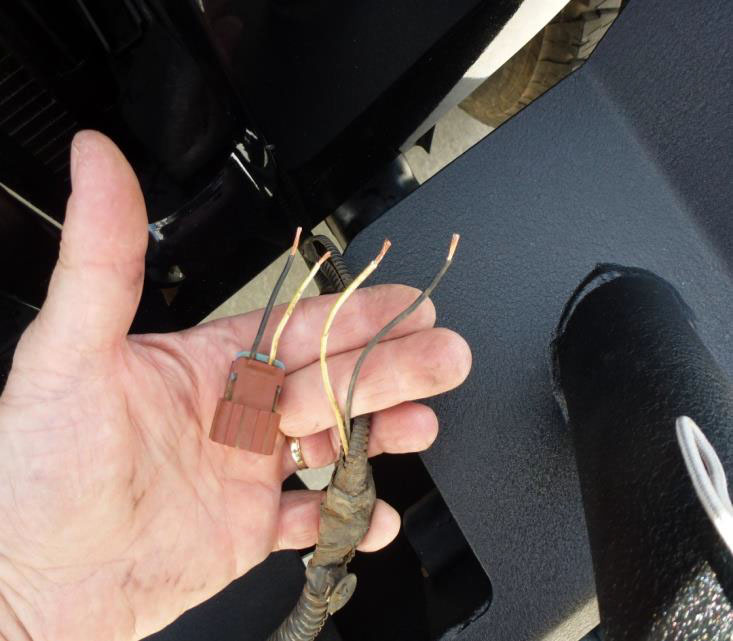
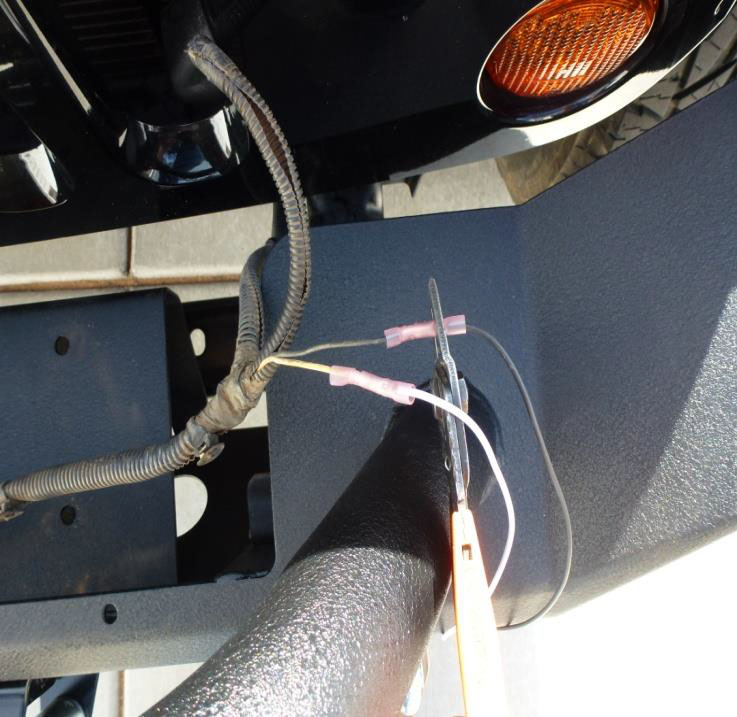
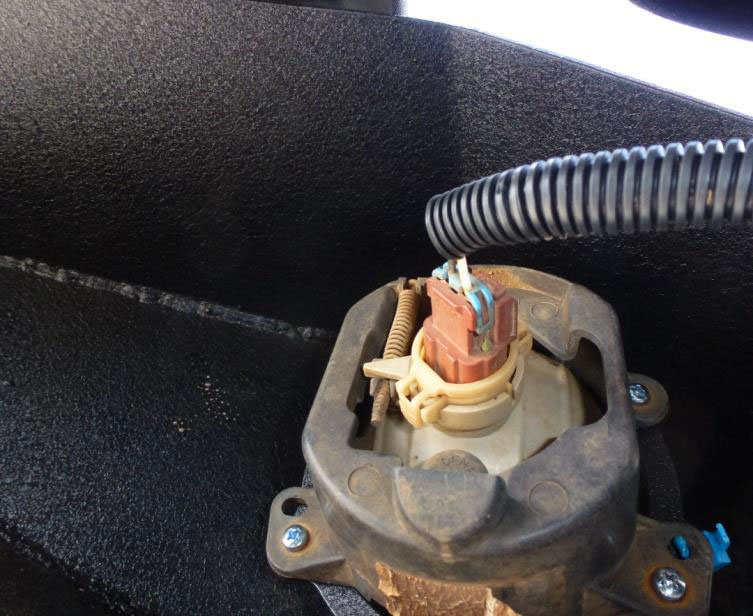
2. The wiring harness can be easily accessed after the bumper has been installed. Using wire cutters, remove both fog light plugs from harness.

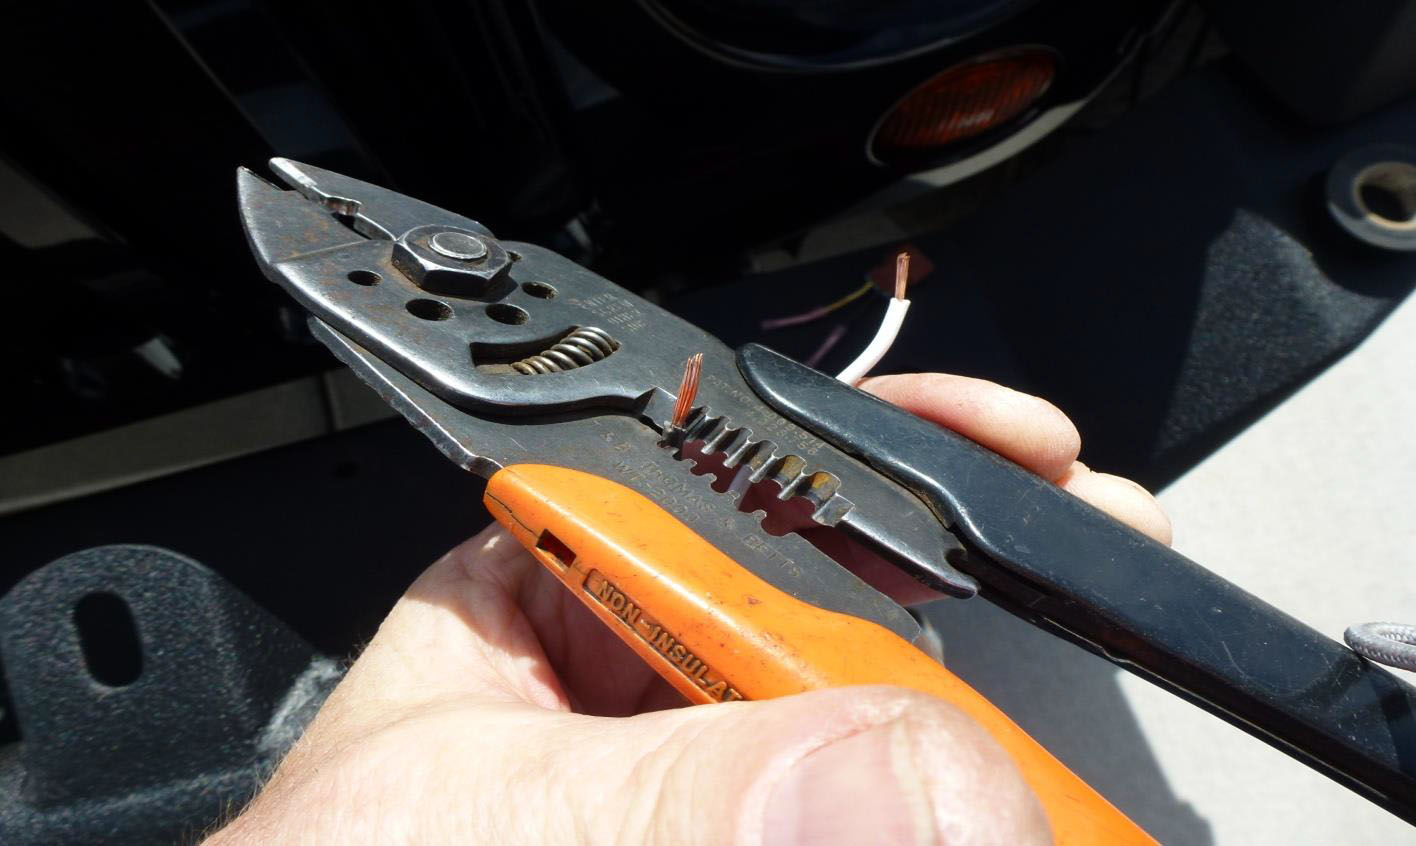
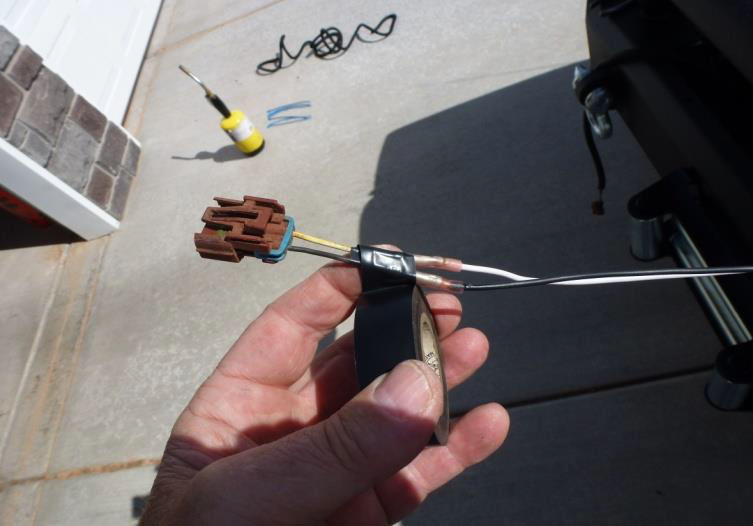
3. Using wire strippers strip both black and white wires on the plug and wire harness ends.
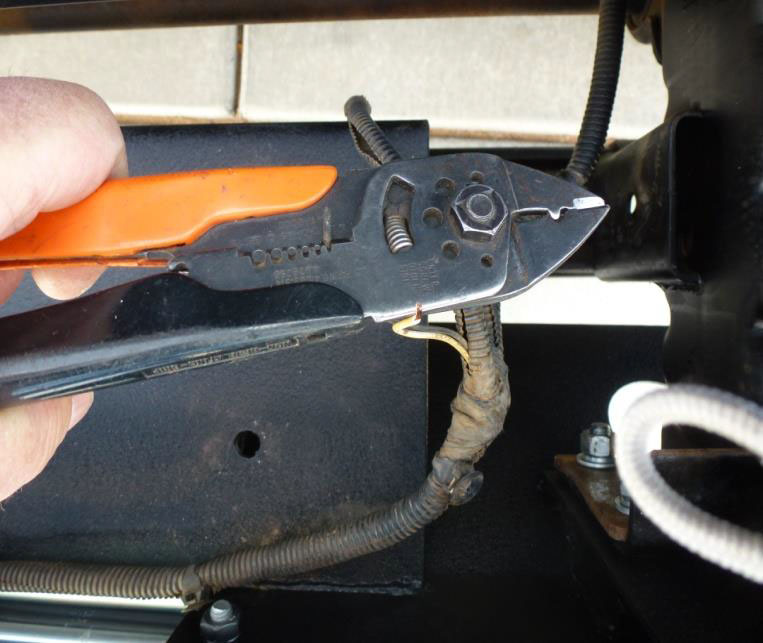
4. Using wire crimpers, crimp all 8 - #25 Butt Splice Crimp/Heat Shirk connectors (Waterproof) to end of fog light plug and harness.
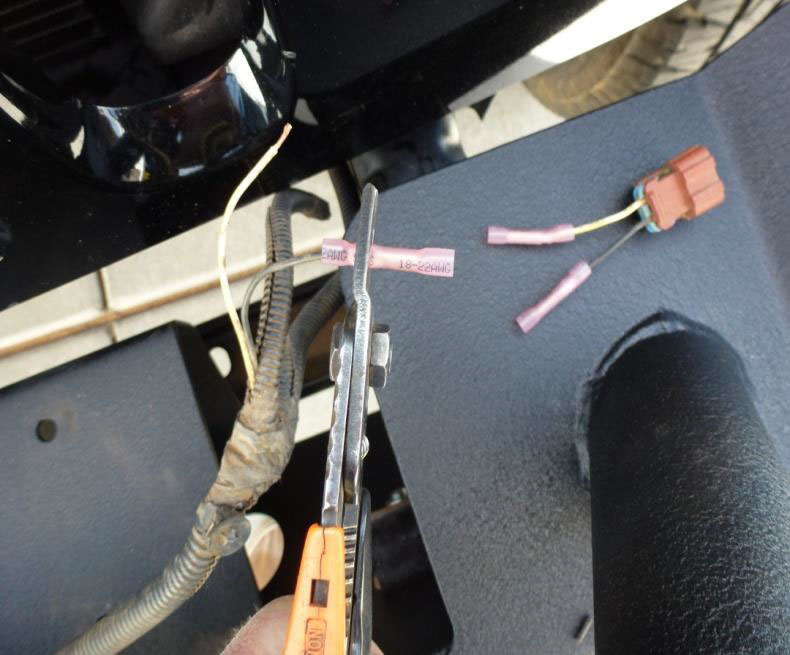
5. Using wire strippers, strip both ends of #18 20” – 24” black and white wiring.
6. Connect and crimp both 20” to 24” #18 black wiring to plug and harness. Repeat step with 20” to 24” #18 white wiring.
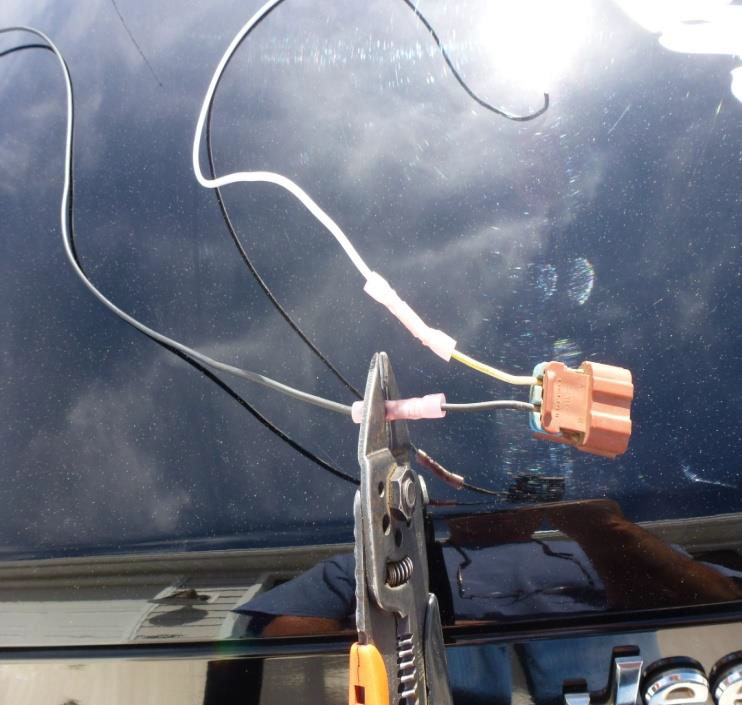
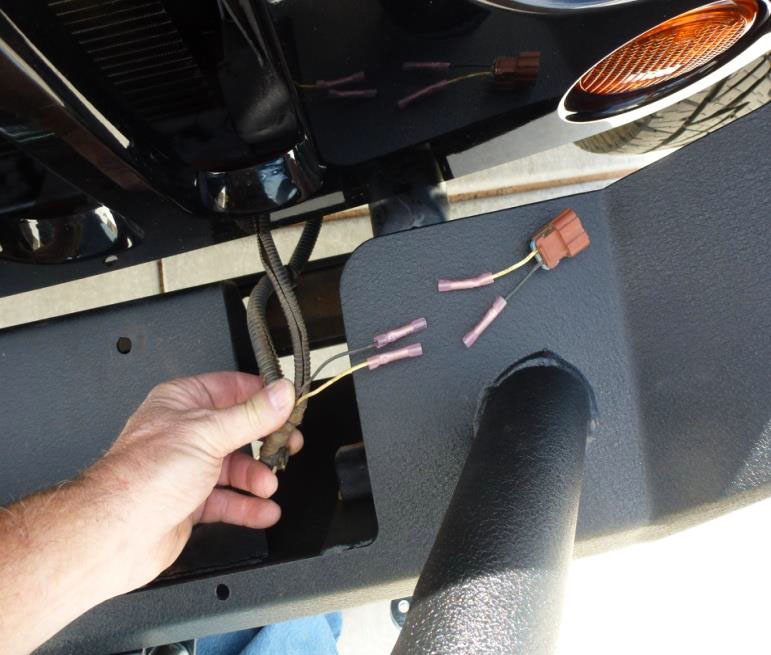
7. Using heat gun (Barbeque lighter will work) shrink all 8 - #25 Butt Splice Crimp/Heat Shrink connectors (Waterproof)
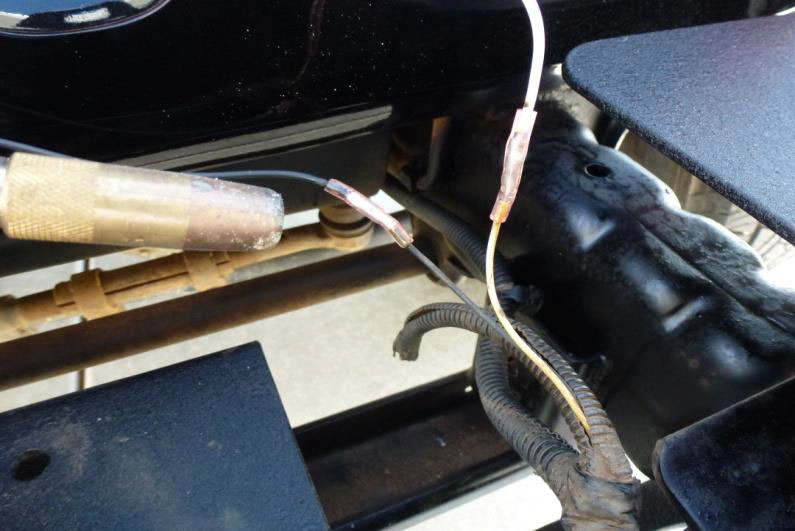
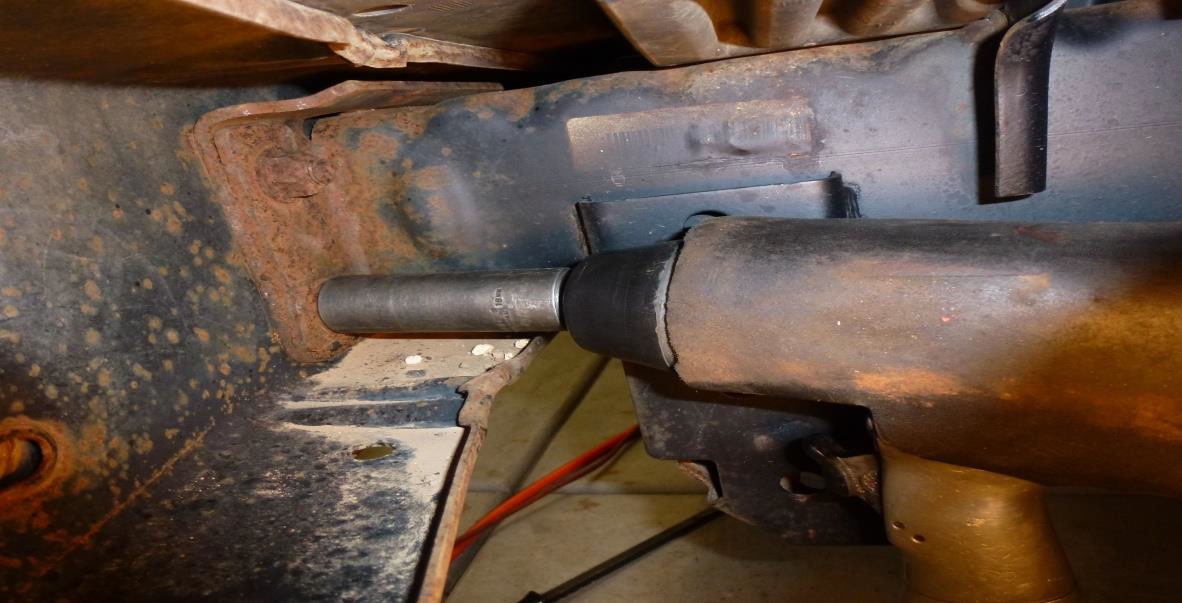
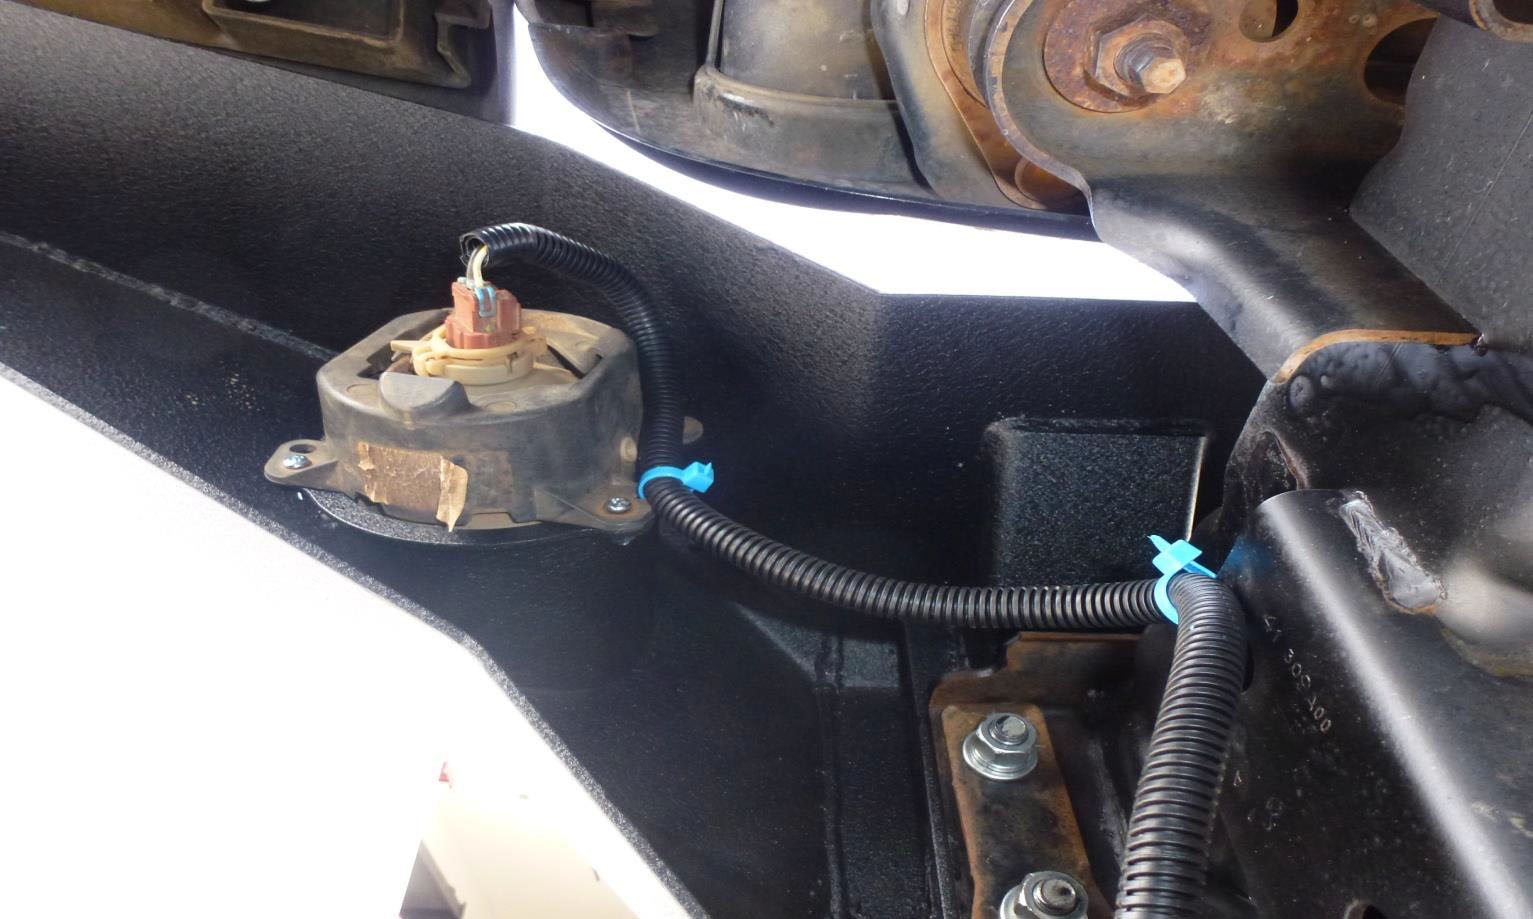
8. Cover with electrical tape and 3/8” flex tubing. The flex tubing will give it the OEM look you are looking for.
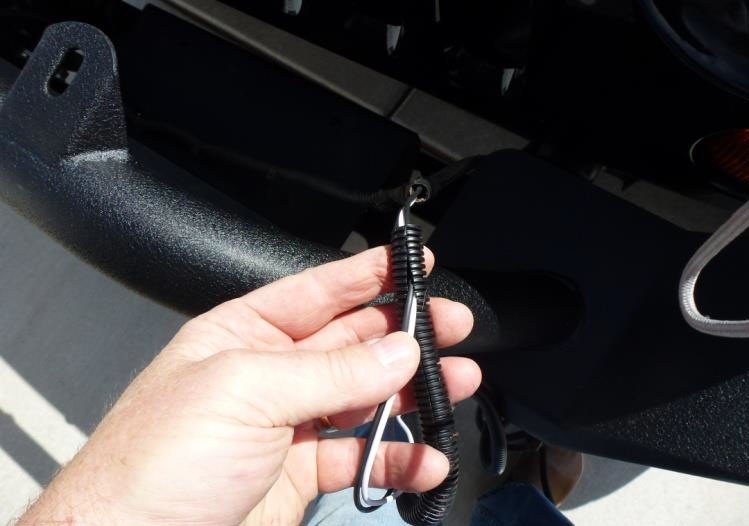
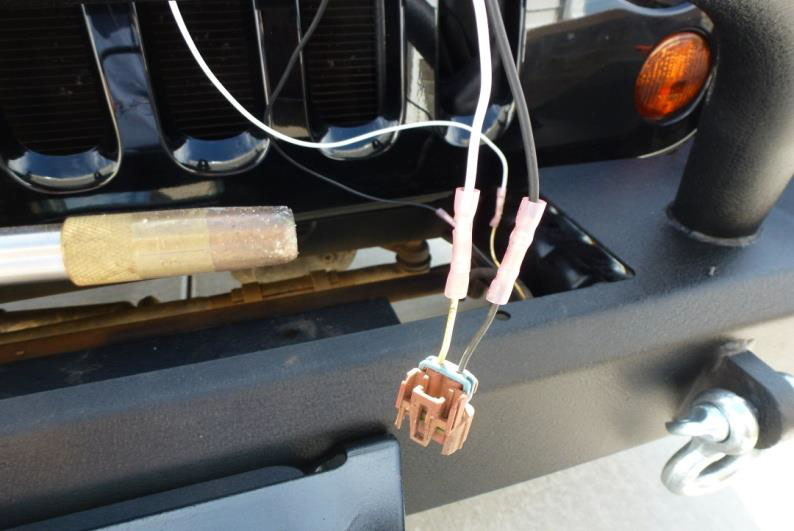
9. Run harness through frame work and reattach fog light plug to back of fog lights.
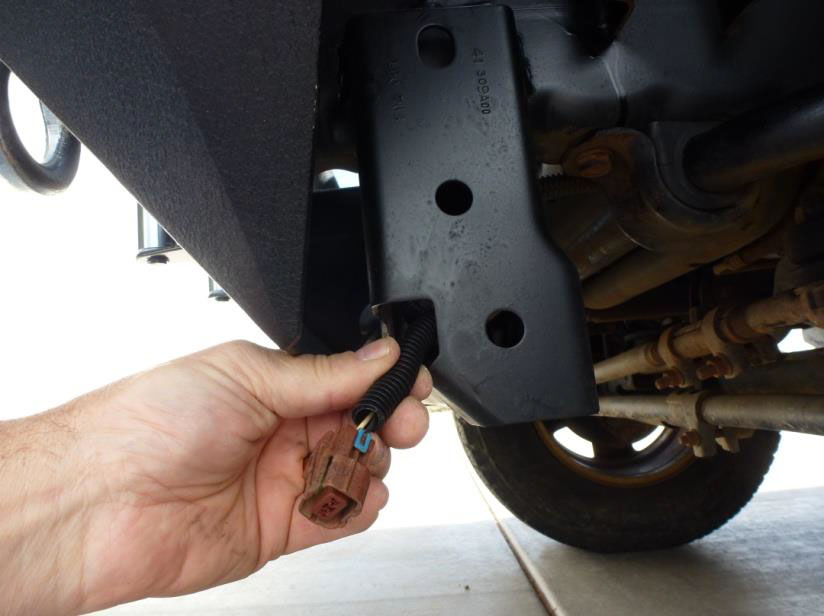
10. Wire tie harness to frame where applicable.
Note: Remember to test your fog lights before finishing.
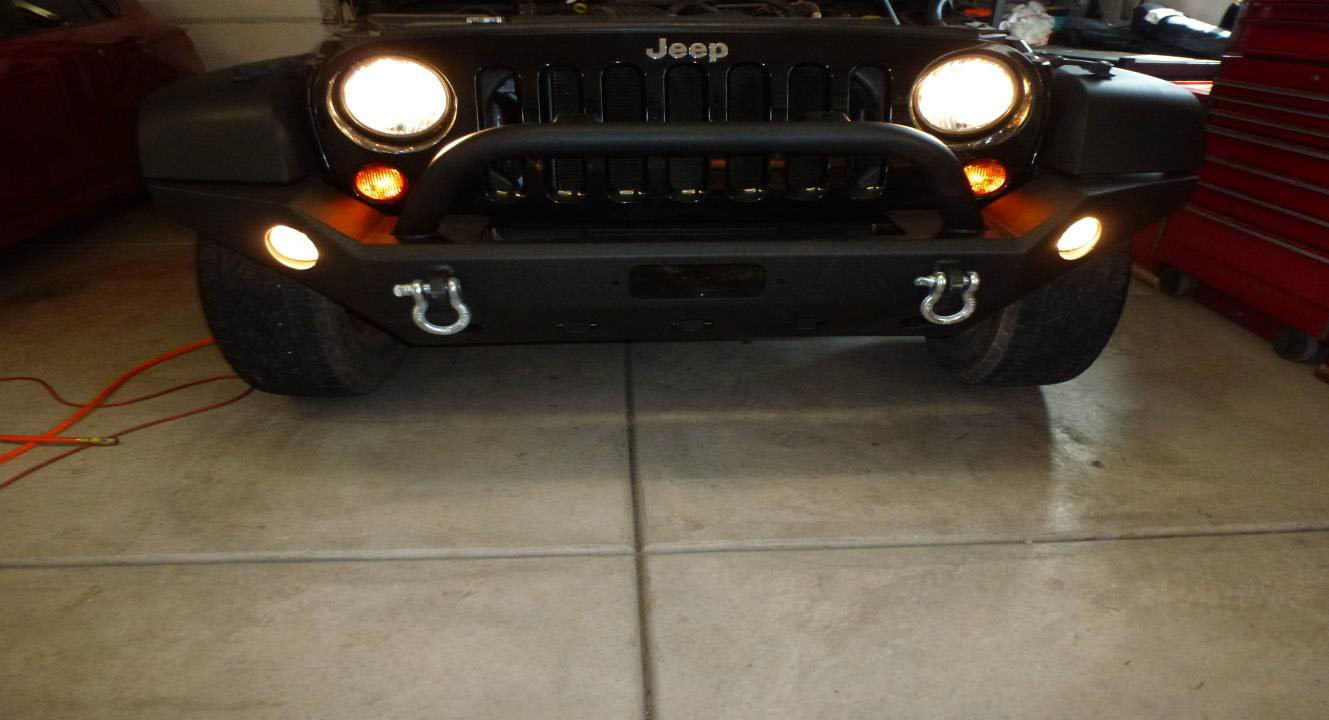
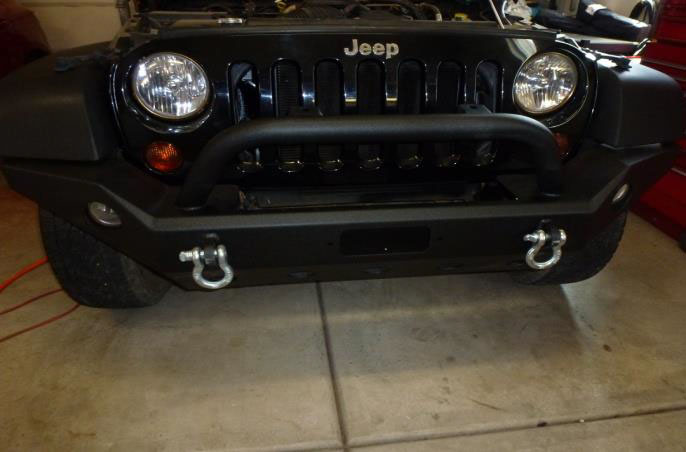
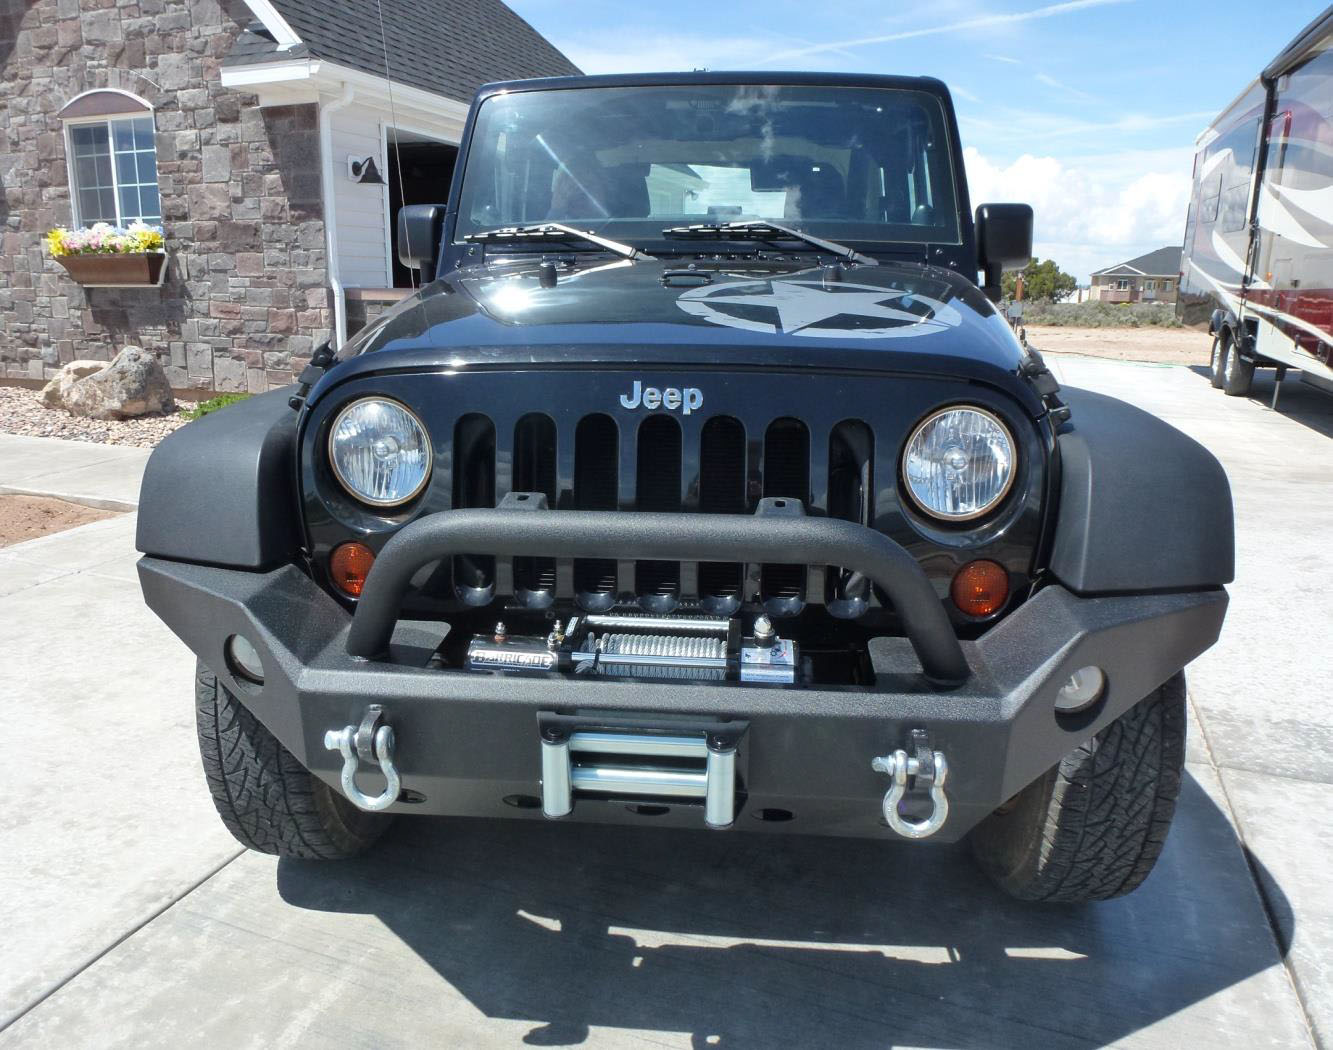
11. Finished product should look like this!
Installation Instructions Written by ExtremeTerrain Customer Dave Olearain 05/06/2015
