 FREE 1 to 3-Day Delivery on Orders $119+ Details

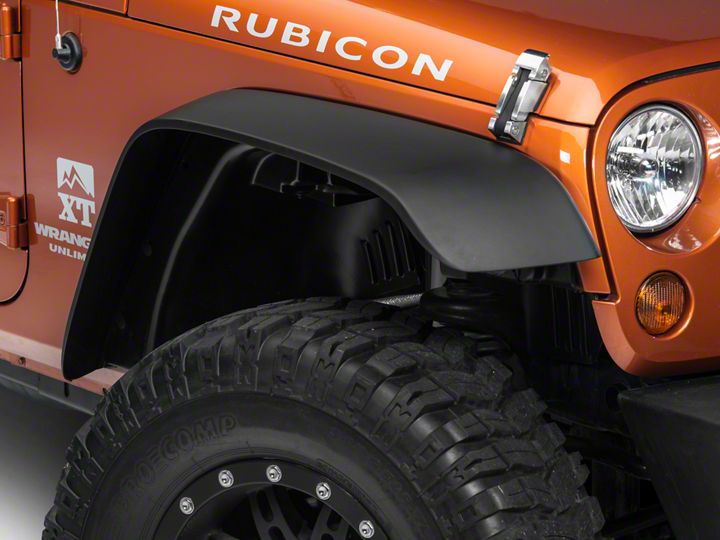
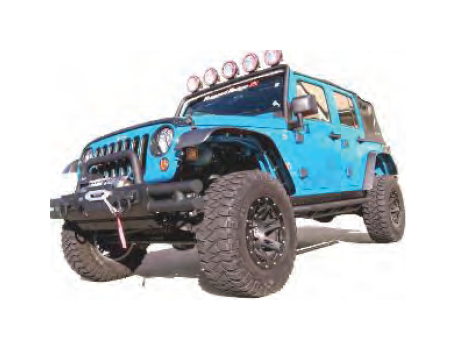
How to Install Rugged Ridge A/T Flat Fender Flare Kit, 4 Piece on your 2007-2013 Wrangler
Shop Parts in this Guide
Contents:
1. All Terrain Flat Flares (4)
2. M6 Mounting bolt (22)
3. M6 Mounting Nut (22)
4. Push Rivet (20)
5. Side Marker Relocation Bracket (2)
6. Side Marker Retainer (2)
7. Rubber Bumper (2)
8. M8 Flange Bolt (2)
9. M8 Flange Bolt (2)
10. M8 Flat Washer (6)
11. M8 Lock Nut (2)
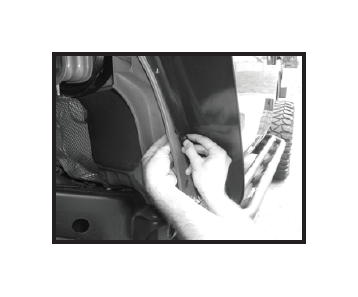
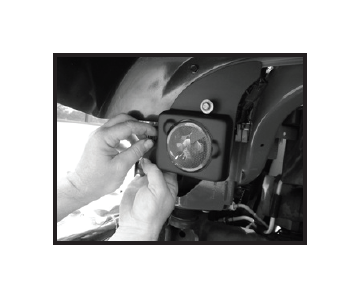
1. Remove the factory wiring harness connectors that are connected to the side marker lights. Press the small release tab on the on the connector and pull straight back. Use caution not to damage the connector as it will be reused on the Side Marker Relocation Brackets.

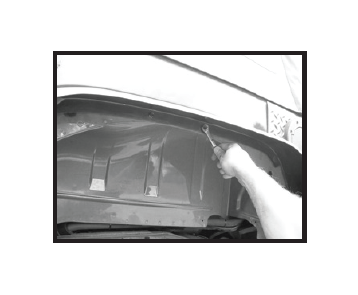
2. Remove the inner fender liners. To do this you will need to use a pointed punch to press in the center of the plastic rivets. The rivets hold the outer flare to the inner liner. You will need to press the center pin inward approximately 1/2” to 3/4”. Once you have pushed in the center, the outer piece of the rivet will need to be removed from the flare. Repeat these steps for all four flares.

3. Remove the factory bolts and plastic push retainers located in the inner fender well. These are the retainers that hold the inner liner to the body. Once these are removed, pull the inner liner out of each wheel well. One of the factory bolts removed will be reused to install the side marker bracket. The other factory bolts can be reinstalled onto the vehicle. NOTE: These bolts are required to install the JK Wheel Liners (P/N 11620.50).

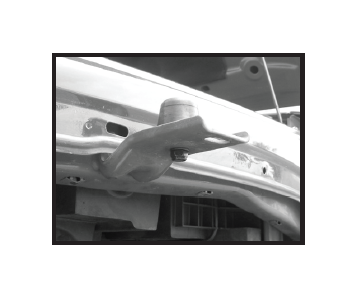
4. Install the rubber bumper to the factory bracket that extends out from under the front driver side fender using the supplied M8 bolt, M8 standard nut, M8 lock nut and 3 flat washers. Place the M8 bolt through the top hole on the rubber bumper. Place a washer and hex nut on the bolt extending through the rubber bumper. Slightly tighten. Place a washer on the bolt, insert into the factory bracket. Using a washer and locknut on the bottom side of the bracket, secure the rubber bumper to the bracket. Repeat for passenger side.
5. Mount the front driver side flare using the supplied M6 bolts, flat washers and flange nuts. Keep fasteners loose until all mounting bolts are installed. Tighten bolts to secure the flares into position. Repeat for passenger side flare. NOTE: If installing JK Wheel Liners (P/N 11620.50), it is only
necessary to install the top 2 bolts at this point. Please refer to the Wheel Liner instructions to complete front flare installation.
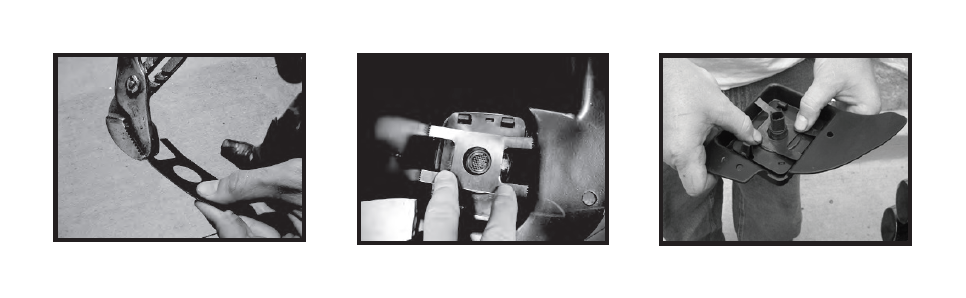
6. Place factory side marker into supplied plastic light bracket. Place the metal retainer on the back of the side marker and push downward to secure the side marker into the bracket as shown. Repeat for RH side marker. NOTE: This step is not necessary if also installing JK Wheel Liners (P/N 11620.50). NOTE: For ease of installation of the side marker retainer, it may be necessary to make slight bends on the four tabs of the Side Marker Retainer with pliers as shown below.
7. Install the LH side marker bracket under the front driver flare using one factory bolt removed in step 3 and one supplied M6 bolt, flat washer and flange nut. Repeat for RH side bracket. NOTE: This step is not necessary if also installing JK Wheel Liners (P/N 11620.50).
8. Install the rear flares by lining the holes in the flare up with the holes in the rear fenders. In the top 2 hole locations, hand tighten 2 M6 bolts, flat washers and flange nuts to secure the rear flares. Insert plastic push rivets into the remaining hole locations. Once all the push rivets are installed, go back and tighten the M6 bolts. NOTE: If installing JK Wheel Liners (P/N 11620.50), it is only necessary to install the top 2 bolts at this point. Please refer to the Wheel Liner instructions to complete rear flare installation.
Optional Painting Instructions
NOTICE: Do not use any harsh chemicals on flares. Use only plastic approved cleaning chemicals.
Pain Preparation:
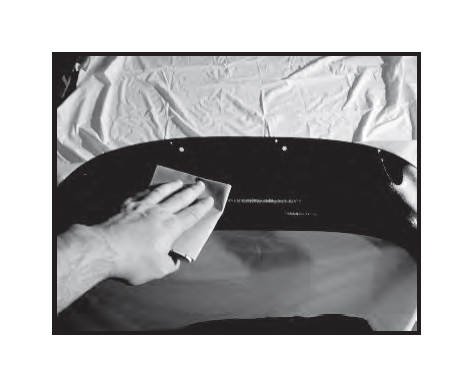
1. Lightly sand flares with 320 grid sandpaper.
2. Remove all surface contaminants from flares using an approved grease and wax remover.
3. Wipe flares with a tack rag to remove any dust or dirt
Painting:
1. Apply two even coats of adhesion promoter to flares. Allow recommended flash time between coats. Let second coat dry for 15 minutes before primer application.
2. Apply an even coat of primer to flare surface. (A high build primer is recommended)
3. Paint flares with a automotive grade paint. (A flex additive must be added to paint)

