FREE 1 to 3-Day Delivery on Orders $119+ Details

How to Install Bilstein 5100 Series Rear Shock for 2-3.5 in. Lift on your Wrangler
Installation Time
45 minutes
Tools Required
- Sockets: 16mm, 18mm x2, extension
- Socket Wrench x2
- Torque Wrench
- Flathead Screwdriver
- Jack x2 (Optional but helpful)
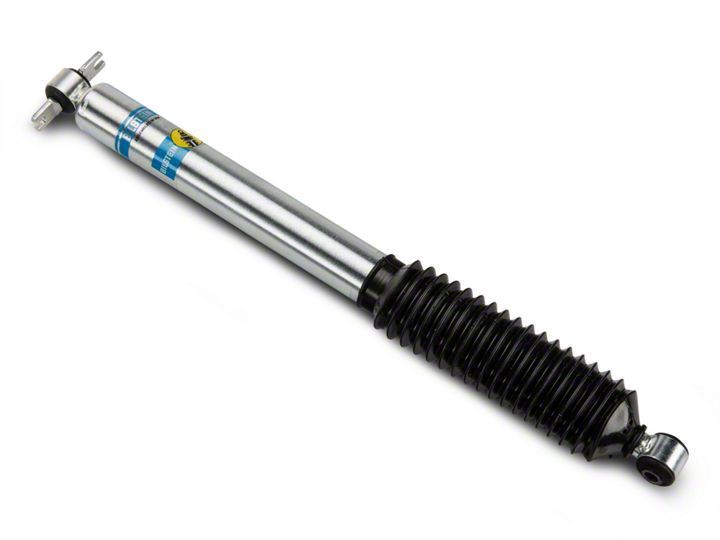
Shop Parts in this Guide
Installation Instructions:
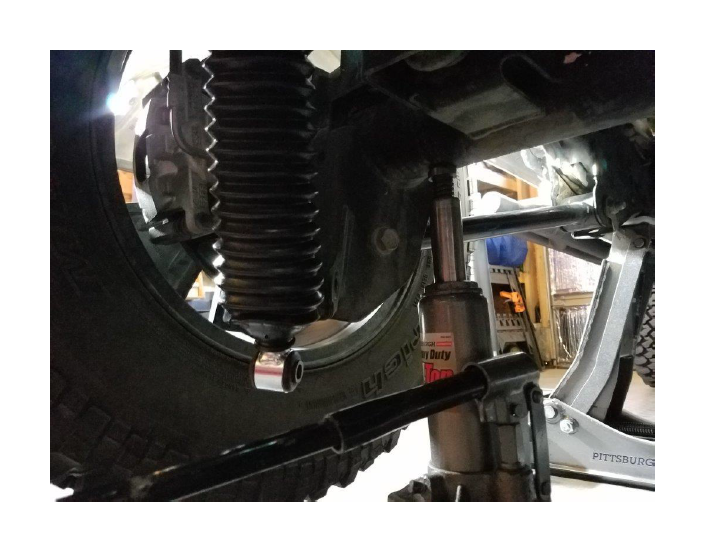
1. It is possible to install shocks without a jack, but it makes it much easier if you use one. Start by jacking up the rear of the Jeep by the frame.
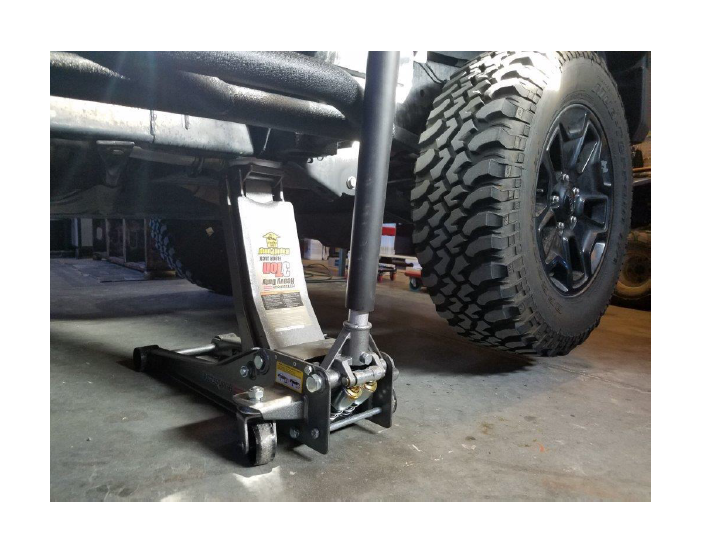
2. Next, use a second jack to take pressure off the shock. Jake up the axle about ½”
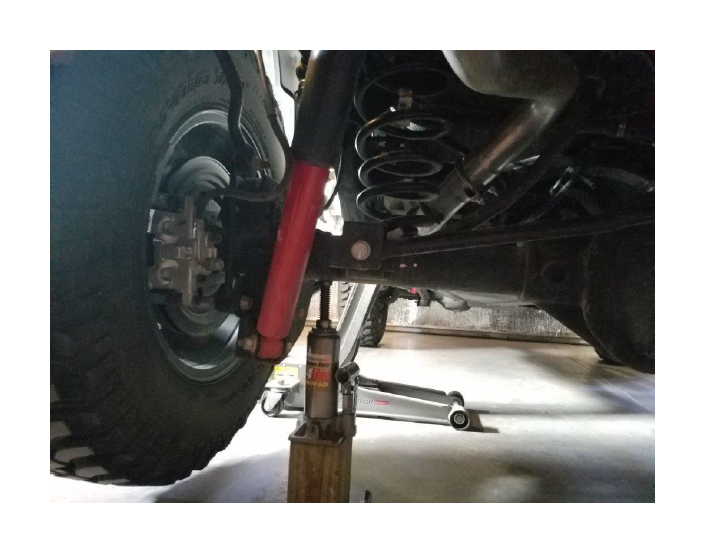
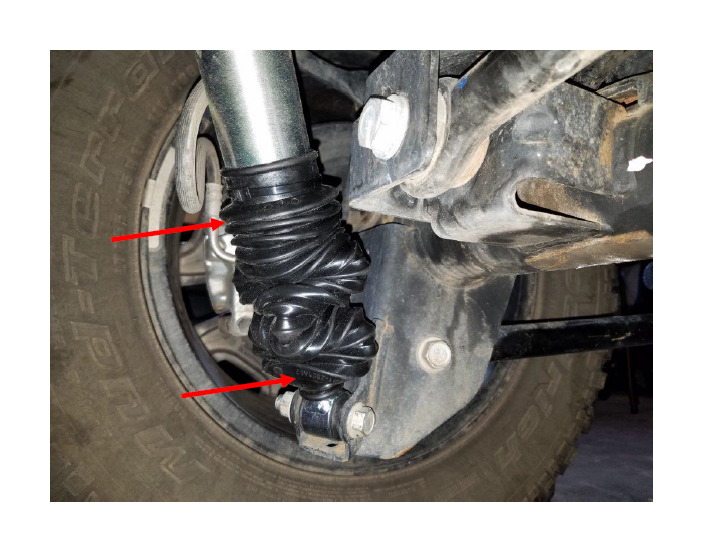
3. Using two 18mm sockets, remove the lower shock bolt.
4. Use a 16mm socket with extension to loosen the top shock mount bolts. Remove 1 bolt completely, and just loosen the other. Then you can remove the shock.
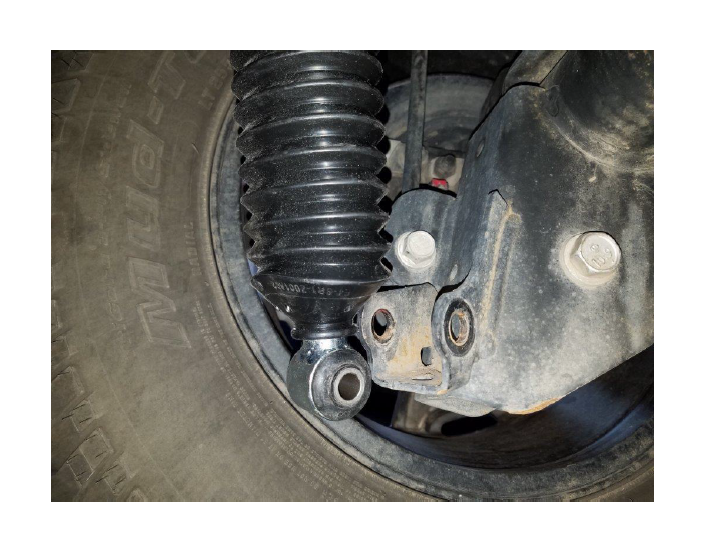
5. Put the new shock in place on the and snug the upper shock bolts, but do not completely tighten yet. Make sure the shock mount is centered between the bolts.
6. Then lower the jack holding up the axle. Lower it until the lower shock mount lines up with the bottom of the shock.
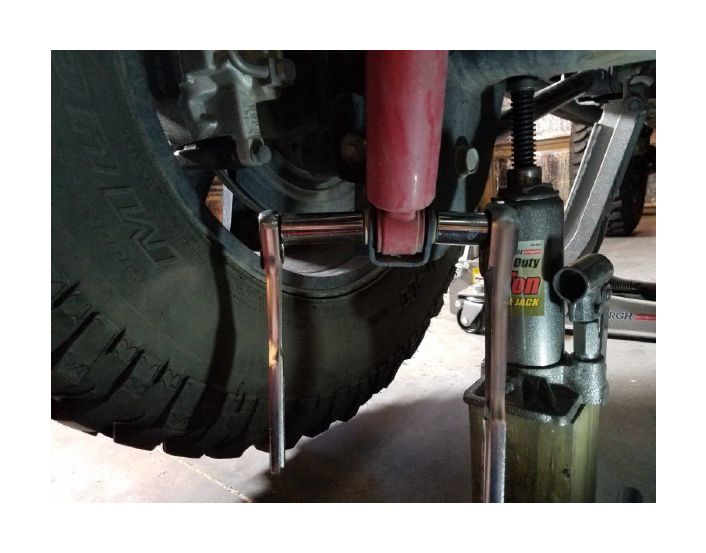
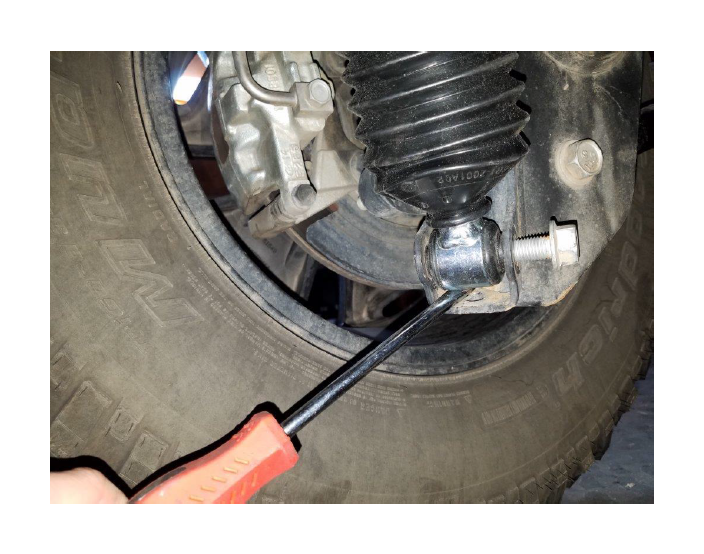
7. Even with the axle lowered completely, the shock may not fully line up. You can push up on the shock to compress it slightly then put it in the lower mount.
8. Use a flathead screwdriver to pry the shock up enough to insert the lower bolt.
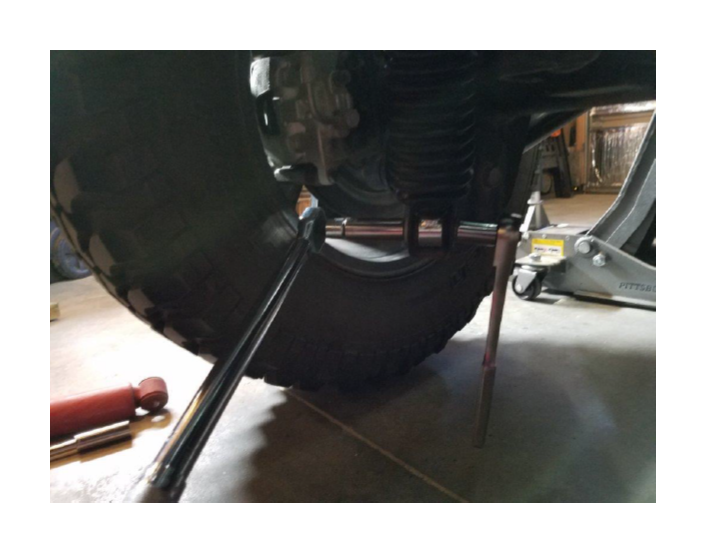
9. Use a torque wrench to tighten the lower shock bolt to 65ft/lbs. Then torque the top shock bolts to 37ft/lbs.
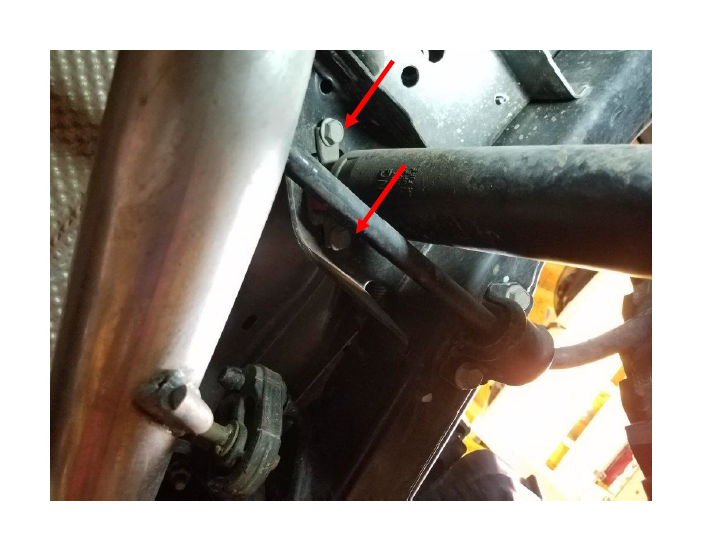
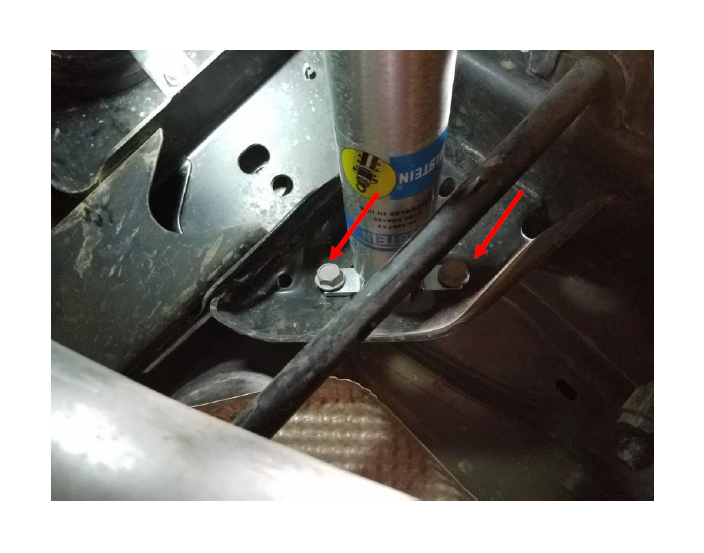
10. Before driving with the new shocks, you will need to make sure you have the right amount of bump stop to keep from bottoming out the shocks. Lower the Jeep back to the floor. Now measure how much more down travel you have before bottoming out the shock. Feel through the boot for the point where the shock tube ends, and feel where the lower shock mount starts. Measure between those 2 points. Mine measured 4 ½”
11. Then measure from the axle plate to the upper bumpstop (the metal part not the rubber part; the factory white rubber bump stop can compress at full stuff). Mine measured 5 ¾”. You want the bumpstop to hit before the shock bottoms out, so take this measurement and subtract the previous shock measurement. 5 ¾ - 4 ½ = 1 ¼ This is the minimum bump stop you will need. I decided to use 1 ½” bump stop for a little extra wiggle room, and I recommend you also add ¼”

12. Then complete steps 1-11 on the passenger side to install the other shock.
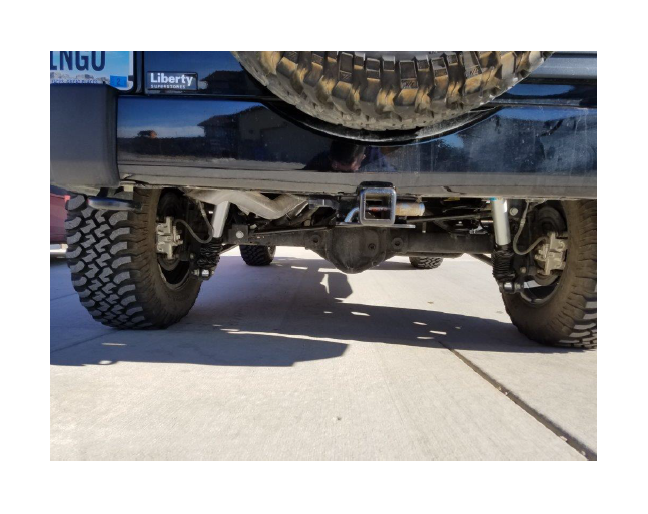
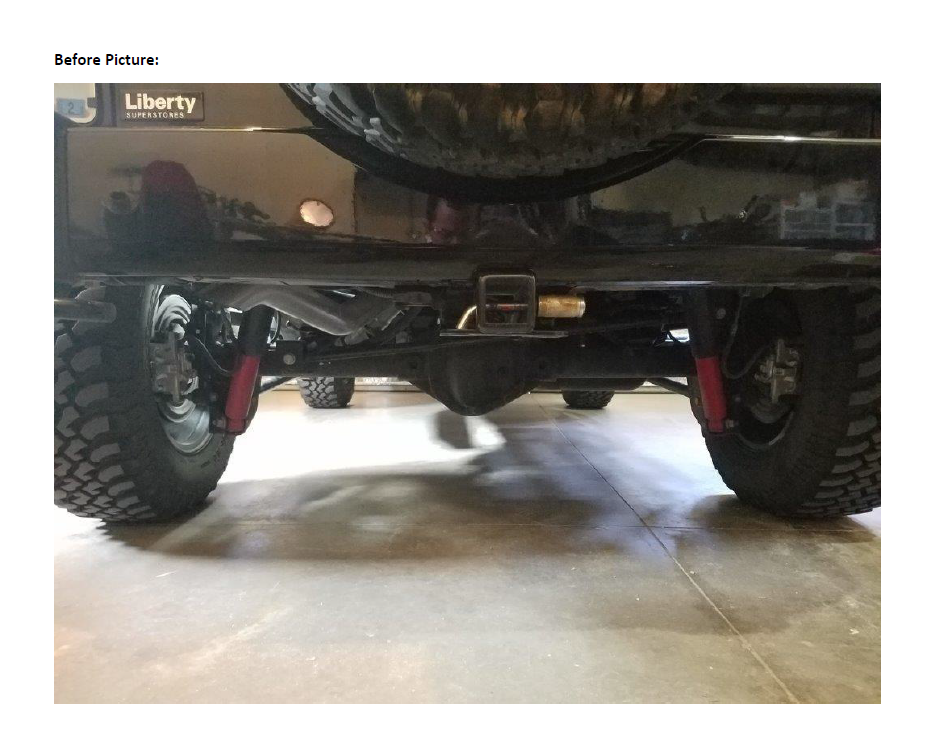
After Picture:
Note: My shocks are compressed more than they should be, that’s because I haven’t installed lift springs yet.